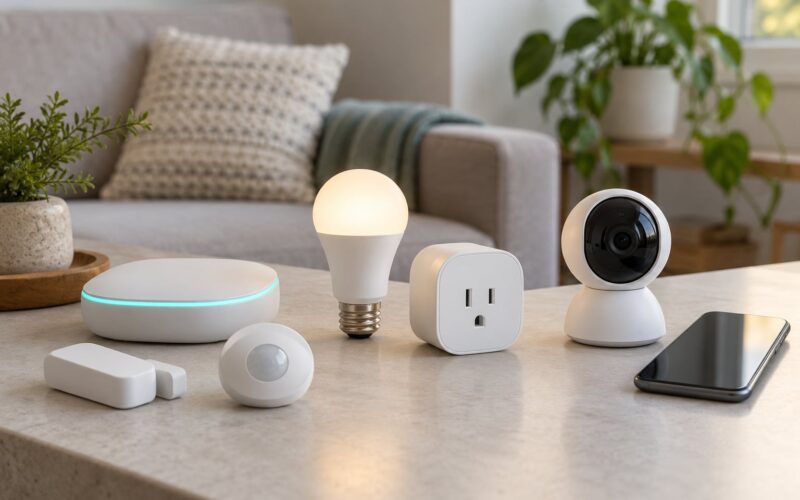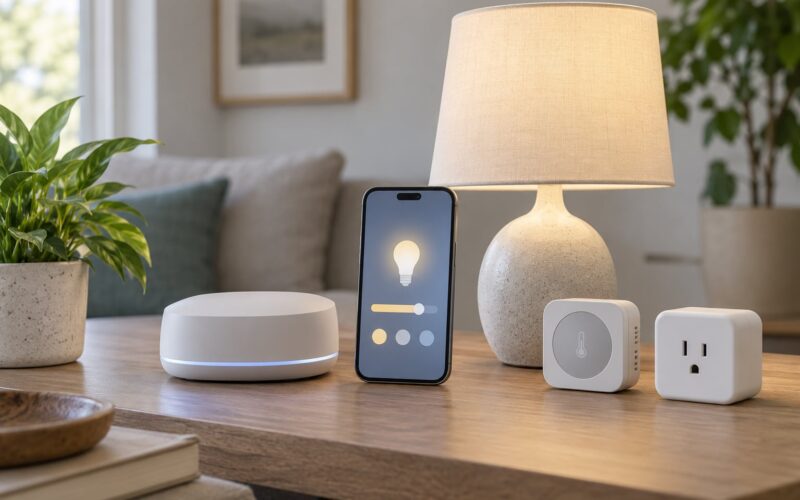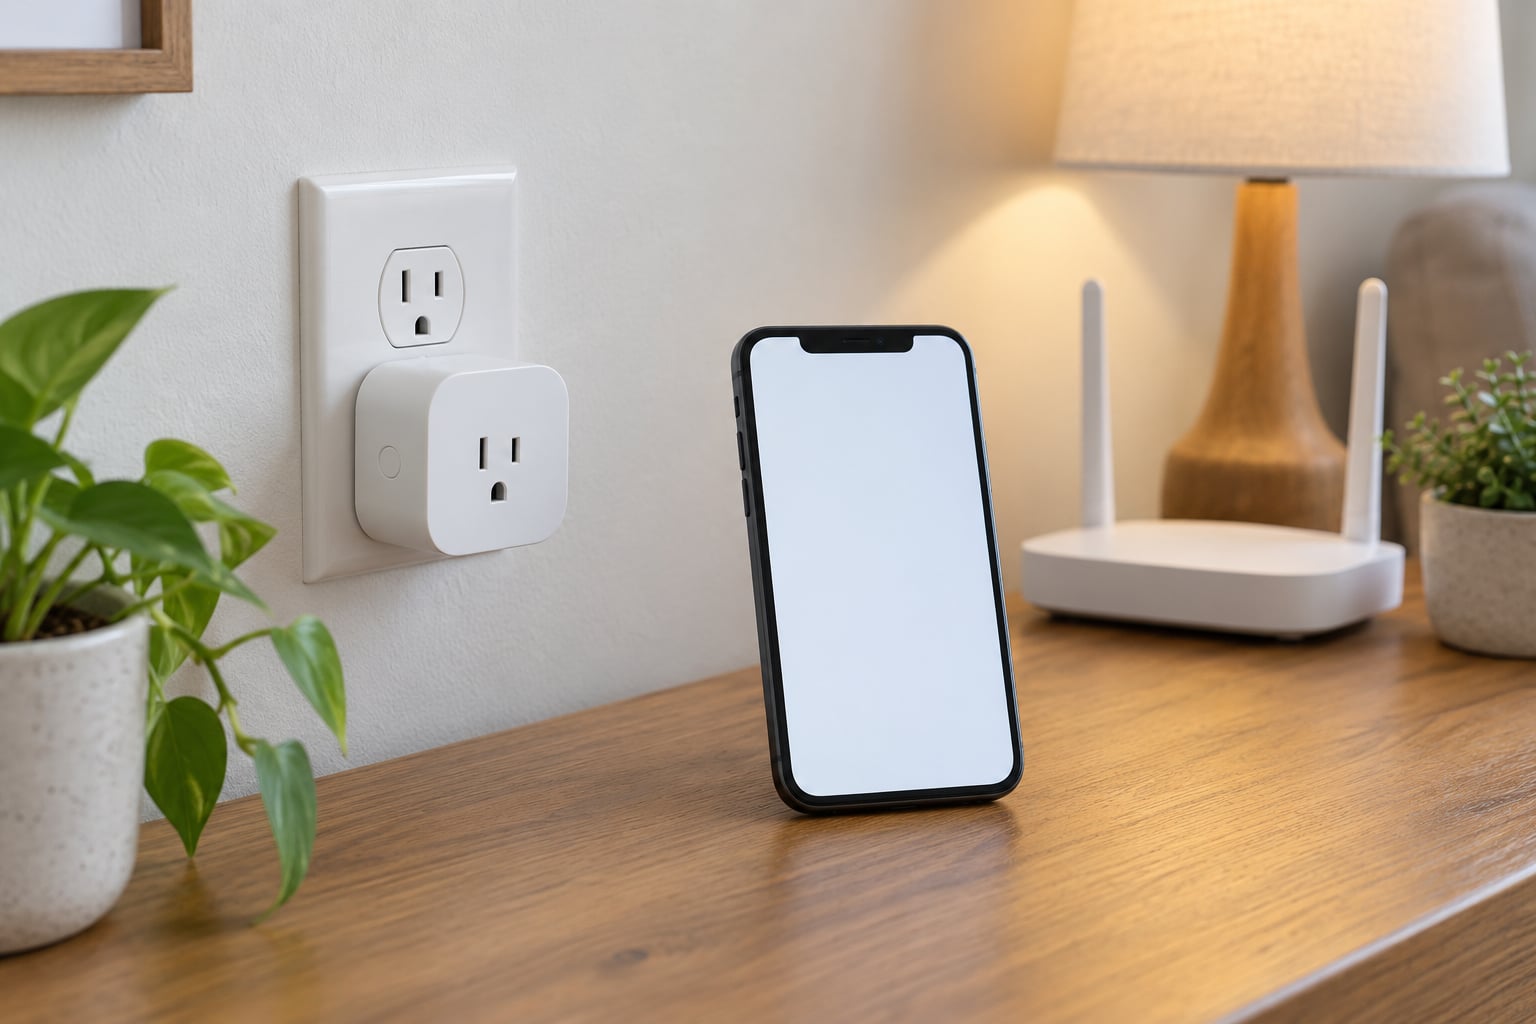
Setting up a smart plug takes about ten minutes: plug it in, download the manufacturer’s app, join it to your 2.4GHz Wi-Fi network, test it, then add a schedule. That is the whole beginner process. If you have never done it before, this guide walks through how to set up smart plugs for beginners, from unboxing to your first automation.
The one thing that derails most people is the Wi-Fi band. Most smart plugs only join a 2.4GHz network, so if your phone is sitting on 5GHz the app just sits on “connecting” with no useful error message. Everything below is written to avoid that, and the troubleshooting section fixes it if it still happens.
Table of Contents
- What You Need
- Safety checks worth doing first
- Do you need a smart home hub?
- Step-by-Step
- 1. Install the App and Create an Account
- 2. Put the Smart Plug in Pairing Mode
- 3. Connect the Plug to Your Wi-Fi Network
- 4. Name and Organize the Plug
- 5. Test Local and App Control
- 6. Create a Schedule or Routine
- 7. Link a Voice Assistant
- Amazon Alexa
- Google Home
- Apple Home
- No voice assistant at all
- Common Mistakes
- Tips for a setup that keeps working
- Frequently Asked Questions
- Do smart plugs need internet access to work?
- Can I use a smart plug with a microwave, heater, or coffee maker?
- Why does my smart plug work in the app but not with Alexa or Google Home?
- Can one smart plug control several devices at the same time?
- Does a smart plug have to be connected to a 2.4 GHz Wi-Fi network?
- Next Steps
What You Need
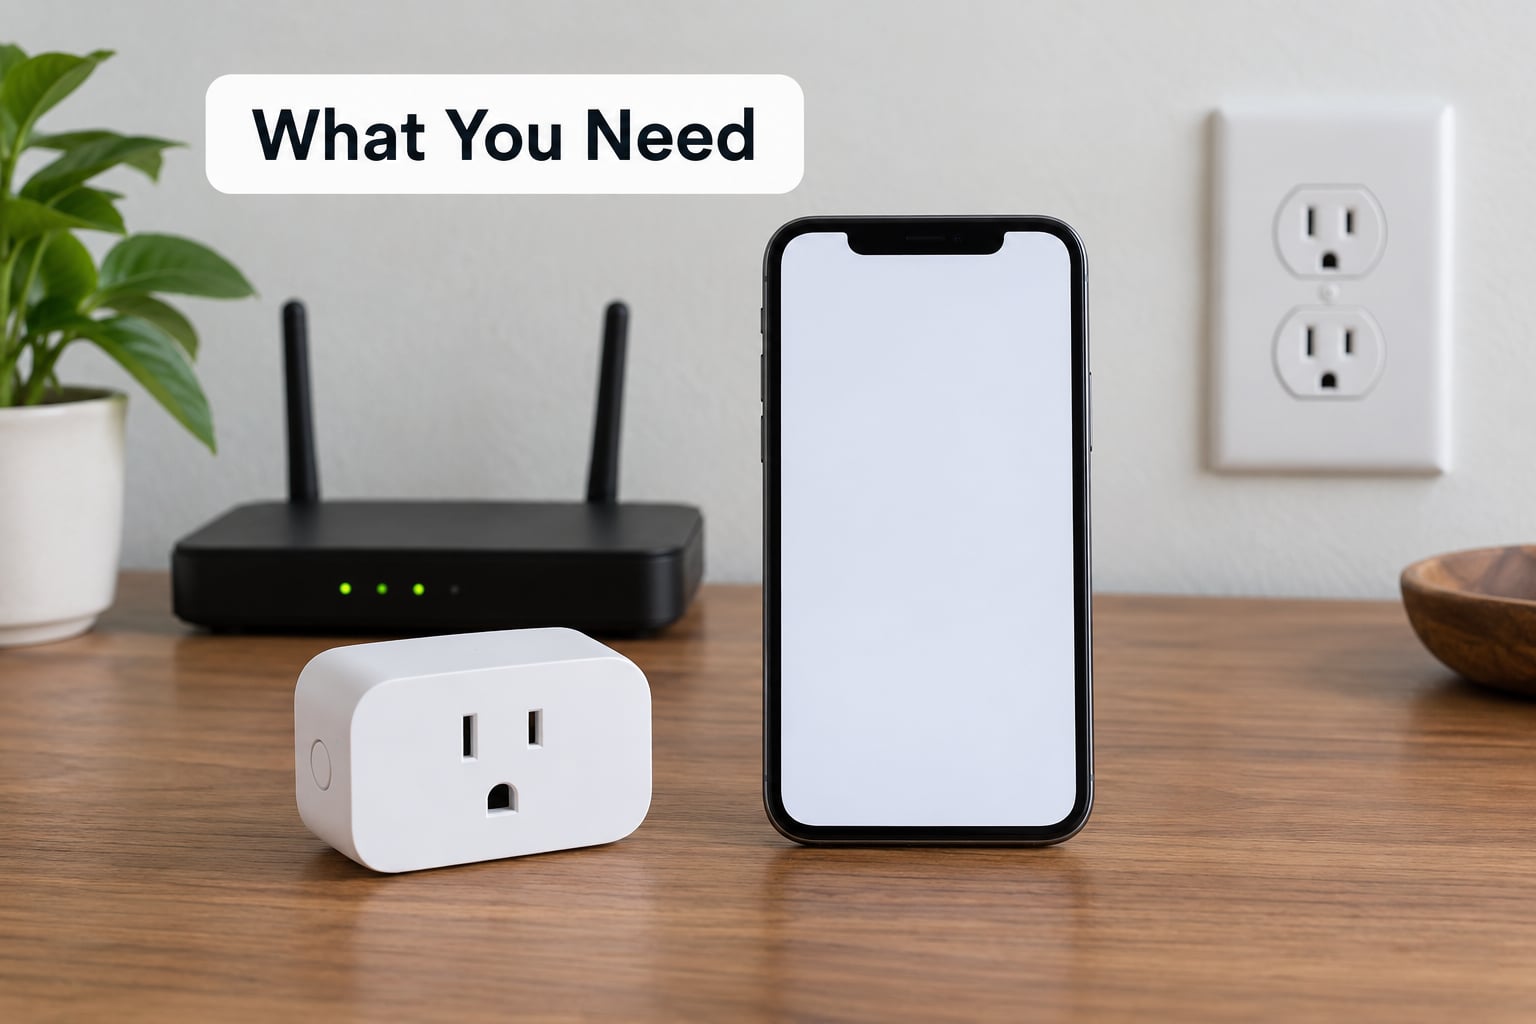
You need six things, and four of them are already in your house. If you are missing the 2.4GHz network or the phone permissions, fix those before you unbox anything, because they are the cause of most failed setups.
- The smart plug itself. Check the rating printed on the body. Most carry a maximum current in amps and a maximum power in watts.
- A smartphone with the manufacturer’s app installed. The app name is in the quick-start insert or the manual. TP-Link makes two different apps, and the plug in your box only works with one of them.
- A 2.4GHz Wi-Fi network. Some routers broadcast both bands under a single network name, which is the classic reason pairing never finishes.
- An account in that app, with Bluetooth and location permissions allowed when the app asks.
- A wall outlet with nothing else stacked on the adapter or power strip.
- One low-risk appliance to test with, such as a table lamp or a desk fan.
Safety checks worth doing first
Check the amperage rating on the plug before you plug anything in. Many are marked 10A or 15A, which at 120V is roughly 1200W or 1800W. A kettle, a space heater and a microwave can each exceed that on their own, so leave those on ordinary outlets.
Do not run a smart plug through an overloaded power strip or a cheap multi-adapter, and keep plugs and adapters out of bathrooms, basements and other damp spots. Unplug the device before you change any connection, and never leave a plug switched on while nobody is accounting for what is drawing power.
Do you need a smart home hub?
You probably do not, at least for your first plug. A smart home hub is a separate box that bridges devices to your phone and voice assistant, and most Wi-Fi smart plugs talk to the internet directly. Buy one later only if you move to Zigbee bulbs, or want Apple Home control of a Matter plug, which needs an Apple HomePod or Apple TV on the network.
Three words come up when people shop for plugs. Matter is a newer standard that lets devices from different brands share one app. Thread is a low-power radio technology that builds a mesh between devices. Zigbee is the older standard, and it always needs a hub. A plain Wi-Fi plug needs none of the three.
Step-by-Step
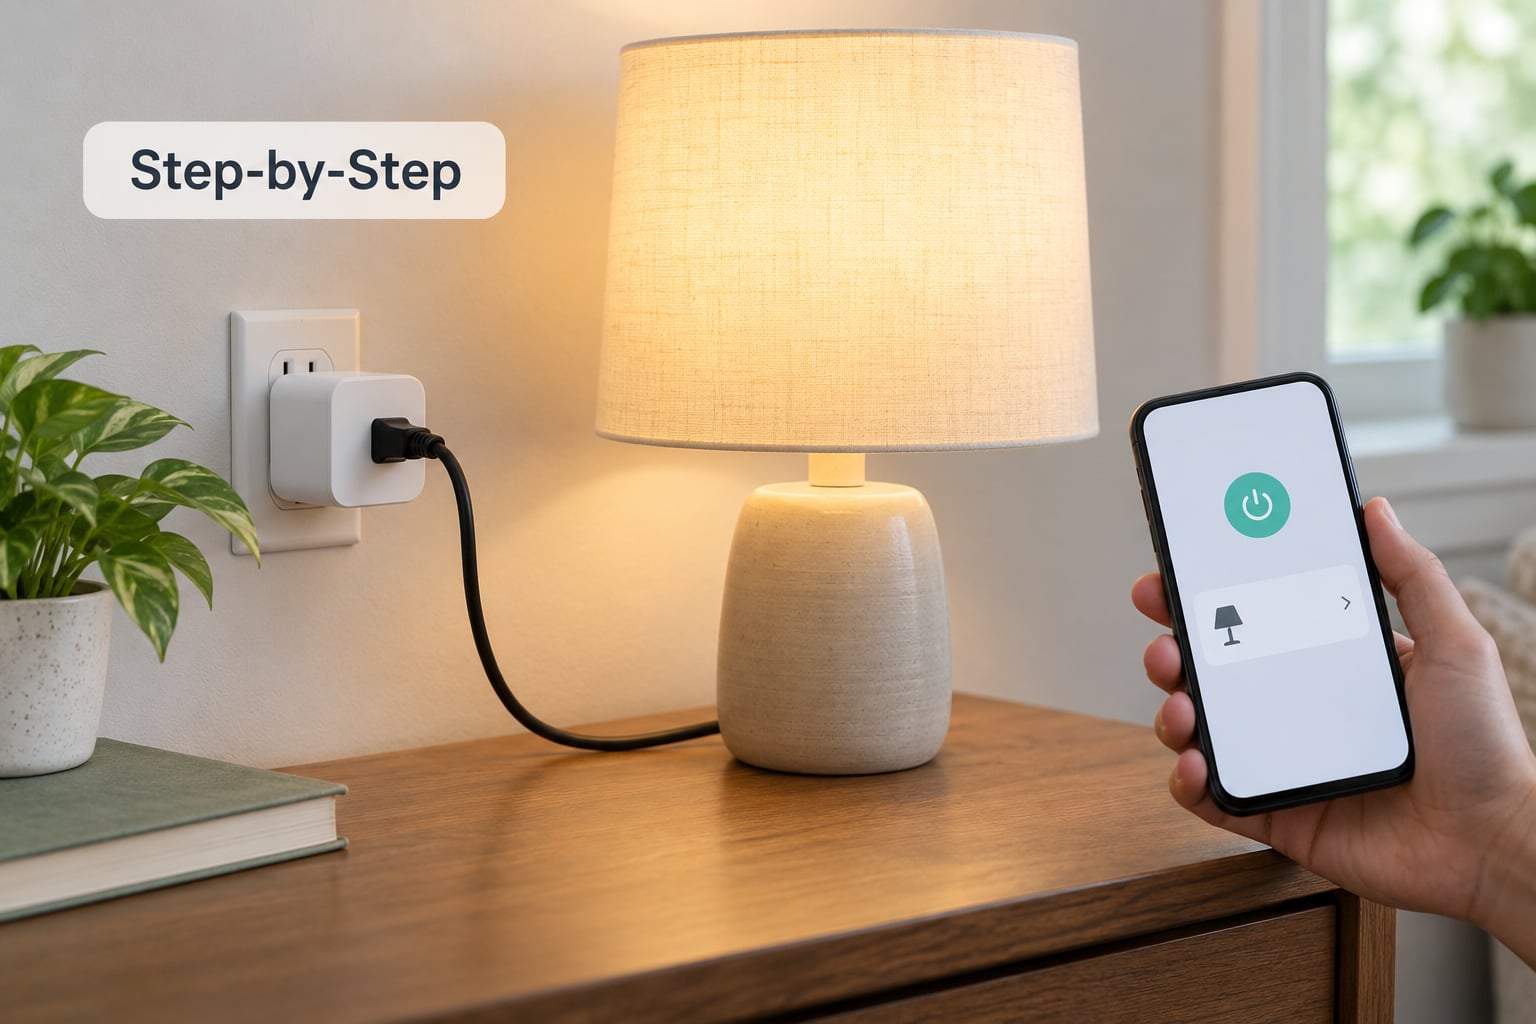
Follow these in order rather than jumping ahead. Each step has something visible that tells you it worked, and if a step fails, the fix is in the Common Mistakes section below. Menus change between app versions, so treat the wording as a guide and follow the manufacturer’s current instructions when labels differ.
1. Install the App and Create an Account
Download the app named in the plug’s manual from your phone’s app store, open it, and create an account with an email address you will remember. Several apps then ask for Bluetooth, camera and location permissions, and those requests are not optional for many brands because the phone uses them to find the plug nearby. Turn them on when asked, and let the app finish its tour before you start.
This is the how to set up smart plugs for beginners answer in one line: the plug only ever talks to the app that its brand ships with. If you install the wrong one, nothing you do afterward will make it appear.
| Smart plug brand | App to install |
|---|---|
| TP-Link Kasa plugs, including the Kasa Smart Wi-Fi Plug Mini | Kasa |
| TP-Link Tapo plugs, including the HS100 | Tapo |
| Meross, Gosund, BN-LINK and many Sonoff models | Smart Life or Smart Home, depending on the insert |
| Amazon Smart Plugs | Alexa |
| Wyze plugs | Wyze |
| eufy plugs | eufy Home |
| Leviton and Shelly plugs | The brand’s own app, listed in the box |
2. Put the Smart Plug in Pairing Mode
Plug the adapter into the wall outlet with nothing attached to it yet, then look at the LED indicator. On most plugs you press the small setup or reset button on the side or underside and hold it until the light blinks steadily, usually 3 to 5 seconds. Some plugs do this by themselves the first time they get power, and some ask you to press and release three times in quick succession.
Pairing mode is the state where the plug is looking for a network to join, and the blinking light is how it tells you. Stop pressing once the app sees the device. Pressing repeatedly, or unplugging and replugging the adapter a few times while the app is searching, resets the sequence and confuses the whole process.
Here is what is happening while the app waits. The plug broadcasts its own short-lived Wi-Fi network, your phone connects to that network, and the app hands over your home network name and password. The plug then reboots and joins your 2.4GHz network. Nothing moves on screen during the hand-off, so a pause of 30 to 60 seconds is normal.
3. Connect the Plug to Your Wi-Fi Network
In the app, tap Add Device or a plus icon, pick your smart plug model if the app asks, and choose your network from the list. Select the 2.4GHz one. If your router puts both bands under the same name, split them in the router’s settings first, or temporarily turn off the feature that merges bands. Then type the Wi-Fi password exactly as written, watching for capital letters and numbers swapped for lookalike characters.
A successful connection looks like this: the plug’s light stops blinking and settles, the device appears in your app with an online status, and tapping the on button turns your test appliance on. If the app hangs on “connecting” for more than two minutes, it is almost always the band or the password.
4. Name and Organize the Plug
Rename the device from something generic like “Socket 1” to the appliance it controls, such as Living Room Lamp or Desk Fan. Then assign it to a room in the app and add it to a favourites list. Good names matter more than they look, because voice assistants, schedules and routines all read from this label.
Keep names to two or three plain words. Voice assistants handle short, descriptive names well and stumble over long ones, numbers and duplicates, so avoid naming a second lamp Living Room Lamp Two when a voice command will need it later.
5. Test Local and App Control
Now plug your lamp or fan into the smart plug and tap the on button in the app. The appliance should start and the plug’s indicator should change state. Test the physical button on the plug too, since it usually toggles power locally, and confirm the app reflects that change within a second or two.
If your plug supports Matter or local control, you can check whether commands are travelling over your own network: briefly switch off your internet connection and try toggling the plug from the app. Wi-Fi-only cloud plugs go unresponsive in this test, which is expected and tells you nothing is broken.
6. Create a Schedule or Routine
Open the plug’s schedule or timer option in the app, add a routine, give it a name, then choose the days, the time and the action. A lamp switched on at 7:00am on weekdays and off at 11:30pm every day is a good first automation, and it is easy to change later. Most apps let a schedule repeat daily, only on the days you tick, or run once.
Keep the first automation simple. Adding conditions, delays and multiple actions in one go makes a failure hard to trace, and a single plain schedule that works gives you a baseline you can copy.
7. Link a Voice Assistant
Add the plug through its manufacturer’s app first. Voice assistants scan for devices that are already registered in an account they can see, and a plug that has never been added to its own app simply does not exist to them. After that, the path differs by ecosystem, so use the section that matches what you own.
Amazon Alexa
Open the Alexa app, tap More, then Add and Add Device. Choose Other and Smart Home, then pick your plug’s manufacturer from the list. Tap Enable Skill and sign in with the same account you used in the manufacturer’s app, allow access, then tap Discover Devices. Your plug appears with its name, and assigning it a room in Alexa makes voice commands more accurate.
Google Home
In the Google Home app, tap the plus icon, then Set up device and Works with Google. Search for your plug’s brand, sign in with the same account details, and tap the plug when it appears in the list. Assign it to a home and a room in the same screen, and the assistant can control it within seconds.
Apple Home
On an iPhone, open the Home app, tap the plus icon and Add Accessory. A Matter plug is discovered directly, and you scan the QR code on the plug or its box to confirm. Apple Home requires a HomePod, an Apple TV or a supported iPad on the network acting as the home hub, so this is the one ecosystem where a beginner may need extra hardware.
No voice assistant at all
Skip this step. App control, schedules and the physical button all work without one, and plenty of people stop there. Adding an assistant later takes two minutes because the plug is already registered.
Common Mistakes
Work down this table in order and stop when the problem disappears, because the first rows are the most likely causes. Most fixes take under a minute.
| What you see | Fix |
|---|---|
| App says “connecting” and never finishes | Put your phone on the 2.4GHz band, or split your router’s band names, then retry. |
| Plug never appears in the app | Confirm Bluetooth and location permissions are on, hold the setup button until the light blinks steadily, and move the plug next to the router for the first attempt. |
| Plug shows offline | Check the router is up, confirm the plug still has your network name and password, and reserve a static IP address for the plug in your router settings. |
| Light flashes orange and blue, or amber and blue | On Kasa and similar plugs that pattern means pairing mode, so it is waiting to be found. Leave the app open on Add Device rather than holding the button again. |
| Alexa or Google Home cannot find the plug | Add the plug in its own app, link the same account in the assistant, then run Discover Devices or unplug and replug the plug so it re-announces itself. |
| Commands work sometimes | Turn off band steering or smart connect during setup, and check that AP or client isolation is disabled on the network you are using. |
| Overload warning in the app | Unplug the appliance and use one that is clearly within the amperage rating printed on the plug. |
| Schedule fires at the wrong time | Confirm your phone’s automatic date, time and time zone settings are on, since the app often follows them. |
| Bought a used plug that will not pair | Hold the reset button for 10 to 15 seconds until the light changes colour. This wipes any schedule left by the previous owner. |
Tips for a setup that keeps working
- Pair next to the router, then move the plug to where it belongs. Range is the second most common failure after the band.
- Avoid guest networks for pairing. Guest Wi-Fi usually isolates clients, so your phone cannot reach the plug even when the password is right.
- Reserve a static address, also called a DHCP reservation, for each plug in your router settings. It survives reboots and power cuts instead of dropping off.
- After an outage, expect some plugs to stay offline until the router is back and the plug reconnects. If it does not, power cycle the plug and the router.
- Keep the plug’s app and your phone’s operating system updated. Brand-new phones sometimes fail to discover older plugs because of Bluetooth or permission changes.
- Do not stack power strips or multi-adapters to gain more sockets. One plug, one appliance.
Frequently Asked Questions
Do smart plugs need internet access to work?
A smart plug needs internet access for its first setup and for control from outside your home. Inside the house, Wi-Fi plugs usually still respond to app taps and schedules, because those commands travel over your local network. Anything that routes through a cloud server, such as reaching a plug over cellular data or a voice assistant’s remote access, needs a live connection.
Can I use a smart plug with a microwave, heater, or coffee maker?
Only if the appliance stays under the rating printed on the plug. Many are marked 10A or 15A, which at 120V is roughly 1200W or 1800W. A kettle, space heater or microwave can exceed that on its own, and running a heater through a plug that is not rated for it risks an overload cut-off or a warm plug housing. Keep those appliances on ordinary outlets.
Why does my smart plug work in the app but not with Alexa or Google Home?
Most often the plug was added straight to the voice assistant instead of the manufacturer’s app, or the two are signed in with different email addresses. Add the plug in its own app first, then link that same account from Alexa or Google Home and run a device scan. If it still cannot see the plug, unplug and replug it so it re-announces itself.
Can one smart plug control several devices at the same time?
Not usefully. A smart plug has one socket and switches whatever sits in it as a single load, so two appliances share one on and off state. If you need several items switched together, use one plug per item or a smart power strip with individually controlled outlets. Never push a power strip into a plug to save wall space.
Does a smart plug have to be connected to a 2.4 GHz Wi-Fi network?
Almost always, if you are buying a plain Wi-Fi smart plug. 2.4GHz reaches further and uses less power, and plug radio chips are built for that band, so a Wi-Fi plug will refuse to join a 5GHz-only network. Matter plugs work across both bands and Thread plugs use a low-power mesh, so check the label and the box before you buy.
Next Steps
Start with one lamp in a room you use every day. Install the app from the box, pair on 2.4GHz Wi-Fi next to the router, name the plug after the appliance, then set a single schedule and confirm it fires. Once that works, add the voice assistant and only then bring in more devices. Get how to set up smart plugs for beginners right on the first plug and the next three take a fraction of that time.
For every new plug, check the load rating first and keep anything heating or boiling on a regular outlet. That habit, plus a static address for each plug, is what keeps a beginner smart home reliable long after setup is done in 2026.