To set up a guest Wi-Fi network at home, open your router’s admin page, find the Guest Network setting, turn it on, give it its own name and password, and switch on client isolation so guests reach the internet but nothing else. On most routers built in the last few years this takes about ten minutes and needs no new hardware.
A guest network is a second wireless network your router broadcasts at the same time as your main one. It has a separate SSID (the name that shows up in your phone’s Wi-Fi list) and a separate password, and the router keeps it walled off from your laptops, shared files, printer, NAS and cameras.
This guide covers where the setting lives on Xiaomi, TP-Link, ASUS and Netgear routers, plus the apps that eero, Google Nest and Deco systems use. Menu labels differ between brands, but the order of operations does not.
Table of Contents
- What You Need
- Step-by-Step
- Step 1: Access Your Router’s Administration Page
- Step 2: Find the Guest Network Settings
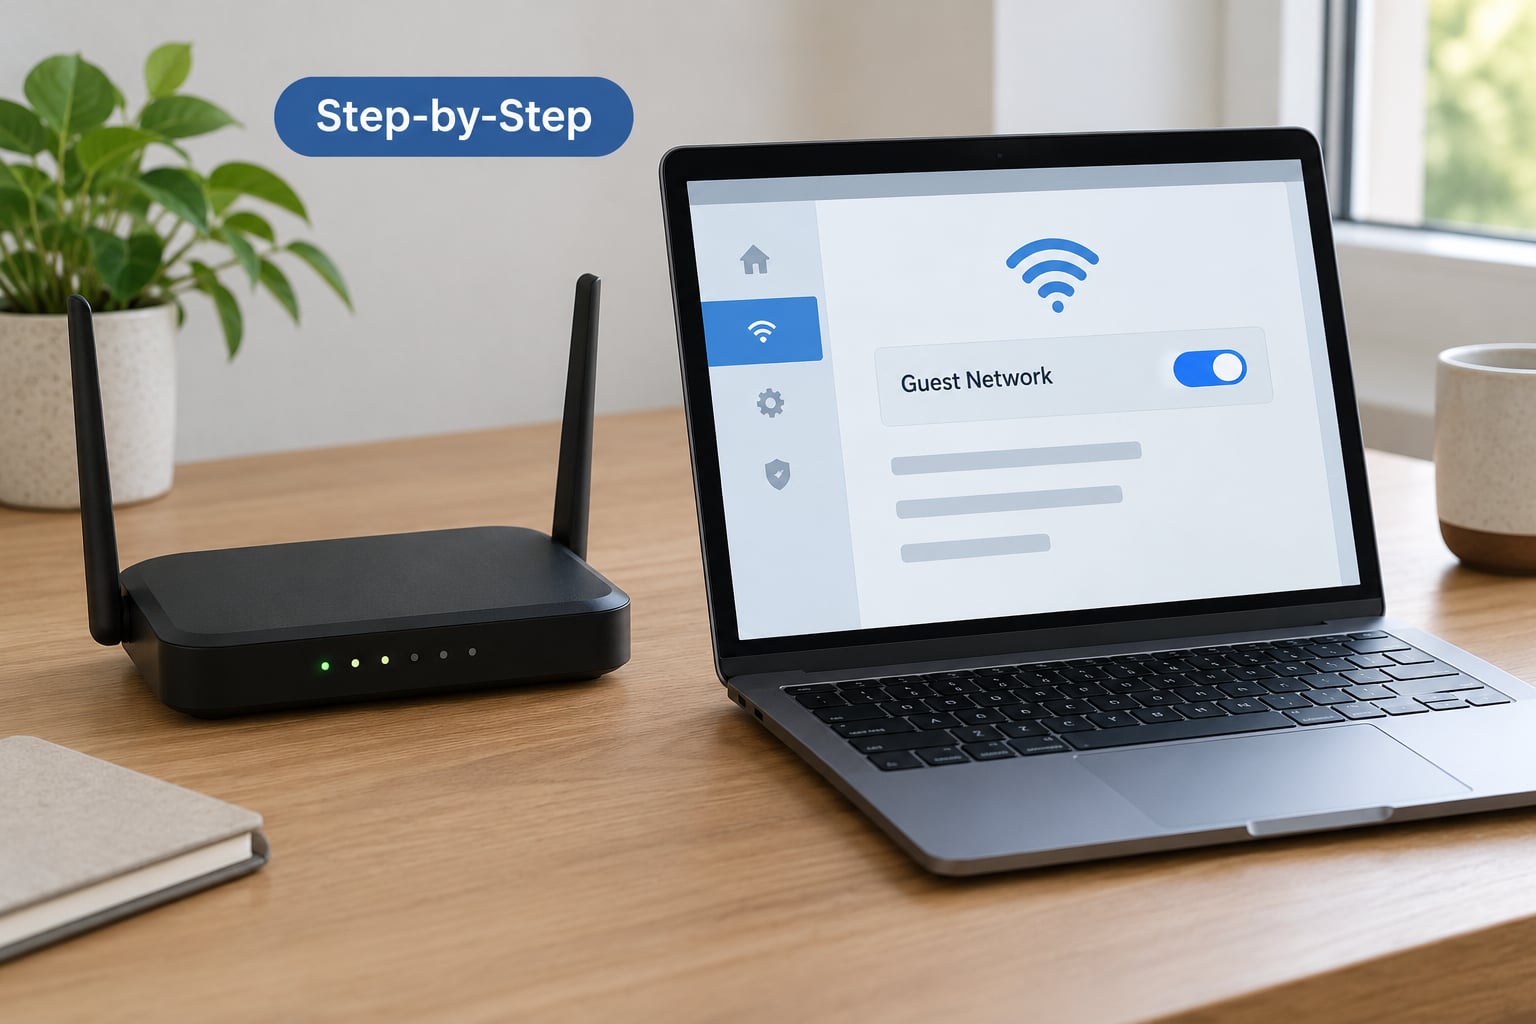
- Step 3: Enable the Guest Network
- Step 4: Set Guest Network Security and Isolation
- Step 5: Choose What Guests Can Access
- Step 6: Save, Reconnect and Test the Network
- Common Mistakes
- Frequently Asked Questions
- Is guest Wi-Fi safer than giving visitors my main Wi-Fi password?
- Can smart-home devices and security cameras be added to a guest network?
- What is the difference between guest Wi-Fi and a separate Wi-Fi band?
- Where is the guest network option in my Xiaomi or TP-Link router?
- How do I change or remove a guest Wi-Fi password?
- What should I do if my router does not have a guest network setting?
- Conclusion
What You Need
You need four things, and you probably already have three of them.
- The router itself. Usually the box your ISP supplied or the one you bought yourself. Nearly every modern router has a guest feature; older ISP modems often do not.
- Administrator access. The password printed on the router’s label, or credentials you set yourself. If someone changed them and nobody remembers, you have a separate problem.
- A device already on your home network. A laptop, phone or tablet connected over Wi-Fi or Ethernet. You will use it to open the admin page.
- Your guest password choice. Decide it before you start so you are not typing a new one twice. Fifteen characters or more, and not the same string as your main password.
Handing out a second network name beats sharing your main password. If your main password leaks, you can change it without kicking every device in the house off the air, and a guest device that picks up malware can only damage itself.
Before you log in, take five seconds to check your router’s firmware in its admin page or app. Guest network bugs are one of the more common things firmware updates fix, and several forum threads trace repeated guest-network dropouts straight back to an old build.
Step-by-Step
Step 1: Access Your Router’s Administration Page
Open a browser on a device that is already connected to your Wi-Fi and type your router’s gateway address into the address bar. Most routers use 192.168.1.1 or 192.168.0.1, so try those first.
If neither loads, the router address is almost always printed on a sticker on the underside or back of the device. It usually says “Admin URL”, “Web address” or “Management IP”.
You can also look it up on the device itself:
- Windows: open Command Prompt, type
ipconfigand press Enter. The “Default Gateway” line is your router. - macOS or Linux: run
ifconfig(Linux) oripconfig getpacket en0(macOS) and look for the router or gateway value. - iPhone: Settings, then Wi-Fi, then tap the (i) next to your network. “Router” shows the address.
- Android: Wi-Fi settings, tap your connected network, then look for the gateway or router field.
Log in with the admin credentials. If you changed the default ones, use yours. Otherwise the sticker usually carries a default username and password, often admin/admin, which you should change right after you get in.
Step 2: Find the Guest Network Settings
Look for a menu named Guest Network, Guest Wi-Fi, Guest Access, Guest Zone or Wireless Settings. Brands rename it constantly, and the label tells you which name your router uses.
| Router or system | Where the guest setting lives |
|---|---|
| Xiaomi router | Mi Home or Xiaomi Home app, then Wi-Fi, then Guest Wi-Fi |
| TP-Link (Archer, Deco) | Tether app or web admin, Wireless, then Guest Network |
| ASUS (ASUSWRT, AiMesh) | Wireless, then Guest Network, General tab |
| Netgear (Nighthawk, Orbi) | Nighthawk or Orbi app, Settings, then Guest Network |
| eero | eero app, Settings, then Guest Network |
| Google Nest Wi-Fi | Google Home app, Wi-Fi, then Guest network |
| ISP modem (Xfinity, AT&T, Spectrum, Cox, Bell) | The ISP app or the modem’s own Wi-Fi settings page |
If you are on a mesh system, the same guest SSID is broadcast by every node, so guests keep their connection as they walk through the house. That is the one place mesh beats a single router outright.
Step 3: Enable the Guest Network
Flip the Guest Network switch to on. The interface will usually create the radio for you rather than making you set it up from nothing.
Name the network. Routers often default to your main SSID with “-guest” appended, which works fine. Anything more distinctive is easier for guests to pick from a list of ten nearby networks.
Set encryption to WPA2-PSK, or WPA3 if your router and the guest’s phone both offer it. Never leave the guest network open. An open guest SSID is how neighbours end up on your connection, and it is worth noting that riding on someone else’s Wi-Fi without permission is a legal problem in many places, not just rude.
Step 4: Set Guest Network Security and Isolation
This is the step that makes a guest network worth having. Find a toggle called Network Isolation, Client Isolation, AP Isolation, Guest Isolation or “Allow access to local network” and turn it on.
With isolation enabled, guests can reach the internet but not your main network: no shared folders, no network printer, no NAS, no local camera feeds, no smart-home hub. If the setting is phrased as “Access to local network”, turn it off.
Some routers isolate by default and hide the switch. On others, if you cannot find any isolation option at all, save the settings and run a quick test in Step 6 before you hand out the password.
Step 5: Choose What Guests Can Access
A guest network is not the same thing as a second Wi-Fi band, and it is not the same thing as a VLAN either. A 5 GHz or 6 GHz band is just a different radio on the same network, so anything on it can still see your printer. A guest SSID with isolation on is a genuinely separate segment.
If you want guests to reach the internet only, leave local network access denied. Some routers also offer a bandwidth cap, which is worth setting: the guest network shares your total connection, so four people streaming on the guest SSID can drag down the video call happening in the other room.
Two more worth setting if your router offers them: a maximum device count, and a schedule or time limit that shuts the guest network off overnight.
One warning before you move anything else across. Smart-home devices frequently refuse to join an isolated guest network. Matter, Thread, HomeKit, Chromecast and Sonos gear usually looks for a network on which it can discover local services, and isolation blocks that discovery. For most households the right pattern is the reverse of what people assume: guests on the guest SSID, smart-home devices kept on the main network.
Step 6: Save, Reconnect and Test the Network
Save or apply the changes. The router will usually reboot its radios, which drops everything on Wi-Fi for twenty to forty seconds, so expect a short interruption.
Then test it properly rather than assuming. Connect a phone to the new guest SSID with the new password and confirm two things: a web page loads, and your main network’s devices are unreachable.
Try opening your NAS or printer’s web interface by typing its local IP address. If it loads, isolation is not working and you need to go back to Step 4. On iOS, open the Settings app, tap the (i) beside the guest network and check the IP and router values. A guest device should sit on a different subnet from your main network, often 192.168.1.x while the main is 192.168.0.x.
If your router or ISP app can generate a QR code, use it. People on r/HomeNetworking ask for this constantly because scanning beats spelling out a fifteen-character password, and a printed card on the table ends the “what’s the Wi-Fi password?” conversation for good.
Common Mistakes
Reusing the main password. The whole point is separation. If the guest password equals your main one, a leaked credential opens both networks.
Thinking a second band is a guest network. Splitting into 2.4 GHz and 5 GHz, or adding a 6 GHz band, gives devices more speed. It does not block access to your devices. This is the single most common misunderstanding.
Not saving. Plenty of admin pages apply nothing until you hit Save or Apply at the bottom of the page. The guest SSID stays invisible until then.
Hiding the SSID. Turning off SSID broadcast hides the network name but does not make anything more secure, and it breaks devices that discover networks by name. Leave broadcast on.
Connected but no internet. This is the most reported guest-network problem on forums. The phone gets an address from DHCP but cannot reach anything, usually because the guest segment’s DHCP or DNS settings did not come through. Restart the router first. If it persists, set a manual DNS server in the guest network’s advanced settings, which is the fix that resolved it for several users in the snbforums threads.
Guest SSID vanishes after an update. A firmware update sometimes resets the guest radio to off. Re-check after every update.
Isolation off or missing. Some ISP-supplied pods have no guest feature at all. Users on r/QuantumFiber report being told plainly that guest Wi-Fi is unavailable and that a third-party router or access point is the way around it. On those networks, put a router behind the ISP box in access point mode, disable DHCP on the ISP box, and create the guest SSID on your own router instead.
A few habits worth keeping: change the guest password when someone leaves, update firmware a couple of times a year, and log into your admin page occasionally to review the connected device list for anything you do not recognise.
Frequently Asked Questions
Is guest Wi-Fi safer than giving visitors my main Wi-Fi password?
Yes. A guest network puts visitors on a separate segment, so a compromised guest laptop cannot scan your network, reach a shared folder or hit your printer. Changing the guest password afterwards does not touch a single device of yours. Sharing your main password means anyone holding it can also reach your NAS, cameras and smart-home hub, and you cannot revoke it without reconnecting everything.
Can smart-home devices and security cameras be added to a guest network?
Usually not, and trying is a common source of frustration. Matter, Thread, HomeKit, Chromecast and Sonos devices often need local discovery, which network isolation blocks, so they fail to pair or drop out. Keep smart-home gear on your main network and give only people the guest SSID. If you want extra separation for untrusted devices, look for a router that supports a separate IoT network or VLAN.
What is the difference between guest Wi-Fi and a separate Wi-Fi band?
A band is a radio frequency, not a security boundary. Splitting 2.4 GHz, 5 GHz or 6 GHz only changes speed and range, and devices on either band can still reach your printer and shared files. A guest network is a separate logical network with its own name, password and IP range, and isolation on the router blocks traffic between it and your main network. That is the difference that matters.
Where is the guest network option in my Xiaomi or TP-Link router?
On Xiaomi routers, open the Xiaomi Home app, tap your device, then Wi-Fi and Guest Wi-Fi. On TP-Link routers using the Tether app or the web admin page, go to Wireless, then Guest Network, where you can set the name, password, encryption and access limits. ASUS calls it Guest Network under Wireless, Netgear puts it under Settings in the Nighthawk or Orbi app, and ISP modems usually expose it through the ISP’s own app.
How do I change or remove a guest Wi-Fi password?
Go back into your router’s admin page or app, open the guest network settings, clear the password field and type the new one, then save. Many interfaces show the saved password in plain text or let you generate a QR code from that same screen, which saves you typing it out for visitors. To remove guest access completely, switch the guest network off rather than deleting it, so you can re-enable it in one tap next time.
What should I do if my router does not have a guest network setting?
Check for firmware updates first, since some features only appear after an update. If it is still missing, buy a second router and run it in access point mode behind the ISP box, with DHCP disabled on the ISP side, then create the guest SSID on your own router. Small travel routers work well for this. If your setup is set up by an app only and you cannot reach a browser admin page, the ISP app or their support line is the fastest route.
Conclusion
Start by opening your router’s admin page at 192.168.1.1 or 192.168.0.1 and finding Wireless or Guest Network settings. Enable a separate SSID with its own name, set WPA2 or WPA3 with a strong password, and turn on client isolation before you hand the details to anyone. Then connect your own phone and confirm you can reach the internet but not your printer.
Labels differ between Xiaomi, TP-Link, ASUS, Netgear and ISP interfaces, so expect to hunt for the setting named Guest Network, Guest Access or Guest Zone. Update the firmware first, since that alone sometimes reveals the option.