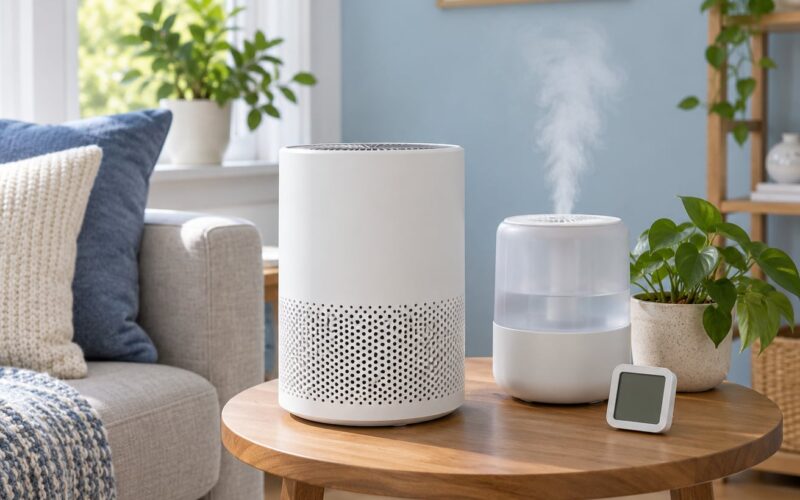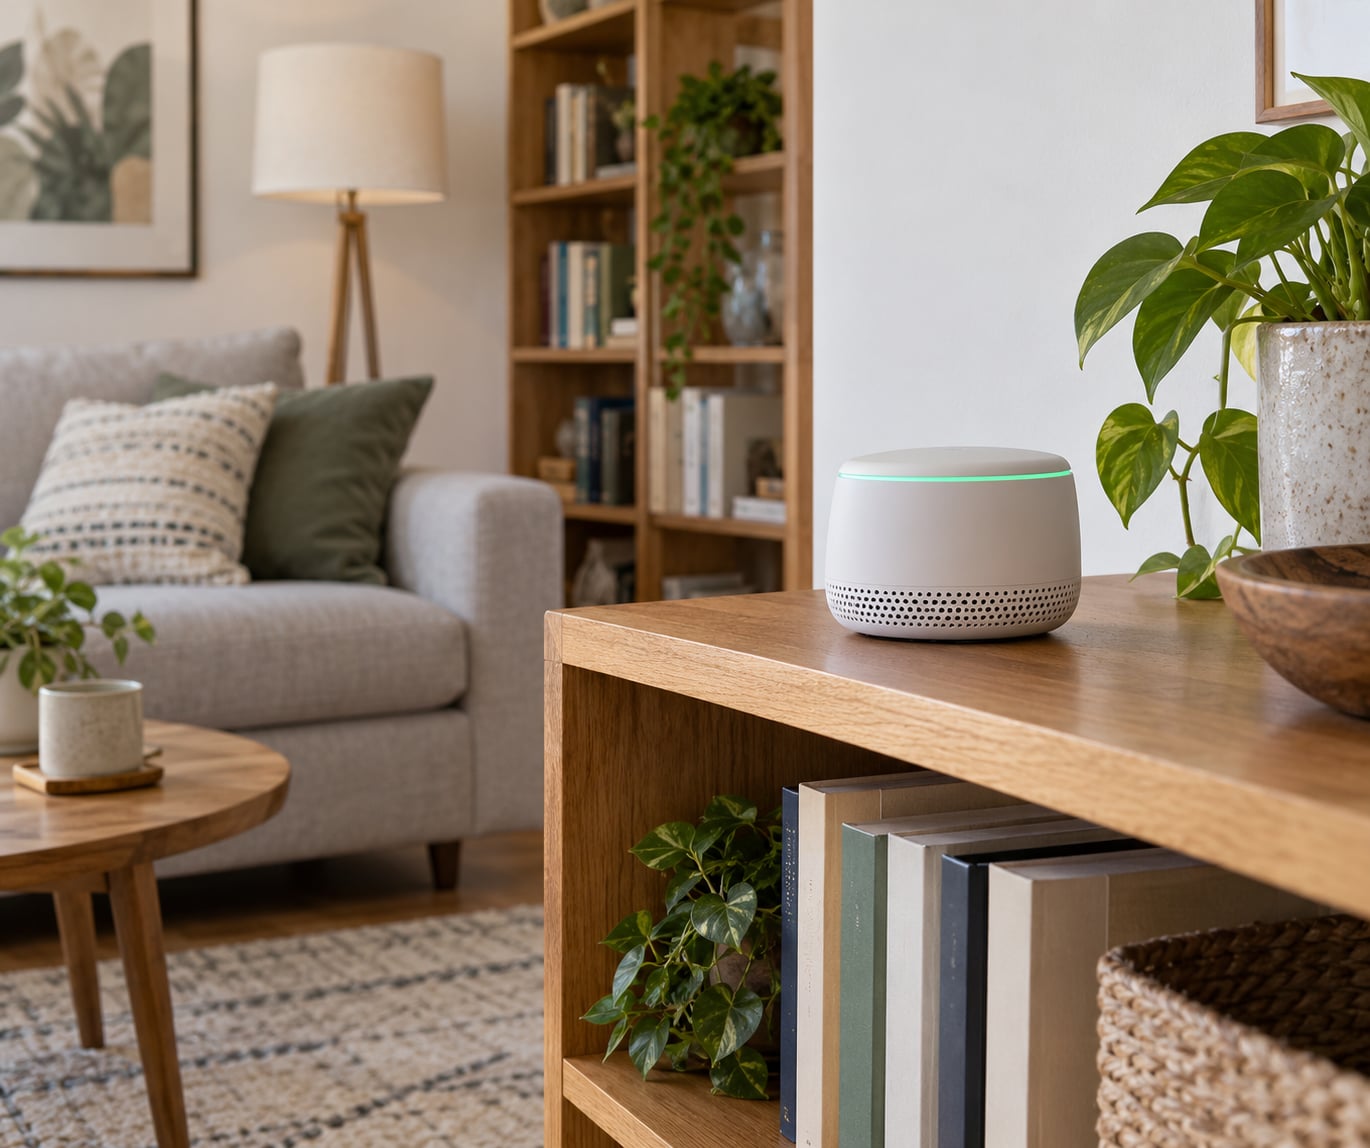
Learning how to use an air quality monitor at home comes down to placement and patience, not to a complicated setup. The device is a small box that continuously measures what is in the air of one room, so you can stop guessing and start acting on numbers. Used the way most people do it wrong, it is a blinking light that creates anxiety. Used properly, it is a two-week habit that tells you whether opening a window worked, whether your purifier is doing anything, and which room of your home needs attention first.
The whole method comes down to four things: put it in a room you actually live in, leave it alone long enough to learn what normal looks like there, read the numbers in the right units, and change one thing at a time. Most of what people find disappointing about these devices comes from skipping one of those steps. Here is the sequence that works, updated for 2026.
Table of Contents
- What You Need to Use an Air Quality Monitor at Home
- Step-by-Step
- 1. Choose the Right Monitor for Your Needs
- 2. Place the Monitor in a Representative Room
- 3. Turn It On and Set the Baseline
- 4. Read the Main Measurements Correctly
- 5. Compare Readings Over Time
- 6. Take Practical Action When Readings Rise
- Common Mistakes
- Frequently Asked Questions
- Where should I place an air quality monitor in my home?
- How long should I run an air quality monitor before trusting the results?
- Does a high carbon dioxide reading mean my home is unsafe?
- Can an air quality monitor detect wildfire smoke or carbon monoxide?
- What is a good indoor humidity level for a home?
- When should I call a professional instead of relying on a consumer monitor?
- Start With a Simple Baseline
What You Need to Use an Air Quality Monitor at Home
You need surprisingly little, which is one reason this is a good project to start on a quiet weekend.
- A monitor that measures what you actually care about. Particles and carbon dioxide are the two channels most people end up using, but a humidity sensor is close behind.
- Its app, or a clear display. The on-device number is for a quick glance. The app’s trend graph is where the real information lives, so pair it with your phone early.
- A stable surface at roughly chest to head height, or a shelf or mount at about 10 feet. Somewhere with no vibration and no direct sun.
- A rough sense of how your home ventilates. Which rooms have windows that open, where the return vent is, whether the bathroom or kitchen has an exhaust fan that actually works.
- A way to record readings. A note in your phone, a shared spreadsheet, or the app’s own history export. Three weeks of history is where patterns start to show up.
Step-by-Step
1. Choose the Right Monitor for Your Needs
Match the sensors to the question you want answered, and skip anything you will not use. A particle sensor plus a carbon dioxide sensor covers the large majority of home situations, and humidity is worth having if you are fighting condensation or a musty smell.
Here is what each channel actually does for you, and where it stops being useful.
| Measurement | Unit | Comfortable range | What it cannot tell you |
|---|---|---|---|
| PM2.5 fine particles | micrograms per cubic meter | Under 12 | Whether the particles came from a candle, cooking or smoke outdoors |
| PM10 coarse particles | micrograms per cubic meter | Under 35 | Dust composition or whether dust is the source |
| Carbon dioxide | parts per million | Under 800 above outdoor | Any pollutant at all, including smoke or mold |
| Total VOCs | micrograms per cubic meter | Wide, and often relative | Which specific chemical is present |
| Relative humidity | percent | 30 to 50 | Moisture trapped inside walls or in ductwork |
| Carbon monoxide | parts per million | Under 9 for an 8-hour average | Nothing, provided you have a working listed alarm as well |
Two honest caveats. Low-cost VOC sensors often report relative change rather than a true concentration, so treat a rising number as a prompt to go looking for a source, not as a measurement to quote. And carbon dioxide monitors fall into two very different groups: true NDIR sensors using infrared detection, and eCO2 models that infer carbon dioxide from volatile compounds and drift badly. If carbon dioxide is the number you plan to act on, pay for NDIR.
Members of r/PassiveHouse consistently recommend starting with PM2.5 and treating VOCs as a bonus, and that matches how most households use these devices.
2. Place the Monitor in a Representative Room
Put it in the room where people spend the most time, at breathing height, away from direct sun, windows, supply and return vents, appliances, and any draft. Home automation regulars on r/homeassistant put the sensor roughly 10 feet off the floor and clear of obstructions for good reason: it keeps it out of the plume the device’s own electronics and any nearby heat source create.
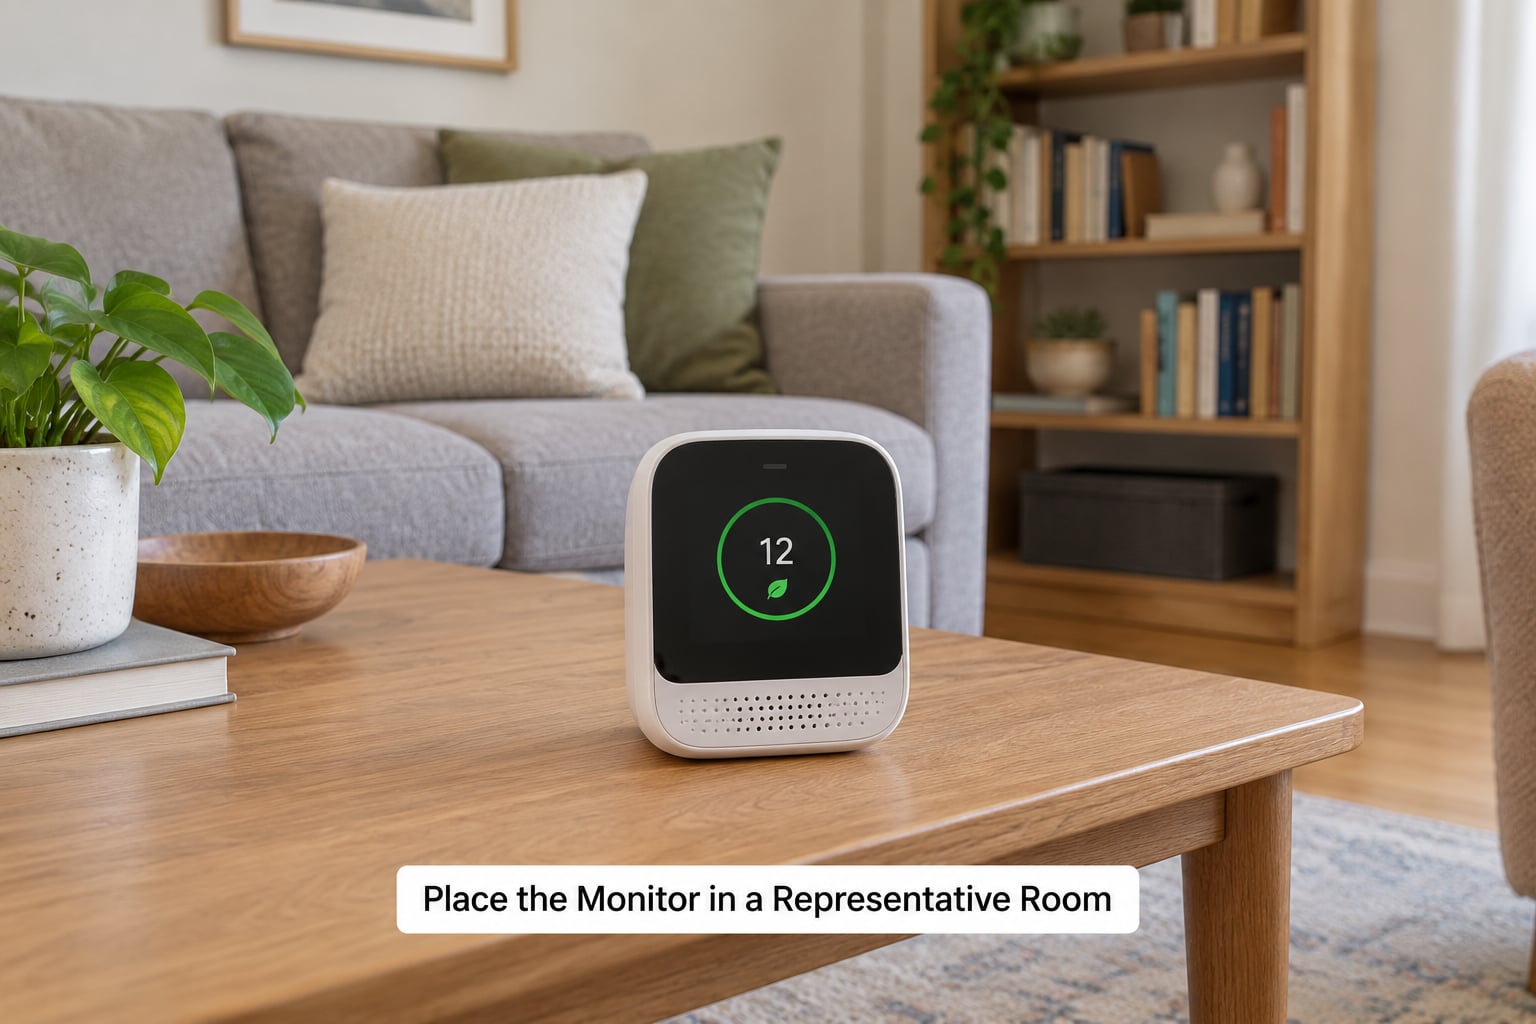
The specific placement rules:
- Choose the room with the most hours of occupancy, not the emptiest or biggest room.
- Keep it at least 3 feet from a supply or return vent, and from any doorway where air rushes.
- Stay clear of windows that stay open, and of any spot where afternoon sun lands directly.
- Avoid the kitchen. Steam, oil smoke and cooking aerosol will dominate every reading and tell you about dinner, not about your air.
- Avoid the bathroom unless humidity is the specific thing you are chasing.
- Keep it off the floor and out of corners where dust settles and air stagnates.
- If you care about a bedroom, use a second device there rather than trusting a living room reading after hours.
Moving the device resets the baseline. Treat any relocation as the start of a new observation period.
3. Turn It On and Set the Baseline
Install the batteries or power supply, update the firmware before pairing, then connect it to your app and set your units and alert thresholds. Give it at least 24 hours before you judge it, and a full week before you draw conclusions.
The first three to five days are calibration in every sense. Carbon dioxide sensors need to see fresh outdoor air to lock onto their true reference, which is roughly 420 ppm on a normal day, so open a window in that room once during that period. Some devices ship with the history function already running and others need you to turn it on, and some free app tiers cut it off after a week, which is exactly the window you care about.
Write down three numbers from those first days: your overnight carbon dioxide minimum, your daytime particle baseline, and your lowest humidity reading of the week. Those become your house’s normal.
4. Read the Main Measurements Correctly
Match each number to the standard it belongs to. Mixing an AQI index with a concentration figure is the single most common source of confusion, and it turns a manageable reading into a crisis.
Here is the range-by-range version, with the action attached to each band.
| Reading | Good | Watch | Act |
|---|---|---|---|
| PM2.5 in micrograms per cubic meter | 0 to 12 | 12 to 35 | Above 35, find the source and ventilate |
| PM10 in micrograms per cubic meter | 0 to 35 | 35 to 150 | Above 150, dust or smoke is present |
| CO2 in parts per million | 400 to 800 | 800 to 1200 | Above 1200, add outdoor air |
| Relative humidity | 30 to 50 | 50 to 60 | Above 60 continuously, run a dehumidifier |
| EPA AQI outdoors | 0 to 50 | 51 to 100 | Above 100, close windows when outdoors is worse |
AQI is an index on a 0 to 500 scale built by the US EPA from six outdoor pollutants: ozone, PM2.5, PM10, carbon monoxide, sulfur dioxide and nitrogen dioxide. It is not the same thing as PM2.5, which is a concentration with its own unit. A consumer monitor usually shows the concentration, not the index.
For carbon monoxide specifically, a monitor is a useful early warning and never a replacement for a listed alarm on every level, near every bedroom, checked for the test button.
5. Compare Readings Over Time
Single numbers tell you almost nothing. Peaks are normal and usually innocent; what matters is whether the floor of your day has drifted upward or whether the same room keeps spiking at the same time. This is the step where most people who feel they know how to use an air quality monitor at home actually separate useful data from noise.
Compare your current week to last week, and match every spike to an event in your household: cooking dinner, spraying cleaner, running the vacuum, burning a candle, sleeping with the door closed, opening the windows. A sharp carbon dioxide climb that falls within twenty minutes of the window opening is ventilation working. A particle spike that returns to baseline before you leave the kitchen is dinner, not a leak.
Overnight readings deserve their own note. Bedrooms hit 1,000 to 1,500 parts per million and beyond in a closed room, and owners on r/hvacadvice have posted about this repeatedly without knowing whether the device was faulty. It is normal physiology. A sleeping adult exhales enough carbon dioxide to climb those numbers in a sealed room, and the reading is telling you about ventilation, not about broken hardware.
Export the history once a week. Comparing a chart from a different season, a different room or a different device tells you nothing.
6. Take Practical Action When Readings Rise
Work through this in order rather than reacting to the number itself.
- Identify the source. Particles near a kitchen, carbon dioxide climbing as the sun sets, humidity after a rain event.
- Check outdoor conditions first. If the outdoor AQI is poor, opening a window makes the indoor number worse. Purify or wait instead.
- Ventilate when the outdoor air is cleaner. A window for ten minutes usually beats an hour of purification for carbon dioxide.
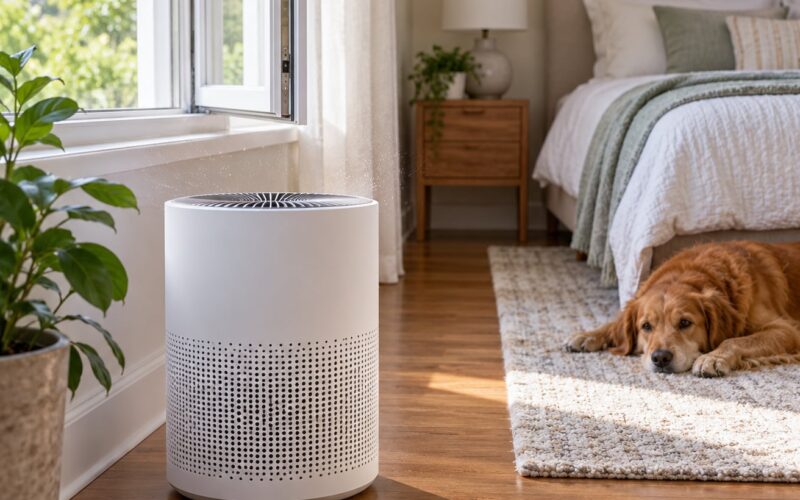
- Run a purifier on high for particles. Set it in the room, close the doors, and leave it running.
- Attack humidity directly above 60 percent on a sustained basis. Mold growth becomes a real concern as relative humidity climbs past 70 percent, so a basement bedroom sitting at 72 percent all winter deserves a dehumidifier.
- Change one thing at a time and give it a week.
- Escalate when carbon monoxide alarms, when readings stay elevated for weeks after a change, or when a musty smell appears and never fully clears.
Automation communities take this a step further, wiring thresholds straight into fans and purifiers so a spike triggers action without you watching the app. It works well once your numbers are stable, which is another argument for the baseline habit.
Common Mistakes
Testing in an empty, closed room. A house with nobody in it produces flat, uninformative readings. You want the room you actually use.
Sitting next to a vent or a sunny windowsill. Both produce readings that describe the vent or the sunbeam rather than the room.
Comparing your indoor number to an outdoor app. Different scales, different units, different locations. Indoor carbon dioxide has no outdoor equivalent, and outdoor particle events travel indoors in minutes.
Panicking over a ten-minute peak. Cooking, cleaning products and candles all spike hard and clear fast. Only sustained elevation or a rising overnight floor tells you something worth changing.
Treating a consumer monitor as a lab result. EPA research has found many low-cost sensors inaccurate and short-lived, and forum users regularly report two cheap units disagreeing wildly. Cross-check occasionally, never assume the digits are exact, and keep working to real standards where health is involved.
Expecting a monitor to detect mold, radon or asbestos. It cannot. Humidity trends hint at mold risk and nothing more, and a musty smell calls for professional testing.
Never checking week two. The first three days teach you almost nothing. The value arrives when the app shows the same pattern three Mondays in a row.
Frequently Asked Questions
Where should I place an air quality monitor in my home?
Place it in the room where people spend the most hours, at breathing height or about 10 feet off the floor, away from direct sunlight, windows, supply and return vents, and heat sources. Keep it clear of the kitchen and bathroom unless humidity is the specific problem you are chasing. A stable surface with airflow reaching it beats a spot tucked into a corner.
How long should I run an air quality monitor before trusting the results?
Give it at least 24 hours before forming any opinion and a full week before drawing conclusions. The first three to five days are calibration, especially for carbon dioxide sensors that need exposure to fresh outdoor air near 420 ppm to lock on. Patterns that repeat across a second week are the ones worth acting on.
Does a high carbon dioxide reading mean my home is unsafe?
Not unsafe, but under-ventilated. Outdoor air sits near 420 ppm, so 800 ppm indoors suggests a moderate ventilation rate and readings above 1,200 ppm mean fresh air is needed. Overnight figures of 1,000 to 1,500 ppm in a closed bedroom are normal physiology for sleeping adults, not a fault in the sensor or a danger.
Can an air quality monitor detect wildfire smoke or carbon monoxide?
Smoke shows up clearly as a particle spike, and a filtered purifier will bring it back down. Carbon monoxide is a different story: check whether the model has a dedicated CO sensor, and treat it as an early warning only. A listed CO alarm on every level near every bedroom remains the requirement.
What is a good indoor humidity level for a home?
Between 30 and 50 percent relative humidity. Sustained readings above 60 percent invite condensation and mold, and growth accelerates past 70 percent. Below 30 percent, wood floors and furniture can swell and crack, and dust tends to circulate more readily.
When should I call a professional instead of relying on a consumer monitor?
Call a professional when there is a musty smell that never clears, visible mold, a water leak or flooding, or a renovation involving asbestos or lead. Radon needs its own dedicated testing since no consumer device measures it. Persistent readings after ventilation changes also deserve an inspection rather than more data gathering.
Start With a Simple Baseline
Put the monitor in the room you use most, leave it for a week, and write down your three normal numbers: the overnight carbon dioxide minimum, the daytime particle baseline and the lowest humidity of the week. Then look for the same spike on the same day of the same week, and change one thing about it.
That is the whole method, and getting it right is what separates a monitor that sits on a shelf gathering dust from one that changes how you run your house. The rest is detail, and the detail only matters once you have a baseline to compare against.