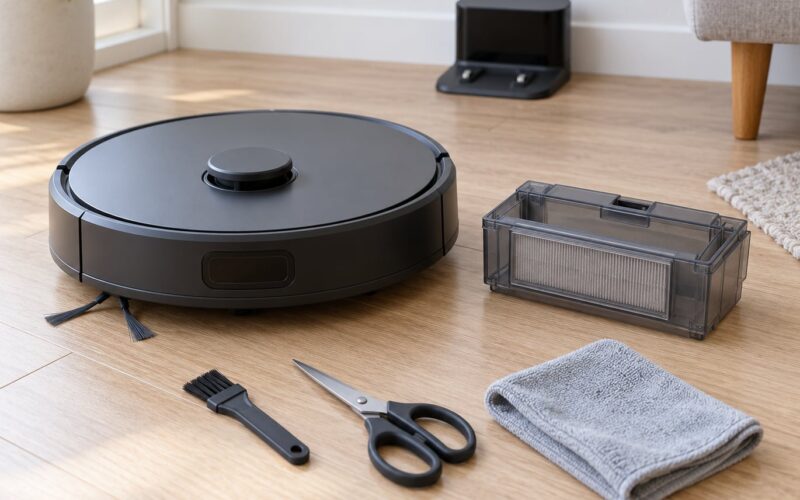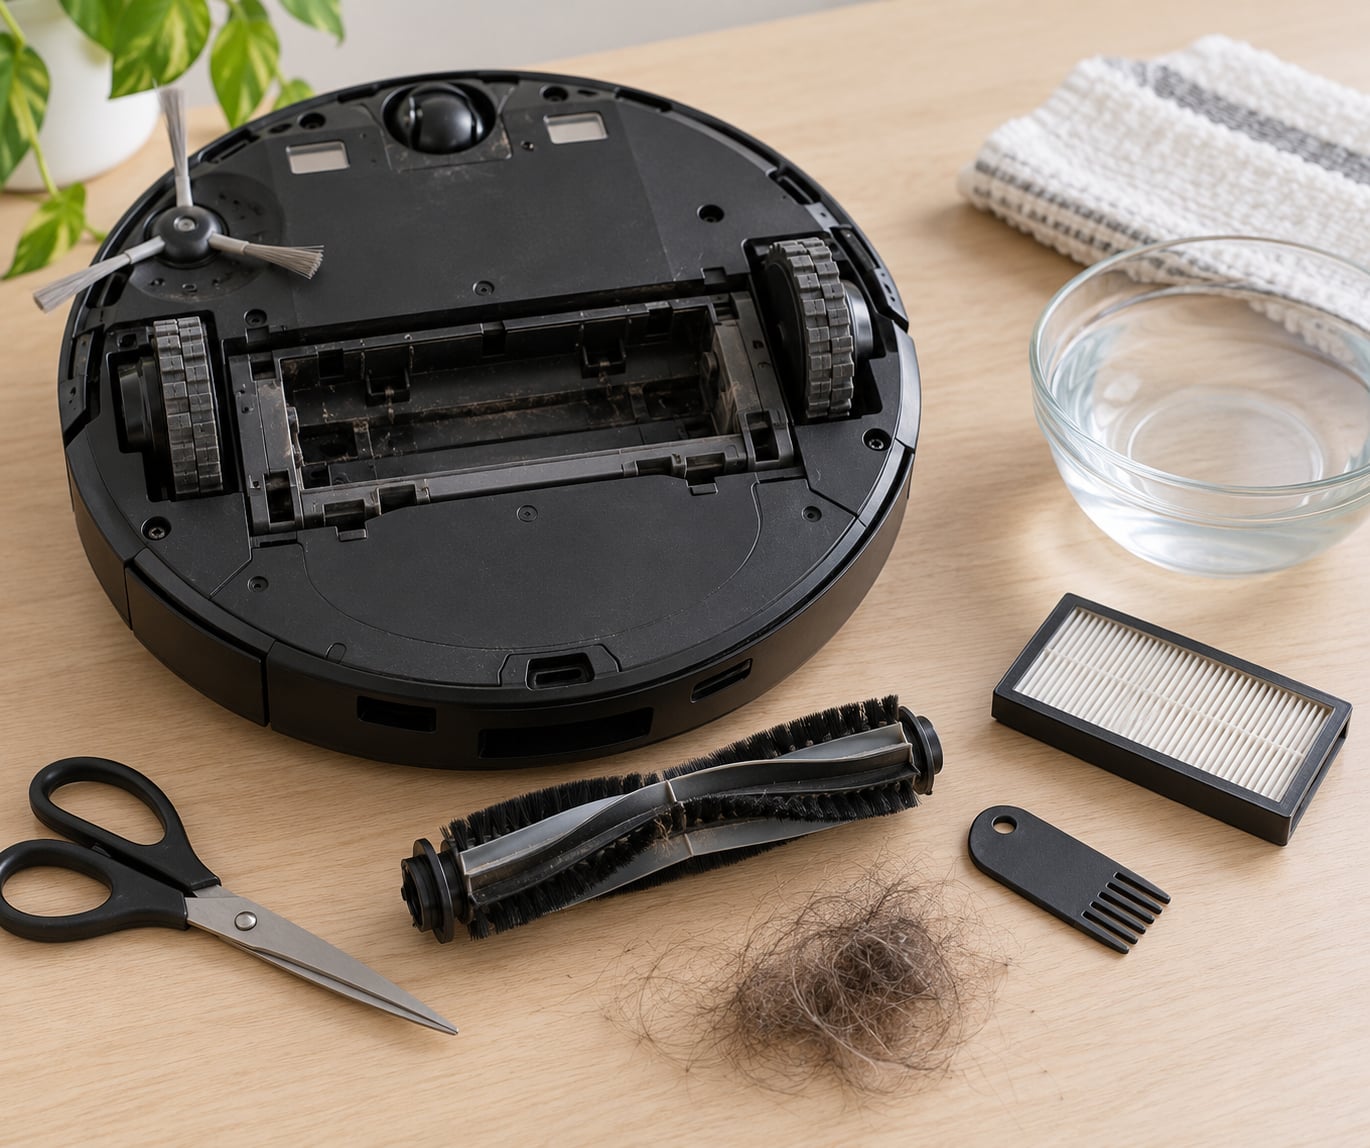
How to clean robot vacuum brushes and filters comes down to three things: cut the hair off the main roller, clear the dust path between the brush and the bin, and clean or dust the filter by its type. Ten minutes of work, plus drying time, restores airflow and removes most error messages. Exact access points and filter types vary by model, so the manual is the last word.
Hair is the usual culprit. It wraps around the roller and the brush ends, forms a felt-like mat in the brush chamber, and then blocks air before it ever reaches the filter. A robot that picks up crumbs and misses a whole room of dust is telling you its airflow is restricted, not that it needs replacing.
The awkward part for most owners is the brush chamber, not the brush itself. Owners on r/RobotVacuums keep pointing at the joint where the brush meets the motor as the spot they can never reach, and they are right: that is where string and pet hair bind into a hard sleeve. A second look there with a soft brush solves most complaints that come back a week later.
Table of Contents
- What You Need
- Step-by-Step: How to Clean Robot Vacuum Brushes and Filters
- 1. Turn Off and Release the Brush Assembly
- 2. Clean Robot Vacuum Brushes: Cutting Hair Off the Main Roller
- 3. Clean the Side Brushes and Brush Housing
- 4. Clean the Robot Vacuum Filter According to Its Type
- 5. Dry, Reassemble, and Test Suction
- Common Mistakes
- Maintenance Schedule and Troubleshooting
- Frequently Asked Questions
- Can I wash my robot vacuum filter?
- How often should I clean robot vacuum brushes and filters?
- What is the best way to remove long hair from a robot vacuum brush?
- Why does my robot vacuum smell bad even after cleaning?
- Can I use vinegar or floor cleaner to clean my robot vacuum filter?
- Why does my robot vacuum say clean brushes when the brushes look clean?
- Conclusion
What You Need
The tool list is short, and most households already own three of the four items.
- Scissors or a seam ripper for cutting wrapped hair off the roller. A dedicated cleaning cutter with a guard is nicer, but a pair of sharp scissors works if you keep the blades pointing away from your fingers.
- A soft-bristle brush or toothbrush for the brush chamber, suction port, and the dust bin strainer.
- A microfiber cloth for wiping the sensors, charging contacts, and the outside of the bin.
- Access to cool tap water and mild dish soap — only if your filter type allows washing.
- A soft brush or comb supplied with the robot, which is usually clipped into the dust bin or stored in the dock.
A few optional extras speed things up. Canned air helps with a filter you cannot wash, though hold the can at least 20 cm away and never blast into the pleats at point-blank range. Isopropyl alcohol on a cotton swab cleans cliff sensors, infrared windows and charging contacts. Old toothbrushes work; new ones are not necessary.
Before anything else, check the manual for two things: how the brush assembly releases, and whether your filter is washable. One is usually a tool-free latch; the other is a plastic frame or paper label in your filter’s housing. Brush heads with an electric motor inside, and any fixed housing under the brush, must not be immersed.
Step-by-Step: How to Clean Robot Vacuum Brushes and Filters
1. Turn Off and Release the Brush Assembly
Send the robot back to its dock, then press the power button until it powers down completely. A robot left on can restart mid-clean and drive off with the underside open. Lift it out of the dock and turn it over on a towel or a sheet of paper so you catch whatever falls out.
Unlock the underside cover. Most models use one or two sliding latches or a captive screw; self-emptying models with a hinged cover may need the bin removed first. Slide the main roller out along its axis, gently. If it resists, stop and look for a second latch rather than levering on the bristles. You are finished when the roller sits free in your hand and the empty chamber is visible.
2. Clean Robot Vacuum Brushes: Cutting Hair Off the Main Roller
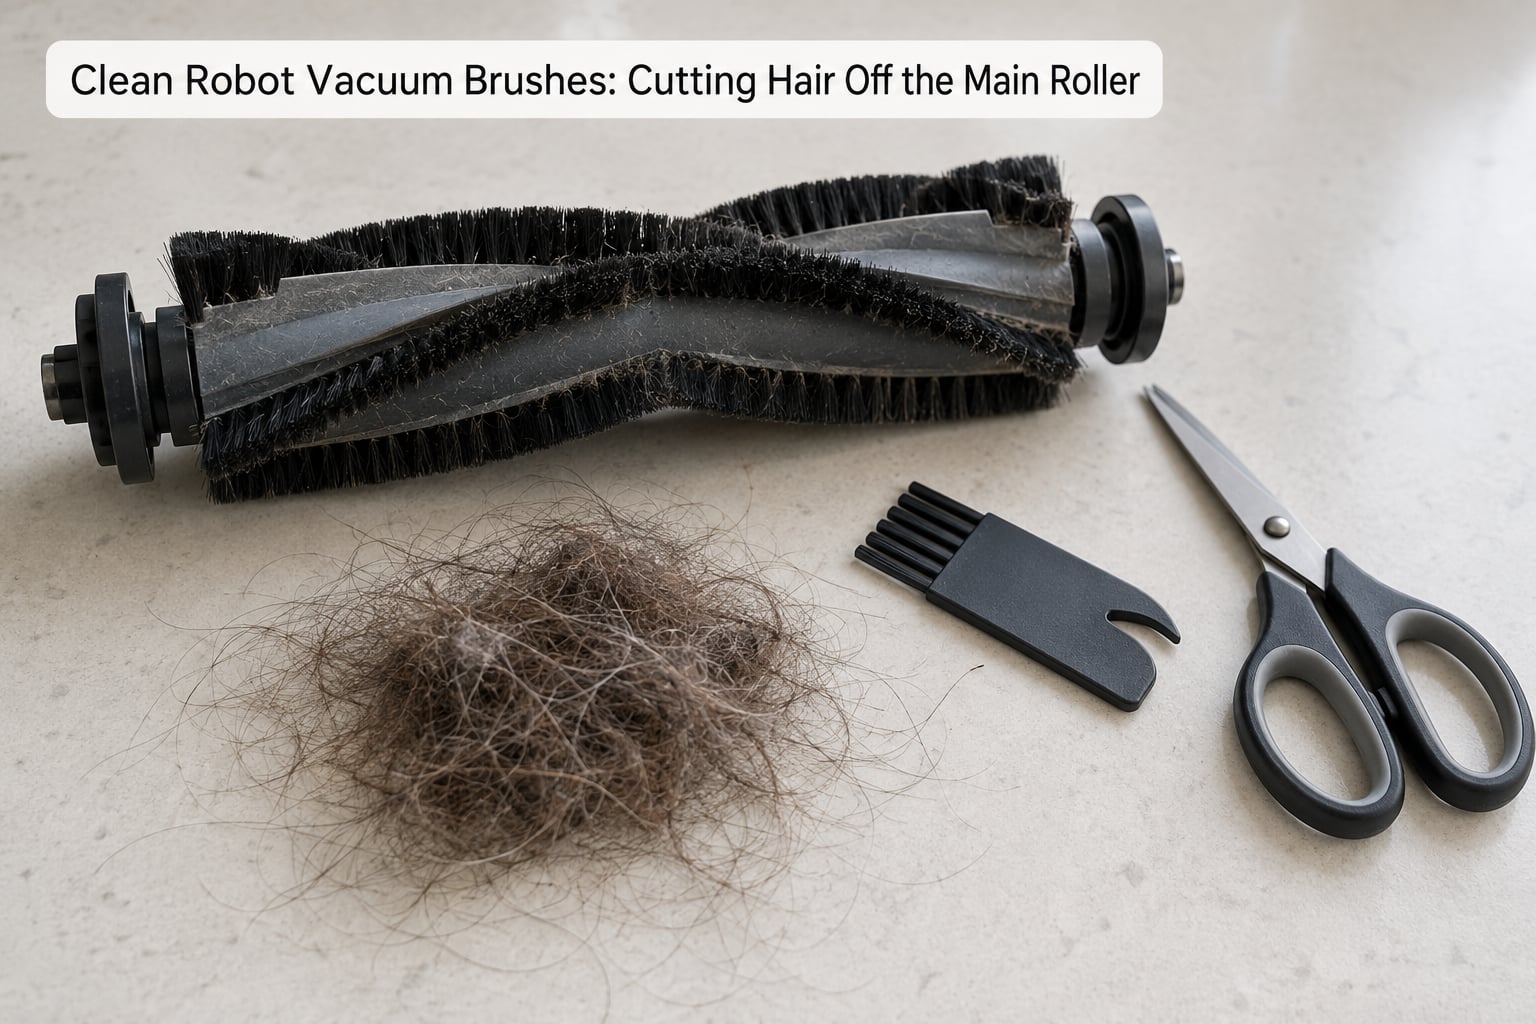
Hold the roller in one hand with the scissors closed, blades down and pointed away from you. Cut into the hair mat a few centimetres from the roller rather than trying to peel it off, then lift the pieces away. Peeling tightens the wrap and can yank bristles or crack the rubber fins on bristle-free rollers.
Rotate the roller a quarter turn and repeat until no felt remains anywhere along the barrel. Run your fingertips along the length of it — a quick look catches lumps the eye misses.
Now go back to the part you skipped: the ends, where the brush meets the motor and the bearing. Hair wraps there tighter than anywhere else on the robot, and it is the joint owners consistently describe as the hardest to reach. Use the pointed end of the comb to tease the bundle out. When the barrel and both ends are visibly clean, move on.
3. Clean the Side Brushes and Brush Housing
Unscrew the side brushes from their posts, usually by hand or with the hex key that came in the box. Wind the hair off in the same direction the bristles sweep, cutting a tight wrap at the hub first. The bristles bend outward after a while, which is normal; a warm hairdryer held at a distance for a few seconds straightens them back into shape.
While the housing is open, clean the chamber, the suction port and the rubber squeegee at the edge of the intake. Vacuum or brush out the dust, and check for strands of cord wound around the side brush posts. Never immerse the housing or the brush head; a damp motor housing is a dead robot.
4. Clean the Robot Vacuum Filter According to Its Type
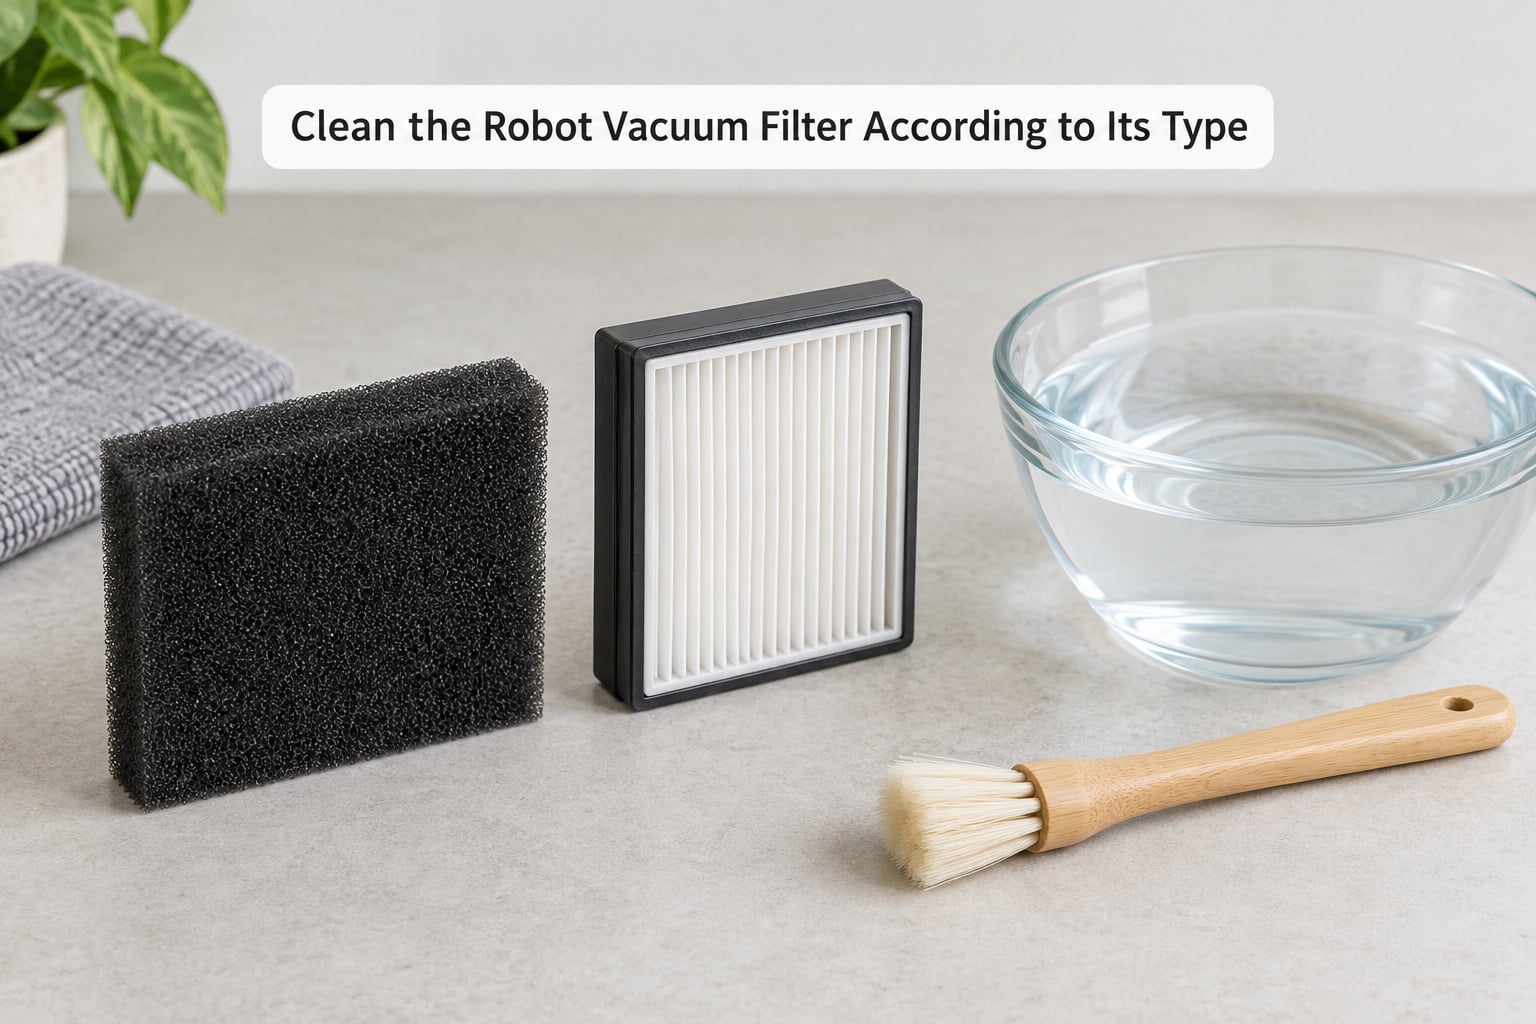
Most robot vacuum filters are washable, but not all of them. Foam filters and some cartridge-style filters are fine in cool tap water and a drop of mild dish soap. Pleated HEPA filters are usually dry-clean only, because water damages the media and the sealing ring — check the frame, the manual or the manufacturer before you immerse anything.
For a washable filter, rinse it under cool running water, work a drop of mild soap through it, and let it soak for about 15 minutes. Rinse again until the water runs clear. Squeeze out the water in a towel and air dry it on a rack with the filter face open to the air. Most manufacturers ask for 24 hours, and running a damp filter back into the machine is the fastest route to a bad smell.
For a dry-clean-only HEPA filter, hold it to a light and tap the dust off outdoors, then use a soft brush to work dust out of the pleats. A vacuum held an inch away draws debris out without driving it deeper. Light rinsing of a paper-frame HEPA filter without removing the frame is the most that many manufacturers permit.
The dust bin holds its own filter in a mesh sleeve or under a plastic screen, and the bin often lifts out without emptying the robot. Empty it, wash the bin if its material allows, and wipe the strainer with a cloth. On self-emptying models, the dock is where the smell hides: pull out the cyclone or filter cartridge, clear the chute, and empty the sealed bag or bin underneath.
5. Dry, Reassemble, and Test Suction
Reassembly only starts once every washable part is completely dry. Fit the main roller back onto its shaft, run the free end under both clips, and push until the end caps seat flush. A roller that does not click in properly triggers a clean-brushes warning every single run.
Reattach the side brushes, drop the filter back into its housing, slide the cover shut, and seat the robot on its dock. Check runtime in the app or on the display: a recovered run time of 20 to 30 percent longer than the previous run is a reliable sign that airflow is back. Then run a short clean and look behind it. Roll the roller in your hand — it should spin evenly without a bump or a dragging spot. Replace rather than clean when the bristles are splayed flat, the rubber fins are cracked or missing, or the filter is torn, yellowed and stiff.
Common Mistakes
Six habits cause nearly all the damage people report, and each has a simple fix.
- Cutting toward the roller. Blades pointed at your fingers turn a ten-minute job into a cut. Hold the scissors closed and cut into the mat from the outside instead.
- Washing a filter the manual says not to wash. Water breaks down some HEPA media and the seal around it. When the manual is silent, use the dry method; it is slower but it cannot damage the filter.
- Using vinegar, bleach or floor cleaner. leaves a residue that clings to the filter and gets released as odour later. Cool water and a drop of mild dish soap is enough.
- Reassembling while parts are still damp. A wet filter and a wet bin are the number one source of musty smells that appear a week after a clean.
- Skipping the dock and the bin. With a self-emptying base, the cyclone filter and the chute collect fine dust that never reaches your robot. Users report pulling all sorts of household debris out of a dock suction tube that had never been opened.
- Stopping after the visible bristles. The motor-side joint and the suction chamber keep working even when the barrel looks clean.
Never boil a filter, never submerge a brush head with a motor inside, never spray cleaner onto the robot, and never spray or pour water near charging contacts.
Maintenance Schedule and Troubleshooting
Weekly is a floor, not a ceiling. Households with pets, long hair or thick carpet need shorter intervals, and anyone who skips cleaning for a month notices the results within a week or two.
| Component | How often | Job |
|---|---|---|
| Main roller brush | Weekly, or twice weekly with pets | Cut off hair, check both ends and the motor joint |
| Side brushes | Weekly | Remove hair, reshape bristles |
| Brush chamber and suction port | Every 2 weeks | Brush out dust and debris |
| Dust bin and strainer | Every 2 to 3 runs | Empty, wipe, check the mesh screen |
| Washable filter | Every 1 to 2 months, or when suction drops | Wash with mild soap, dry 24 hours |
| Dry-clean HEPA filter | Monthly | Tap out dust, brush the pleats, vacuum lightly |
| Self-emptying dock filter and chute | Every 4 to 6 weeks | Clear the cyclone, empty the station bin or bag |
| Cliff sensors, infrared ports, charging contacts | Monthly | Wipe with a dry cloth, swab with isopropyl alcohol |
| Filter replacement | Every 6 to 12 months | Replace when torn, stiff, discoloured or past its airflow test |
| Mop pad (combo models) | After every mopping run | Remove, wash, dry flat |
When something still feels wrong, match the symptom rather than replacing parts.
| Symptom | Likely cause | Fix |
|---|---|---|
| Weak suction, debris left behind | Hair wrap in the chamber or a loaded filter | Clean the roller, chamber and filter as above |
| Error says clean brushes but brushes look clean | Bristles tangled at the motor end, a side brush hub wound with cord, or a worn brush | Open the housing and inspect the ends and posts, not just the barrel |
| Filter clogged message when the bin is removed | Blocked strainer or screen under the dust bin | Clean the strainer and mesh sleeve, then the filter |
| Bad smell after cleaning | Damp filter, residue in the bin, or a dirty dock cyclone | Let parts dry fully, wash the bin, clean the dock cartridge |
| Will not dock or charges intermittently | Dust and hair on charging contacts | Wipe the contacts on robot and dock with a dry cloth |
| Short runs, or a diminished return after a clean | Worn filter seal, cracked gasket or failing suction fan | Replace the filter; if suction stays weak, treat it as a service issue |
A useful clean-versus-replace test: hold the filter up to a bright light. Strong daylight or a flashlight should be clearly visible through it, and it should feel flexible rather than stiff and brittle. Filter lifespan depends on carpet, pets and how often you run the robot, so a paper-thin media that fails airflow at four months is more likely than one that lasts a year.
Model notes, since readers here often own Xiaomi units. Xiaomi and Roborock robots typically use a tool-free brush latch and a cartridge filter that is marked washable, while iRobot Roomba filters usually carry a plastic frame and should be dry-cleaned unless the manual says otherwise. Shark and Dreame units often hide a second filter in the dust bin or behind the bin latch. Whatever the brand, the same five steps apply, and the same manual check does more than any brand-specific trick.
Frequently Asked Questions
Can I wash my robot vacuum filter?
Only if the filter or vacuum manual says it is washable. Foam filters and some cartridges can be rinsed in cool tap water with a drop of mild dish soap and left to dry for a full day. Pleated HEPA filters are usually dry-clean only, because water damages the media and its seal. When you are unsure, hold a bright light through the filter and check the frame for a washable label.
How often should I clean robot vacuum brushes and filters?
Inspect the main brush weekly, more often if you have pets or long hair, and clean the filter every one to two months or any time suction drops. Empty the bin and wipe the strainer every few runs, and give the self-emptying dock a clean every four to six weeks. Follow those intervals and a robot rarely needs a filter replacement inside its first year.
What is the best way to remove long hair from a robot vacuum brush?
Switch the vacuum off and detach the brush following the manual. Cut looped hair away from the roller with sharp scissors held closed and pointing away from your fingers, then lift the pieces off instead of pulling them. Work around the barrel in quarter turns and finish at the ends, where hair binds tightest around the motor joint. A soft brush clears the loose strands afterwards.
Why does my robot vacuum smell bad even after cleaning?
A smell usually comes from hair and dust in the brush housing, residue in the dust bin, or a filter that went back in damp. Wet media develops an odour within days. Empty and wash the bin, clear the chamber, and let a washed filter air dry for a full 24 hours on a rack. Self-emptying owners should also clean the dock cyclone and chute, where fine dust collects unseen.
Can I use vinegar or floor cleaner to clean my robot vacuum filter?
Skip both. Vinegar and scented floor cleaners leave a thin residue in the filter media that releases as an odour later and can attract dust straight back. Cool water with a drop of mild dish soap handles a washable filter, and a dry filter only needs tapping, soft brushing and light vacuuming. Never spray cleaner onto the robot or near the charging contacts.
Why does my robot vacuum say clean brushes when the brushes look clean?
The warning is triggered by load on the brush motor, not by appearance. Hair wound tightly around the motor-side end of the roller, cord wrapped around a side brush hub, or a brush with flattened bristles all read as blocked even when the barrel looks clean. Open the housing and check the ends and posts first. If the brushes are new and the warning continues, clean the sensors and reset the robot.
Conclusion
Start with the two easy checks: switch the robot off and open the manual to confirm how the brush releases and whether your filter is washable. Work the order that matters — cut the hair off the roller before touching the filter, since a clean filter in a clogged chamber changes nothing. Give washable parts a full day to dry, put everything back in the correct order, and run a short test before you judge the result.