To clean a humidifier to prevent mold, unplug it, empty the tank, rinse every water-contacting part, soak them in a 1:1 mix of white vinegar and cool water for 15 to 20 minutes, scrub with a soft brush, rinse twice, then let every part air dry fully before you refill it. The whole job takes 20 to 30 minutes once you know which parts your model lets you open.
Most mold problems start with a tank that held water overnight. Water sitting at room temperature in a dark plastic basin is exactly the condition mold spores and bacteria need, and an ultrasonic or evaporative model then pushes that water into the air as mist. Rinsing the tank is not the same as cleaning it, either. A quick rinse leaves a film behind, and that film is what turns into the slime people find when they open a unit they have not touched for a month.
The routine below works for cool-water models, which covers most household humidifiers. Steam vaporizers and some filter-based units have their own restrictions, so read the manual before anything touches your particular machine. We still follow this procedure in 2026, and it has held up across desktop, whole-room and small desk units.
Table of Contents
- What You Need
- Step-by-Step: How to Clean a Humidifier to Prevent Mold
- Unplug and Empty the Humidifier
- Clean the Tank and Water-Bearing Parts
- Remove Mineral Buildup
- Disinfect Mold-Prone Areas
- How to Clean a Filter or Wick If Included
- Rinse, Dry, and Reassemble
- Common Mistakes
- Frequently Asked Questions
- Can I use vinegar to remove mold from a humidifier?
- Is bleach safe for cleaning a humidifier?
- How often should I clean a humidifier to prevent mold?
- Why does my humidifier smell bad after cleaning?
- How do I clean an evaporative wick or filter?
- When should I replace a humidifier instead of cleaning it?
- Conclusion
What You Need
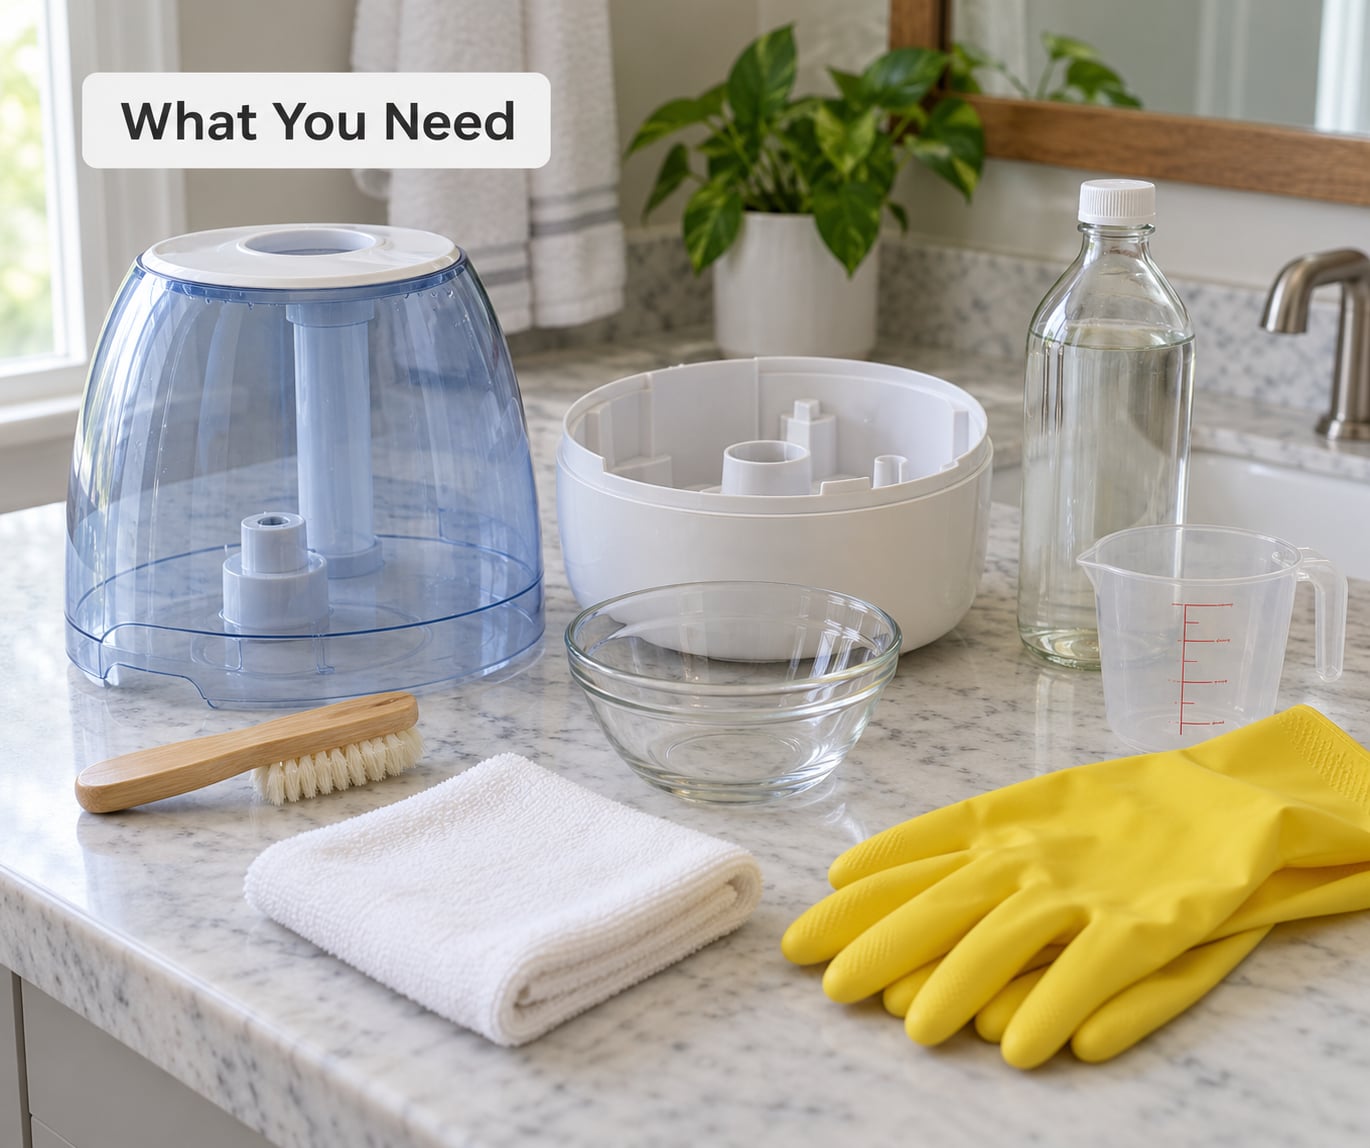
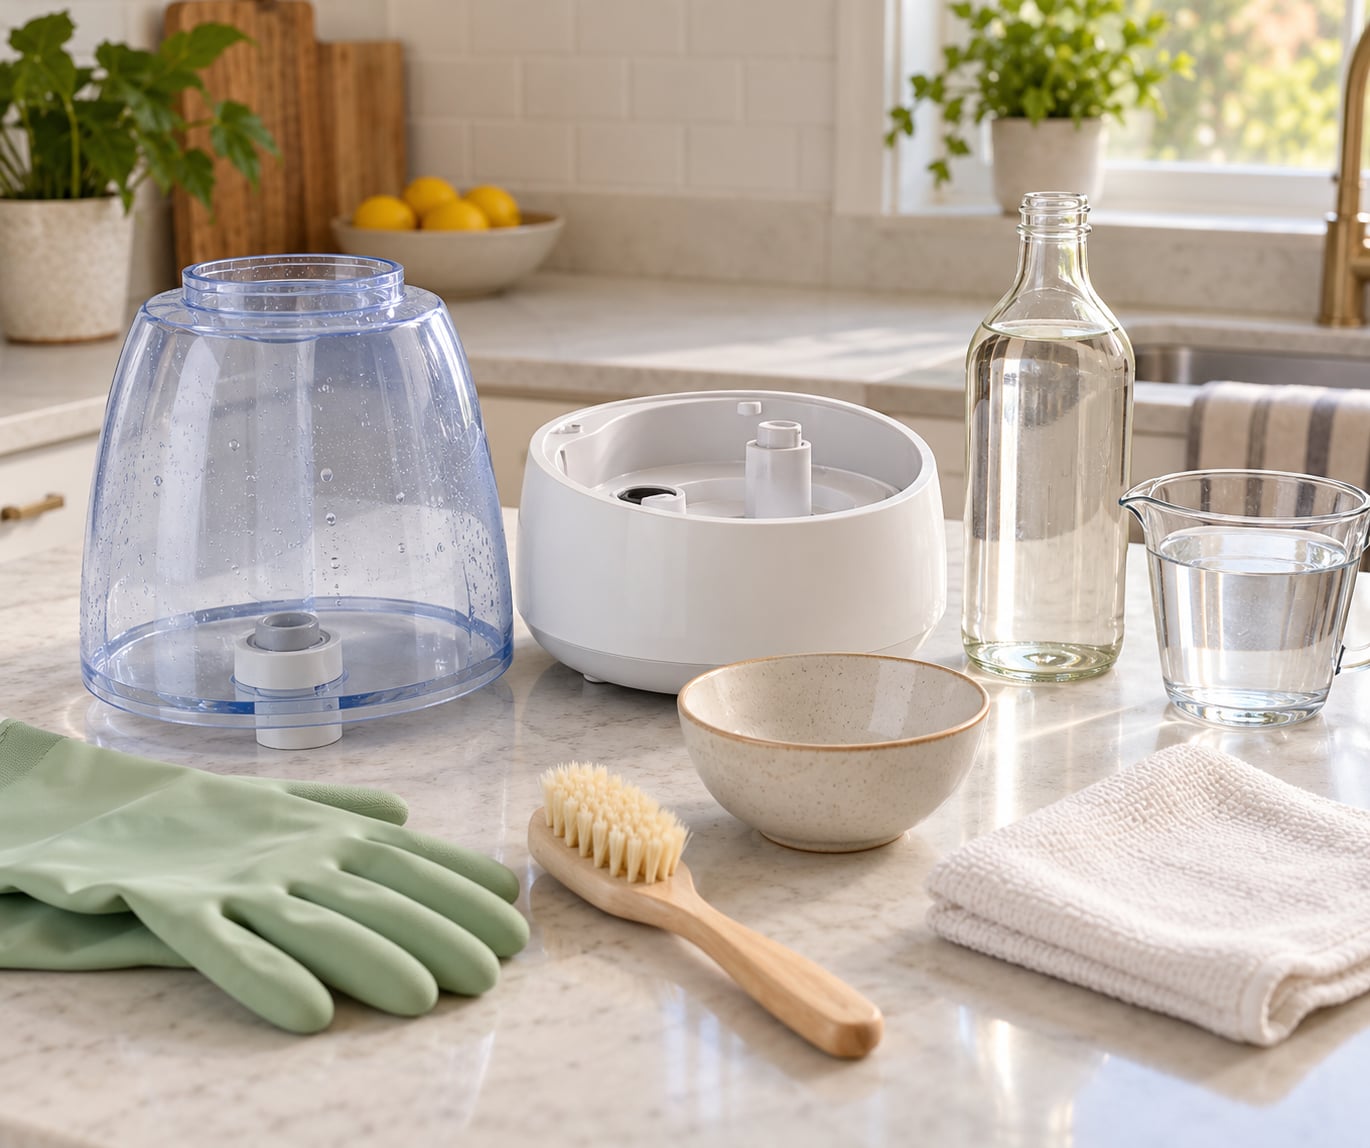
Gather these before you start, so you are not halfway through a soak with nothing to scrub with:
- Cool or lukewarm water and a clean sink or basin
- White vinegar, for soaking and descaling
- Manufacturer-approved humidifier cleaner, or 3% hydrogen peroxide for disinfection
- A soft-bristled brush or an old toothbrush, plus cotton swabs for narrow openings
- Rubber gloves and a soft cloth or small towel
- A small bowl for mixing solution and a soft-bristled brush that fits into the mist outlet
- Your model’s manual, so you know which parts open up and which cleaners are permitted
Check the manual first, always. Ultrasonic units have a vibrating plate or transducer that water and vinegar must not reach directly. Evaporative units have a wick or filter with its own washing rules. Steam units have a heating element that some manufacturers specifically tell you not to descale with an acidic cleaner. Where the manual and this guide disagree, the manual wins.
One more item people forget: distilled water for refilling. It is not a cleaning product, but it removes the minerals that cause white dust and hard scale on ultrasonic models, and it cuts how often you need vinegar.
Step-by-Step: How to Clean a Humidifier to Prevent Mold
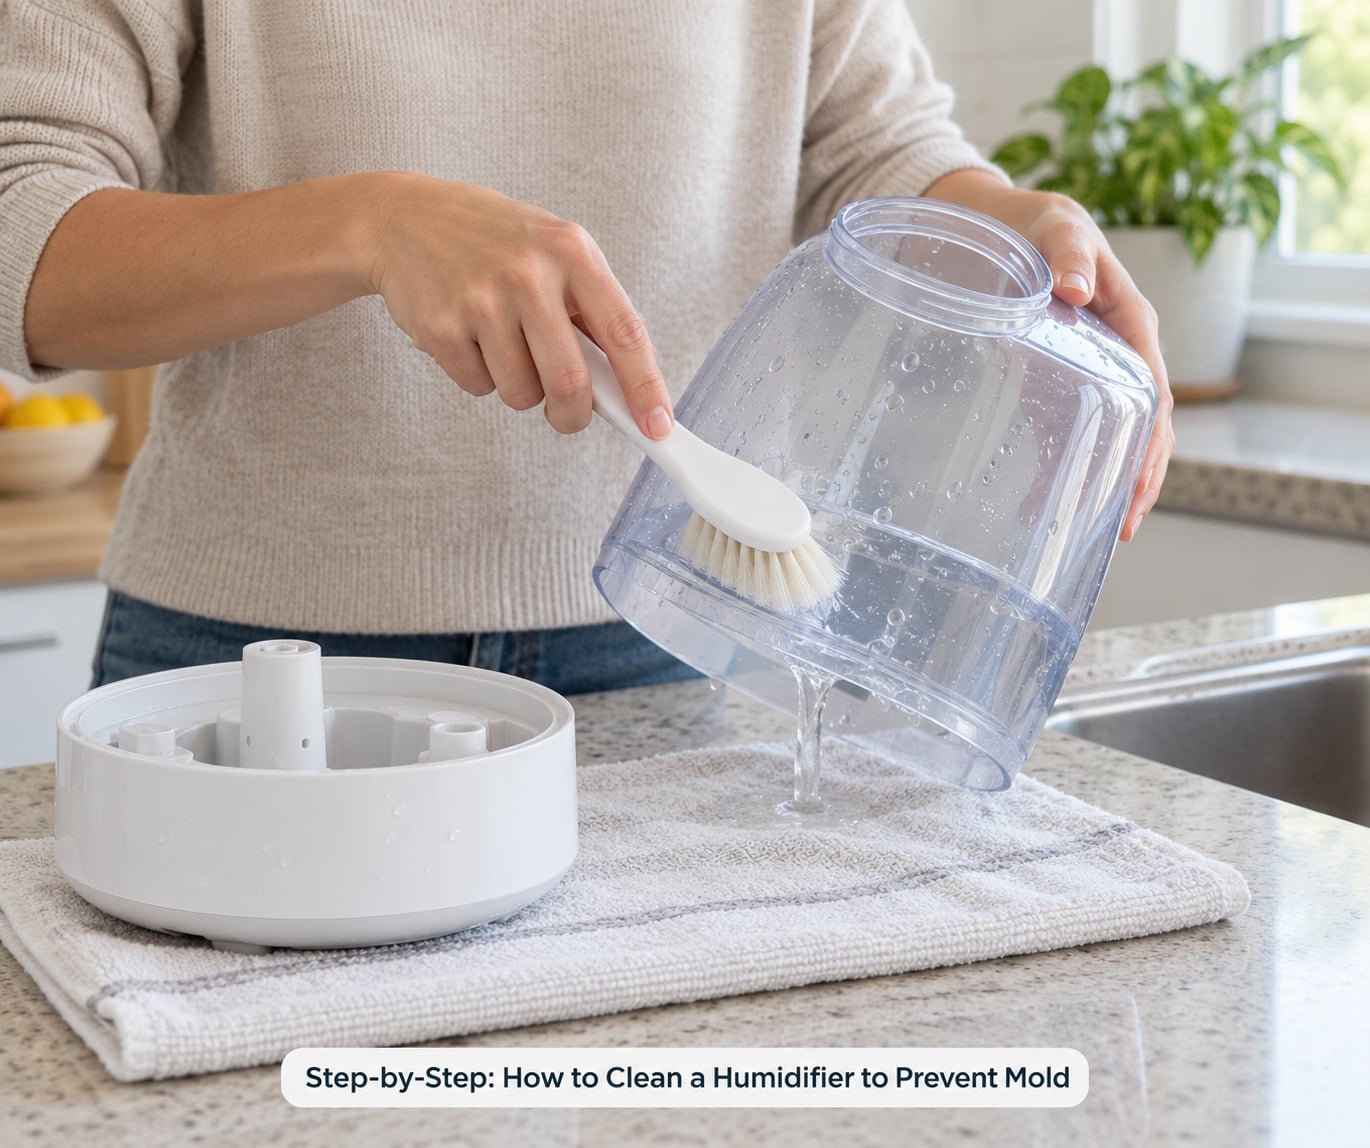
Work in this order, unplugging first and drying last. After each step, check the part you just handled: the tank should smell neutral, the scale should wipe away with a cloth, and the mist outlet should be clear of film.
Unplug and Empty the Humidifier
Switch the unit off, unplug it at the wall, and empty all remaining water from the tank and base into a sink or bucket. Do not tip the electrical base under a tap if you can avoid it, because water running back into the housing is how units get damaged.
To avoid spills, take the tank to the sink rather than carrying water across the room, and set the base on a towel. Once it is empty, run your hand along the bottom of the tank: if you feel a gritty or slimy layer, that is the biofilm this whole procedure is targeting.
Clean the Tank and Water-Bearing Parts
Wash the tank, lid, basin, water inlet and any removable water-contacting piece with mild dish soap and warm water, using the soft brush or cloth to loosen everything. Pay attention to corners, the seam beneath the lid, the area around the water outlet and the underside of the float or sensor.
You know the surfaces are clean when you can run a finger around the inside seam and come away with no resistance and no film. Rinsing with plain water is not enough for that test; the soap needs to come off with a second rinse.
Remove Mineral Buildup
White, hard, crusty deposits are mineral scale from the water, and they scrub off but keep coming back unless you soak first. Mix equal parts white vinegar and cool water, fill the tank about halfway, and let it stand for 15 to 20 minutes. Swirl it, then empty it and scrub the softened scale with the brush or a cloth.
Never run vinegar through the unit as an operating treatment, and never add essential oils, scented cleaners or disinfecting wipes to the water. Those residues are aerosolized straight into the room.
| Cleaning agent | Mix | Soak time | Best for |
|---|---|---|---|
| White vinegar | 1:1 vinegar and cool water | 15 to 20 minutes | Biofilm and light-to-moderate mineral scale |
| Citric acid powder | About 1 tablespoon per liter of cool water | 15 to 20 minutes | Heavier limescale in hard-water areas |
| 3% hydrogen peroxide | Straight from the bottle | Up to 30 minutes | Disinfecting mold-prone plastic parts |
| Unscented bleach | About 1 teaspoon per gallon of cool water | About 10 minutes | Only where the manual approves it; never mixed with vinegar or ammonia |
| Manufacturer cleaner | As directed on the label | As directed | Filter-based units and anything the warranty covers |
Skip the acid soak entirely if your manual prohibits vinegar or other acidic cleaners, and use the approved product instead. After soaking, rinse the tank until you cannot detect vinegar in the water, which usually means two full rinses.
Disinfect Mold-Prone Areas
Mold shows up as pink, orange, black or dark green slimy patches, and it usually starts where water sits longest: the base crevices, the mist outlet, the fan housing and the underside of the lid. Clean with the detergent and brush first, then disinfect with 3% hydrogen peroxide or a dilute bleach solution where your manual permits it.
Follow the contact time on the product rather than your own instinct. Hydrogen peroxide works on plastic within about 30 minutes; dilute bleach needs roughly 10. Keep the solution away from the power base, keep the room ventilated, wear gloves, and never combine bleach with vinegar, ammonia or any other cleaner because the mixture releases toxic chlorine gas.
The sign it worked is simple: the discoloration is gone and the surface feels smooth under a gloved finger, not tacky. If dark patches remain in a seam you cannot reach, that is the replacement signal covered below.
How to Clean a Filter or Wick If Included
Evaporative units use a wick or filter, and they have their own rules. Most wicks are washable, but only a light rinse and a shake are advised, because twisting, scrubbing or wringing frays the fibers and cuts mist output. Never use detergent on a wick unless the manual says to.
Disposable filters get replaced rather than washed. Treat that as a recurring cost, not a one-off fix, and note that an antimicrobial filter does not cancel out cleaning. Let any washed part air-dry completely on a towel before it goes back in; a damp wick in a humid housing breeds its own problem.
Rinse, Dry, and Reassemble
Rinse every cleaned part under running water until no smell or film remains, then spread everything out to air dry completely. Drying matters as much as scrubbing: moisture trapped in a reassembled base is what brings the biofilm straight back.
Once parts are dry, reassemble the unit, refill with fresh water, and run it for a few minutes. Check three things: water does not leak from the base, the mist comes out without a musty smell, and there is no rattling or gurgling that suggests water is where it should not be. Then empty and dry the tank again if you are not running the unit that night.
Common Mistakes
These are the errors I see most often, and each one has a simple fix:
- Mixing cleaners. Bleach plus vinegar or bleach plus ammonia produces chlorine gas. Pick one product per cleaning session, and never assume the tank is clear because it looks rinsed.
- Using tap water and expecting no scale. Hard water in places like Phoenix, Denver or Calgary refills the tank with minerals every refill. Distilled water cuts the problem at the source.
- Skipping the rinse. Any cleaning solution left in the tank gets aerosolized. Rinse twice and smell the water before refilling.
- Reassembling damp parts. A closed, wet base is a mold incubator. Air-dry everything on a towel, and give crevices extra time.
- Leaving water standing overnight. Refill each morning rather than topping off. Standing water for more than a day or two is where mold gets a foothold.
- Cleaning only the tank. The mist outlet, fan housing and base crevices are skipped most often, and they are where growth begins. Include them every deep clean.
- Scrubbing a wick. Hard brushing shortens filter life and reduces output. Rinse, shake and air-dry instead.
- Over-humidifying. Keep indoor relative humidity between 30% and 50% with a hygrometer. Above 50% you get condensation on walls and ceilings, and the mold that grows there gets blamed on the tank.
- Running it every night without emptying. Safe nightly use is possible, but only with a morning empty, dry and refill routine. Skip a night or two rather than skipping the cleaning.
- Aimless descaling. Vinegar every week is fine, but on a machine that uses only distilled water a monthly soak is enough. Match the schedule to your water and how dirty the tank actually gets.
Stop using the unit and ventilate the room if mold remains after two full deep cleans, if the tank walls are cracked or permanently slimy, or if you notice a musty smell the moment the mist starts. If anyone in the home develops coughing, wheezing or shortness of breath around the unit, turn it off and talk to a doctor. Cleaning guidance cannot diagnose or treat a respiratory condition.
Frequently Asked Questions
Can I use vinegar to remove mold from a humidifier?
Yes, diluted white vinegar is the most common cleaner for mold and biofilm in a humidifier tank, because the acid loosens both the film and light mineral scale. Mix equal parts vinegar and cool water, soak the parts for 15 to 20 minutes, scrub with a soft brush, then rinse twice. Skip vinegar if your manual forbids acidic cleaners, and never mix it with bleach.
Is bleach safe for cleaning a humidifier?
Diluted bleach can disinfect mold-prone plastic parts, but only where your manual permits it, and only as a 10-minute soak with a thorough rinse afterward. Most manuals prefer 3% hydrogen peroxide instead. Never combine bleach with vinegar, ammonia or any other cleaner, since the reaction releases toxic chlorine gas. Keep bleach away from the power base and ventilate the room while you work.
How often should I clean a humidifier to prevent mold?
Empty and dry the tank every day, rinse it, and deep clean with vinegar every two to three days for ultrasonic models, which manufacturers recommend more often than most guides say. Evaporative units can usually manage a weekly clean plus wick checks, and steam units need a daily wipe-down of the base. Match your schedule to how fast mineral scale actually builds in your area.
Why does my humidifier smell bad after cleaning?
A musty smell after cleaning usually means residue, not mold. Trapped vinegar, detergent or hydrogen peroxide in a seam will keep smelling as the unit runs. Rinse the parts a third time, air-dry them fully with the unit disassembled, and check crevices in the base and under the lid. If the smell persists after a complete rinse-and-dry cycle, biofilm has probably taken hold somewhere you cannot reach.
How do I clean an evaporative wick or filter?
Take the wick or filter out, rinse it in cool or lukewarm water and give it a gentle shake to release loose minerals. Do not scrub, twist or wring it, and avoid detergent unless the manual allows it, because all three damage the fibers and reduce mist output. Let it air-dry completely before reinstalling. Disposable filters are replaced rather than washed.
When should I replace a humidifier instead of cleaning it?
Replace the unit when mold survives two full deep cleans, when cracks or permanent slime remain in the tank or base after descaling, when the fan housing is rusted or the heater no longer heats, or when replacement wicks are discontinued and unavailable. At that point cleaning is no longer reliable. Disposal, replacement and thorough drying of the unit all reduce the chance of mold returning.
Conclusion
Start tomorrow morning rather than this weekend: empty the tank, wipe the base, and refill with distilled water. Then block 20 minutes for a full vinegar soak of every water-contacting part, scrub the mist outlet and base crevices, rinse twice, and let it all air dry before you put it back together.
Hold indoor humidity between 30% and 50% on a hygrometer, and you will go most of the season between deep cleans. If mold is still there after two attempts, replace the unit rather than cleaning it a third time, and ask a doctor about any breathing symptoms.