Learning how to maintain a robot vacuum step by step takes about twenty minutes for a full clean and five minutes for the weekly version. The routine is simple: power the robot off, empty and wash the dustbin, clean the filter, cut hair off the roller and side brushes, wipe the sensors, free the wheels, then check the dock. Do it on a schedule and the robot keeps its suction, battery and navigation accuracy for years instead of months.
Most owners put this off until the robot starts missing debris, getting stuck on the same rug fringe or failing to charge. By then the fix usually involves pulling hair out of a brush axle with scissors anyway. A short routine every week avoids nearly all of the support calls people end up making.
Table of Contents
- What You Need
- Step-by-Step Maintenance
- Step 1: Preparation and Inspection
- Step 2: Wash the Dustbin and Filter
- Step 3: Clean the Main Brush or Roller
- Step 4: Clean the Side Brush
- Step 5: Wipe the Sensors and Charging Contacts
- Step 6: Clean the Wheels and Suspension
- Step 7: Check the Robot and Dock
- Step 8: Reassemble and Test the Robot
- Common Mistakes
- Frequently Asked Questions
- How often should I maintain a robot vacuum?
- Can I clean a robot vacuum with water?
- Why does my robot vacuum smell after cleaning?
- Why is my robot vacuum losing suction?
- How do I remove pet hair from the main brush?
- When should I replace filters, brushes, or other parts?
- Conclusion
What You Need
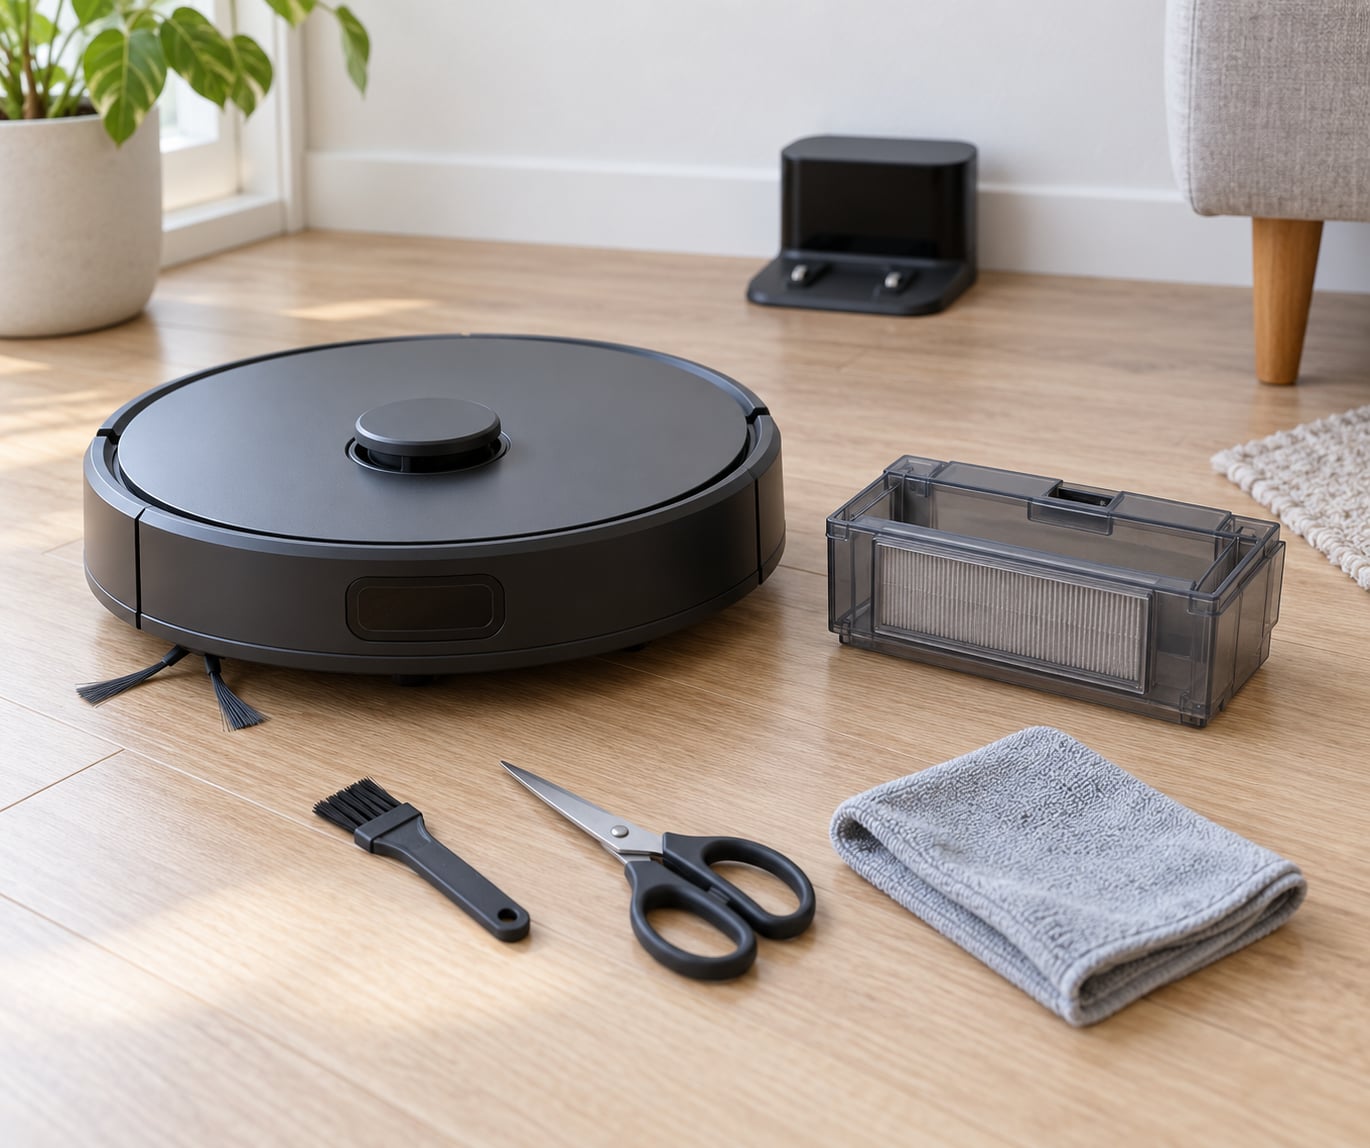
A complete service of a robot vacuum needs very little. Gather these items before you lift the lid, and check your manual first because parts and materials differ between models.
- The cleaning tool supplied with the robot, usually a small brush with a built-in blade or comb
- A pair of small scissors for cutting wrapped hair at the roller base
- A dry microfiber cloth for sensors, lenses and charging contacts
- A soft toothbrush for bristles, wheel wells and vent grilles
- A soft-bristled cleaning brush for the dustbin corners and filter frame
- A bowl or bucket for parts you wash, and a towel for drips
- A dry brush or low-pressure air for dust in vents and around the brush bearings
Check the manual before you use anything beyond that list. Some brands specify a particular filter cleaner, and others warn against oils, sprays and solvents entirely. If you want the same result with more automation, our smart home guides cover picking the right machine and the apps that manage it.
Step-by-Step Maintenance
Work through the steps in this order because later ones depend on earlier ones being clean and dry. The first five steps are weekly jobs. Steps six through eight fit comfortably into a monthly pass.
Step 1: Preparation and Inspection
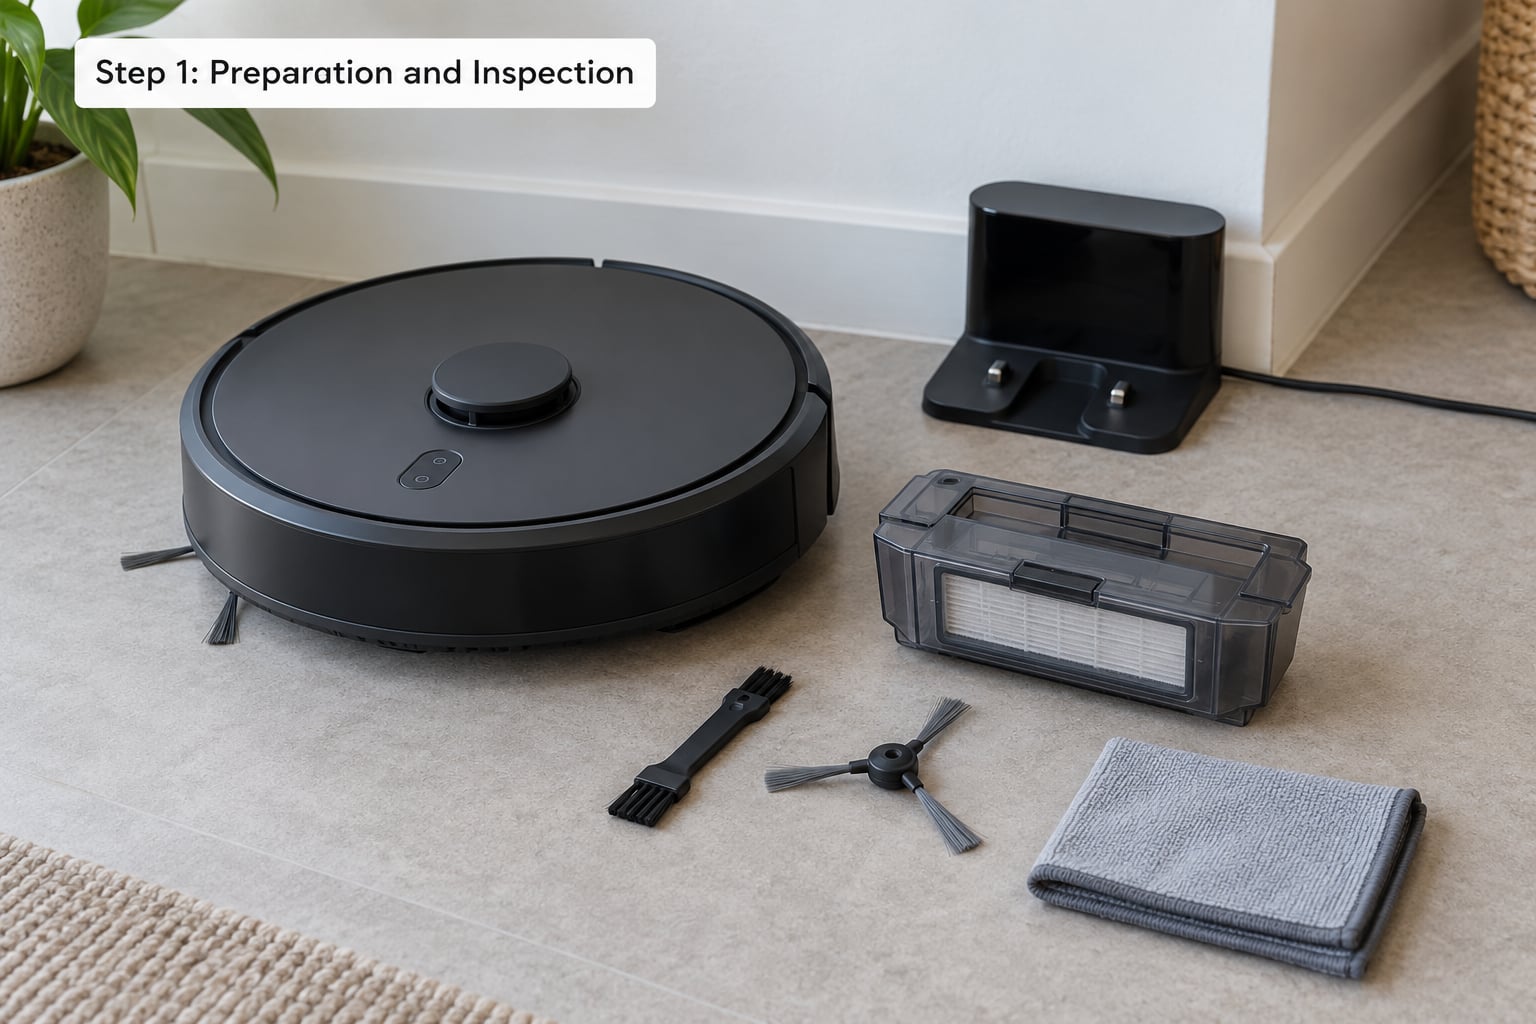
Turn the robot off, unplug the dock if you can reach the plug, and lift the robot off the base before anything else. Pull the dustbin out over a bin, tap it against the rim, and open the filter door.
Then look before you clean. Check for tangled hair around the main brush axles, grit packed into the wheel wells, a cracked bumper strip, a brush or side brush that sits loose or wobbles, and a wet or musty smell. Damage found during this inspection is far cheaper to deal with than damage found two weeks later.
A useful test: set the robot on the floor and push it forward by hand. It should roll straight. If it veers or makes a grinding noise, the wheel or suspension needs attention before you go any further.
Step 2: Wash the Dustbin and Filter
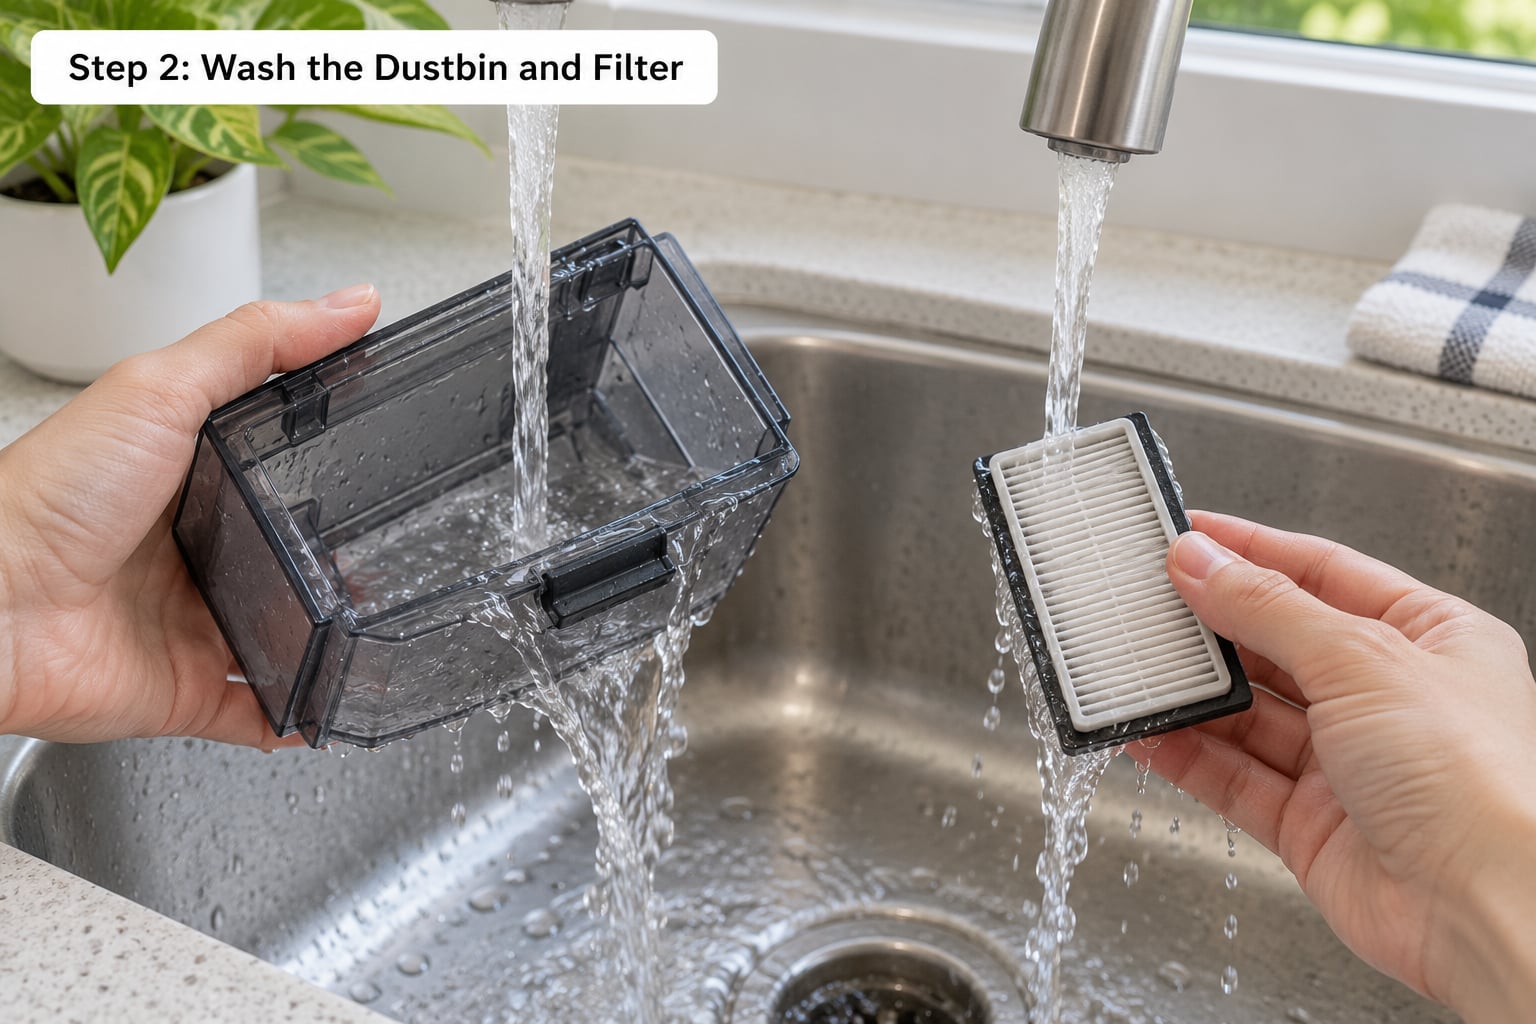
Empty the dustbin and rinse it with lukewarm water and a drop of mild dish soap. Scrub the corners and the flap hinge with the soft brush, where grit hides and is later blamed on the filter.
The filter is the part people get wrong. If your manual says the filter is washable, rinse it under cool running water, squeeze out the water gently and let it air-dry completely on a towel. Air-drying usually takes a full day. If the manual does not say washable, never rinse it. Tap it over a bin and clean the pleats with the dry brush instead. Water can destroy the electrostatic charge on non-washable HEPA media, and the filter then traps less and blows dust around the room.
Fit the dustbin and filter back only when both are completely dry. A damp bin invites mildew, and a damp filter blocks airflow and quietly reduces suction.
Step 3: Clean the Main Brush or Roller
Remove the brush the way your manual shows, usually with a button or a pull-tab on the underside. Hair wraps at the axle and at the bearing on one end, sometimes in a thick band that looks like rope.
Lay the brush on a flat surface and slide the supplied cleaning tool along it from the middle outward. For stubborn wraps, hold the hair and cut through it with the scissors instead of trying to pull it. Pulling a long wrap sideways can bend the bristles or cut the belt on rubber-finish rollers.
While the brush is out, empty the housing, then wipe the housing walls with a dry cloth and run a finger along the suction inlet to feel for felt or fluff. Reinstall the brush until it clicks and check that it spins freely by hand. A stiff or silent roller means a failing brush motor, which is a service visit, not a cleaning job.
Step 4: Clean the Side Brush
The side brush collects hair at the spindle where the bristles meet the hub. Unclip it, pull off the wraps, and check that the bristles point in one consistent direction.
A bent or splayed side brush is normal wear on older robots and it spreads debris into corners less efficiently. Clean it while you are there, then replace it when roughly half the bristles look flattened. Do not bend or twist bristles back into shape; they snap at the base.
Step 5: Wipe the Sensors and Charging Contacts
Use a dry microfiber cloth only. Cliff sensors sit in small windows along the underside, bumper sensors sit behind the front bumper strip, and camera-based robots add a lens or LiDAR turret on top that fogs with dust.
Wipe each window until you can see clearly through it, then follow the sensor window on the bumper and the dock’s metal charging pads. Never spray cleaner onto the robot and never push moisture into a seam. Water reaches the circuit board and shows up weeks later as a sensor that drives off a wall for no reason.
You will notice a blocked sensor before you see the damage: a robot that refuses to reverse off a wall, or one that refuses to charge and sits on the dock all night.
Step 6: Clean the Wheels and Suspension
Flip the robot over and pull hair and grit out of the drive wheels and the small caster wheel. Hair often winds into a dense band that makes the wheel drag sideways, so the robot pushes furniture and misses floor while cleaning.
After clearing them, spin each wheel with a finger. They should turn freely and quietly. Then check the spring-loaded suspension on models that have it, pressing the robot down to confirm it rocks smoothly rather than sitting rigid or grinding.
Use lubricant only where the manual specifically names the spot, and use only the type it names. Grease migrating into the wheel axle housing attracts grit and makes the jam worse. If a caster wheel squeaks, it has grit in the bearing, not a bad bearing.
Step 7: Check the Robot and Dock
Wipe the top surface and the underside with a damp cloth that is damp only because you wrung it out. Look at the bumper strip for grime, hairline cracks, or a section that no longer bounces back when pressed.
Empty the dock’s internal dust bag or bin if it has one, and wipe the dock’s charging contacts and the intake slot. On a self-emptying model, open the station and clean the debris tray inside, since most owners never touch it and it becomes the source of smell that gets blamed on the robot.
Get in touch with the manufacturer if the bumper no longer registers, the brush motor cuts out, the charging contacts look pitted, or the dock has a broken latch. Those faults need parts or professional repair, not a cloth.
Step 8: Reassemble and Test the Robot
Before you put the robot back on the dock, confirm every part is dry, every clip is engaged, and the brush spins freely. Then place it on the dock and watch the first thirty seconds. A successful return tells you the charging pads are clean, the dock sensors can see the robot, and nothing is blocking the charging circuit.
After a short test run, check that the dustbin does not fill faster than it used to and that the robot still maps your rooms. If the app shows an error code, note it before you clear the robot. Those codes are the difference between a five-minute fix and a support ticket.
Common Mistakes
Almost every avoidable damage report I have seen traces back to one of these.
- Rinsing a non-washable filter. Check the manual for the word washable. When in doubt, tap and brush the filter dry.
- Reassembling damp parts. Air-dry for a full day on a towel, not a towel-dry wipe. Moisture left in a dustbin is the fastest route to mildew.
- Cutting into brush cords. Cut hair between your fingers and the roller, never lay the blade on the bristles.
- Using water near sensors or contacts. Sensors and charging pads get a dry microfiber cloth only.
- Applying lubricant freely. Only the exact points named in the manual, with the exact lubricant named there.
- Ignoring app warnings. A blocked-filter or brush-jam alert is an instruction, not background noise. Clearing it without cleaning puts the same fault back within a few runs.
Set the routine on a schedule that matches your household. Empty the bin after every run, clean the filter and both brushes weekly, wipe the sensors and free the wheels monthly, and replace consumable parts every two to three months in a pet or long-hair home, or twice a year otherwise.
Frequently Asked Questions
How often should I maintain a robot vacuum?
Empty the dustbin after every run, especially with pets. Give the filter, main brush and side brush a weekly clean, and wipe sensors, charging contacts and wheels once a month. In a pet or long-hair household, weekly brush work is the minimum rather than the maximum. Most owners who wash their filter need a second one on hand, because air-drying takes a full day.
Can I clean a robot vacuum with water?
Only on specific parts your manual names. Dustbins, washable filters and mop pads can usually be rinsed with cool water and mild soap. The robot body, sensors, charging contacts, wheels and electronics stay dry. Never spray liquid onto the machine, and never submerge a part the manual does not describe as washable. Water reaching the internals usually shows up much later as odd behaviour or sensor failures.
Why does my robot vacuum smell after cleaning?
The smell almost always comes from standing water rather than the bin. A dirty water tank, a mop pad left damp, or the debris tray inside a self-emptying dock will smell within a day or two. Empty the dirty tank after every single use, rinse it, wash the mop pad and let both air-dry fully, and wipe out the dock’s internal bin weekly. Persistent smells then usually mean a biofilm that needs scrubbing, not more detergent.
Why is my robot vacuum losing suction?
Work through the airflow path in order: dustbin, filter, brush, intake port. A full bin on its own can cut noticeably into performance, and a clogged filter blocks the rest of the path behind it. Hair packed into the brush housing reduces airflow the same way. If suction is normal after a clean but the robot still underperforms, check the app for a dirt-detection or filter alert, then compare the setting against carpet auto-boost.
How do I remove pet hair from the main brush?
Remove the roller with the pull-tab or release button under the robot, then slide the supplied cleaning tool along the roller from the middle toward each end. For a tight wrap, hold the hair clear and cut it with small scissors rather than pulling it off, which can bend bristles. Do the same on the side brush spindle, where hair collects fastest, and check the wheel wells in the same session.
When should I replace filters, brushes, or other parts?
Replace the filter every two to three months in a pet home and roughly every six months otherwise. Swap the side brush when about half the bristles are flattened or bent, and the main brush when the bristles are visibly worn down to the core. Brush rollers usually last one to two years. Expect to replace mop pads every few months if you use the mopping function, and watch the battery rather than replacing it on a schedule.
Conclusion
Start today with the four jobs that fix most problems: empty and wash the dustbin, clean the filter, cut the hair off the main brush, and clear the wheels. Those take fifteen minutes and resolve the majority of the complaints owners search for help with.
Then settle into a cadence. Empty the bin after every run, clean the filter and brushes weekly, and wipe the sensors, contacts and dock monthly. Keep the robot on its base between runs so the battery stays topped up, and check the model manual before any deeper cleaning so you never rinse a part that was never meant to get wet.