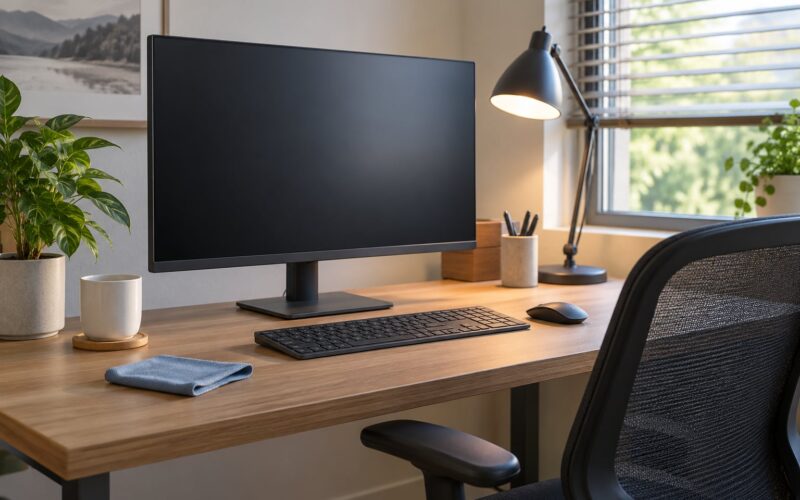
Sit upright, look straight ahead with your eyes relaxed, and the top edge of your screen should sit at or just below that line. The screen itself should be about an arm’s length away, centered on your body, and tilted back 10 to 20 degrees so it faces you squarely. The whole adjustment takes about ten minutes once you know the order to work in.
Height is the part people get wrong, and they get it wrong in a predictable way: they raise the screen and leave everything else alone. The short version is below, then the steps behind each number.
- Chair first. Feet flat on the floor, thighs level, back supported. Height starts at the floor, not the desk.
- Desk and keyboard next. Elbows at roughly 90 degrees, shoulders relaxed, wrists flat.
- Then the screen height. Top bezel at or just below eye level, not the middle of the panel.
- Then the distance. An arm’s length, which for most desks means 20 to 30 inches from your eyes to the screen.
- Then the tilt. 10 to 20 degrees back so the panel is roughly perpendicular to your line of sight.
- Then the room. Screen at a right angle to any window, lamp lighting the desk rather than the display.
- Re-check at week two. Discomfort that shows up later is usually distance or scaling, not height.
Mayo Clinic’s guidance is the version most people have heard: an arm’s length away, with the top of the screen at or slightly below eye level. The Mayo Clinic also notes that you should look straight ahead at the middle of the screen, and that the screen should be roughly level with your eyes. That is the rule this guide expands, with the measurement steps and the per-screen-size numbers nobody usually gives you.
This is general ergonomic guidance, not medical advice. If you have persistent neck, shoulder or back pain, an occupational therapist, physiotherapist or doctor is the right call rather than another adjustment.
Table of Contents
- What You Need Before You Touch the Monitor
- The chair
- The desk and keyboard
- Measuring tools
- Optional equipment
- Check the manual and the built-in controls
- Step-by-Step: Set Height and Distance in the Right Order
- How to set monitor height and distance correctly: the target geometry
- Step 1: set the chair
- Step 2: set the desk and keyboard
- Step 3: set the screen height
- Step 4: set the distance
- Step 5: set the tilt
- Step 6: check the room
- Step 7: leave cable slack and re-check
- How to measure your current setup in 60 seconds
- How far to sit from each screen size
- Laptops, dual monitors and standing desks
- Brightness, glare and the final comfort check
- Progressive and bifocal lenses: when the screen belongs lower
- Common Mistakes When You Set Monitor Height and Distance
- 1. Raising the chair to reach a high screen
- 2. A screen that is too low
- 3. A screen that is too high
- 4. Too close, especially a large screen
- 5. Too far away
- 6. Off to one side
- 7. Tilted forward into ceiling-light glare
- 8. Never re-measuring after an upgrade
- Frequently Asked Questions
- How far should a 27 inch monitor be from my face?
- How far away should I sit from a 32-inch monitor?
- How far away should you sit from a 24 inch monitor?
- What is the ideal height for a 27-inch monitor?
- Should the top or the middle of my monitor be at eye level?
- Do I need a monitor arm or is a riser enough?
- Conclusion
What You Need Before You Touch the Monitor
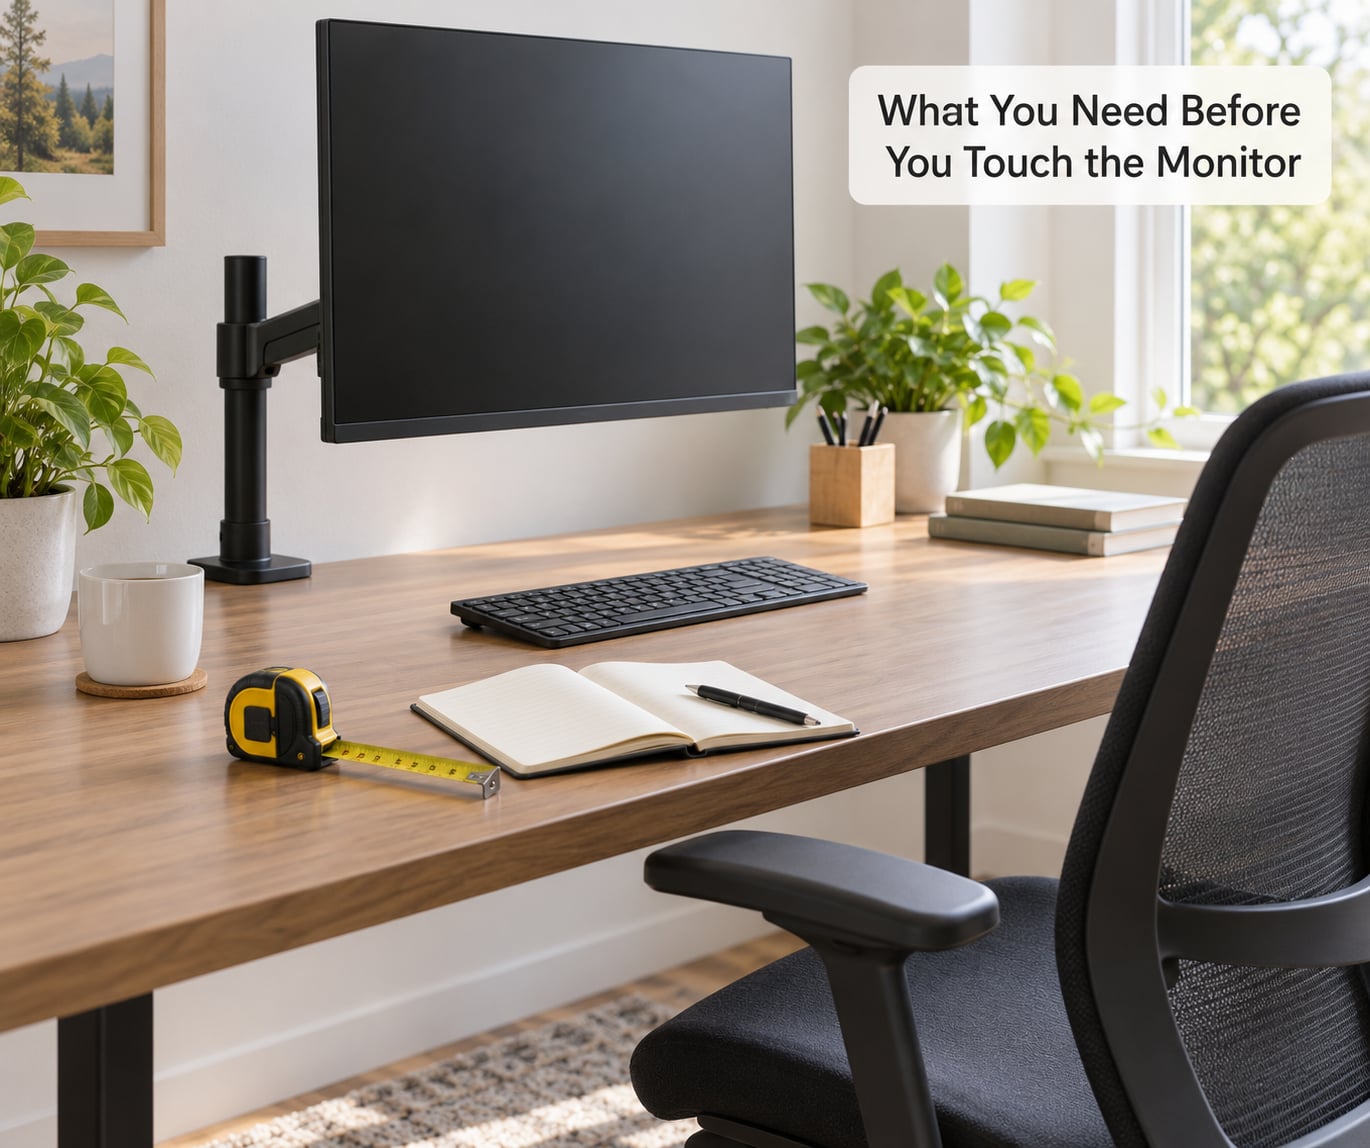
You need far less than most people expect. The full list is a chair you can adjust, your desk, your monitor, a tape measure or ruler, and about ten minutes.
The chair
An ergonomic office chair with a gas-lift height adjustment is the single most useful tool in the room. Without height adjustment, you cannot set a neutral sitting height, and everything above it drifts. Seat height should let your feet sit flat on the floor with your thighs roughly parallel to it.
If your feet cannot reach the floor at the height you need for your desk, a footrest fixes it for less than reworking the whole setup. This is the step people skip when they raise the screen instead of the desk, and then their legs dangle and the discomfort migrates into the lower back.
The desk and keyboard
Your desk height is fixed, so you adapt to it with the chair, and sometimes with a footrest under the feet. Before touching the monitor, put the keyboard where you actually type. Forearms should be roughly level with the desk, elbows near your sides at about 90 degrees, and wrists flat rather than bent upward.
Measuring tools
A tape measure is the useful one, since a rigid ruler cannot follow the curve from your eye to the screen. A notebook helps, because you will measure twice and forget the number. A phone camera can capture the final position if you share a desk, and honestly that is how hot-desking setups get passed along correctly.
Optional equipment
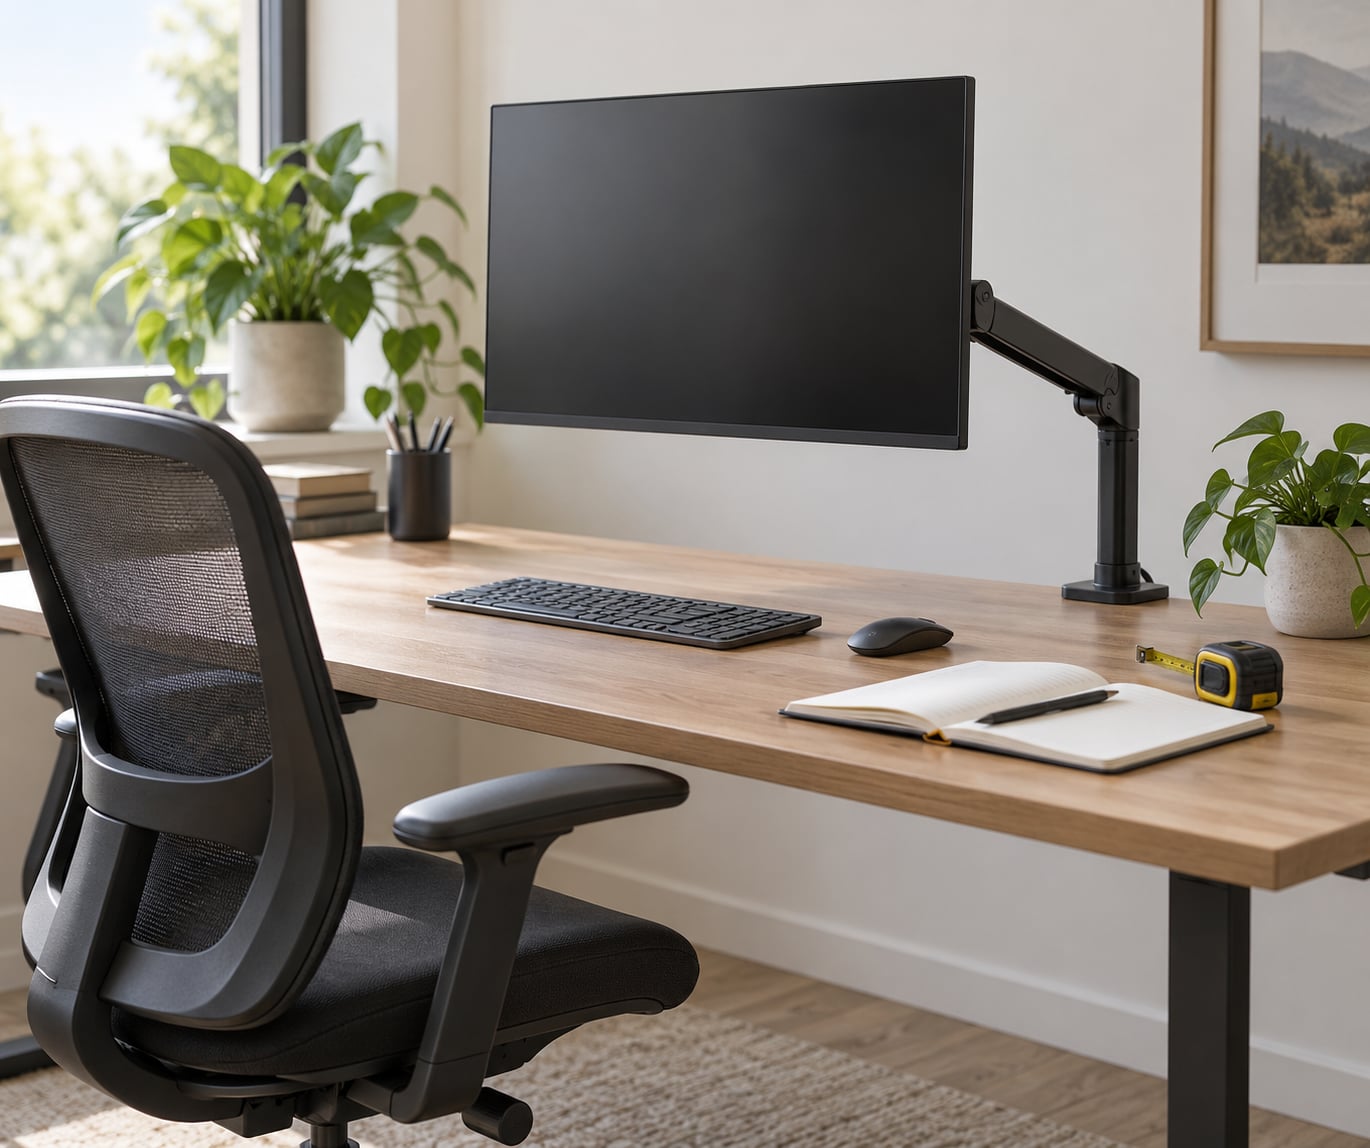
Three things earn their place, and none of them are required to get the numbers right. A monitor arm reaches heights a stock stand will not, and most stands ship deliberately short to fit a wide range of desks. A monitor riser or shelf is a fixed block that adds height in one step. A laptop stand does for a laptop what the arm does for a monitor, but it only helps if you add an external keyboard and mouse so your hands are not hovering over raised keys.
For OS display scaling, both Windows and macOS adjust text and interface size independently of the physical screen. Reach for it before you drag the monitor closer. Moving a large screen close to compensate for small text is one of the most common ways people end up with a setup that looks right and feels wrong.
Check the manual and the built-in controls
Every monitor has a tilt range, usually somewhere between 5 and 20 degrees forward and back, and many have height adjustment in the stand plus swivel. The physical buttons or the on-screen menu will also carry picture controls: brightness, contrast, and a blue-light or night mode that dims the picture after sunset. Note the ranges your specific panel offers before you start pushing it, so you know when you have hit a stop.
Step-by-Step: Set Height and Distance in the Right Order
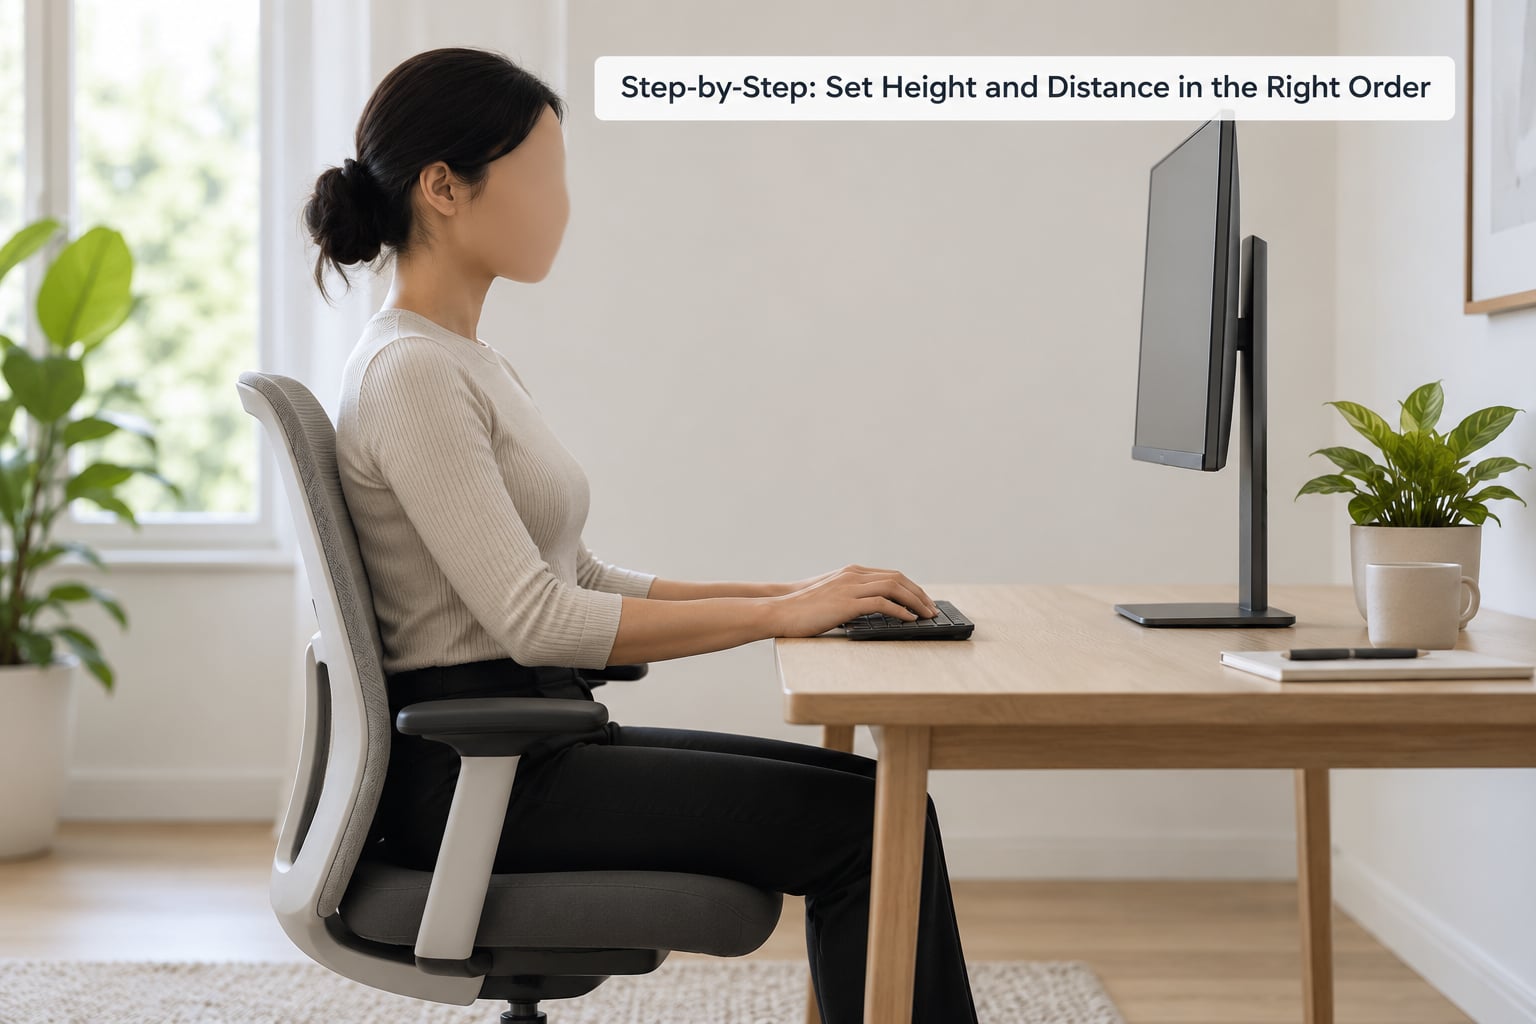
Work bottom-up. The order is the method, not a nicety, because every measurement after the first one depends on the one before it.
How to set monitor height and distance correctly: the target geometry
Here is the target you are aiming at. The upper edge of the screen, the top bezel, sits at or slightly below your eye level when you sit upright with your eyes relaxed and your head neutral. The screen is centered in front of you, not angled off to one side. Your eyes sit roughly an arm’s length from the screen, which works out to 20 to 30 inches for most people. The panel is tilted back 10 to 20 degrees.
The reference point is the top of the screen, not the middle. Your eyes naturally rest 15 to 20 degrees below horizontal, so if the center of the screen is at eye level, you spend the day looking slightly upward, which is the harder direction. Ergonomics guidance published by CCOHS and OSHA’s computer workstation materials put the viewing area somewhere between 15 and 50 degrees below horizontal eye level, and the working range of ISO 9241-5 and the BIFMA G1-2013 seating standard both treat the head and neck as resting in a neutral, forward-facing position.
On a 24 or 27 inch screen, the top edge lands at eye level and the center of the display sits about 15 to 20 degrees below your gaze. On a 32 inch screen and larger, aim to have your eyes align with the upper third of the panel rather than the top bezel, because the extra height pushes the top edge above your line of sight.
Step 1: set the chair
Drop the seat until your feet are flat on the floor and your thighs are roughly parallel to it. If the desk is now higher than your elbows can comfortably work at, raise the chair and add a footrest so the feet come back up to the floor. Do not leave your feet hanging.
Step 2: set the desk and keyboard
Place the keyboard and mouse where you type rather than where the desk allows. Elbows at about 90 degrees, shoulders down, wrists flat. If your shoulders lift, the desk is too high for you, and the fix belongs in the chair or the desk, not the monitor.
Step 3: set the screen height
With the chair and keyboard settled, look straight ahead and note where your eyes land. Adjust the stand, arm or riser until the top bezel of the screen meets that line or sits just under it. Then look at the screen for a few minutes. If you find yourself tilting your chin up, the screen is too high; if your chin is permanently down, it is too low.
Screens ship with stands that are deliberately short, so most monitors are too low out of the box and stay that way for years. That is not a personal failing, it is a design decision, and it is why almost everyone ends up leaning forward.
Step 4: set the distance
Extend your arm straight out from your shoulder and measure from your eyes to the tip of your fingers. That is your baseline. Now place the monitor roughly there and measure the real distance from your eyes to the screen surface with a tape measure, because the base of the monitor is often further back than the panel.
The minimum most guidance sets is about 25 inches of eye-to-screen distance. If your desk is shallower than that, you have three options: move to a deeper desk, use a monitor arm mounted at the rear so the panel floats forward of the desk edge, or accept a slightly closer distance and raise the display scaling so the text is still readable. Pulling a 32 inch panel in to 24 inches is not one of the options. You will spend the day making small head movements to reach the corners, and you will not notice you are doing it.
Step 5: set the tilt
Tilt the panel back 10 to 20 degrees, which puts the screen surface close to perpendicular to your line of sight. This is the adjustment people skip, and it is the one that makes glare from ceiling lights disappear. If your monitor has no tilt adjustment at the neck, a wedge-style riser is the fix.
Step 6: check the room
Position the screen at a right angle to any window, never facing it and never backing onto it. That is 90 degrees, so a window on your left means the screen sits square to the desk rather than turned toward the glass. A desk lamp should light the desk surface and your hands, not the display. Overhead lighting behind the screen is the worst of the three options because it lands directly in your eyes.
Step 7: leave cable slack and re-check
If you use a monitor arm, route the cables so the arm can travel the full height range without the display snapping back or tugging wires taut. Arms have limited vertical travel, and a desk that rises to 44 inches will push past the arm’s range well before the desk stops.
How to measure your current setup in 60 seconds
Two checks, one with your body and one with a tape. Hold your arm straight out at shoulder height and note where your fingertips fall: that is your personal arm’s-length distance, and it is more reliable than any number printed in a guide. Then measure the actual gap from your eyes to the screen, and compare it against the table below.
If the numbers disagree by more than a few inches, the tape wins. Body proportions vary too much for a single figure to work for everyone, which is exactly the point people in desk-setup communities keep making when they argue about the eye-level rule in the abstract.
How far to sit from each screen size
Bigger panels need more distance. The table below covers the common desktop sizes, using a roughly 1.5 to 2.5 times screen diagonal rule of thumb as the underlying logic.
| Screen size | Recommended eye-to-screen distance | Notes |
|---|---|---|
| 24 inch | 20 to 30 inches | Roughly an arm’s length. The 25 inch minimum applies. |
| 27 inch | 24 to 30 inches | Arm’s length plus a few inches. Most common desktop size. |
| 32 inch | 30 to 35 inches | Further back than a 27 inch panel. Read the corners without moving your head. |
| 34 inch ultrawide | 34 to 40 inches | The whole width matters, so distance scales with the curve. |
| 49 inch super ultrawide | 43 to 50 inches | Two people can share it at this distance with a shared use case. |
Whatever the size, the height rule does not change. The top of the screen stays at eye level, and if the text is still too small at the distance, raise the display scaling rather than pulling the screen in.
Laptops, dual monitors and standing desks
A laptop screen is nearly always too low, because the keyboard and the display are one object and the display sits on top of it. Put the laptop on a stand to bring the top bezel to eye level, then add an external keyboard and mouse. Without those, you are typing with bent wrists to buy screen height, which trades one problem for a worse one.
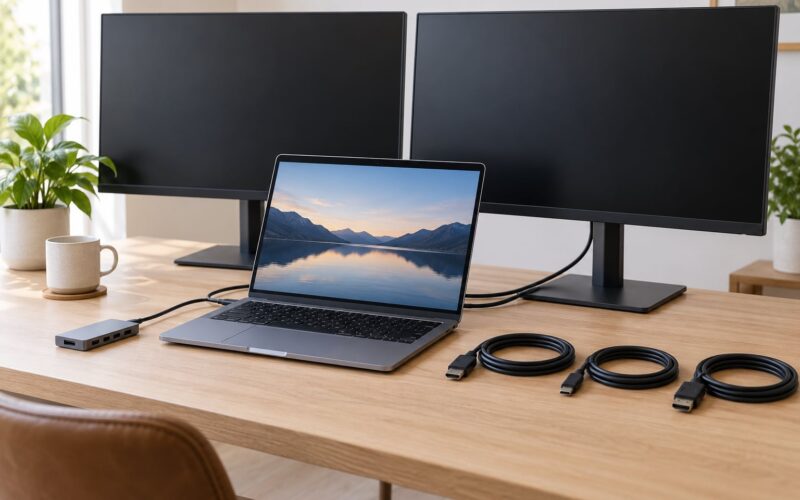
For two monitors, put the primary screen directly in front of you and the secondary at the same height and the same distance, angled about 30 to 45 degrees inward. The alternative is a symmetrical pair with the seam centered on your nose, which works well for a split workspace. What does not work is two screens at different heights, because the small step between them turns into thousands of tiny head movements a day. If you must stack one above the other, level the two top edges as closely as you can.
For a standing desk, add 8 to 12 inches of lift compared with your seated setup. A user around 190 cm tall typically needs closer to 15 inches of travel, since standing raises the eye line and not just the desk. Standing at a seated-height screen is worse than staying seated, because you trade a supported lower body for a neck that has to look down the whole time. Raise the desk, then raise the screens, then check the gaze angle again.
Brightness, glare and the final comfort check
Match the screen brightness to the light in the room, not to the darkest setting that looks impressive. Match it to the white of a sheet of paper on your desk. Turn on the night or blue-light mode in the evening so the picture dims as the light outside does.
Now do the comfort check: sit for a full minute at the new settings and deliberately look away at something about 20 feet away. If your eyes feel strained or the room looks strange, that adjustment was too bright. Then scroll through a document and read the smallest text you normally read. If you lean forward, the distance is too far, or the scaling is too low. The Mayo Clinic also suggests looking at an object about 20 feet away to relax your eye muscles, and suggests taking frequent breaks with the 20-20-20 habit.
Progressive and bifocal lenses: when the screen belongs lower
If you wear progressive or bifocal lenses, the usual rule inverts. Your reading zone is in the lower part of the lens, so a screen at eye level forces your head back and up, which produces the opposite problem. Put the screen lower instead, with the top bezel near the level of your chin at rest, and keep it at a full arm’s length so the whole panel stays within the reading zone.
Common Mistakes When You Set Monitor Height and Distance
1. Raising the chair to reach a high screen
The most common failure, and the easiest to avoid. If you cannot get the screen to eye level from a neutral sitting position, the fix is a monitor arm or a riser, not a taller seat. Raise the chair and your feet dangle, your lower back loses its support, and the neck problem becomes a back problem.
2. A screen that is too low
The symptom is a permanent downward chin, which is the posture most people describe as tech neck. Raise the screen until the top bezel reaches eye level, then re-check that your elbows still clear the desk edge.
3. A screen that is too high
Symptom: you tilt your head back to read the top row, and your eyes sting by mid-afternoon. Lower the screen, and if the stock stand bottoms out, that is when a riser is no longer useful and an arm is.
4. Too close, especially a large screen
Symptom: constant small head movement and shoulder tension. A 32 inch panel at 24 inches is the classic version. Push it back and raise the display scaling.
5. Too far away
Symptom: leaning forward, hunching, and glasses users pushing their frames up their nose. Move the screen forward, deepen the desk, or increase the scaling.
6. Off to one side
Two screens side by side at different heights, or a single screen pushed to the corner of the desk, means constant neck rotation. Center the primary screen on your body, and match the second one to it.
7. Tilted forward into ceiling-light glare
If the screen tilts toward you at the bottom, it catches overhead lighting and washes out. Tilt it back 10 to 20 degrees and set it at a right angle to any window.
8. Never re-measuring after an upgrade
Swap a 27 inch panel for a 32 inch one and your correct distance changes. Re-measure after any monitor change, chair change, or desk height change. Then keep a light rhythm going: 20 minutes sitting, 8 minutes standing, 2 minutes moving, as the Cornell University Ergonomics Web suggests.
Frequently Asked Questions
How far should a 27 inch monitor be from my face?
About 24 to 30 inches, which is your arm’s length plus a few inches. A 27 inch panel has a diagonal of roughly 27 inches, and the 1.5 to 2.5 times diagonal rule puts the comfortable range right there. The height rule is unchanged: top bezel at or just below eye level, tilted back 10 to 20 degrees. If the text still feels small at 30 inches, raise your operating system’s display scaling rather than pulling the screen closer.
How far away should I sit from a 32-inch monitor?
About 30 to 35 inches. A 32 inch screen needs more distance than a 24 or 27 inch panel because the corners sit much further to the side, and leaving it at 24 inches forces constant small head movements to read them. Most people do not notice they are doing it. Whatever the distance, keep the top of the screen at or just below eye level, and increase display scaling instead of leaning in.
How far away should you sit from a 24 inch monitor?
Roughly an arm’s length, or 20 to 30 inches, with 25 inches as the commonly cited minimum eye-to-screen distance. Hold your arm straight out at shoulder height and use your own fingertips as the reference, since arm length varies more than any published figure. The top of the screen stays at or just below eye level and the panel tilts back 10 to 20 degrees. If the desk is too shallow, use a rear-mounted monitor arm to float the panel forward.
What is the ideal height for a 27-inch monitor?
Put the top bezel at or just below eye level, which leaves the center of the screen about 15 to 20 degrees below your gaze because the eye naturally rests slightly downward. Aim for the top edge, not the middle. On a 27 inch panel that usually means the top bezel sits at eye height while the center sits below it. On 32 inch screens and larger, align your eyes with the upper third of the display instead of the top edge.
Should the top or the middle of my monitor be at eye level?
The top. Looking up is harder on the neck than looking down, so the top bezel at or just below eye level leaves your gaze angled 15 to 20 degrees downward, which is the direction your neck and eyes are built to rest in. If the middle of the screen is at eye level, you spend the whole day looking slightly upward. Set the chair and desk first, then move the screen, because the correct height depends entirely on your seated position.
Do I need a monitor arm or is a riser enough?
A riser is enough if you need a few inches and will never sit or stand at the same desk again, since it is a fixed block. An arm is worth it if you switch between sitting and standing, share the desk, or your stock stand has bottomed out. One practical warning from the standing desk community: arms have limited vertical travel, so a desk that rises to 44 inches can outrun the arm and leave you short of height. Check the arm’s stated range before drilling a clamp.
Conclusion
Start with the chair, not the screen. Set your seat so your feet are flat, place the keyboard where your forearms are level, then raise the screen until the top bezel is at or just below eye level, push it back an arm’s length, and tilt it 10 to 20 degrees. Do that once, in that order, and the fine-tuning takes care of itself.
Then re-measure. Comfort that arrives two weeks in usually means the distance or the display scaling was off, not the height. If pain persists past a couple of weeks of a properly adjusted setup, that is a conversation for a doctor or a physiotherapist, not another hardware purchase.