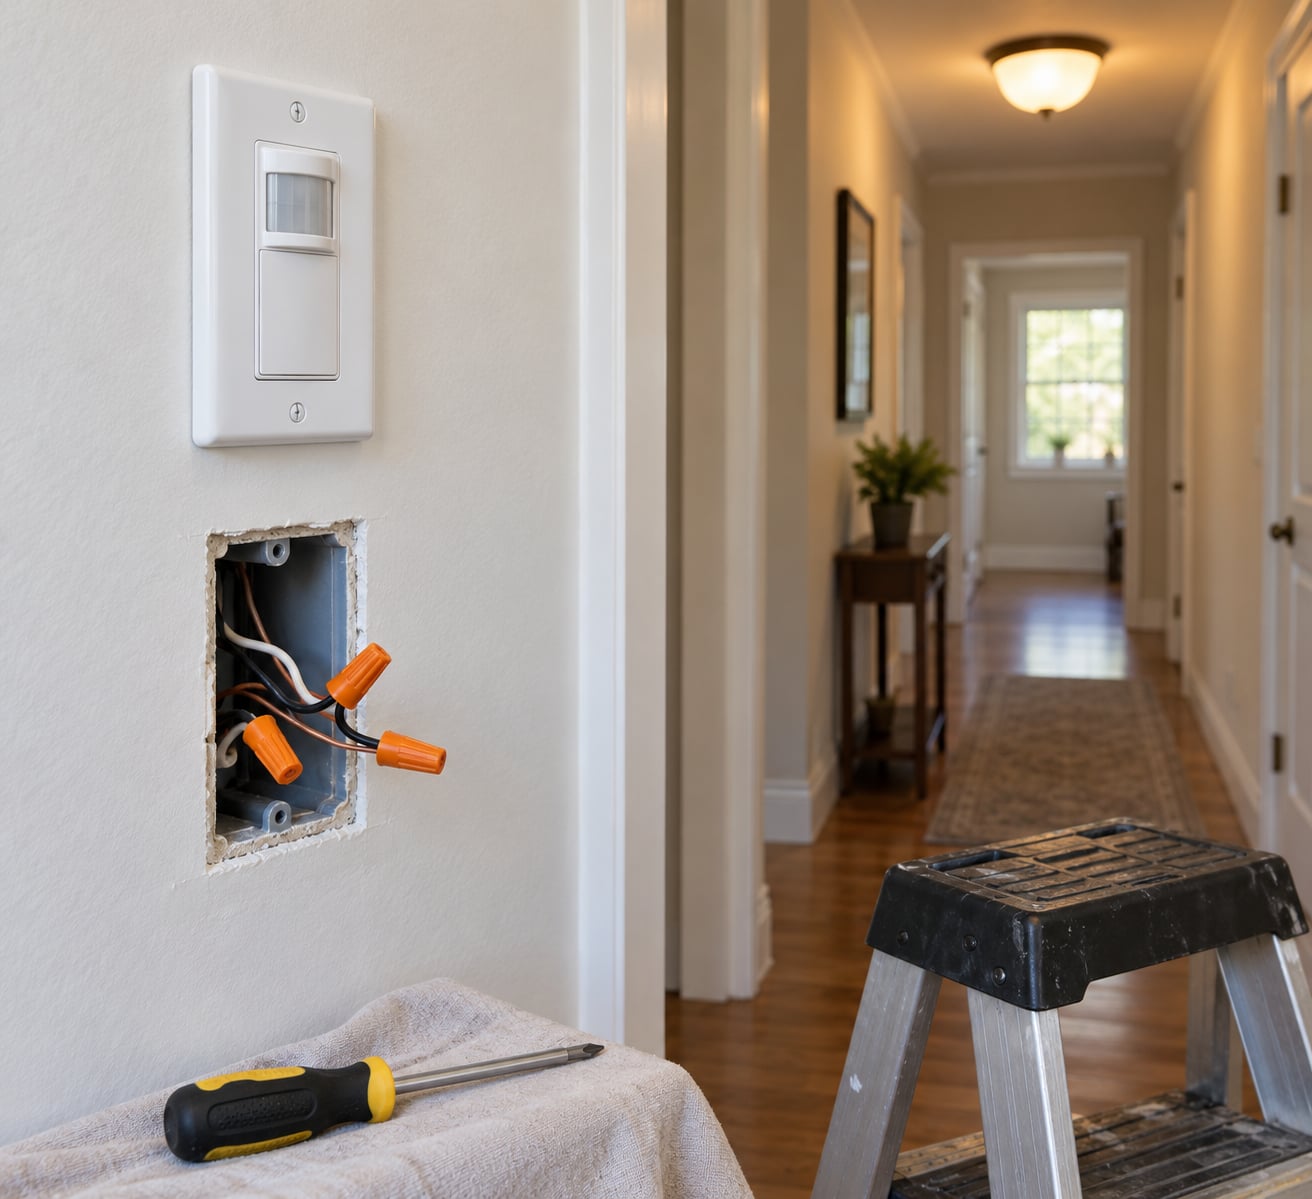
To set up motion sensor lighting indoors, you pick a sensor that suits the room, cut the power at the breaker and confirm the circuit is dead, mount the unit, connect the wires, then dial in sensitivity, range and time delay before walking the room to test it. A plug-in or battery unit takes about 15 minutes and needs no wiring at all. Swapping a wall switch for a sensor switch is closer to an hour if you’re comfortable opening an electrical box.
The part that catches everyone is not the wiring. It’s the settings — most sensors ship set to maximum sensitivity with a short timer, so they flicker on every time a curtain moves and shut off while you’re still standing on the ladder.
Here is the whole job in six moves:
- Pick the setup method: battery strip, plug-in unit, sensor wall switch, or hardwired sensor fixture.
- Switch off the breaker and test the box with a non-contact voltage tester.
- Mount the sensor where it sees the walking path, not the window.
- Connect hot, neutral and ground with wire connectors, following the unit’s own diagram.
- Set sensitivity, time delay and detection range to the room, not the factory default.
- Walk-test at dusk and at night, then fix the blind spots and false triggers.
The rest of this guide covers each of those in detail, plus the mistakes that make sensors look broken when they’re only badly tuned.
Table of Contents
- What You Need
- Tools and materials checklist
- Pick your setup method first
- Check whether your box has a neutral wire
- When to call a licensed electrician
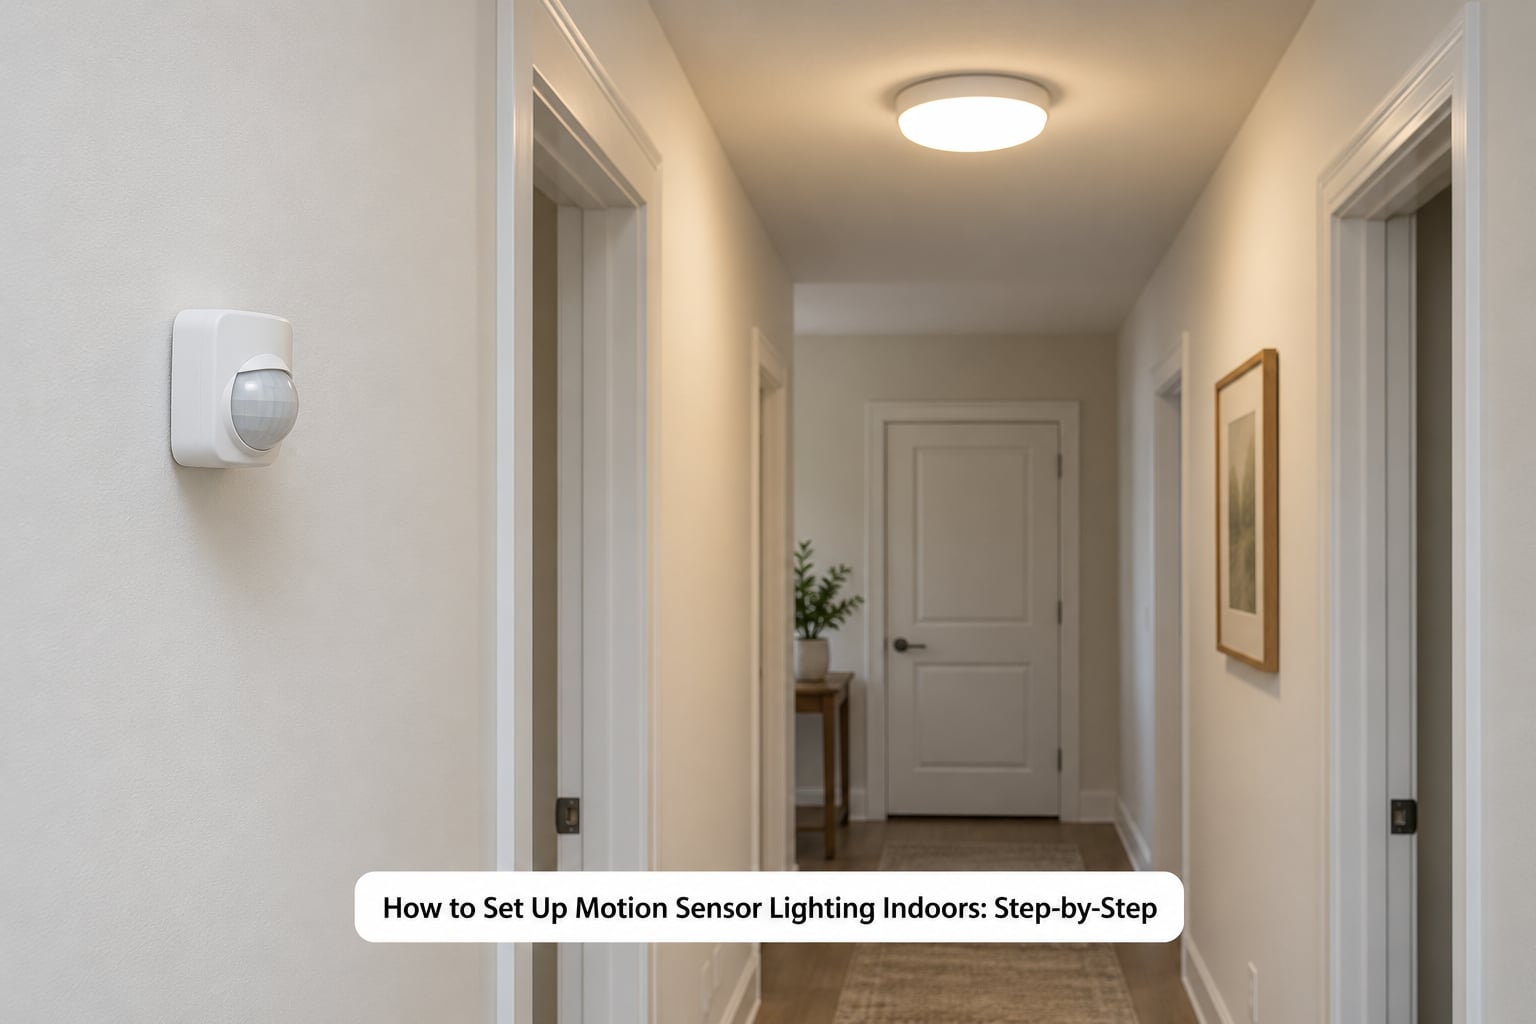
- How to Set Up Motion Sensor Lighting Indoors: Step-by-Step
- 1. Choose the right motion sensor for the space
- 2. Plan the sensor and light placement
- 3. Turn off power and prepare the wiring
- 4. Mount and connect the sensor
- 5. Adjust sensitivity, range, and time
- 6. Test the motion sensor lighting indoors
- Common Mistakes
- Frequently Asked Questions
- What are the three settings on a motion sensor light?
- Is there a motion sensor switch that doesn’t require a neutral wire?
- How do I keep my motion sensor light on all the time?
- Why does my motion sensor go off for no reason?
- How do I put a motion sensor on an existing light?
- Do motion sensor lights work with LED bulbs and existing dimmers?
- Conclusion
What You Need
Tools and materials checklist
For a plug-in or battery job, you need the light and, for battery models, the supplied cells. That’s it.
Anything involving an electrical box adds a real tool list:
- Non-contact voltage tester, plus a two-pole tester if you will be working on screw terminals
- Phillips and flat-blade screwdrivers
- Wire strippers and side cutters
- Wire connectors (wire nuts) in the right gauge — you almost always need three: two hot, one neutral, one ground
- Fish tape if the switch is on a circuit far from the fixture
- Insulated gloves and eye protection
Leave roughly 15 cm of slack in the box after you connect it. Box fill is tight, and the next person who services that switch will thank you.
Pick your setup method first
This one decision drives everything else, so make it before you buy anything.
| Method | Wiring needed | Time | Best for |
|---|---|---|---|
| Battery strip or puck light | None | 5 to 10 minutes | Closets, pantry, under-cabinet, rented rooms |
| Plug-in sensor lamp | None | 10 minutes | Hallways, entryways, laundry, basement corners |
| Sensor wall switch (single pole) | Neutral wire required | 40 to 60 minutes | Existing ceiling light or fixture group on one switch |
| No-neutral sensor switch | Works with two wires | 40 to 60 minutes | Older switch boxes that have no neutral |
| Hardwired sensor fixture | Full wiring at the ceiling box | 60 to 90 minutes | Garages, basements, utility rooms, outdoor-rated fixtures |
| Sensor bulb retrofit | None | 5 minutes | Getting a fixture to sense without touching wiring |
| Smart sensor switch or relay | Neutral or hub bridge | 60 minutes plus app setup | Rooms on routines, voice control, multi-point groups |
Householders retrofitting several pot lights that all run off one wall switch usually end up choosing between the sensor switch and the smart relay, and that decision is genuinely the hard part of the job. A sensor switch does everything locally with no hub. A smart relay keeps the existing switches working and gives you schedules and voice control, at the cost of app setup and a few dollars more.
Check whether your box has a neutral wire
This is the number one reason a sensor switch arrives, gets fitted, and never powers up. Most sensor switches need a neutral wire to run their electronics, and plenty of older switch boxes don’t have one.
With the breaker off, unscrew the switch and pull it forward gently. Count the conductors:
- Two wires, no bare copper or green: probably no neutral. Buy a no-neutral (also called HALL or load-inhibited) sensor switch.
- Three or more wires, or two plus a ground: you likely have a neutral. Any standard sensor switch will work.
- More than four conductors: multi-location or 3-way wiring. Read the next section carefully.
Don’t guess from wire colour alone. In homes rewired over the years, the white conductor in a switch box is sometimes being used as a hot, not a neutral. Check with a tester, or trace the circuit back to the panel.
When to call a licensed electrician
Stop and hire a licensed electrician if you find any of these:
- Knob-and-tube wiring, or cloth-sheathed cable that crumbles when handled
- Aluminium conductors
- No ground conductor anywhere in the box
- A 3-way setup where neither box has three conductors, excluding ground — the sensor will not function there
- Any work inside the panel, or anything requiring a permit in your area
- Circuit that trips the breaker as soon as the sensor is connected
Permissions for homeowner electrical work vary by state, county and country, and some jurisdictions require a permit and inspection for anything beyond replacing a device like-for-like. Check your local authority rather than assuming it’s fine. A bad neutral connection in a switch box is a real shock and fire risk, and it is not worth the hour you’d save.
How to Set Up Motion Sensor Lighting Indoors: Step-by-Step
1. Choose the right motion sensor for the space
Most indoor sensors detect movement one of four ways, and the difference decides where you can mount it.
| Sensor type | How it detects | Strength indoors | Watch out for |
|---|---|---|---|
| PIR (passive infrared) | Change in heat across its field of view | Cheap, reliable in open rooms, no false radio emissions | Needs a line of sight; a wall or doorway blocks it |
| Microwave (Doppler) | Change in reflected radio waves | Sees around corners and through thin objects; reaches around 6 to 9 m | Triggers on fans, moving curtains and window reflections |
| Ultrasonic | Sound reflection | Picks up still movement and breathing | Noisy rooms set it off constantly |
| Dual-technology | Combines PIR with microwave or ultrasonic | Lowest false-trigger rate, good for hallways near a street-facing window | Costs more and still needs tuning |
| Smart / mmWave sensor | Presence detection over radio or radar | Detects a stationary person at a desk; excellent for home office routines | Needs a hub, an app or a specific ecosystem |
Room size narrows the choice fast. A small closet or pantry only needs a short-range PIR puck with a tight field of view. A long hallway that gets cross-traffic, or a room with a window onto the pavement, earns a dual-technology sensor. A home office where someone sits still for hours wants a presence sensor rather than a motion sensor, because plain PIR often times out when a person stops moving.
2. Plan the sensor and light placement
Stand in the room and walk the path someone actually takes: doorway to hallway, front door to kitchen, closet door to the shelf. Mount the sensor so that path crosses its field of view.
Hallways work best with the sensor at one end, aimed along the run, angled slightly away from a wall. A sensor aimed flat at a wall wastes most of its range on plaster.
Staircases need either two sensors or one at the bottom, since a single sensor at the top will miss you halfway down in a dark run. Closets and pantries do well with a strip light inside the door frame, which lights the shelf without a single wire. Bathrooms need a fixture or switch rated as damp location, and the placement should avoid the shower area entirely. Kitchens are better served by under-cabinet sensing, because the ceiling fixture rarely needs to switch on.
Rooms with pets need a narrowed field of view aimed at floor level where humans walk, plus a lower sensitivity setting. Furniture is the other common blind spot: a sofa back or a tall plant in front of the lens will stop the light coming on when somebody walks through.
One more trap. If the sensor can see out a window, it will pick up cars, headlights and pedestrians. Aim it away from glass, or accept that you will be adjusting it for a while.
3. Turn off power and prepare the wiring
Find the breaker for the circuit, switch it off, and confirm it by watching the lights go out and by trying the switch. Then verify with a non-contact voltage tester across every conductor you plan to touch, including the box screws and the face plate.
Photocell sensors sometimes hold a small charge after the breaker is off. Give it 30 seconds after testing before you clip anything.
For a switch swap, remove the face plate, unscrew the switch, and pull it out without tugging the conductors. Photograph the wiring before you disconnect it. Every photo you take here saves an argument later.
For a hardwired fixture, support the fixture by its wires while you unclip the bracket, so nothing hangs from the conductors. Replace the old connectors one at a time rather than all at once, so you cannot lose track of which conductor is which.
4. Mount and connect the sensor
Hardwired units take a mounting bracket first, then the sensor body twists or screws onto it. Attach the bracket to the box or joist with the screws supplied, not longer screws you found in a drawer — those can pinch a cable behind the box.
Wire connections follow a standard colour code, but always defer to the diagram printed on your unit:
- Black or any re-identified conductor: hot, the live feed
- White or grey: neutral
- Bare copper or green: ground, to the green screw in the box
- Red: load, the switched leg heading to the light. This is the wire that trips most first-time installers.
- In a sensor switch: hot to the common terminal, load to the load or red lead, neutral to neutral, ground to ground.
Strip about 1.5 cm of insulation, keep the strands untwisted, and use one connector per connection. Leave it a touch loose inside the connector — a proper pigtail twists conductors together, then the connector grips the outside. Never wrap bare wire around a screw terminal under a plate with no connector on it.
The four install types behave differently after wiring. A hardwired fixture powers on and senses immediately. A sensor switch usually needs a reset: many models flash their sensor several times, or ignore input for 30 to 60 seconds after power returns, to let the photocell and sensor calibrate. A plug-in unit works the moment it is plugged in. A smart switch will not complete a pairing until you hold its pairing button, so power it up before you open the app.
5. Adjust sensitivity, range, and time
These are the three settings on an indoor motion sensor light, and they are all on the sensor body:
- Sensitivity — how much change in heat or motion it needs before it triggers. Start low if you have pets or a street-facing window.
- Time delay (hold time) — how long the light stays on after motion stops, usually adjustable from a few seconds up to about 15 minutes. For a bathroom or a closet where you stand still, set this to the maximum.
- Detection range — how far the sensor listens, sometimes a separate dial or an app slider. Ignore the maximum printed on the box; the room decides the real number.
Many units add a fourth control: a photocell minimum threshold, sometimes labelled LUX, MIN or DAY. It stops the light switching on when daylight is already bright enough. Set it to its daylight maximum and leave it for a week so it learns your room.
Test mode usually disables the timer so the light stays on as long as you move, which makes it easy to find blind spots. Switch it out of test mode when you are finished.
If the light comes on during the day, the photocell threshold is set too dark — move it toward the maximum. If it flickers on and off repeatedly, the sensor is seeing something repeat: a fan blade, a curtain edge or a heating vent. Aim away from it before you change any settings.
6. Test the motion sensor lighting indoors
Walk-test properly, not just by waving a hand in front of the lens once. Give it a repeatable sequence:
- Turn off any other lights in the room, restore power, and let the sensor settle for a minute.
- Walk slowly across the field of view at normal pace, starting well outside the nominal range.
- Repeat at a slow stroll and at a fast walk. Slow movement is where PIR sensors usually lose you.
- Approach at different angles — from the side, from behind furniture, and directly at the lens.
- Stand still in the spot you will actually stand in and count how many seconds the light stays on.
- Repeat the whole sequence in daylight to confirm the photocell holds the light off.
If it never triggers, walk to the far corner of the room and close a door. A closed door will block a PIR sensor entirely — that tells you it is a coverage problem, not a wiring problem. If the light turns on but drops out while you are still in the room, raise the time delay. If it fires with nothing moving, aim it away from glass and heating vents, then lower sensitivity one notch.
The most common complaint is not a fault at all: the switch works, but it cuts out after the timer expires and ignores the fact that you are still standing there. That is a design choice on most sensor switches. Press the switch to turn the light on, and many models will hold it for up to 30 minutes regardless of motion. Switches marked “load-inhibit” or “manual override” extend that behaviour. In a 3-way setup the light can still drop out at the other location, which is a known limitation of all but the newest multi-location models.
Common Mistakes
Almost every “broken” motion sensor light is one of these nine things.
| Symptom | Likely cause | Fix |
|---|---|---|
| Light never turns on | No neutral wire at the switch, or the sensor is still calibrating after power returned | Confirm a neutral is present; wait 60 seconds; reset the sensor with its test or reset button |
| Turns off while you’re still in the room | Time delay set too short | Raise the hold time to the maximum and retest |
| Manual switch command ignored | Sensor switch treats your “on” as a motion event and starts the timer | Use manual override or a load-inhibit model; expect the light to release anyway in 3-way setups |
| False triggers at random times | Sensor sees a street, a fan, a vent or a curtain | Aim away from glass, vents and moving fabric; lower sensitivity; switch to a dual-technology sensor |
| Triggers from outside the room | Detection range exceeds the space, or it sees through a door | Reduce range, re-aim, and use a narrow-angle lens or mask |
| Flashing or flickering | Load is not LED-compatible, or the photocell is being fooled by another light source | Confirm the sensor is rated for LED loads; set the daylight threshold higher |
| Dark spots in a large room | Field of view too narrow, or furniture blocking it | Raise range, aim downward or across the room, add a second sensor |
| Light comes on in daylight | Photocell threshold set at its darkest setting | Rotate the daylight control toward the sun icon or maximum |
| Sensor stops responding after a few weeks | Dust on the lens, or a depleted battery pack | Wipe the lens with a dry cloth; replace or recharge the cells; clean quarterly |
Two habits keep sensors working. Wipe the lens with a dry cloth every few months — a dusty lens halves the detection range. And walk-test after every daylight-saving change, because the photocell calibration drifts with the seasons.
The other habit is placement discipline. Mount at the manufacturer-specified height, keep the lens clear of overhanging objects, and never aim a sensor through a window on purpose. Most of the bad installs I have seen were a well-built unit pointed at the wrong patch of room.
Frequently Asked Questions
What are the three settings on a motion sensor light?
The three settings are sensitivity (how much change in heat or motion triggers the light), time delay or hold time (how long the light stays on after movement stops, often up to about 15 minutes), and detection range or distance (how far the sensor listens). Most indoor models add a daylight or LUX control and a test mode that disables the timer while you walk the room.
Is there a motion sensor switch that doesn’t require a neutral wire?
Yes. No-neutral switches, sold as HALL or load-inhibited models, power themselves from the load conductor and only need hot and load at the box. With the breaker off, count the conductors: two wires with no ground means buy this type. If you find three wires or a ground, a standard sensor switch is simpler and more reliable.
How do I keep my motion sensor light on all the time?
Press the wall switch to signal a manual on, and most sensor switches hold the light on regardless of motion until you press off again. Look for a switch marked manual override or load-inhibit, or fit an on/off lockout switch at the box. In a three-way setup the light may still cut out from another location unless every switch is a matched multi-location model.
Why does my motion sensor go off for no reason?
Usually the sensor can see something it should not: a street through a window, a fan blade, a heating vent, a curtain edge or a pet. Turn the sensitivity down one notch, re-aim away from glass and vents, and reduce the detection range. A dual-technology sensor that combines PIR with microwave detection is the fix if false triggers persist after tuning.
How do I put a motion sensor on an existing light?
There are three routes. Replace the wall switch with a sensor switch, which needs a neutral wire and controls every fixture on that circuit. Swap the fixture for a hardwired sensor light, which covers one fitting only. Or add an in-line sensor between the supply and the fixture, which suits several pot lights on one switch without replacing anything decorative.
Do motion sensor lights work with LED bulbs and existing dimmers?
Most modern sensor switches and sensor fixtures are LED-compatible, but older sensors can misfire on low-load LED circuits and flicker. Check that the sensor is rated for LED or has a minimum load rating. Most sensor switches cannot dim, so an existing dimmer must be replaced with a plain or smart dimmer-compatible switch.
Conclusion
Start with the easiest version of the job. A plug-in or battery sensor in one hallway proves whether you like the behaviour before you open a box. Once that feels right, pick one room with a clear walking path, confirm you have a neutral wire, and fit the sensor switch there.
Keep the breaker off until a voltage tester says the circuit is dead, follow the diagram on the unit rather than a generic diagram online, and hire a licensed electrician the moment you find old wiring, no ground, or a three-way box with too few conductors. Then tune the settings in the dark for a week. That is where nearly every motion sensor lighting problem is actually solved.