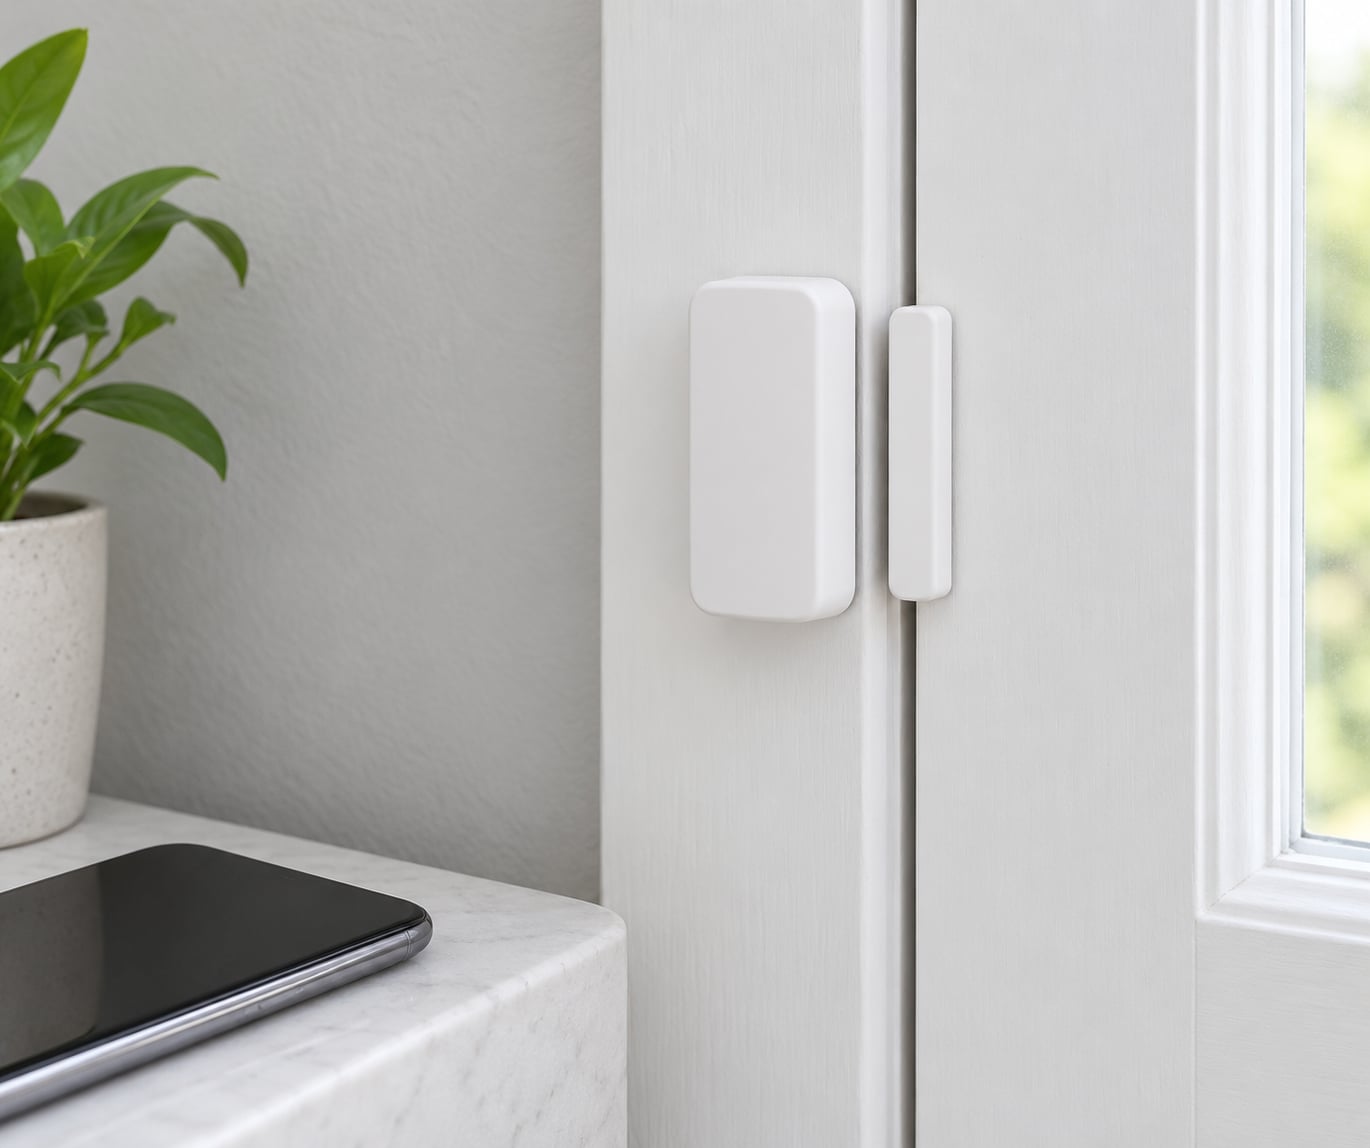
A smart door or window sensor is a two-part device: a sensor body and a small magnet. Mount one part on the frame and the other on the door or window, and when they separate the paired hub sends a push notification to your phone. That is the whole idea behind how to use smart sensors for door and window alerts, and the setup is quicker than most people expect.
Most first installs take about twenty minutes per opening. The fiddly part is not the hardware, it is the phone side of things: notification permissions, battery-saver restrictions, and Do Not Disturb quietly swallowing alerts. I have watched a perfectly good setup look broken for a week because the phone was on a per-app battery restriction.
This guide covers the sensor types, the hubs that carry them, the pairing steps in the common apps, and the fixes for the false alerts nobody else explains. It is platform-neutral on purpose. Aqara and Xiaomi sensors show up constantly in smart-home forums, Tapo sensors show up just as often, and plenty of people run Home Assistant or HomeKit instead, so the steps below apply across those rather than pushing one brand.
Table of Contents
- What You Need
- Choose the sensor type that matches what you want to know
- Budget for batteries, not wiring
- Understand what the hub does
- Step-by-Step: Set Up Door and Window Alerts
- 1. Choose a sensor for the door or window
- 2. Confirm your phone and smart-home compatibility
- 3. Install the sensor and align the magnet
- 4. Pair the sensor in the manufacturer’s app
- 5. Enable phone notifications
- 6. Name the sensor and assign its location
- 7. Create an alert or automation
- 8. Test the setup and check for missed alerts
- Common Mistakes
- Frequently Asked Questions
- Do smart door and window sensors need Wi-Fi or a hub?
- Can I receive alerts when my phone is in another room?
- How do I stop a door sensor from sending false alerts?
- Does a smart sensor work when the window is open beyond the magnet’s range?
- Can one smart-home hub support several door and window sensors?
- How long do the batteries in contact sensors usually last?
- Conclusion
What You Need
Four things matter before you buy anything: the sensor type, the hub or bridge it talks to, the app on your phone, and whether that phone is allowed to interrupt you. Get the first two wrong and the sensor will sit unpaired in a drawer.
Choose the sensor type that matches what you want to know
Most people picture a contact sensor, but it is only the right answer for some openings. A sliding window with no fixed frame position usually needs a tilt sensor, and a large picture window you cannot reach may be better served by a glass break sensor.
| Sensor type | What it detects | Where it goes | Typical alert |
|---|---|---|---|
| Contact (magnetic reed) | A gap opening between magnet and body | Door leaf and frame, or sash and track | Open or closed push, chime or siren |
| Tilt | A change in angle, not a gap | Sash of a casement or sliding window | Opened, tilted part-way, closed |
| Glass break | The acoustic signature of shattering | On or near the pane, facing the room | Break-in alert with no open event |
| Motion (PIR) | Heat and movement in a zone | Corner or hallway coverage | Motion detected, often filtered by pet setting |
| Vibration | Shaking, knocking, hammering | On the pane or frame itself | Tamper or knock alert |
One sensor cannot do all of this. Contact sensors detect openings, not movement through an open doorway, so they complement a motion sensor rather than replace one.
Budget for batteries, not wiring
Almost every consumer contact sensor is battery-powered, and the coin cell lives inside the sensor body rather than the magnet. The magnet is passive, so it never needs power.
| Battery format | Commonly found in | Typical service life |
|---|---|---|
| CR2032 | Wider contact sensor bodies | Roughly 12 to 24 months in normal use |
| CR1632 | Slim and recessed sensors | Roughly 12 to 18 months |
| CR2450 | Thinner bodies and tilt sensors | Roughly 18 to 24 months |
| AA | Hub devices, sirens, some glass break sensors | Often over a year, sometimes far longer |
Those are ranges, not guarantees. A sensor mounted on a metal frame reports more radio traffic and drains faster, and a hub with a flaky mesh link makes every sensor work harder to reach it.
Understand what the hub does
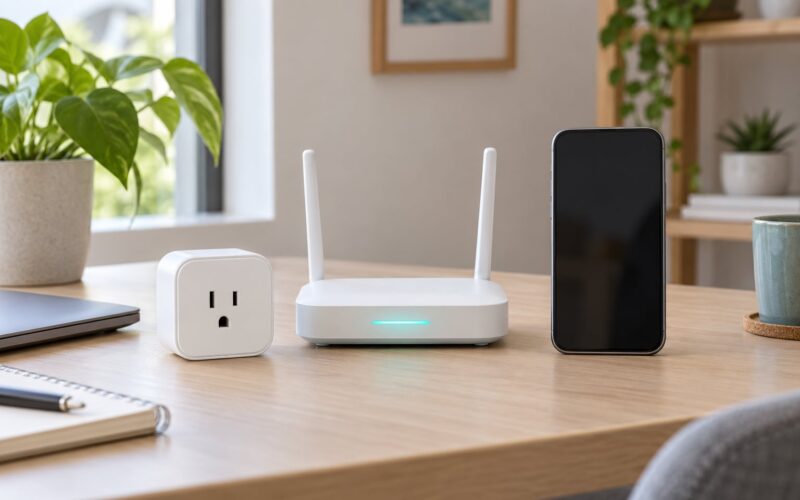
A hub is a small box that speaks to your sensors over a low-power mesh radio, usually Zigbee, and then passes the event to your phone, usually over Wi-Fi or Ethernet. The sensor itself usually has no Wi-Fi radio at all, which is exactly why battery life is so good.
Some bridges do less. A phone can act as a Bluetooth hub for a small number of nearby sensors, which is fine for a test, but it means alerts stop when that phone is away or the phone app gets killed.
One more prerequisite is easy to forget. Your phone needs permission to send notifications, show them on the lock screen, and ring when the app is closed. On Android that means disabling battery optimisation for the app, and on iOS it means allowing Critical Alerts if you want a sound even in Focus modes.
Step-by-Step: Set Up Door and Window Alerts
1. Choose a sensor for the door or window
Start from the opening itself rather than from a product page. Hinged doors and standard casement windows take an ordinary contact sensor. Sliding doors, sliding windows and anything with a floating sash generally want a tilt sensor, because the magnet has no fixed position to sit next to.
Placement drives reliability more than brand does. Measure the frame first: if the closed position gives you a magnet gap wider than the sensor body can sense, no amount of app fiddling will fix it.
For Xiaomi and Aqara-branded gear you will mostly find Zigbee contact sensors that need a compatible hub. Tapo also sells Wi-Fi sensors that skip the hub entirely. Neither brand pairs with every ecosystem, so check the box or the listing before you commit.
2. Confirm your phone and smart-home compatibility
The sensor has to belong to an ecosystem your phone can actually reach. Aqara and Xiaomi sensors usually land in the Mi Home app, Tapo sensors land in the Tapo app, and generic Wi-Fi sensors often show up in Smart Life. Home Assistant and HomeKit sit a layer above, and what reaches them depends on the bridge in between.
| Platform | Radio | What you need | Watch out for |
|---|---|---|---|
| Mi Home | Zigbee via hub | A supported Xiaomi or Aqara hub | Region-locked accounts; sensors bought in one region may not pair in another |
| Tapo | Wi-Fi | A 2.4 GHz network | No hub needed, but range is limited by the router |
| Smart Life | Wi-Fi | A 2.4 GHz network | Many unrelated brands share this app and its account |
| Home Assistant | Zigbee, Z-Wave, Wi-Fi | A radio stick or hub plus an integration | Pairing usually means putting the hub in pairing mode and pressing the sensor’s button |
| HomeKit | Bluetooth or Thread | A HomePod or Apple TV as the hub | Not every Zigbee sensor is exposed to HomeKit without a bridge |
Two more checks save headaches later. Update the manufacturer app to its current version, since older builds sometimes fail to pair newer firmware. And note that most smart-home apps register accounts against a cloud region chosen at signup, which is why switching apps can orphan a working sensor.
3. Install the sensor and align the magnet
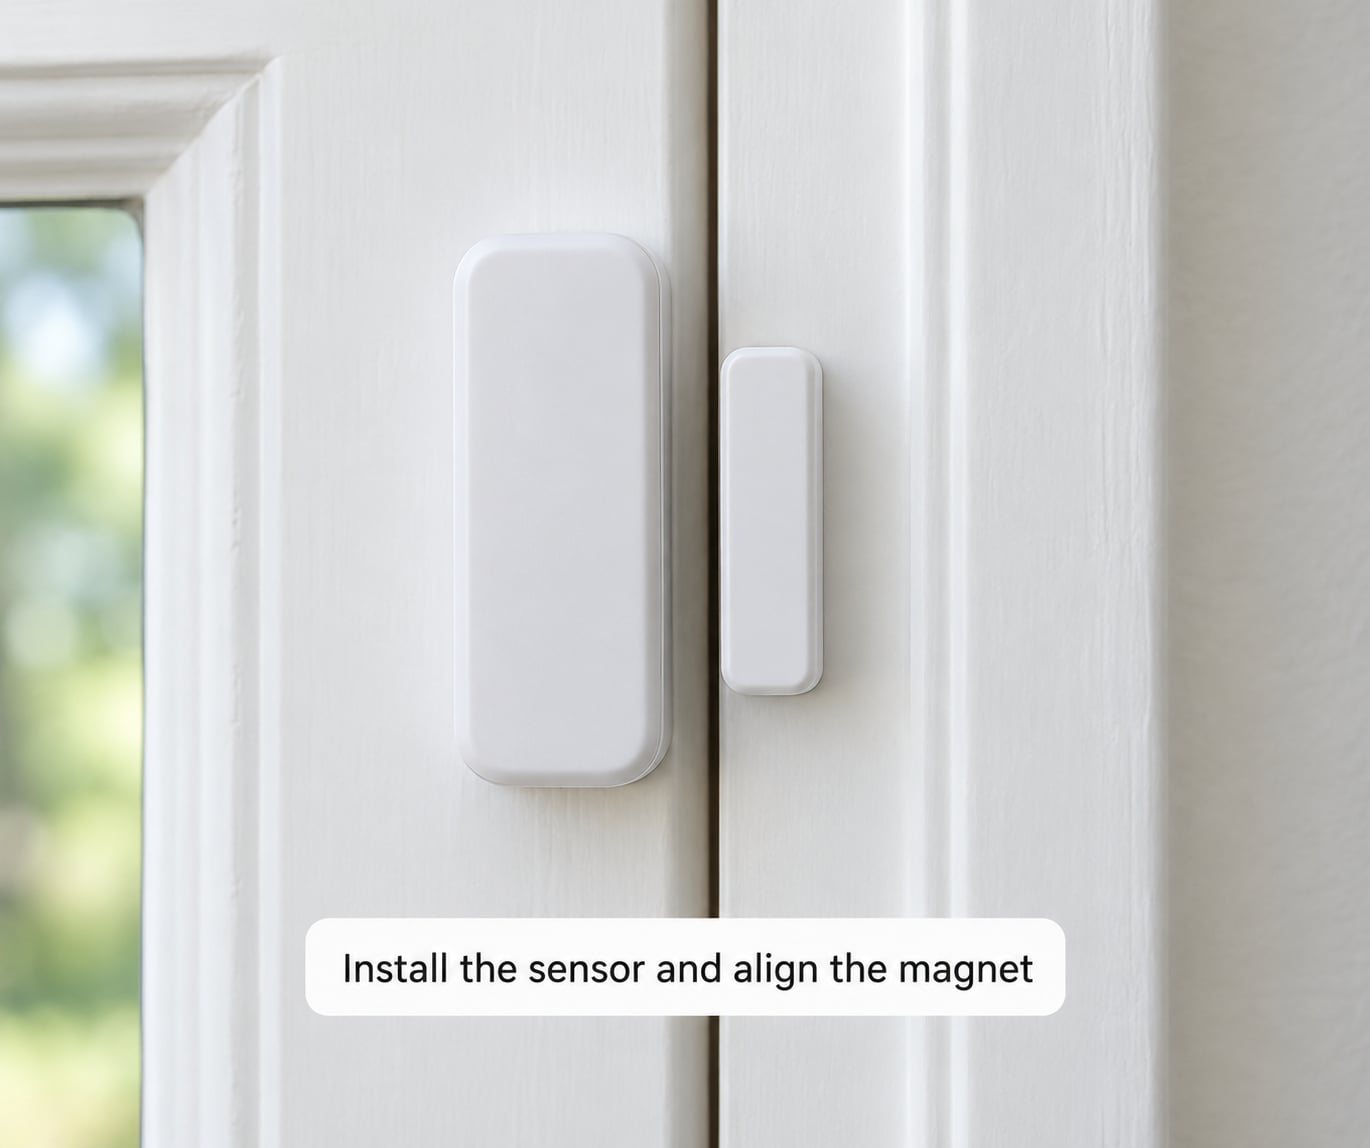
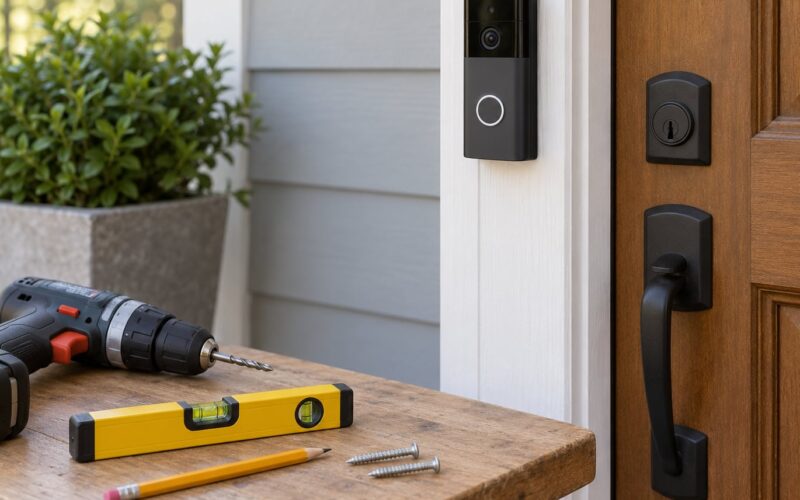
Clean both surfaces with isopropyl alcohol and let them dry fully. Dust and paint grease are the usual reason an adhesive sensor peels off in a fortnight, and a surface that is not clean is the reason the magnet gap drifts out of tolerance.
Mount the sensor body on the frame or the stationary part, and the magnet on the piece that moves. Give the manufacturer gap specification a quick read, usually stated as a maximum millimetre distance, and treat it as a limit rather than a suggestion.
Align the two parts along their edges, not just their centres. The reed switch responds best when the magnet sits square across the marked line on the body, and a magnet that is three millimetres high still works while five millimetres high does not.
Prefer wood frames where you have the choice. Smart-home community reports consistently describe metal frames causing both extra false alerts and faster battery drain, since metal reflects the radio signal that the sensor uses to reach the hub.
4. Pair the sensor in the manufacturer’s app
Install the sensor battery first, because most bodies only enter pairing mode when they detect power. In Mi Home the path is Profile, then Add device, then search or use the plus icon; the wording shifts slightly between versions but the shape of the flow is the same.
Put the hub into pairing mode before you start. On most Zigbee hubs that means holding a button on the hub until its light blinks steadily rather than slowly. Then bring the sensor within arm’s reach of the hub, not of the phone.
Press and hold the pairing button on the sensor body until its indicator flashes. If it does not appear within about thirty seconds, power-cycle the hub and try again. Home Assistant and HomeKit follow a similar shape: put the bridge into pairing mode, then trigger the sensor’s own pairing action from the app or the add-device screen.
Pair one sensor at a time. A fresh hub will often pick up two nearby sensors at once and both end up half-registered.
5. Enable phone notifications
A paired sensor that never reaches your phone is the single most common complaint in these setups, and almost always it is a permission, not a hardware fault.
In Mi Home and Tapo, open the sensor and turn on the alert toggle first, then check the system settings for that app. Android needs notifications allowed, lock-screen preview allowed, and battery optimisation set to unrestricted, otherwise the app gets frozen the moment the screen goes dark.
On iPhone, allow notifications and add the app to your Focus exceptions if you use Do Not Disturb. If the sensor supports it, Critical Alerts is the option that lets an entry alert sound even in a Focus mode, and it needs a deliberate permission grant on the phone.
Do a sound test before you walk away. Open the sensor from the app and confirm you hear and see the alert on the phone, not just in the app’s event log.
6. Name the sensor and assign its location
The default name is usually the model number, which tells you nothing at two in the morning. Rename it to the place: Front Door, Back Door, Kitchen Window, Garage Side Door. Short and specific beats clever.
Where the app offers rooms or zones, assign the sensor to one. Grouping matters later, because room assignment is what lets an automation distinguish the patio door you actually want an alert about from the back door that gets opened all day by everyone including you.
7. Create an alert or automation
A basic alert sends a push notification when the state changes and nothing else. Turn it on, choose whether it fires on opening only or on both opening and closing, and save it.
Most ecosystems also offer arming modes. In Home mode you might want a chime on the back door and nothing on the front. In Away mode you want every opening to notify you. In Night mode you usually want the windows but not the door you walk through twice a night.
Automations go further. Open the front door and the hallway light comes on. Open the patio slider and a voice assistant announces it. Leave a window open more than thirty seconds and the heating drops back a few degrees. That open-duration delay is worth setting up, because it filters out the slammed-and-bounced door that wakes the whole house.
8. Test the setup and check for missed alerts
Test like someone checking a smoke alarm, not like someone testing a light switch. Stand outside, open the door slowly, wait five seconds, close it slowly, and wait again. Repeat fast. The slow cycle finds signal or alignment problems, and the fast cycle finds the ones that only appear when the door slams.
Then check each item in turn: the phone showed an alert, the alert was audible, the app recorded the correct state, the automation triggered, and the battery reading looks healthy. A sensor sitting at a low battery warning can be one weak contact away from reporting open permanently.
Finally, confirm the hub hears the sensor from where it sits. Open and close the sensor three times in a row. If the hub registered all three, your mesh link is fine.
Common Mistakes
Almost every problem people hit with these sensors falls into one of six buckets, and each has a fix you can do yourself in a few minutes.
Magnet too far from the body. A frame that flexes when the door closes leaves the magnet out of range even when the door looks shut. Symptom is a sensor stuck on open. Move the body so the gap stays inside the manufacturer figure with the door fully closed, and test again by pushing the door shut with your hand.
Adhesive failing or surfaces dirty. Symptom is a sensor that reports open at random, or drops offline entirely. Clean both surfaces with alcohol, replace the adhesive pad, and press firmly for thirty seconds. On rough paint or a textured frame, a screw mount is more reliable than tape.
Notifications blocked on the phone. Symptom is an app history that shows the open event while the phone never buzzes. Check the notification permission, lock-screen preview, battery optimisation, and Do Not Disturb exceptions, then send a test alert.
Hub range or a moved hub. Symptom is sensors going offline after you rearrange things. Zigbee meshes, so one sensor may have been reaching a repeater that has now changed. Pair a mains-powered device close to the weak area to create a new route, or move the hub to a more central spot.
Corroded contacts. Symptom is intermittent flapping and battery drain that outruns the usual figure, common near kitchens, bathrooms and coastal air. Open the battery compartment, clean the contacts with a dry swab, and replace the cell.
False alerts from vibration and weather. Symptom is alerts at night with no one home. Wind, a falling branch and a door slammed from the inside all register on a contact sensor. Reposition away from the frame edge, add an open-duration delay of thirty seconds, and mute that one sensor at night rather than the whole system.
A shared-family account issue is worth knowing too. If a second phone is meant to receive alerts and does not, check that the account on that phone has been given access in the app rather than being logged in separately. Separate accounts often lose permission to view devices added by the first.
Two last habits save trouble. Add sensors one at a time and test each before mounting the next, and take a photo of the closed gap with your phone before you press the adhesive down. When a sensor reports stuck open a year later, that photo tells you where it was in the first place.
Frequently Asked Questions
Do smart door and window sensors need Wi-Fi or a hub?
Zigbee sensors need a hub, and the hub needs a network connection to reach your phone, so something like Wi-Fi is involved even when the sensor itself has no Wi-Fi radio. Wi-Fi sensors connect straight to your 2.4 GHz router and skip the hub entirely. Bluetooth sensors can pair to a phone acting as the hub, which suits a first test but ties alerts to that phone staying nearby and awake.
Can I receive alerts when my phone is in another room?
Yes, as long as the alert is a real push notification rather than an in-app message. Bluetooth-only sensors reach the hub rather than your phone directly, so the phone can be anywhere on the same network or mobile data. On Android, check that battery optimisation is not restricting the app, since that is what stops alerts arriving on an idle phone.
How do I stop a door sensor from sending false alerts?
Start with the gap: close the door fully and measure the distance between magnet and sensor body. If it exceeds the manufacturer figure, reposition the body, ideally on a wood frame rather than metal. Then clean both surfaces, re-seat the adhesive, and add a delay in the automation so a sensor open for less than thirty seconds does not trigger anything.
Does a smart sensor work when the window is open beyond the magnet’s range?
A contact sensor only reports one state, which is open. It has no idea how far the window has travelled, so a wide gap makes no difference as long as the magnet has moved outside the sensing distance. A tilt sensor is the upgrade if you want to know whether a casement or sliding window is cracked open a few centimetres versus wide.
Can one smart-home hub support several door and window sensors?
Yes, and that is the normal case. Consumer hubs handle dozens of sensors across several floors, and because Zigbee meshes, each sensor can relay through mains-powered devices like smart plugs or bulbs. Add sensors one at a time so the hub does not try to register two at once, and keep one mains-powered device between each hub and group of weak sensors.
How long do the batteries in contact sensors usually last?
Most coin-cell contact sensors last roughly 12 to 24 months, with CR2032 and CR1632 at the more common end and CR2450 often running a little longer. Metal frames, weak hub signal and frequent open and close cycles all shorten that. Replace the cell as soon as the low-battery warning appears, since a flat battery can leave a sensor reporting open permanently.
Conclusion
Start with one sensor, not five. Confirm it belongs to an ecosystem your phone can already reach, install it on a single opening with the magnet gap measured and inside spec, pair it in the app, then open that door five times and confirm the phone buzzes each time.
Once that one opening proves the chain from sensor to hub to your ear works, repeat it. The people who end up with reliable door and window alerts are the ones who fixed permissions and alignment on the first sensor, rather than the ones who mounted everything on day one and debugged six devices at once.