Most indoor cameras are not useless because the hardware is bad. They are useless because of where they sit. The indoor security camera placement mistakes to avoid are mostly about position and angle: a mount too high that records the tops of heads, a lens pointed at a bright window so everyone turns into a silhouette, a shelf in the way of the sightline, or a camera parked in the one corner of the room with no Wi-Fi. Fix the position and an ordinary camera suddenly works. Get it wrong and no amount of resolution brings back detail the lens never captured.
This is indoor-only advice. Outdoor placement has different rules around infrared range, weather and reach, and most of what you read online mixes the two together. The ten mistakes below cover what goes wrong, what the footage ends up looking like, and the fix that takes about ten minutes.
Table of Contents
- 10 Indoor Security Camera Placement Mistakes to Avoid at a Glance
- 1. Placing the camera too high to identify people
- Why these indoor security camera placement mistakes matter
- 2. Pointing the camera toward a bright window
- 3. Leaving entry points and exits uncovered
- 4. Relying on a camera with a narrower field of view than the room
- 5. Mounting the camera through glass or near a reflective surface
- 6. Placing the camera where it cannot hear useful audio
- 7. Ignoring reflections, shadows, and foreground obstructions
- 8. Using one camera to cover a large, multi-room space
- 9. Placing the camera too close to the Wi-Fi router or a poor network corner
- 10. Failing to check privacy, permissions, and recording settings
- Frequently Asked Questions
- How high should an indoor security camera be mounted?
- Should indoor security cameras point toward windows or doors?
- Do indoor security cameras need to record audio?
- How do I check for blind spots before mounting a camera?
- Where should I place an indoor camera in a small apartment?
- Conclusion: Start With Your Entry Points
10 Indoor Security Camera Placement Mistakes to Avoid at a Glance
| Mistake | What it does to your footage | Fix |
|---|---|---|
| Mounting too high | Crowns of heads and floor, no usable faces | Drop to 7 to 8 ft and angle down toward the entry |
| Pointing at a bright window | Backlit silhouettes, washed-out detail | Angle away from the glass or shield it from the frame |
| Leaving doors and stairs uncovered | Intruders walk in outside the recording area | Map every entry and exit before mounting anything |
| Field of view narrower than the room | Blind corners on both sides of the frame | Move to a corner or step up to a wider lens |
| Behind glass or a mirror | Glare by day, infrared reflection at night | Mount inside the room, not in the window |
| Too far to hear anything | Video without usable audio evidence | Cut the gap to under about 15 ft, clear walls in between |
| Shelves, doors and shadows in the way | People half-hidden, constant false alerts | Walk the sightline and clear the foreground |
| One camera for the whole floor | Everything distant and unreadable | One job per camera, overlapping where it matters |
| Signal dead corner | Dropped frames, constant rebuffering | Test signal at the mount point before drilling |
| Ignoring privacy and permissions | Recording neighbours, shared family passwords | Run a privacy check before the first recording |
That table is the short version. The sections below explain why each one fails and exactly what to change.
1. Placing the camera too high to identify people
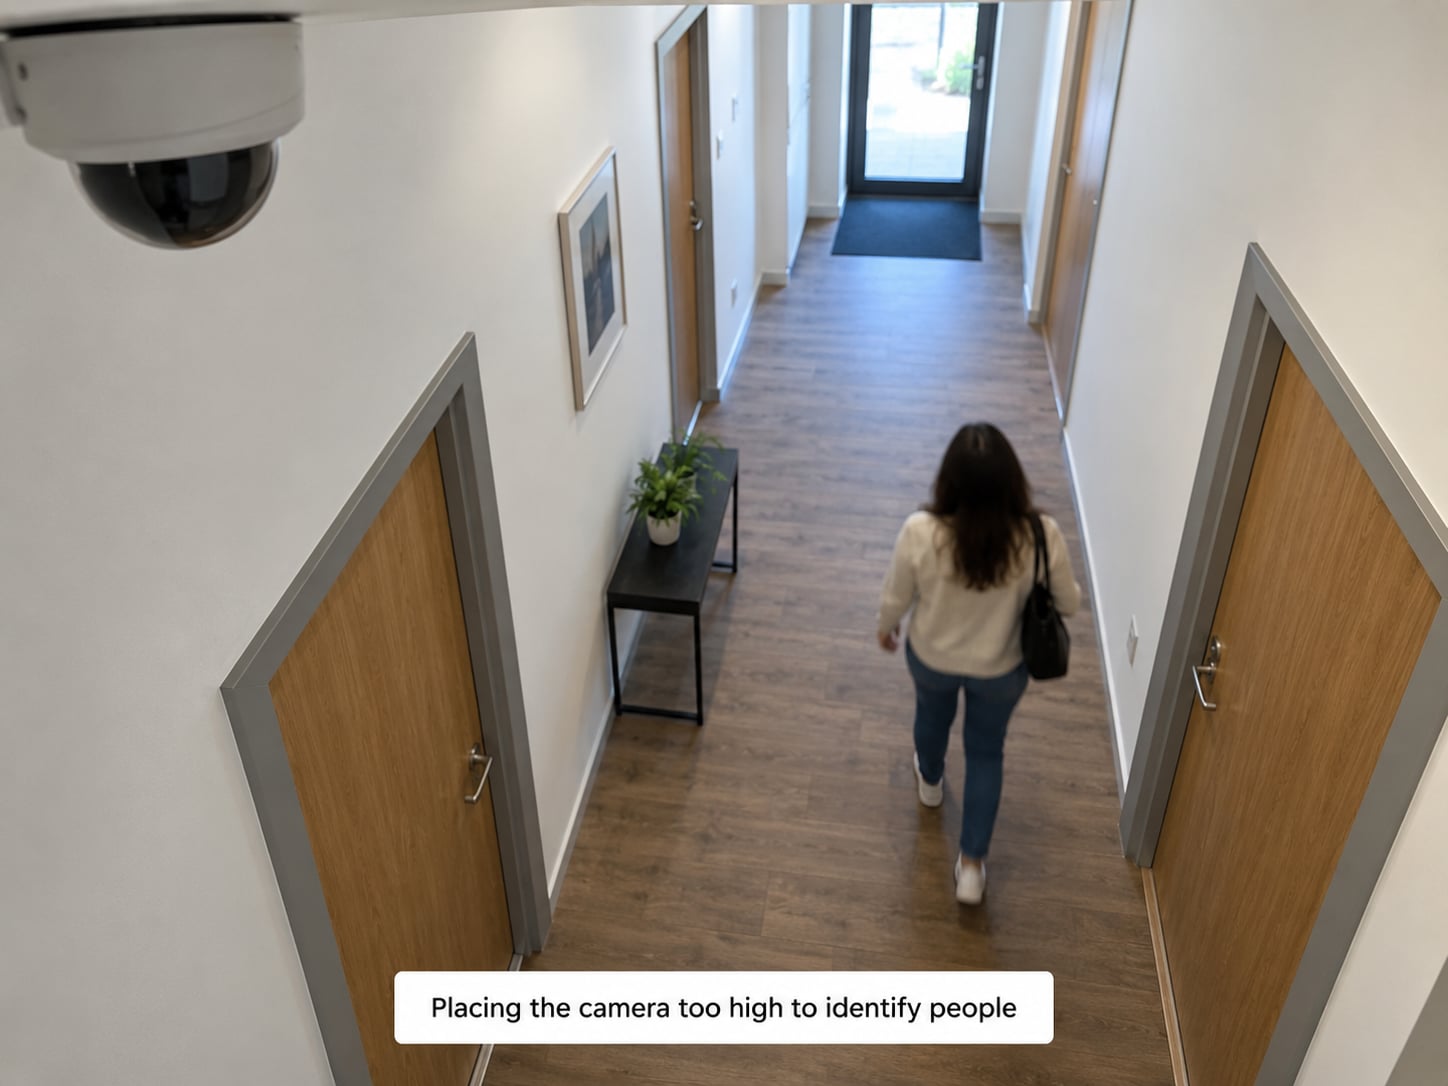
A camera mounted near the ceiling records the tops of doors and a big empty floor. Faces arrive at a steep downward angle, so the feature you actually need, eyes and mouth, gets about fifteen pixels.
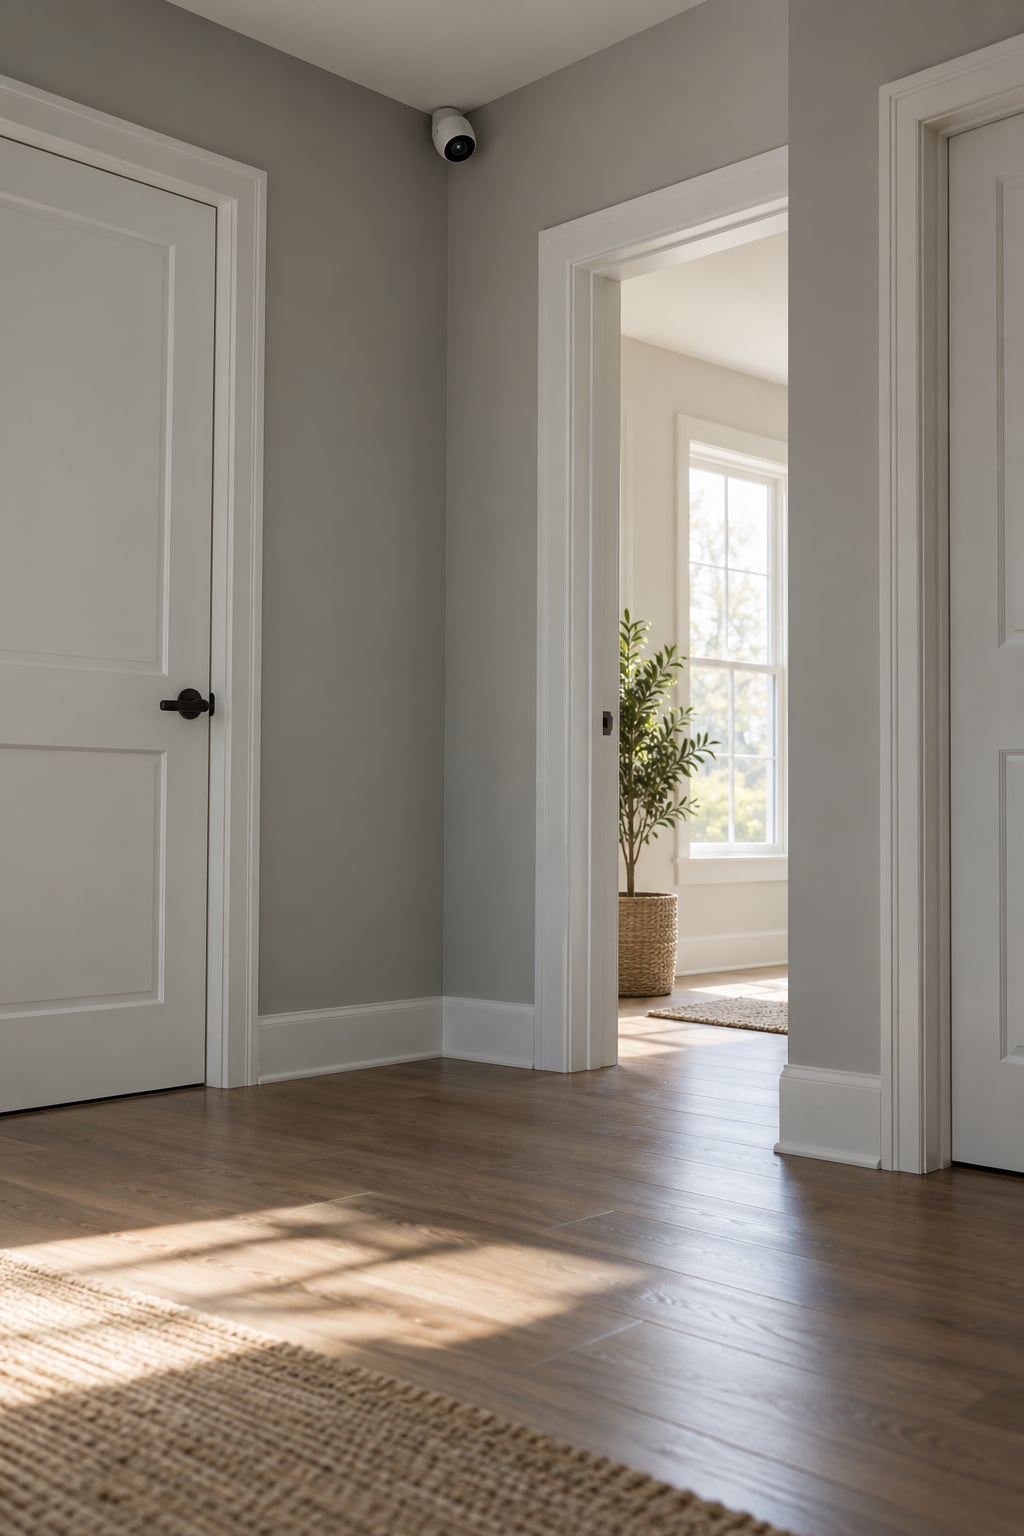
The sweet spot for most indoor entry cameras is 7 to 8 ft off the floor, mounted near a corner or above the doorway, tilted down roughly 30 degrees. High enough that a person cannot reach it while standing on a chair, low enough that heads and faces stay legible.
| Height | What you gain | What you lose |
|---|---|---|
| Under 6 ft | Excellent facial detail | Reachable, and people step around it |
| 7 to 8 ft | Faces plus headroom, out of casual reach | Very little |
| 9 ft | Covers a wider floor area, wiring hides better | Facial detail starts to suffer at the far edge |
| Ceiling corner | Maximum floor coverage | Steep angle, and fisheye lenses waste half the frame on walls |
Users on home security forums describe the same regret repeatedly. They went high because high felt safe, then found the footage showed a shape rather than a person. One camera dropped from 9 ft to 7.5 ft made the difference between recognising a neighbour and reporting an intruder.
Why these indoor security camera placement mistakes matter
Poor positioning fails quietly. The camera streams, the app shows a live image, the status light blinks green, so everything looks fine until the day you need the recording. Then the footage shows a doorway, a blur and a timestamp, and nothing more.
The four consequences show up in every case I have looked at: events that never triggered a notification because they happened outside the motion zone, footage nobody can identify because of the angle or the light, false alerts from curtains and shadows that train you to ignore the app, and more recorded surface area than you need, which raises the privacy exposure for no security benefit. Fix position first and all four shrink at once.
2. Pointing the camera toward a bright window
A camera exposed for a bright window renders the room behind the person as a dark outline. This is the most common single cause of unusable indoor footage, and it usually appears in the afternoon when the sun swings to a new side of the house.
The fix has three parts. Aim the camera away from the glass rather than toward it, so the brightest thing in frame is a wall instead of the outdoors. Choose a camera with wide dynamic range, which is the feature that recovers detail when a frame contains both a bright window and a dim hallway. Then set the exposure manually if the app allows it, dialling in for the room instead of the window.
Turn the lights on in the room the camera covers and watch the preview for a few minutes. If faces stay dark while the window burns out, the angle is still wrong.
3. Leaving entry points and exits uncovered
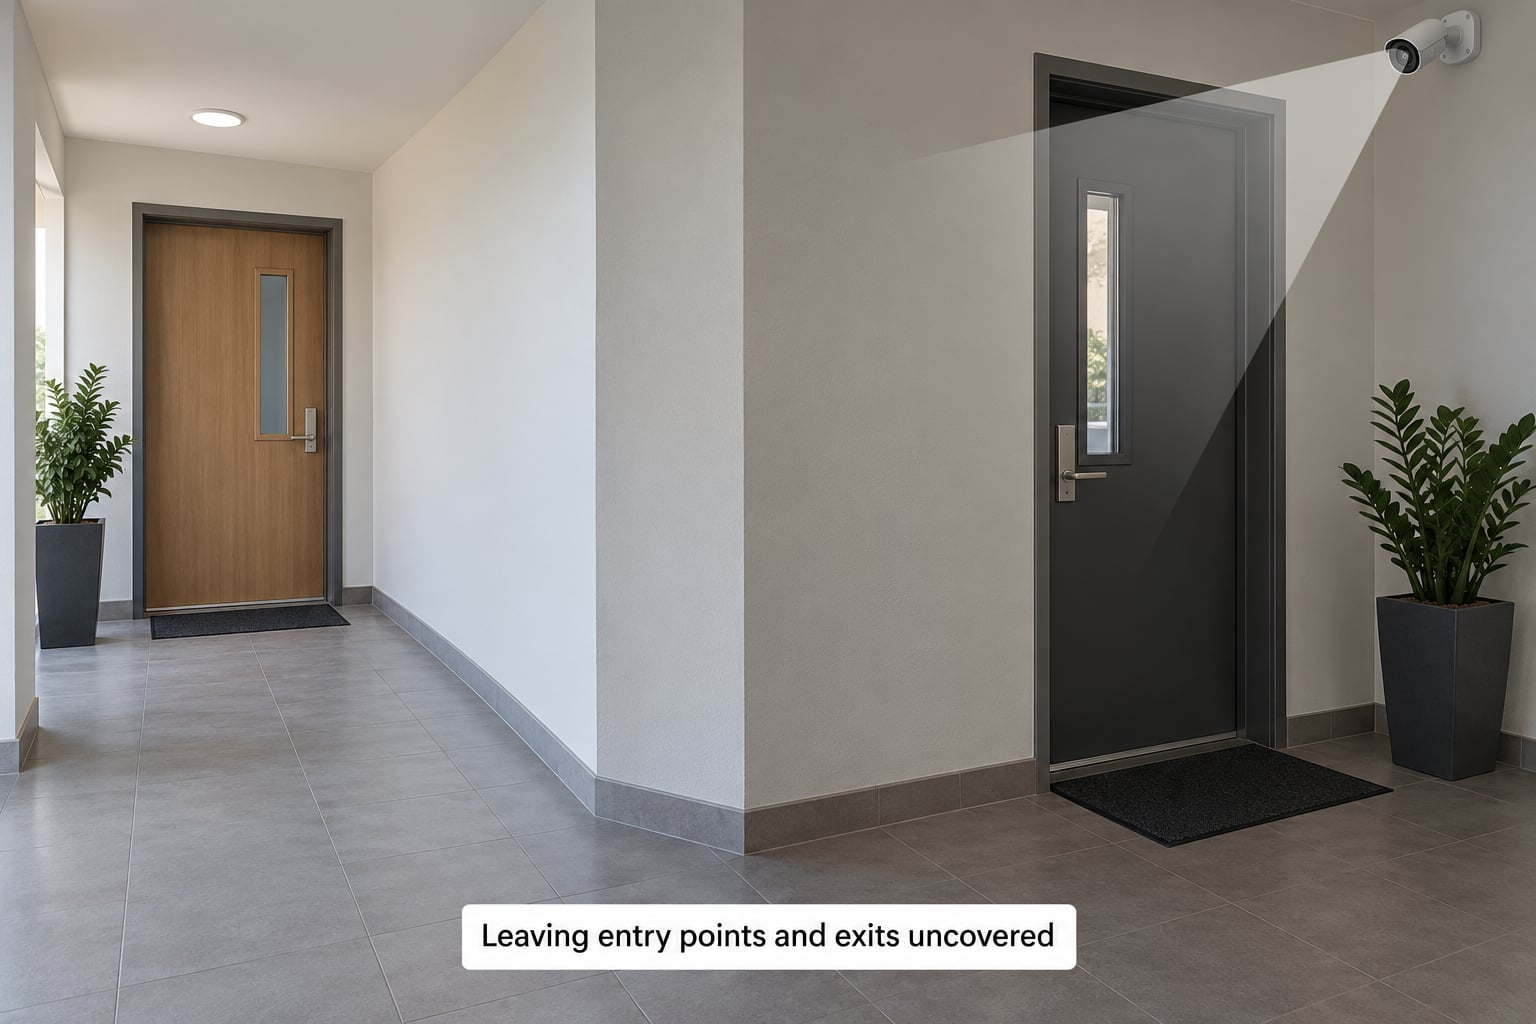
Most indoor cameras end up watching the middle of a room where nothing happens, while the front door, the back door and the staircase sit outside the field of view. That is where to place an indoor security camera: the chokepoints, not the middle.
Before drilling anything, walk the house and list every way in and out. Front door, back door, patio slider, garage interior door, the top and bottom of any staircase, and the hallway junction between them. Then stand where each camera would sit and confirm with your own eyes that all of those points fall inside the frame.
Overlapping two cameras at a doorway works better than one wide camera. A person crossing from one coverage area to the other is still recorded by one or the other, and each camera holds a tighter angle than one lens trying to do the whole job.
4. Relying on a camera with a narrower field of view than the room
A 110-degree lens in a wide living room covers a comfortable chunk of space, then stops. Everything to either side is a blind spot, and blind spots are where people learn to move.
Two ways out. Move the camera to a corner so its view covers two walls and the floor between them, or step up to a wider lens. Very wide lenses, especially 180-degree fisheye models, solve coverage and create a new problem: installed in a ceiling corner they spend much of their frame recording the two walls beside them, and those walls bounce infrared light straight back at the lens at night, which washes the image out. Several camera forums describe exactly this failure with ceiling corner fisheye mounts.
Check one thing before buying: does the spec list the diagonal or the horizontal angle? A quoted 130 degrees measured diagonally looks far narrower across a hallway than you expect.
5. Mounting the camera through glass or near a reflective surface
Glass is the worst surface for an indoor camera, and people keep trying it because the sill is convenient. Daylight creates glare and reflections of the room behind the lens. At night the camera’s own infrared illuminator lights the glass, and you get the bright haze that makes night footage useless.
Mount inside the room instead. If the window is genuinely the only spot, angle the camera down and away so the glass is outside the frame, and disable the built-in illuminator if the app exposes that setting, since exterior light is already doing that job.
Mirrors, glossy dark TV screens, and polished cabinet fronts reflect the same way. A camera in a corner facing a wall of dark glass looks like a camera pointed at nothing.
6. Placing the camera where it cannot hear useful audio
Most built-in microphones are designed for the room the camera sits in, not the room you care about. Push a camera into a far corner and you capture the hum of a refrigerator and a fan, while the argument in the hallway two rooms away never registers.
Rule of thumb: keep anything you want audible within about 15 ft, and count the walls between them. Drywall is fine, a mirror or a window is not, and a busy fridge, TV or extractor fan between the camera and the subject will bury whatever is said.
Decide deliberately whether to record audio at all. Two-way talk needs it, evidence of a conversation rarely does, and turning the microphone off is a reasonable privacy choice in a shared home. Test by speaking from the spot you care about and replaying the clip before you commit.
7. Ignoring reflections, shadows, and foreground obstructions
The most common indoor obstruction is not a wall, it is a shelf, an open door, a coat rack, or a plant that looked harmless on installation day. Anything close to the lens eats a huge share of the frame, because near objects subtend a wide angle.
Shadows cause the opposite failure. A person walking through a shaft of daylight crosses in and out of darkness, and a camera set to average exposure either over-brightens the shadow or loses the room. Test the sightline by crouching to the camera’s own height and looking along its axis, which is a different view from the one you get while standing.
After that, tune the motion detection zone. Draw it over the doorway or the corridor you actually care about, leave out the window, the curtain and the tree outside it, and set the sensitivity low enough that a ceiling fan does not wake it. Pets and curtains are the two biggest sources of pointless notifications, and both are solved with a tighter zone rather than a cheaper camera.
8. Using one camera to cover a large, multi-room space
One camera cannot produce useful detail in a living room, a hallway and a kitchen at once. Ask it to and you get three rooms of grey blobs at a distance, which is footage that proves an event happened but not who caused it.
Give each camera one job. One covers the entryway. One covers the open-plan living and kitchen area from a high corner. One watches a stair landing or a nursery. Where two areas meet, let the fields of view overlap by a few feet so nobody slips through the gap, and accept that every extra camera means more configuration, more storage and more privacy to think about.
The honest limit is distance. Beyond roughly 20 ft indoors, faces stop being identifiable in almost any camera, so adding a second viewpoint beats buying a longer lens for a distant one.
9. Placing the camera too close to the Wi-Fi router or a poor network corner
Physical position and wireless performance are the same decision. Most indoor cameras sit on 2.4 GHz, which travels further and handles walls better than 5 GHz but carries less throughput, and video streaming is the heaviest thing on a home network.
Standing next to the router is not automatically the answer either. A camera hard against the access point can pick up interference from other devices crowding the same band, including cordless handsets and some kitchen appliances. A corner with two exterior walls and a metal appliance between it and the router is the worst of both.
Test before you commit. Put the camera on a chair in the intended spot, stream live video for five minutes, and watch for buffering, dropped frames or a connection warning. Check whether the app reports signal strength. If the spot is dead, options in order of preference are a mesh node, a wired connection, or moving the camera a few feet rather than drilling into the corner anyway. Without power and signal, the ideal view is only theoretical, which is also why a battery camera forced into a far corner keeps re-recording motion it cannot stream.
10. Failing to check privacy, permissions, and recording settings
Placement has a privacy half that hardware specs never mention. An indoor camera pointed at a window frequently records the neighbour’s property and, at night, the inside of their home through that window. The same applies to a camera in a shared hallway, a communal stairwell or a building entrance.
Run this short check before the first recording:
- Does the frame include a neighbour’s window, a neighbour’s yard, or a shared corridor?
- Is the camera in a room where people expect privacy, such as a bedroom or bathroom?
- Is audio recording on, and does everyone in the home know?
- Where does the footage go, cloud or local card, and how long is it kept?
- Who else has app access, and is that account protected with two-factor authentication?
- If you rent, does your lease or building policy restrict cameras in common areas?
Two settings solve most of it. Privacy masking, sometimes called a privacy zone, blacks out a fixed part of the frame permanently, so a neighbouring window can sit in the corner of the frame and stay dark. Motion zones do the opposite, recording nothing until movement appears inside the region you drew. Enable both, then confirm the masked area stays masked in the recorded clip, not just in the live preview.
Give every person in the household a short conversation before the camera goes live. It costs one evening and it prevents the neighbour problem that shows up on apartment forums again and again, where a doorbell camera covers shared steps and nobody agreed to it.
Frequently Asked Questions
How high should an indoor security camera be mounted?
For most indoor entry and hallway cameras, 7 to 8 ft off the floor is the workable range, mounted near a corner or above the doorway and tilted down about 30 degrees. That height keeps faces identifiable when someone walks toward the camera, while staying out of reach of someone standing on a chair. Mounting higher improves floor coverage but shrinks facial detail, so test with a walk-through at both day and night before fixing the position.
Should indoor security cameras point toward windows or doors?
Always aim them at doors. A camera pointed at a window in daylight renders the room behind it as a silhouette, and at night its own infrared light bounces off the glass and hazes the whole image. If a window falls in the frame, angle the camera so the glass is outside it, use a camera with wide dynamic range, and if needed set exposure manually for the room rather than the outdoors.
Do indoor security cameras need to record audio?
It depends on what you plan to use the footage for. Audio makes two-way talk work and sometimes captures useful detail, but most indoor cameras pick up fans, fridges and street noise more reliably than speech from another room. Many people turn recording off and keep the microphone live only for talk. Whichever you choose, tell everyone in the house, and check whether the app exposes a separate toggle for recording versus listening.
How do I check for blind spots before mounting a camera?
Stand where the camera would sit, crouch to the height of the lens, and look along its axis rather than from standing height. Walk the area you want covered and note anything the lens misses: doorways, stair treads, the corners beside the frame. Then check the app preview from the proposed spot and repeat the walk with the camera running at night, since infrared reflections often appear only in the dark.
Where should I place an indoor camera in a small apartment?
Start with the front door and the hallway, because those are the chokepoints, and cover the main living space with a second camera only if you need it. In a small flat, avoid ceiling corner fisheye mounts: the wide lens spends much of its frame on the walls beside it, which also reflect infrared light and wash out night footage. Avoid pointing any camera at a neighbouring window, and check your lease before covering shared corridors.
Conclusion: Start With Your Entry Points
Map the entry points first. Walk the house and list every door, staircase and hallway you would use to get in, then place each camera so its view covers one of those points from 7 to 8 ft, angled down and away from any window behind the subject.
Before you fix anything in place, run the three checks that catch almost every mistake: watch the live view for backlighting, crouch to the camera’s own height to look along the sightline for obstructions, and stream video for five minutes to confirm the signal holds. Then set privacy masking and motion zones, and only drill when all three pass. Placement work for 2026 takes about twenty minutes, and it is the difference between footage that identifies someone and footage that only proves a shape walked past.