Knowing how to install a smart lock on an apartment door safely saves you a chunk of your deposit and an afternoon of arguing with a deadbolt. You can do it yourself, usually in 20 to 40 minutes, as long as the door has a standard tubular deadbolt and your lease allows hardware changes. The order matters: get written permission, check the door measurements, do the mechanical work, then set up the app. In a rental, a no-drill retrofit that sits over the existing interior thumb turn is the safest route because the outside of the door never changes.
Most of the difficulty in this job is not the screws. It is finding out after you have opened the box that the door is metal, the backset is unusual, or the lease says no.
Table of Contents
- What You Need
- Check Your Apartment Door and Permission
- Remove the Existing Lock
- Fit the New Smart Lock
- Connect and Configure the Smart Lock
- Test the Lock and Finish the Installation
- Common Mistakes
- Measuring the wrong thing
- Tightening the mounting screws too hard
- Skipping calibration after mounting
- Batteries dying in six weeks
- The app will not find the lock
- Ignoring the lease and the building rules
- Frequently Asked Questions
- Can I install a smart lock on an apartment door without landlord approval?
- Do all apartment doors support retrofit smart locks?
- Does a smart lock need Wi-Fi or Bluetooth to work?
- How do I fix a smart lock that turns but will not latch?
- What should I do if the smart-lock batteries die?
- Conclusion
What You Need
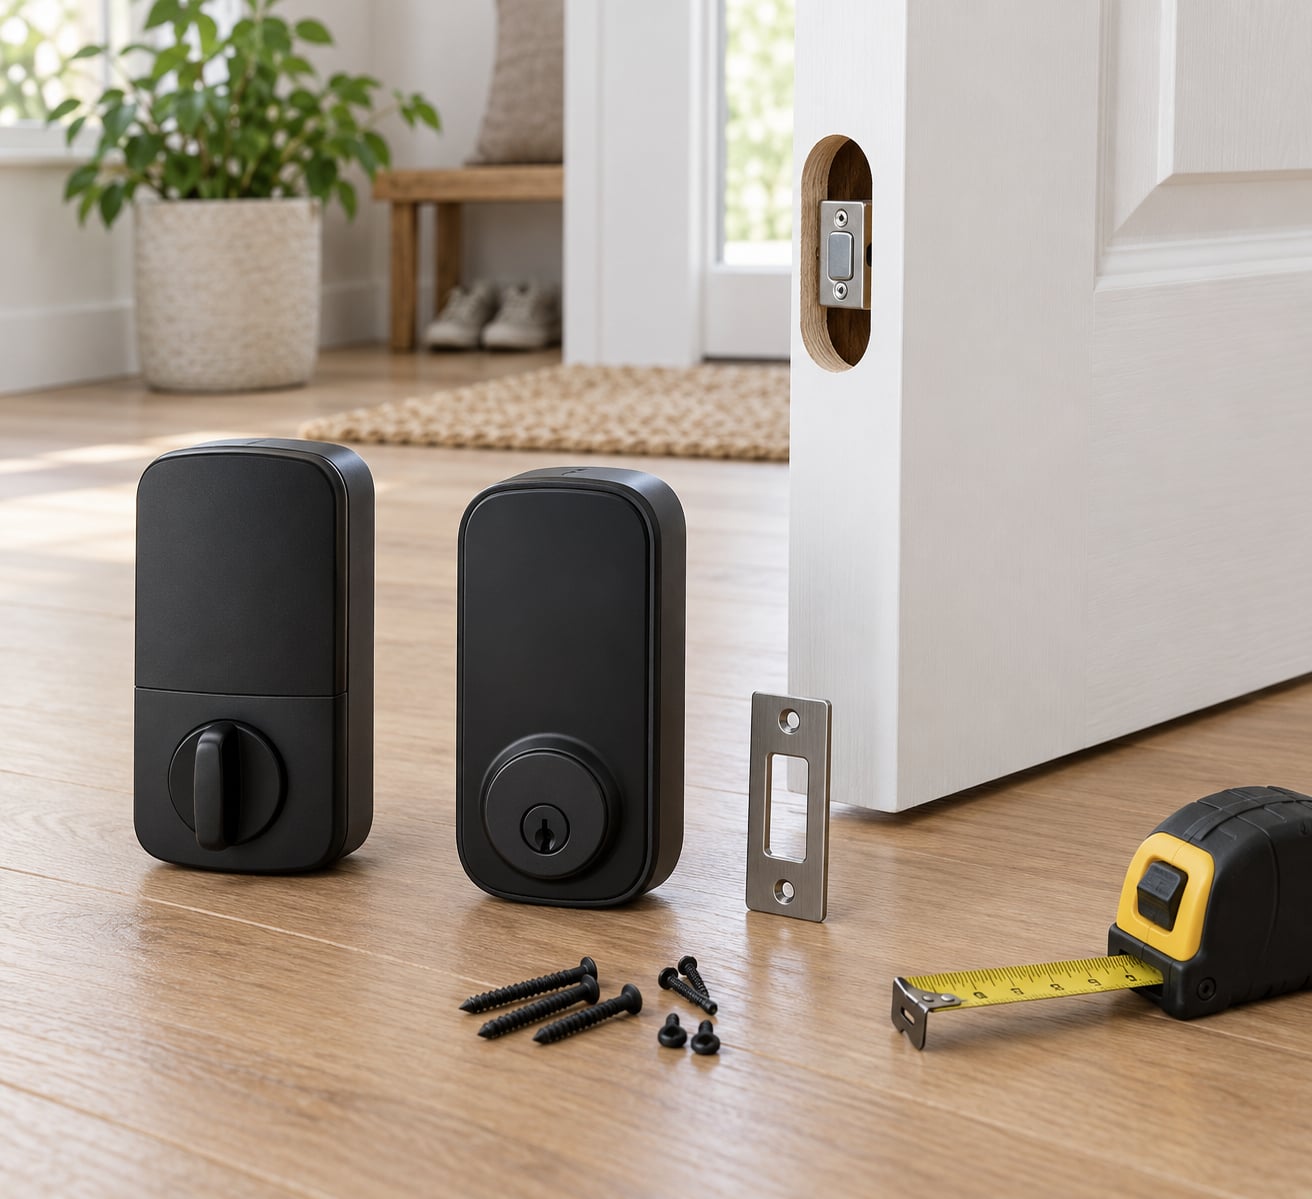
Most installs need nothing more exotic than a screwdriver and a tape measure. A full deadbolt replacement adds a drill and a set of bits, because the new lock may need a wider bore hole or a longer spindle than the one already in the door.
| Tool or item | What it is for | Needed for a retrofit? |
|---|---|---|
| Phillips screwdriver | Removing the existing deadbolt and tightening the new mounting screws | Yes |
| Tape measure | Checking door thickness and the backset before ordering anything | Yes |
| Painter’s tape | Marking the bore centre and holding screws so they do not drop behind the door | Recommended |
| Masking tape or a folded towel | Protecting paint and the finish from the screwdriver slipping | Recommended |
| New screws in two or three lengths | Reaching through a thick door or a deep interior cover without bottoming out | Yes |
| Soft cloth and a mild cleaner | Wiping fingerprints and chalk marks off the finish after the job | Recommended |
| Drill and bits | Enlarging the bore hole or fitting a surface-mounted rim lock | Only for a full replacement |
| Fresh AA or AAA batteries | Powering the lock on day one | Yes |
| Your phone | Pairing the lock and creating access codes | Yes |
Two things also belong on that list even though they are not tools: the original key for the deadbolt, and your lease. You want the key in hand before anything comes off the door, and you want to know what the lease says before you touch it.
Check Your Apartment Door and Permission
Get written permission first, because a reversible installation is still a change to the door. Most leases prohibit altering entry hardware without approval, and the practical reason is obvious to a landlord: they may need to get in during an emergency, and a lock they cannot open is a problem for everyone.
A short email naming the model, the door, and the fact that the change is reversible and leaves the original cylinder working is usually enough. Mention that the landlord keeps access with their existing key, which is the part that actually gets it approved.
Next, measure the door. The backset is the distance from the edge of the door to the centre of the deadbolt cylinder, and it is the single most common reason a lock does not fit. Door thickness is the second, and the width of the flat area around the thumb turn is the third.
| Measurement | Typical accepted range | If yours does not match |
|---|---|---|
| Backset (edge of door to cylinder centre) | 60 mm (2-3/8 in) or 70 mm (2-3/4 in) | Order the matching adapter plate, or pick a lock rated for that backset |
| Door thickness | 34 mm to 50 mm (about 1-3/8 in to 2 in) | Use the long spindle and longer screws supplied with the lock |
| Flat area around the interior thumb turn | At least 50 mm (2 in) of clear surface | Existing hardware or a wide rose will block the mount; remove the rose first |
| Bore hole diameter | Usually 54 mm (2-1/8 in) for a tubular deadbolt | A mortise or rim lock needs a different lock entirely |
| Deadbolt throw | Standard is 25 mm (1 in) | A longer throw needs a deeper strike and a new jamb plate |
Metal doors with a security plate on the edge are the exception that causes most renter frustration, and they turn up constantly in home automation forums. The wrap-around plate blocks the spindle path, so a standard retrofit body cannot sit flush. Your options are a rim lock, a surface-mounted adapter, or a locksmith who can extend the spindle past the plate.
One safety rule applies to every install in a rental: the interior thumb turn must open the door with no phone, no code, and no app. People depend on that exit every single day, and building egress rules assume it. Test it with the door closed, not standing in the hallway with it propped open.
Remove the Existing Lock
Photograph the existing lock first, from both sides, before anything comes off. That photograph is the reference for handedness and for putting the door back the way you found it.
- Open the door and prop it so it cannot swing shut on your fingers, then keep it open for the whole job.
- Take the interior thumb turn cover off. On most doors two screws hold a flat rose; on others the cover slides off a track after one screw.
- Back out the set screw in the thumb turn itself and slide the thumb turn off the spindle. This is the part renters most often force, and forcing it is how the spindle gets bent.
- Unscrew the strike plate from the jamb and lift the deadbolt out of the door.
- Unscrew the exterior cylinder plate. If you are reusing the cylinder, leave it in place and skip the next step.
- Bag the screws by size in a small container, because old apartment wood strips screws easily and mixed lengths are what you will want to reinstall at move-out.
Keep the original deadbolt, strike plate and cylinder in one bag. That bag is your way back if the new lock does not fit the door you actually have.
Fit the New Smart Lock
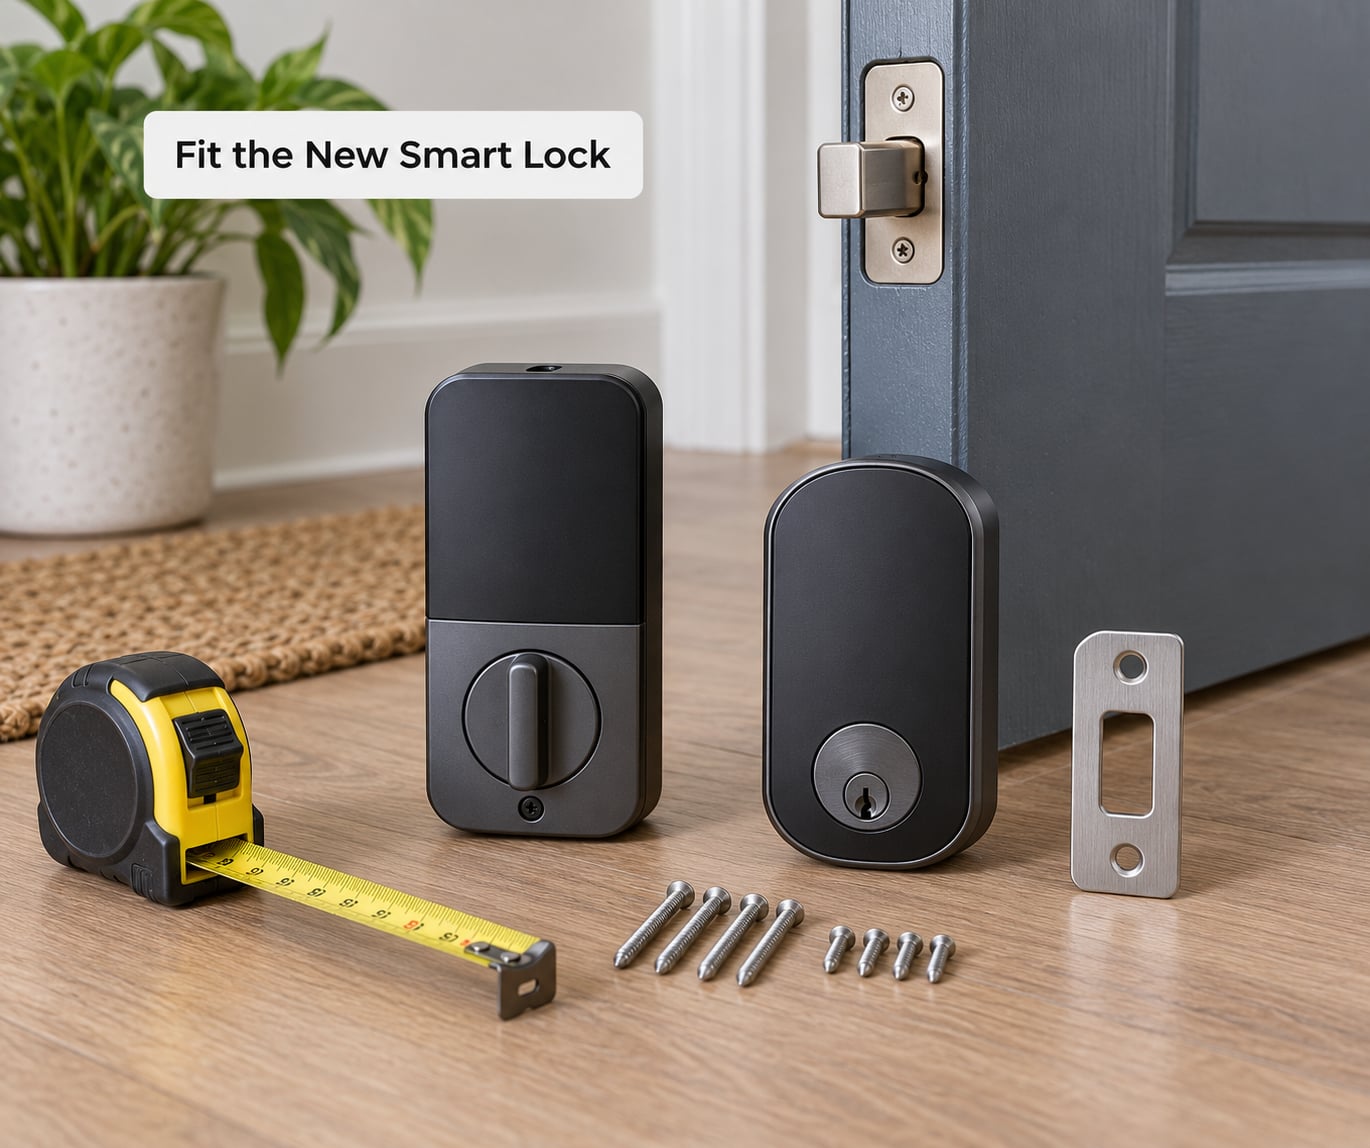
Fit the lock from the jamb backwards, so the strike is true before the housings go on. A motorised deadbolt is far less forgiving of a misaligned strike than a manual one, and that misalignment is the top cause of both jamming and flat batteries.
- Cut a strip of painter’s tape across the jamb, mark the centre of the existing strike hole, and use it to line up the new strike plate. Peel the tape off once the plate is fixed.
- Screw the strike plate on, tightening until it is snug. If the hole is oval or oversized, fill it with a wooden matchstick or a folded strip of cardboard so the screws get a solid bite.
- Feed the spindle through the door and slide the exterior assembly into place, flat surface against the door.
- Attach the mounting plate on the inside and pull it snug so the two housings meet without a gap. This is what keeps the spindle aligned.
- Add the interior housing, threading the spindle into the mechanism before you tighten anything.
- Tighten the mounting screws by hand first, then bring them down with a quarter turn. Snug is enough, and going harder is the most common self-inflicted problem.
- If the door is thicker than the screws supplied, swap in the longer ones. Too short and the housing will sit loose; too long and you can drive a screw into the spindle hole.
On a no-drill retrofit, the sequence is different and shorter. The interior motor clamps over the existing thumb turn, and the exterior unit slides over the existing cylinder. You loosen the thumb turn set screw slightly, position the clamp, and tighten it until the motor can turn the spindle but cannot turn it by hand.
That is the mechanical half of how to install a smart lock on an apartment door. Nothing electronic works until the bolt travels freely, so resist the urge to pop the batteries in while the housing is still loose.
Connect and Configure the Smart Lock
Only power the lock once the housings are fixed. Many models start in pairing mode as soon as the batteries go in, and pairing a lock that is not properly mounted wastes the setup.
- Install the batteries in the direction marked on the housing. Alkaline cells usually last longer than lithium in a cold entryway.
- Open the manufacturer’s app, create an account, and set up a home for your apartment rather than a test home you will delete later.
- Pair the lock over Bluetooth first. The app will ask you to wake the lock with a button press on the interior unit.
- Add the Wi-Fi bridge or hub if the model has one, and put it within range of the door rather than tucked behind a router across the hall.
- Run the calibration cycle. It drives the bolt in and out a few times so the motor learns the full travel and the return angle.
- Create your first access code, set the schedule for it, and decide who owns the account. If a landlord holds an account, decide now whether they can see your activity log.
- Set auto-lock delay, which is usually a range from zero seconds to a couple of minutes. Longer is kinder to a door that does not close cleanly.
Set a low battery notification before you leave the app. It is the difference between replacing cells on a Sunday and finding a dead lock on a Tuesday morning.
Test the Lock and Finish the Installation
Test the mechanism by hand before you test it with the app. Turn the interior thumb turn, then the key, then check the bolt sits fully in the strike with no pressure on the door.
Then run it through real motions. Open the door and walk out, letting it close on its own, and confirm auto-lock fires without the bolt grinding. Open it from the outside with a code. Open it from the inside with no phone in your hand and the door closed, which is the egress test that matters most in a rental.
Check the door closes cleanly with no gap, no scraping and no rebound. If the bolt needs the door pulled toward the frame to enter, stop and fix the strike before going further.
Finally, photograph the finished installation and save it next to the pre-install photo. Wipe the finish down with a soft cloth, and write down which screw length went where.
Common Mistakes
Measuring the wrong thing
Measuring the round rose instead of the backset, or assuming every deadbolt is 70 mm. Measure from the edge of the door to the centre of the cylinder, and check the thickness and the clear area around the interior thumb turn before the box is open.
Tightening the mounting screws too hard
Over-tightening bows the interior housing, which tilts the spindle and makes the bolt stall halfway. Snug, plus a quarter turn, is enough. If you have already gone too far, back the screws off and re-seat the housing square to the door.
Skipping calibration after mounting
Many people configure the app first and calibrate later, or never. If the motor has not learned the full bolt travel, it will report a jam, stop mid-stroke, and report a fault code that sends you looking for a problem you do not have. Run calibration last.
Batteries dying in six weeks
Short battery life is nearly always alignment or a heavy door, not a bad cell. Check the bolt enters the strike without the door being pulled, and confirm the auto-lock delay is not too short for a door that rebounds. After that, replace the cells with a fresh set from one brand.
The app will not find the lock
Keep your phone within a few feet of the lock for pairing, confirm Bluetooth permission is on for the app, and reset the lock into pairing mode before trying again. If the model uses a hub, the hub needs the lock on your home network first, not just the app on your phone.
Ignoring the lease and the building rules
Changing the cylinder, drilling the door, or adding a surface-mounted lock without written approval is the mistake that costs deposits, not screws. Get the answer in writing, and if the answer is no, use a no-drill retrofit or ask the landlord to install the lock for you.
Two smaller habits save a lot of trouble. Keep the original key on you for the first week, and photograph anything you find under the old hardware, such as paint build-up on the jamb or a stripped screw hole, before you start.
Frequently Asked Questions
Can I install a smart lock on an apartment door without landlord approval?
Usually not. Most leases treat changing or drilling into entry hardware as an unauthorized alteration, and a smart lock that replaces the cylinder can cost you part of your deposit. A no-drill retrofit that clamps over the existing interior thumb turn and leaves the cylinder and keys untouched is the least risky option, but written approval matters either way, and a short email is enough to protect you.
Do all apartment doors support retrofit smart locks?
No. Most standard wood apartment doors with a tubular deadbolt take a retrofit unit in about 20 minutes. Problems start with metal security plates on the door edge, mortise locks in older buildings, uPVC or aluminum doors, and units where the jamb has sagged so the bolt scrapes. Measure the backset and door thickness first. If either falls outside the stated range, you need an adapter kit or a locksmith.
Does a smart lock need Wi-Fi or Bluetooth to work?
Bluetooth is usually enough for the basics. Your phone talks to the lock over a short range to operate it and set up codes. Wi-Fi, or a small bridge plugged into a nearby outlet, is what lets you lock from work, share a temporary code with a guest, or get tamper alerts while you are away. Without a hub, a Bluetooth-only lock still works fine for everyone living in the apartment.
How do I fix a smart lock that turns but will not latch?
That is almost always alignment, not a broken motor. Push the door firmly into the frame and turn the key again. If the bolt still stalls halfway, the strike holes no longer line up with it. Loosen the two strike screws, pull the plate out about 3 mm, and retighten so the rectangular opening shifts toward the bolt. Widened or badly worn holes mean the frame has sagged and needs a locksmith.
What should I do if the smart-lock batteries die?
Use the physical key override, or press a 9-volt battery or a USB-C power bank into the emergency contact pad on the outside of the lock. Most locks warn you at 20 percent and again at 10 percent, but treat any warning as same-week work. Alkaline cells typically last six to twelve months, and they hold up better than lithium in a cold entryway.
Conclusion
Start with permission and a tape measure, not a screwdriver. Read the lease, ask in writing, then confirm the backset, the door thickness and the clear area around the thumb turn so you know the lock will fit before you open the box.
When the hardware is on, test it mechanically first. Turn the thumb turn, turn the key, and open the door from the inside with no phone and no code before you let an app anywhere near the thing. A lock that passes the egress test is worth trusting; a lock that only passed the app test is not. That ordering is what separates how to install a smart lock on an apartment door safely from how to install one and regret it.