To set up a baby monitor camera safely, mount the camera unit at least 3 feet (0.9 m) from the crib on a surface that cannot be pulled down, route every power cord behind the furniture and out of reach, and give any Wi-Fi model a unique account password with two-step verification before you connect it. That takes about 30 minutes for a first install and ten minutes a month after that.
Most of the work is physical rather than technical. A dangling cable is the hazard parents worry about most, and it is the one that actually shows up in injury reports. The account side matters too, but only for cameras that touch your router.
One thing to say plainly first: the American Academy of Pediatrics is clear that a monitor is a tool, not a caregiver. It cannot wake you, judge whether a baby is breathing comfortably, or notice that the room got too warm. A responsible adult still has to be there.
The steps below follow the order I would use in a real nursery. Read the manual first, place the camera, deal with the cables, then connect and lock down the app. The order matters because moving a camera after it is wired is the step where people create new cord hazards.
Table of Contents
- What You Need
- Step-by-Step: Set Up a Baby Monitor Camera Safely
- How to Choose a Safe Camera Position
- Connect the Camera to the App
- Secure the Account and Wireless Network
- Test the Camera, Audio, and Alerts
- Common Mistakes
- Maintain Privacy and Check the Setup
- Frequently Asked Questions
- How do I set up a baby monitor camera safely?
- Where should I place a baby monitor camera in the nursery?
- Are crib-mounted baby monitors safe?
- Can baby monitors be hacked if they are not on Wi-Fi?
- Do you leave a baby monitor on all night, and should it record?
What You Need
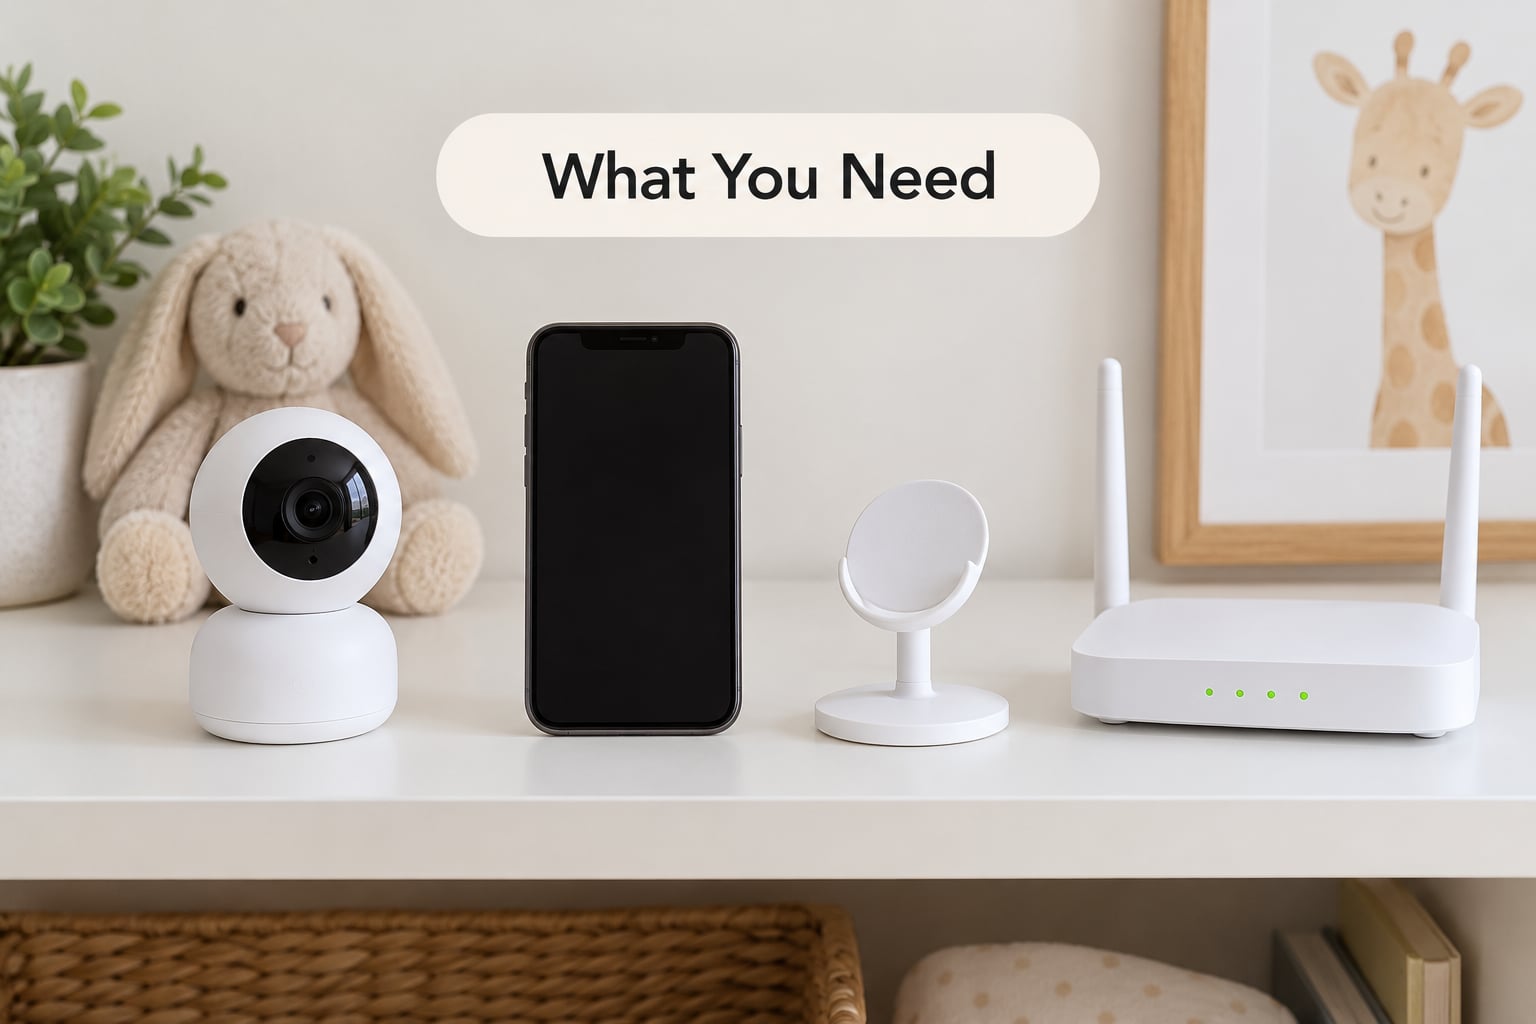
Most of this list is short, and the whole job fits on a nursery shelf or the back of a door.
- The camera unit, sometimes called the baby unit, and its power adapter.
- A phone or tablet with the manufacturer’s app installed, for Wi-Fi models. Non-Wi-Fi monitors pair to a handheld parent unit instead, so they need no phone at all.
- A stable surface. A wall bracket, a high shelf, or a mounting plate screwed into a stud beats a table every time.
- A wall outlet within reach of the camera, positioned so the cord can run behind furniture rather than across the floor.
- Your Wi-Fi network name and password, if the model connects to the internet.
- An email address and a password manager, because you will be creating a camera account that lives for years.
- Optional but useful: a timer plug or plug-in battery backup, if your nursery loses power often.
Two items depend on the model. Cameras that stream to a phone need the app and an account. Cameras with a handheld parent unit need a charged battery pack instead, and that battery is the piece parents most often forget to check.
Step-by-Step: Set Up a Baby Monitor Camera Safely
How to Choose a Safe Camera Position
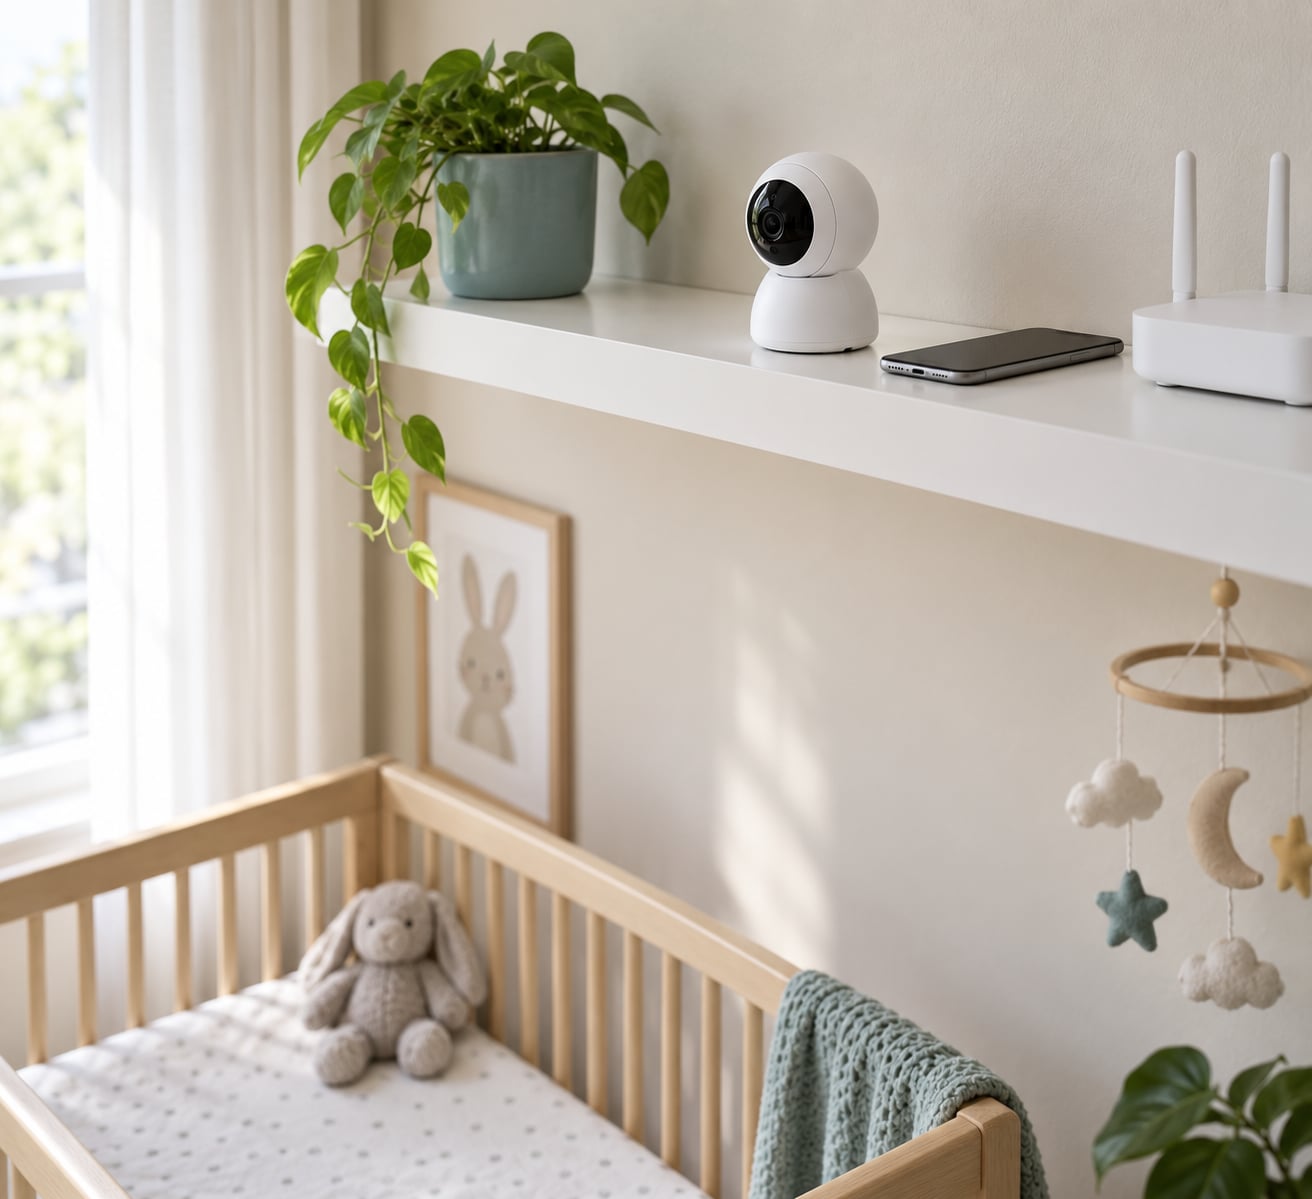
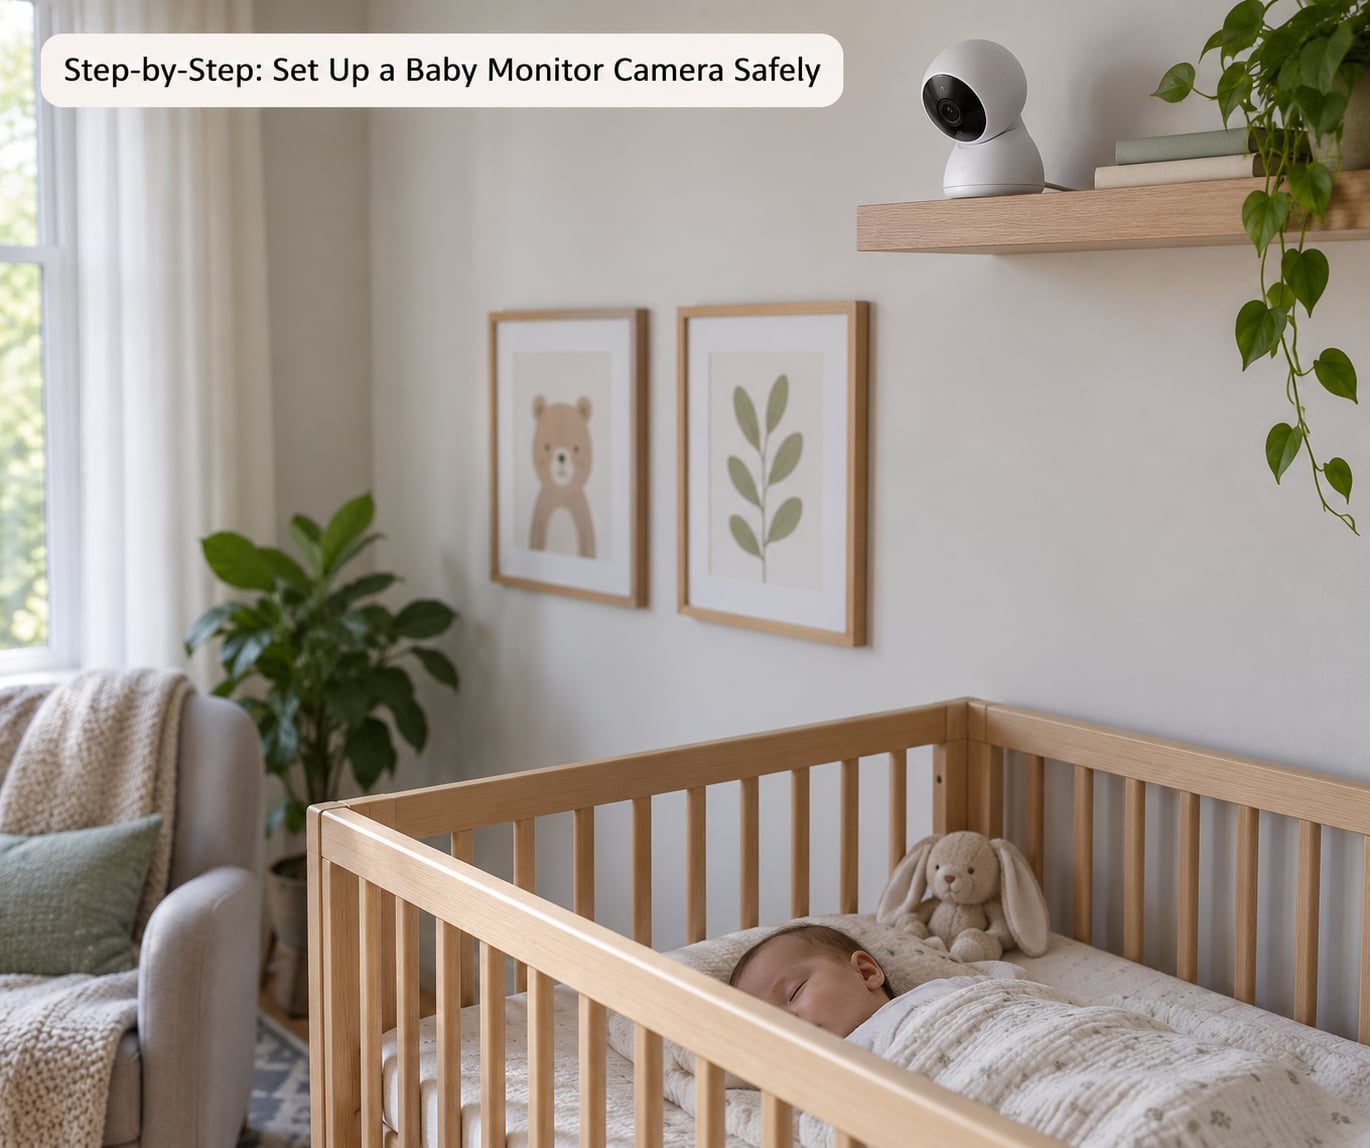
Put the camera at least 3 feet (0.9 m) from the crib or playpen, mounted above and outside it, and never inside it or within arm’s reach. Manufacturer manuals for common baby monitors state this distance explicitly, and the American Academy of Pediatrics gives the same guidance for cords.
Position matters as much as distance. The best angle is from a high corner of the room, looking diagonally down across the sleep area. From that spot you usually see the face, the rise and fall of the chest, and the hands and feet, which are the three things worth watching. A camera pointed straight down from directly above the crib gives you a good view of the mattress and a poor view of anything else.
Never shoot through crib slats or over a headboard. Bars and posts cut the picture into stripes, and you lose exactly the angles that tell you something has changed.
Mount it where it cannot be pulled down. That means a screwed-in wall bracket, a high shelf that a standing toddler cannot reach, or a manufacturer-supplied clamp that tightens onto furniture out of reach. A camera balanced on a bookshelf edge will end up on the floor, and a camera on a mobile is a projectile.
If your camera is Wi-Fi, add one more constraint: the outlet has to be close enough for the camera to reach, but not so close that the cord crosses the sleep area. That single fact drives most Wi-Fi placement decisions.
Connect the Camera to the App
Install the manufacturer’s official app, not a lookalike from the app store search results. Create the account with a unique password that you have never used anywhere else, then confirm the email address before you go any further.
Most current cameras pair the same way: press and hold the pairing or reset button on the camera until its indicator light blinks, open the app, tap Add Device, and either scan the QR code printed on the camera or on its label, or select your network from a list and type in the password. Menu names shift between brands and app versions, so treat the labels in your own app as the authority rather than any generic walkthrough.
Once it connects, assign the camera to the correct home and room. Get this right now, because a camera named “Camera 1” in a list of three devices is the one you will be checking at 3 a.m. with the wrong one.
If the camera supports a microSD card and you plan to use local recording rather than cloud recording, format the card in the app before you insert it, and use a high-endurance card. Camera cards fail quietly, and you want to find out now rather than during a fever night.
Secure the Account and Wireless Network
This is the section most guides skip. For a non-Wi-Fi monitor that transmits over its own 2.4 GHz FHSS or DECT 6.0 link, there is nothing to do here, because no video leaves your home. For a Wi-Fi model, the work is real.
Start with the account password. Change the factory default, make it long, and store it in a password manager. Attackers scan for devices that still say admin.
Turn on two-step verification in the account settings if the app offers it. It costs you one extra tap when you check the camera from your phone, which is exactly the moment you do not want to be locked out.
Install firmware and app updates as soon as they appear, not when the app nags you. Camera firmware updates close the specific gaps that get cameras found and accessed, and a monitor left on the firmware it shipped with is running on code with known holes in it.
Then review what the camera is actually allowed to do:
- Disable cloud recording, or schedule it, if you only ever want live view and local clips. Every recording stored on someone else’s server is one you do not control.
- Check who else has access. Remove shared users, guest logins, and old partner or family accounts. Sharing is how a video feed of a nursery ends up on someone else’s phone.
- Use a long random Wi-Fi password with WPA2 or WPA3, and turn off WPS. The push-button pairing feature has no business on a modern router.
- If your router supports it, put the camera on a guest or IoT network so it cannot reach your computers, NAS, or printer.
- Turn off any remote access or relay feature you are not using, and keep the app’s notification permissions limited to what you use.
One forum community reported a hacked monitor and fixed it by isolating the camera on a network reachable only through a VPN. That is a heavy setup for most homes, but the general principle holds: the fewer devices that can talk to your camera, the smaller the door.
Test the Camera, Audio, and Alerts
Testing is where most setups are quietly wrong. A camera that was never checked in darkness is an untested camera.
Run through this once in daylight and once with the lights off and the door shut:
- Live video: is the whole sleep area visible, with no blind spot behind the door or the headboard?
- Night vision: the image should be clear in the dark. If it is grey and washed out, the camera is too far away or the lens is too reflective.
- Audio: speak from the parent unit or phone and listen in the nursery, then talk from the nursery and listen on the parent unit. Two-way talk only works if both directions do.
- Sound detection: trigger it by clapping once. If it never fires, the sensitivity is too low. If it fires every time the house settles, it will wake you all night and you will start ignoring it.
- Notifications: confirm you actually receive the alert on your phone with the phone in your hand, not just on screen.
- Recording status: check whether recording is on or off, and whether it is local or cloud.
- Connection stability: leave it running through a full evening before you trust it overnight.
Then look at the screen with a lamp, not with a pillow. Infrared night vision uses infrared LEDs that sit outside the visible spectrum and do not glow red, but a lens pointed at a white wall or a window will throw back light that washes the picture out. Repositioning fixes more night-vision complaints than any setting does.
Say this out loud, because it is the part people forget: a monitor cannot replace supervision. Check the baby yourself.
Common Mistakes
Most bad setups come from one of six mistakes, and each has a quick fix.
- The camera is too close, or the cord is too short, so it sits near the crib. Fix: move it, and buy a longer cord so the cable can run behind the furniture instead of into the room.
- The camera is clamped to the crib rail. Fix: put it on the wall or a shelf. A crib-mounted camera is a weight the baby can pull, and a cable fixed to the crib moves with the crib.
- The account password is the default, or reused from an email account. Fix: change it now, enable two-step verification, and store it in a password manager.
- Firmware is never updated. Fix: check for camera firmware and app updates the same week you install, then whenever the app tells you.
- Cloud sharing is on by default and nobody checks it. Fix: open the sharing settings, remove every shared user you do not recognise, and turn off recording you do not need.
- The microphone or two-way talk is left open, and you talk over your sleeping baby for weeks. Fix: keep two-way talk off by default and enable it when you need it. Same for a physical lens shutter, if your camera has one; a hardware shutter is the strongest privacy control on the market.
Two more that come up constantly. Pairing failures usually mean the camera is on the 5 GHz network while the app is looking on 2.4 GHz, or the phone is on a cellular connection during setup. And a battery that will not hold charge is usually a battery left in the parent unit at zero percent for weeks, which is why a monthly calibration matters.
Maintain Privacy and Check the Setup
A setup is a snapshot. The child grows, the room changes, and the software updates underneath you, so put a short routine on the calendar.
Weekly, about five minutes:
- Look at the live view and confirm the camera still sees the whole sleep area.
- Check the parent unit battery and the camera’s power light.
- Look at the cable run. A new mobile, a new nightstand, or a rearranged room can put a cord somewhere it was not.
Monthly:
- Run the parent unit battery down once and charge it fully, so the gauge stays accurate.
- Check for firmware and app updates, and install them.
- Open the account’s sharing and recording settings and confirm nothing has changed.
- Clean the lens. Dust and fingerprints are the main reason night-vision pictures look muddy.
Also review recordings you no longer need. Local microSD cards loop and overwrite, which is fine, but cloud clips and saved screenshots accumulate, and deleting old ones is the simplest privacy step available to you.
As your child grows, the setup has to change with them. When a baby moves from a crib to a toddler bed, the camera position that worked in a crib corner may be blocked by a bookshelf or a play tent, and the cord that was tucked behind a dresser may now be within reach of a walking child. Re-run the placement check the week the bed goes up rather than assuming the old layout still works.
When you travel or stay with family, the same rules hold in a stranger’s house. Check the router before you connect, change the default Wi-Fi password if nobody has, avoid public hotel networks, and remove the camera from the shared network when you get home. Forum users who repurpose general security cameras as monitors point out the real trade-offs honestly: those cameras work, but battery life on continuous streaming is poor, a hub is often required, and mounting options are limited.
Frequently Asked Questions
How do I set up a baby monitor camera safely?
Mount the camera at least 3 feet (0.9 m) from the crib on a wall or high shelf it cannot be pulled from, run the power cord behind furniture and out of reach, and never place the camera or cable inside the crib. If it connects to Wi-Fi, change the default account password, turn on two-step verification, update the firmware, and review who has shared access. Test picture, audio and alerts in the dark before you rely on it.
Where should I place a baby monitor camera in the nursery?
A high corner, mounted above and outside the crib, looking diagonally down across the sleep area, gives the clearest view of the face, chest movement and hands. Keep the camera and its cords at least 3 feet (0.9 m) from the crib and out of arm’s reach. Avoid aiming through crib slats or at a window or white wall, which ruins the night-vision picture.
Are crib-mounted baby monitors safe?
Most safety guidance says no. A camera clamped to a crib rail can be pulled down by a baby, and any cord fixed to the crib moves with it and stays in reach. Wall mounts and high shelves keep both the camera and the cable away from the sleep area. The manufacturer’s manual is the authority for your model, and several explicitly forbid crib mounting.
Can baby monitors be hacked if they are not on Wi-Fi?
A non-Wi-Fi monitor that transmits over its own 2.4 GHz FHSS or DECT 6.0 link has no internet address, no account, and no way for a stranger to reach it over the web, which makes it far harder to access remotely. Wi-Fi monitors can be accessed when passwords are weak or default, firmware is old, or cloud sharing is left open. Locking down the account and updating the firmware closes most of that risk.
Do you leave a baby monitor on all night, and should it record?
Most families leave the monitor on overnight, since that is when it is useful, but smart alerts are kinder than constant streaming. Sound-activated or VOX mode sleeps the screen until crying or movement is detected, which saves battery and stops you from staring at a sleeping baby. On recording, decide deliberately: a local card you control is more private than a cloud subscription, and you can disable either one.
If you do one thing today, walk into the nursery and look at the cable. If it runs across the floor, near the crib, or over a headboard, that is the first thing to fix, and it takes ten minutes. Everything else, including the account lockdown, can wait for the evening.
Then re-check it once a month. A setup that stays correct for years is one you touch every few weeks, not one you perfect on night one and forget.