Last updated October 2026.
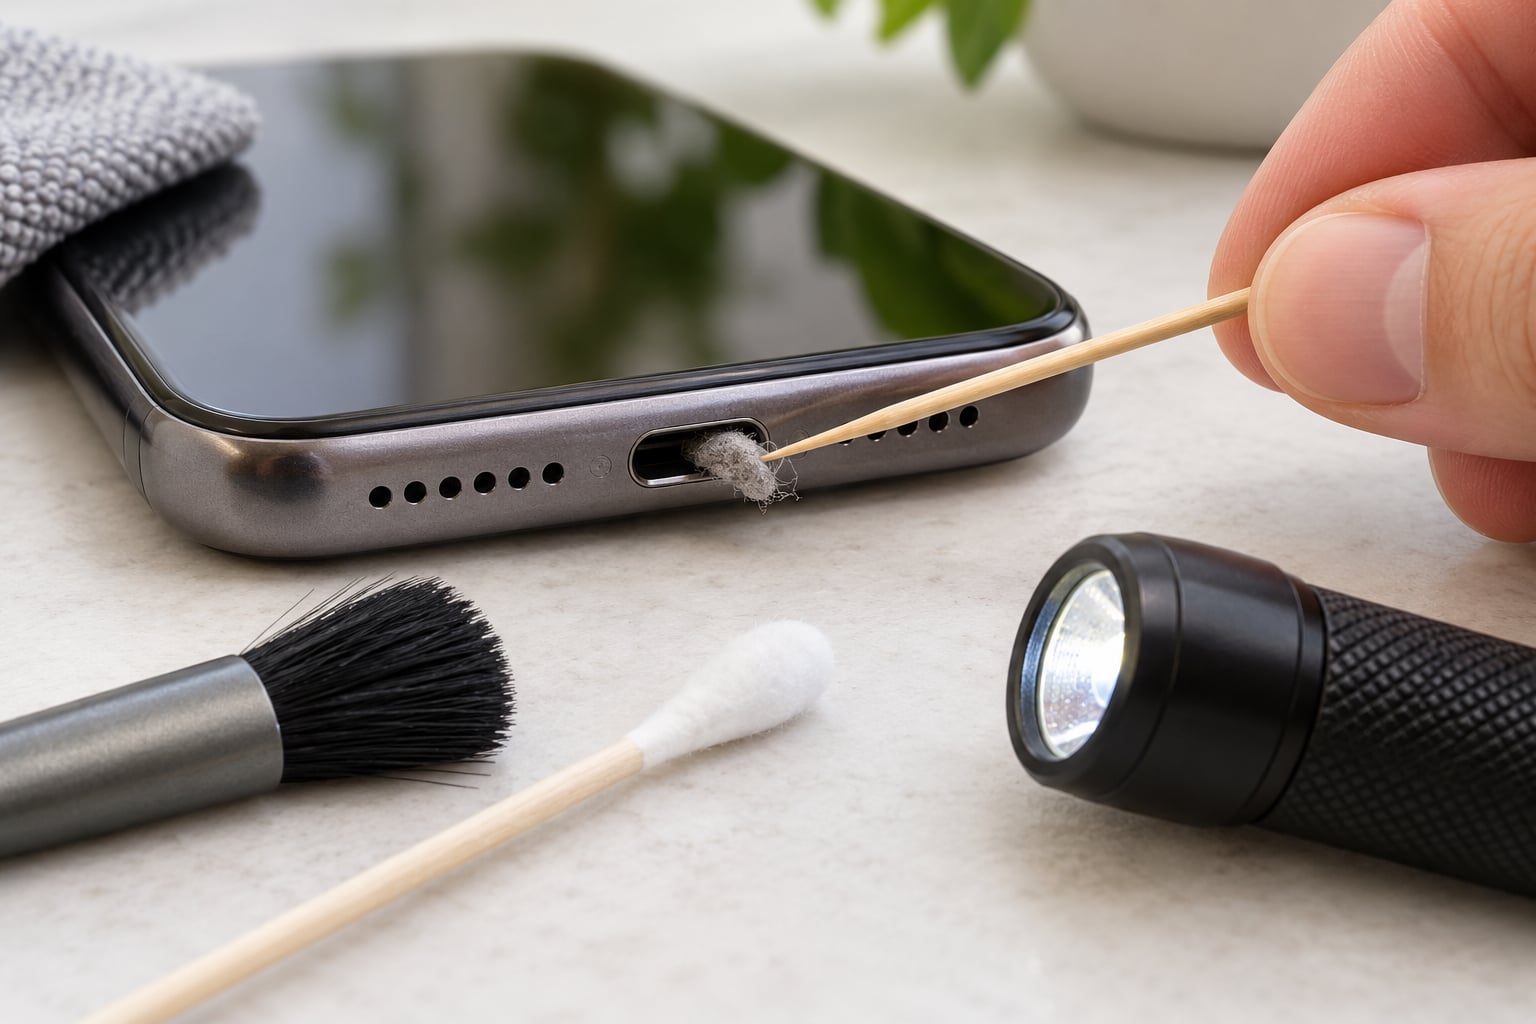
Turn the phone off, unplug it, and lift compacted lint out with a wooden or plastic toothpick, then blow loose dust away with short bursts of upright canned air. Follow that with a cotton swab barely dampened with 90% isopropyl alcohol, and leave the port two or three minutes before testing a cable you know works. That is how to clean a phone charging port safely, and it takes about five minutes.
Most people reach for the phone shop only after buying a new cable that doesn’t help. A port packed with pocket lint feels exactly like a broken one: the cable rocks in the socket, charging only starts at the right angle, and the phone takes twice as long to fill up.
The whole job is mechanical. You’re removing a felt-like mat of compressed fabric and skin oil so metal can touch metal again, and everything you use should be non-conductive, non-scratching and completely dry except for one controlled touch of alcohol.
Table of Contents
- What You Need
- Step-by-Step: How to Clean a Phone Charging Port Safely
- Step 1: Power Off and Disconnect the Phone
- Step 2: Inspect the Charging Port With a Light
- Step 3: Remove Loose Lint Carefully
- Step 4: Clean the Edges and Connector
- Step 5: Check Charging and Stop If Problems Remain
- Common Mistakes and How They Damage the Port
- Frequently Asked Questions
- Can I use compressed air to clean a phone charging port?
- Is rubbing alcohol safe for a phone charging port?
- Will a cotton swab damage a USB-C or Lightning port?
- Why does my phone only charge at a certain angle?
- Should I clean the charging cable or replace it?
- Conclusion
What You Need
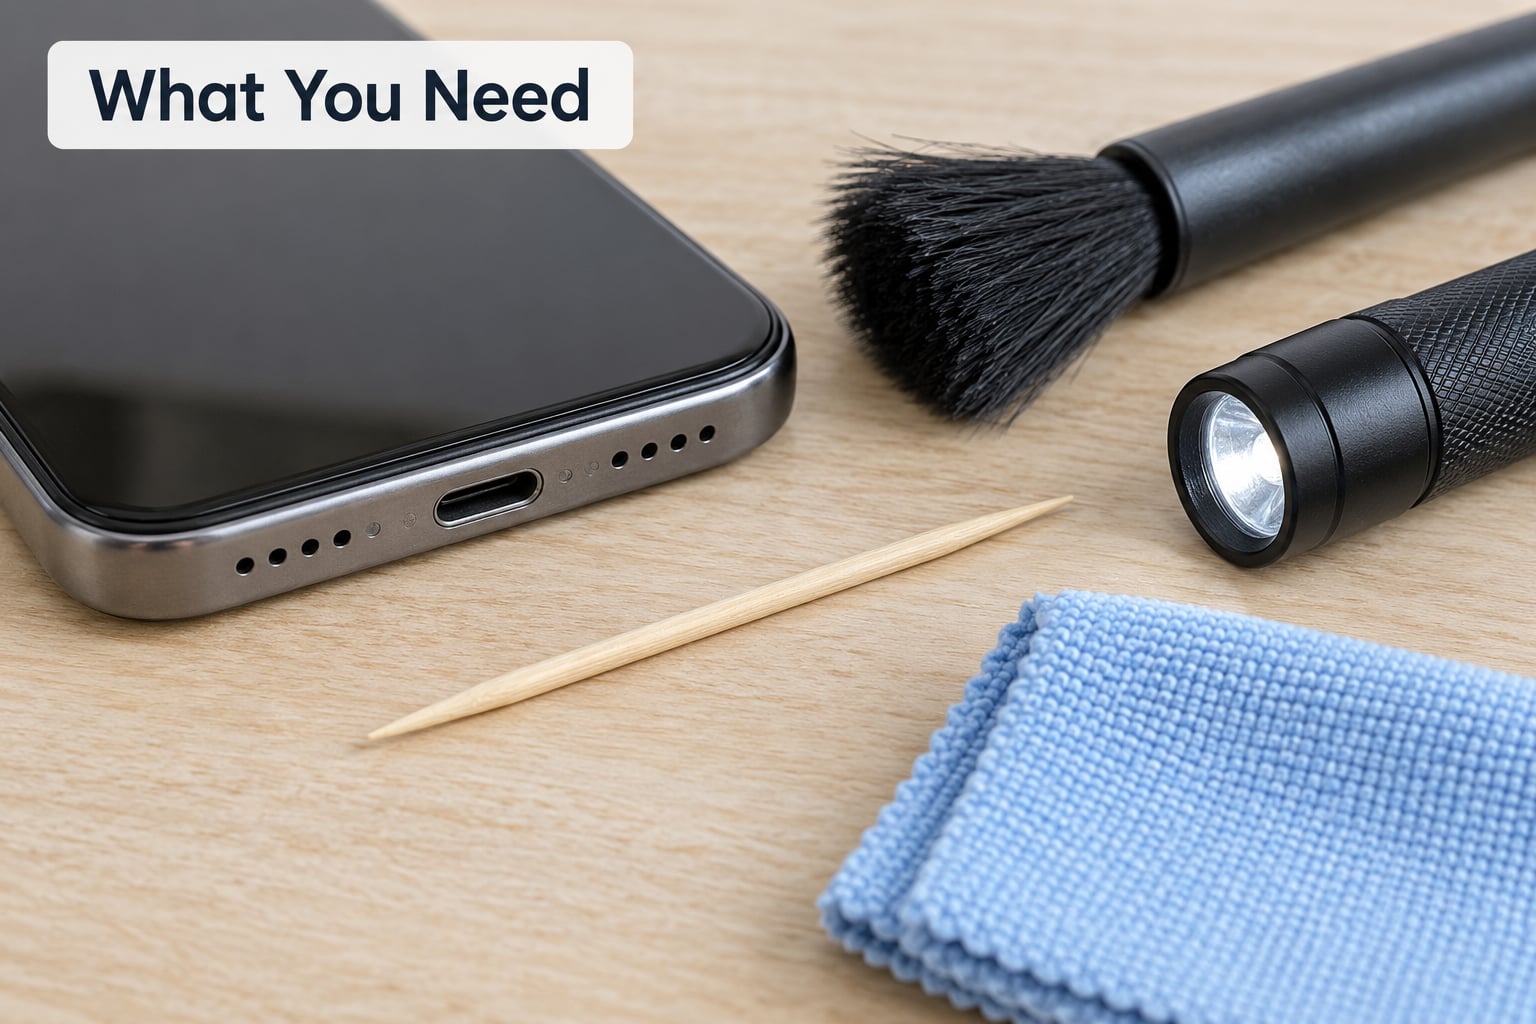
Five things do almost all the work, and four more people reach for that ruin ports. Here’s the split I keep coming back to.
| Item | What it does | Verdict |
|---|---|---|
| Soft-bristled toothbrush | Loosens lint from the port walls and the case opening | Safe |
| Wooden or plastic toothpick | Hooks and lifts compacted lint out of the channel | Safe if used gently |
| Bulb syringe or canned air | Shifts loose dust and loose fibres out of the port | Safe if held upright |
| Cotton swab plus 90% isopropyl alcohol | Dissolves sticky grime on the contacts | Safe, barely damp only |
| Flashlight | Shows you what is actually in there | Safe |
| Needle, paperclip or SIM tool | Scratches the gold plating off the contact pins | Avoid |
| WD-40 or any oil-based lubricant | Leaves a residue that collects more dust than before | Avoid |
| Blowing with your mouth | Pushes lint deeper and adds moisture | Avoid |
Skip the bulb syringe if you only have a can: hold it upright, about 6 inches away, and give it one-second bursts. Tilt the can and you spray propellant coolant onto the phone instead of air, and several readers on r/iPhone have reported a port going flaky straight after doing exactly that.
Port shape changes the caution, not the method.
- USB-C has a small plastic tongue in the middle carrying the contacts. Lint packs around the tongue and behind it, so sweep the walls and lift from the sides. Never lever against the tongue, because it snaps and the port then charges in one orientation only.
- Micro-USB is wider and shallower, with a thin back shell that can flex. Lint usually forms a pad along the bottom, which a flat cotton swab gets under easily.
- Lightning is deep and narrow with contacts on the back wall, so you need the light on to see what you’re hooking, and a wrapped toothpick rather than a swab head.
Step-by-Step: How to Clean a Phone Charging Port Safely
Step 1: Power Off and Disconnect the Phone
Shut the phone down fully, not just lock the screen, and unplug the cable by the connector housing rather than yanking on the wire. Hold the phone until it stops feeling warm, roughly five minutes after use.
Power off matters because a live port has current flowing through it, and a scraped contact touching a metal pick can short. It also stops the phone from reacting to a foreign object by locking the port on some models.
Step 2: Inspect the Charging Port With a Light
Shine a flashlight straight into the port at a slight angle. A grey felt-like mat means lint and you can go ahead. A shiny bare channel with visible gold contacts means the port is already clean and the cable or the phone is the problem.
Stop and skip the clean if you see a contact bent flat against the wall, a cracked inner housing, green or white corrosion, or a cable tip that wiggles inside the socket. Those are repair jobs.
Step 3: Remove Loose Lint Carefully
Hold the phone screen-up and tilt it so debris falls away from the opening, not deeper into it. Run the dry soft brush across the port mouth and the case lip first, then work the toothpick in at a shallow angle and lift outward.
This is the core of cleaning a phone charging port safely. You’re teasing a mat out, not jamming a pick at the back wall, and the difference is whether the port survives the year.
Users on r/CleaningTips describe pulling a surprisingly large compacted plug out of a port they’d assumed was dead, and users on r/AndroidQuestions fixed cables that only charged at an angle the same way.
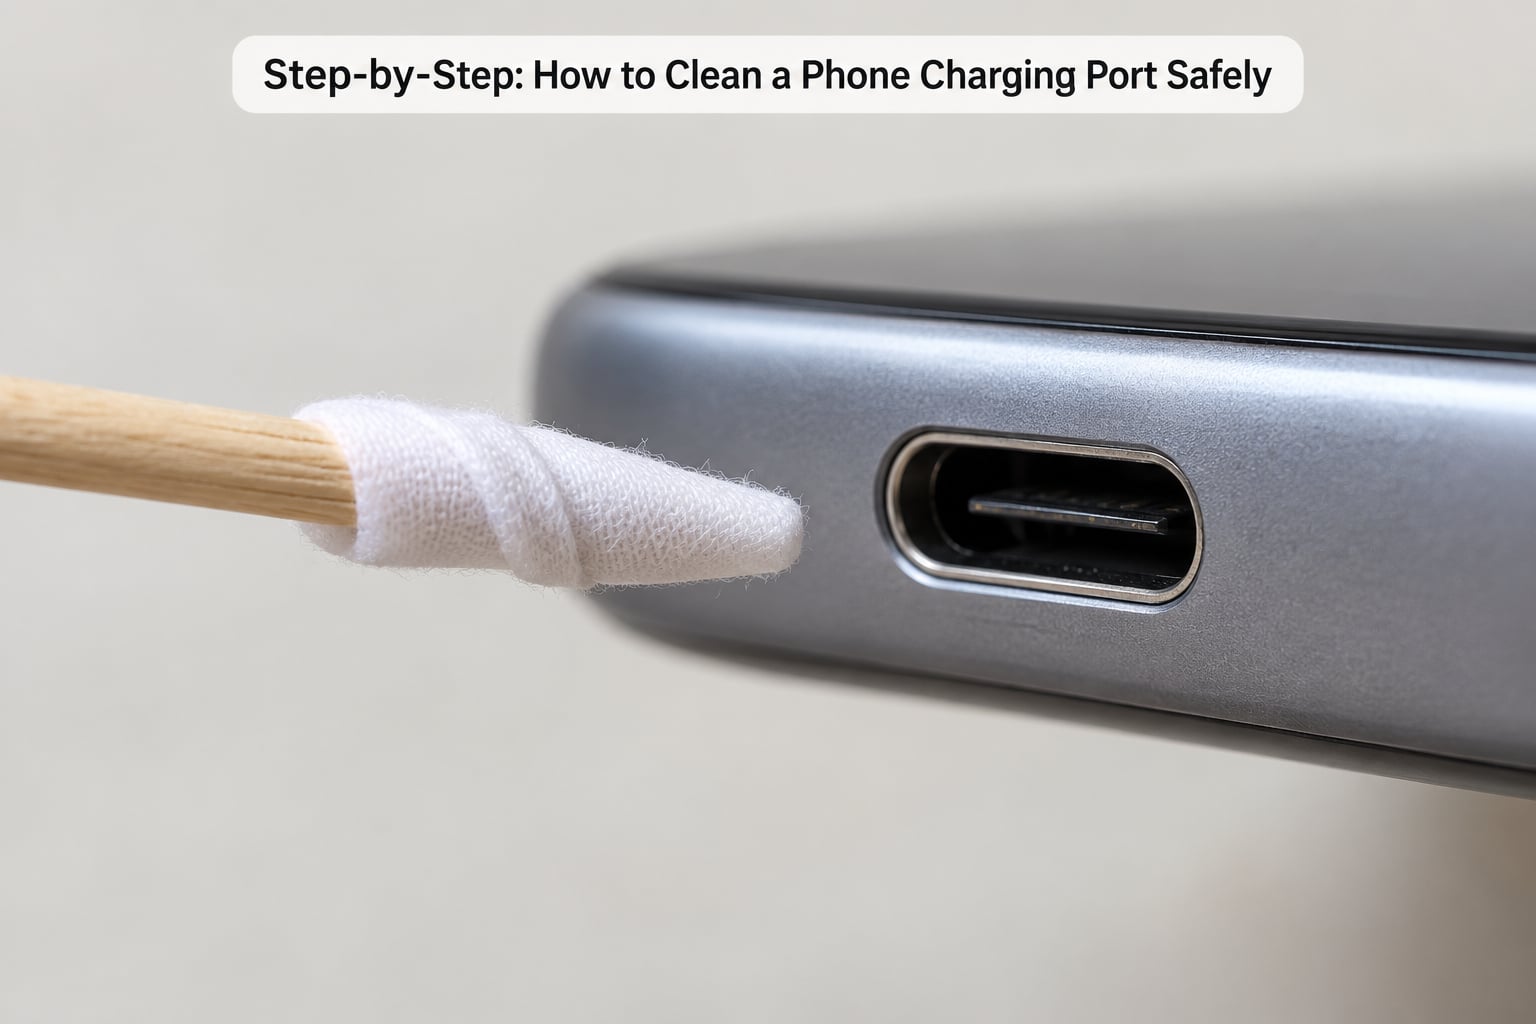
If the dry pass leaves hard grey residue on the toothpick tip, wrap a thin strip of lint-free cloth around it and go back in. That grabs what a bare toothpick slides off, and the cloth catches before the wood does.
Step 4: Clean the Edges and Connector
Dampen a cotton swab with 90% isopropyl alcohol until it’s damp, not wet, and run it along the inner walls, around the USB-C tongue, and across the case opening where grit collects. Wipe the connector tip of your cable the same way.
Alcohol is what removes the greasy film that dry methods leave behind, and that film is what holds the next layer of lint in place. Users who kept hitting recurring liquid-detection warnings on r/iPhone17Pro cleared them with a medium brush and IPA, which is a good sign that sticky residue really is the culprit.
Never pour, drop or spray liquid into the port. If moisture does get in, leave the phone powered off for at least 24 hours, upright and open, and skip the charger until the warning clears on its own.
Step 5: Check Charging and Stop If Problems Remain
Give the port two or three minutes to air-dry, then plug in a cable and charger you know work on another device. Wiggling the plug gently while it charges is a fair test, since a clean port keeps a steady connection at any angle.
Still charging slowly? Try a different cable, then a different charger, then check whether a thick case is pinching the port. If the port is clean, the cable is proven and the phone still refuses charge, it’s time to stop and book a repair.
Once a month is enough for most people. If you carry your phone in a jeans or canvas pocket, a silicone dust plug takes about ten seconds to fit and cuts the lint problem off at the source.
Common Mistakes and How They Damage the Port
Almost every ruined port I’ve seen came from one of four habits, and all of them feel helpful at the time.
Metal probes. A needle, paperclip or SIM ejector tool is the most-repeated tip on forums and the worst one. Those contacts are gold-plated and thin, and a single scrape strips the plating. The wooden or plastic toothpick does the same job without the risk.
Blowing with your mouth or blowing the port yourself. Breath is moist and it condenses inside a warm port, and breath pressure drives lint straight to the back where a swab can no longer reach it. Canned air or a bulb syringe moves debris outward instead.
Liquid poured in. Alcohol helps only when it’s carried on a damp swab where you placed it. Flooding the port can short the charging circuit and, on Android phones, trip a liquid-detection alert that keeps the port dead for days.
Scraping the contacts directly. The goal is debris on the walls, not shine on the pins. Wipe and lift, never scrape, and treat the inside of the port as something you clean around rather than clean off.
Testing while damp. Recharging the moment you finish, or while the swab is still wet, is the one mistake that turns a harmless clean into a repair bill. Two or three minutes of air time costs nothing.
Frequently Asked Questions
Can I use compressed air to clean a phone charging port?
Yes, used correctly. Hold the can upright so no liquid propellant leaves it, keep about 6 inches back, and give one-second bursts while the phone is powered off. Never tilt or invert the can: the coolant that sprays out inverts and can cause the liquid-detection warning that stops an Android or iPhone from charging. A hand bulb syringe is the safer choice if you have one.
Is rubbing alcohol safe for a phone charging port?
Isopropyl alcohol at 90% or higher is safe on a damp cotton swab, because it evaporates fast and leaves no residue. Regular 70% rubbing alcohol contains more water and works less well on grime. Never pour or spray it into the port, and leave two or three minutes of drying time before you reconnect a cable.
Will a cotton swab damage a USB-C or Lightning port?
A dry cotton swab is safe and good for the outer walls and the case opening, but it rarely lifts a compacted mat from the back of a narrow port. Skip cotton swabs on the USB-C centre tongue, where fibres can snag. For stubborn lint, a toothpick wrapped in a thin strip of lint-free cloth reaches further without dragging anything inward.
Why does my phone only charge at a certain angle?
Usually the port, not the phone. Lint packed against the contacts means the cable can only touch them when held at one tilt, which is the most common false broken-port diagnosis on forums. Clean it, then test a known-good cable. If the connection stays flaky in a clean port, the contacts are worn and the port needs replacing.
Should I clean the charging cable or replace it?
Clean it first, every time. Wipe the connector tip with a swab dampened with 90% isopropyl alcohol and look for fuzz or a bent pin under a flashlight. Replace the cable if the tip is scratched, tarnished, or the pins inside are visibly crooked, since no amount of cleaning will fix damaged metal. Worn ports, noted repeatedly on r/GooglePixel, come from repeatedly bending the cable in the socket.
Conclusion
Power the phone off, unplug it, and run a dry soft brush and a wooden toothpick across the port to lift the lint out rather than push it back. Follow with a swab barely dampened with 90% isopropyl alcohol, wait two or three minutes, then test with a cable you know works.
If the cable still rocks in the socket, charges only at an angle, or the port shows a bent contact, stop there and get it looked at properly. A port with a visible crack, corrosion or a pin pressed against the wall is a repair, not a cleaning job.