Most blurry webcam video has nothing to do with the camera itself. You can improve webcam video quality by clearing the lens, putting a light in front of you, locking focus and resolution, and switching off the automatic settings that guess wrong in a dim room. Work through these seven fixes in order and test the preview after each one; the first three take about ten minutes in total and usually do most of the work.
I have watched people spend an evening tweaking filters on footage that was really just a dusty lens and a lamp behind the monitor. That is the trap: software cannot recover detail the sensor never captured. Fix the light and the optics first, then the settings, then worry about hardware.
Table of Contents
- What You Need
- Step-by-Step: How to Improve Webcam Video Quality
- 1. Clean the lens and check the camera app
- 2. Improve the lighting in front of you
- 3. Lock the camera in focus
- 4. Set the right resolution, frame rate, and exposure
- 5. Update the camera, browser, and calling app
- 6. Reduce bandwidth use and background processing
- 7. Test the result and improve the audio
- Common Mistakes
- Frequently Asked Questions
- Why does my webcam look blurry?
- Can I improve webcam video quality without buying a new camera?
- Should I use 720p or 1080p for video calls?
- Why is my webcam dark on a video call?
- Does a higher megapixel webcam always look better?
- Why does my webcam look worse in Zoom, Teams, or Google Meet?
- Conclusion
What You Need
You need almost nothing, which is the good news here. Most of this guide costs nothing at all.
- The webcam itself, or the built-in camera on your laptop, tablet or phone
- The computer or phone you will be calling or recording on
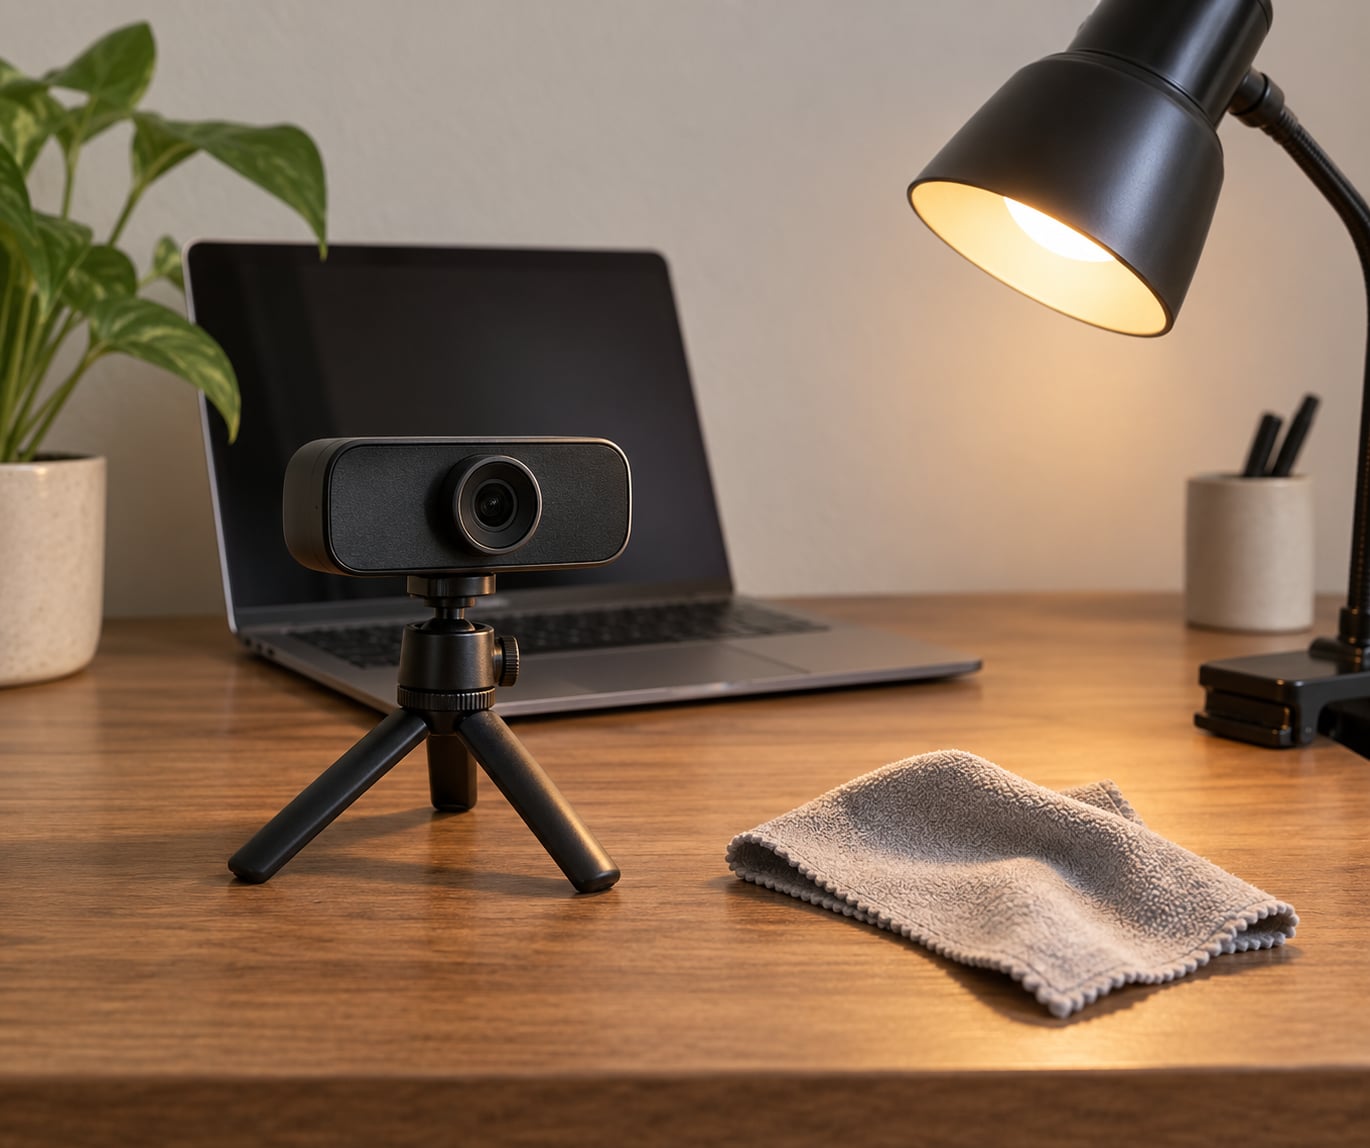
- A clean, soft cloth such as a microfiber cloth, plus a blower or compressed air for dust in the housing
- A window or a lamp with a diffuser, and something to stand the camera on at eye level
- Optional but useful: a wired external microphone or earbuds with a boom mic for clearer audio
Add a small tripod or a stack of books if your camera sits below eye level, because shooting up at your chin is the thing people forgive least on a call. A cheap clip light helps more than a costly camera upgrade, and I would rather see one in a home office than a spec sheet any day.
Step-by-Step: How to Improve Webcam Video Quality
Run the steps below in order, and open the preview after each change so you know what actually fixed it. That last part matters more than it sounds: most people change four settings at once, see no difference, and conclude the camera is broken.
Test outside the calling app too. If the picture is soft in the plain camera app as well, the problem is physical or driver-level. If it is sharp there but soft in the call, the problem is inside the app.
1. Clean the lens and check the camera app
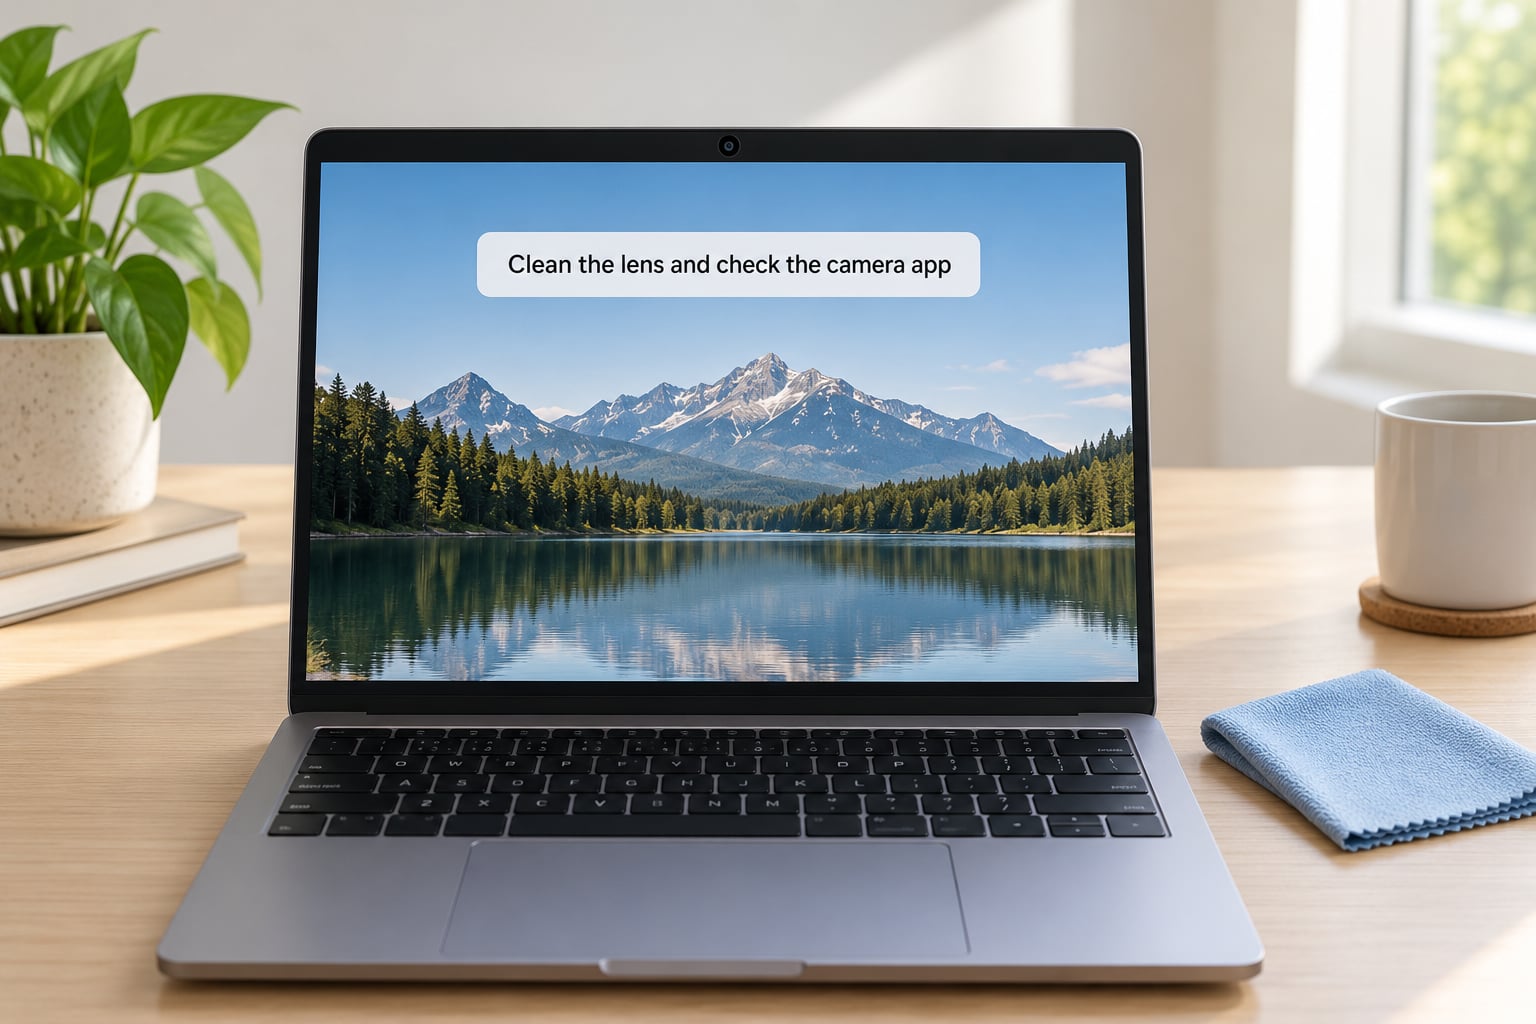
A smudged lens is the single most common cause of a soft webcam image, and it is invisible until you look at it from the side with light on the glass. Wipe the lens ring with a dry microfiber cloth, then breathe on it very lightly and wipe again so oily fingerprints lift.
Check for two things people forget. Many laptops and webcams have a physical privacy shutter or a sliding lens cover that stays partly closed and costs you most of your light. Second, a factory plastic film left on a new webcam or a screen protector over a laptop screen leaves the image hazy no matter what you do in software.
Then open the original camera app and confirm whether the problem is there too:
- Windows 11: press the Windows key, type Camera, and open the built-in camera app. If it looks wrong here, it is not Zoom’s fault.
- macOS: open Photo Booth from Applications, or use Continuity Camera from Control Center on a Mac with a supported iPhone nearby.
- Android: open the stock Camera app and switch to the front lens.
- iOS or iPadOS: open the stock Camera app, switch to the front lens, and check in FaceTime or your calling app.
2. Improve the lighting in front of you
Lighting beats hardware, every time. The goal is a soft light source in front of your face, roughly at eye level, about two feet away and angled about 45 degrees to one side.
Sit facing a window during the day and turn your back to the wall. If the window is behind you, you have given yourself a silhouette, and no amount of exposure correction in the app will make that look natural. That backlit look is the most common failure I see on work calls.
Avoid overhead ceiling lights alone, because they drop shadows into your eye sockets and make every camera look harsher than the room really is. For a dark room in the evening, add a desk lamp with a white shade between you and the camera, or a ring light clamped beside the screen. Keep it off to one side rather than dead center, since straight-on light flattens your face.
Two more things fix dark rooms fast. Close the curtains so the window does not blow out while your face stays dim, and raise brightness on your monitor so your screen is not brighter than your face, because your eyes adjust to the brightest thing in the room.
3. Lock the camera in focus
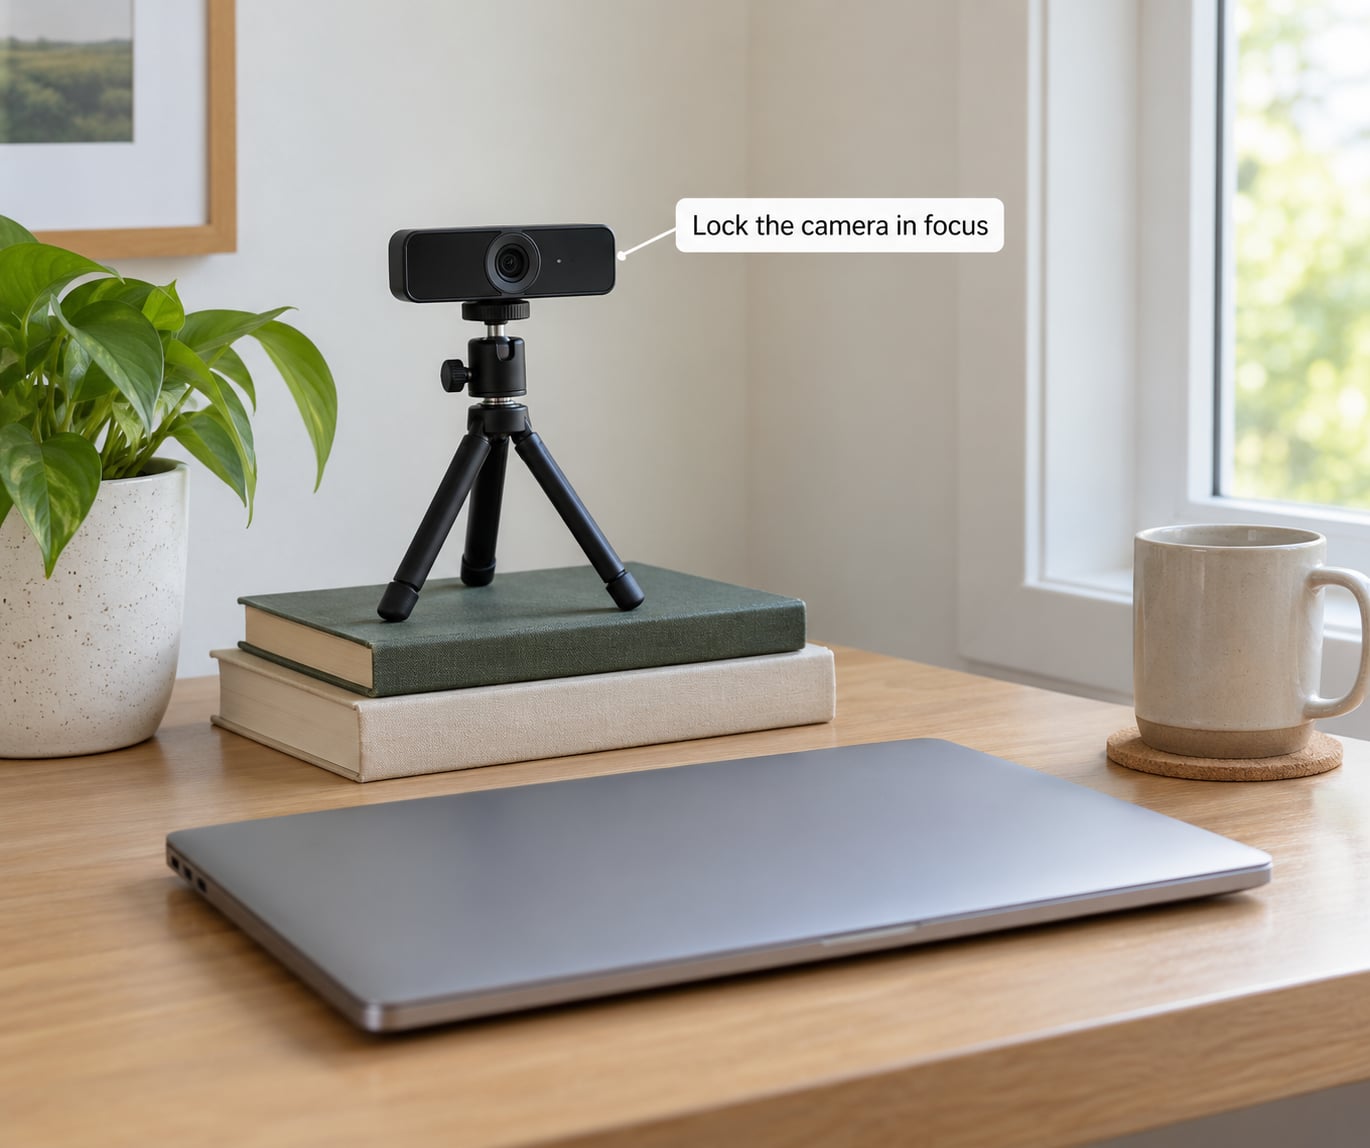
Autofocus hunts when it has nothing to focus on, and budget cameras are especially prone to it. The widely repeated fix from camera vendors is almost embarrassingly simple: hold your hand or a nearby object in front of the lens for a second, then remove it, so the autofocus locks onto something at your distance.
If you move a lot during a call and the image pulses in and out of focus, that hunting is the cause. Move once, let focus settle, then stop moving. Objects held too close to the lens also confuse autofocus, so keep your space clear.
Where the app allows it, set focus manually instead:
- Windows 11: Settings > Bluetooth and devices > Cameras, select your camera, then open Camera settings for exposure, focus and framing controls. Some drivers expose a manual focus slider there.
- Logitech cameras: open Logi Tune or the Camera Settings App, choose your camera, and set focus to manual. Logitech also notes that digital zoom costs sharpness, so keep zoom at 1x.
- macOS Photo Booth: the Video menu turns on the mirror and quality options; manual focus lives in third-party apps such as OBS Studio or a vendor control app.
- Android and iOS: tap the screen where your face is to refocus in most stock camera and calling apps, then lock focus with a long press where the platform allows it.
4. Set the right resolution, frame rate, and exposure
Pick 1080p at 30 fps for calls and recordings unless you have a reason not to. Higher frame rates eat bitrate, so a 1080p 60 fps stream usually looks worse than 1080p 30 fps on the same connection, because the encoder gives each frame less data.
Where you can, turn off auto exposure, auto white balance and low-light compensation, then set them by hand. Auto settings are the reason colors swing orange when someone turns a lamp on and your image dims whenever you shift. Locking them makes your video predictable.
Per-app controls worth knowing:
- Zoom: Settings > Video > Camera, then use the gear icon for resolution, frame rate and exposure. Turn off Touch Up My Appearance and Virtual Background, both of which soften the image.
- Google Meet: the three dots > Settings > Video lets you pick the camera and turn off background blur or visual effects. Meet also offers a built-in adaptive lighting filter.
- Microsoft Teams: the three dots > Device settings > Camera, where Background effects can be set to None.
- OBS Studio: in Settings > Video, match the resolution and frame rate to the capture device, then use Video Capture Device settings for format, color space and frame rate.
If your video is pixelated rather than soft, you have a bitrate problem, not a camera problem. Roughly, 720p at 30 fps needs about 2500 to 4000 kbit/s, 1080p at 30 fps about 4500 to 6000 kbit/s, and 1080p at 60 fps about 8000 kbit/s or more. Streamers on the OBS forums repeatedly report that dropping from 1080p 60 fps to 720p 30 fps at a high bitrate looks visibly cleaner than the original setup, which is why so many guides recommend exactly that pairing.
One hardware detail catches people: some webcams negotiate a slower format on USB 2.0 ports. If the picture changes when you move the camera to a different port, try a blue USB 3.0 port and check the port on the webcam itself.
5. Update the camera, browser, and calling app
Outdated drivers and stale apps cap your resolution or fall back to a compressed format without telling you. HP’s own community advice is that most color, tint and softness problems come from drivers and settings rather than a faulty camera.
- Windows 11: check for updates with Windows Update > Check for updates, including optional driver updates under Advanced options. Then verify the app has permission: Settings > Privacy and security > Camera, where the camera access toggles for your desktop apps are set.
- macOS: install macOS updates, and check a third-party webcam in the vendor app or OBS Studio rather than the built-in Photo Booth, which handles formats more simply.
- Android and iOS: update the calling app and the OS from your app store, then check that the camera permission for that app is set to Allow.
- Browsers: an outdated Chrome, Edge or Firefox can fall back to a lower resolution or a CPU-heavy path. Update it, and restart the browser after granting camera permission so the new permission takes effect.
If the camera app has a reset or restore option, use it once after a driver update. On Windows 11 the camera entry in Settings > Bluetooth and devices > Cameras can be removed and re-added, which forces a clean reinstall.
6. Reduce bandwidth use and background processing
Your camera competes with everything else on the network and on the CPU. Close cloud-sync clients, large browser tabs with video in them, and streaming apps before you join a call.
Turn off virtual backgrounds and beauty filters. Background blur and Touch Up My Appearance in Zoom, or background effects in Teams, all resample your image and reduce detail even when they look good on the person in front of you.
Use a wired connection or a stable 5 GHz network rather than congested public Wi-Fi, and skip a VPN if it is adding latency to your call. If you are recording locally, a hard drive or game running alongside can starve the encoder; close what you do not need and let the machine catch up.
In OBS Studio, choose a hardware encoder where one is available rather than a software encoder, since software encoding on a busy CPU is a common reason the face goes soft first while the game stays sharp.
7. Test the result and improve the audio
Record a short clip in the original camera app, not in the call. In-call previews are heavily compressed, so judging quality there is misleading: what looks fine on screen can look blocky for everyone else. Play the clip back full size and compare it with a phone recording of the same moment to see where the real limit is.
Then check audio, because people forgive soft video long before they forgive bad sound. Plug in wired earbuds or a headset and keep the microphone away from fan noise. Position it roughly a hand width from your mouth rather than across the desk, and turn off any noise suppression that makes you sound like you are speaking through a pillow.
A full call test is the last check. Join a test meeting with a colleague or use the platform preview with the call recording enabled, then watch the recording back rather than trusting what you saw live.
When is replacing the webcam justified? If it is soft in the native camera app after the lens is clean, the driver is current and the lighting is good, and the image stays soft at 1080p in a recorded clip, the sensor or lens is likely failing. At that point a new camera, or using your phone as a webcam, is faster than more settings work.
Common Mistakes
Matching the symptom to the cause saves hours. Use this table before you change anything else.
| Symptom | Likely cause | Fix |
|---|---|---|
| Soft or blurry at all times | Dirty lens, privacy shutter, or factory film | Clean the lens and check the shutter |
| Sharp when still, blurry when you move | Autofocus hunting | Trigger focus, then set it manually |
| Grainy or speckled, especially at night | Small sensor collecting little light | Add front light, lower noise reduction |
| Pixelated blocks and mushy detail | Bitrate too low for resolution and fps | Drop to 720p 30 fps, raise bitrate |
| Too dark, or your face blows out at the edges | Backlighting or a single overhead lamp | Face a window, add a 45-degree key light |
| Colors shift orange or green | Auto white balance chasing the room | Lock white balance and exposure |
| Stuttering or dropped frames | Network congestion or a loaded CPU | Close apps, use 5 GHz or wired, hardware encode |
Beyond the table, these are the mistakes I see most often. Paying for 4K or a higher megapixel count on a camera you then use in a dark room buys you more pixels and the same grain, so higher megapixel does not automatically mean a better picture. Digital zoom is just cropping, so it always costs sharpness and there is no setting that recovers it.
Two more: a window directly behind you is the classic way to look unlit on a call, and judging quality from a compressed in-call preview means you may throw away settings that were already fine. Sharpening filters add contrast around edges without adding real detail, so they make a soft image look worse, and aggressive noise reduction smears motion into a watercolor.
If you only remember three things: clean the lens, put a light in front of you, and check the native camera app before touching the calling app. That sequence resolves most of what people describe as a broken webcam.
Frequently Asked Questions
Why does my webcam look blurry?
Usually the lens itself: dust, fingerprints, a leftover factory film, or a privacy shutter left partly closed. Cleaning the glass with a dry microfiber cloth is the first thing to try. If the image is sharp while you sit still but soft the moment you move, autofocus is hunting and needs to be triggered or set to manual. If it is sharp in the native camera app but soft in your call, the calling app’s background blur or beauty filter is the culprit.
Can I improve webcam video quality without buying a new camera?
In most cases, yes. Adding a light in front of you, cleaning the lens, locking focus, and switching off auto exposure and auto white balance produce a bigger change than most hardware upgrades, and they cost nothing. Forum consensus repeats the same point: a cheap light in front of the subject beats an expensive camera in a dark room. Only consider new hardware when the image stays soft in a recorded clip from the native camera app after the lens is clean and the lighting is good.
Should I use 720p or 1080p for video calls?
Use 1080p at 30 fps for most calls and recordings, and drop to 720p when your connection is unstable or you are streaming. Higher frame rates consume bitrate, so 1080p at 60 fps often looks worse than 1080p at 30 fps on the same connection. Roughly, 720p at 30 fps needs 2500 to 4000 kbit/s, 1080p at 30 fps about 4500 to 6000 kbit/s, and 1080p at 60 fps at least 8000 kbit/s.
Why is my webcam dark on a video call?
The camera is metering for the brightest part of the scene, and if that is a window behind you, your face ends up in shadow. Face the window instead of backing onto it, or place a lamp about two feet away and 45 degrees to one side at eye level. Avoid relying on a ceiling light alone, since overhead lighting drops shadows into your eye sockets. Raising your monitor brightness also helps your eyes adjust to a screen that is currently brighter than your face.
Does a higher megapixel webcam always look better?
No. Megapixels only matter when there is enough light on the sensor. In a dim room, a higher-resolution sensor packs more small light-gathering pixels into the same space, so the result is grainy rather than sharper. That is why a 1080p camera can look noisy at night while a 720p camera looks cleaner under the same lamp. Fix the lighting first, then choose resolution, and do not expect more megapixels to rescue a badly lit scene.
Why does my webcam look worse in Zoom, Teams, or Google Meet?
Because the app adds processing on top of the camera feed: background blur, Touch Up My Appearance, virtual backgrounds, and its own exposure and sharpening. Turn those off in the app’s video settings, check that the resolution selector is set to 1080p where available, and compare against the native camera app. If the native app looks sharp, the camera is fine and the fix belongs in the app rather than in new hardware.
Conclusion
The three changes that matter most are cleaning the lens, putting a soft light in front of you, and checking the native camera app before you blame the calling software. Do those first, in that order, and most soft or dark video improves within ten minutes.
After that, lock focus, set 1080p at 30 fps with exposure and white balance on manual, keep filters off, and give the encoder enough bitrate. If the image is still soft in a recorded clip from the built-in camera app with good lighting, then you are shopping for a new webcam or a phone-as-webcam setup rather than more settings.
Updated for 2026.