A home office on a small desk works when you measure first, keep only daily-use gear on the surface, and push storage upward instead of outward. The whole setup takes about two hours and costs nothing more than a lamp and a few clips if you already own a computer. Updated for 2026.
The mistake I see most often is buying first and measuring later. People buy a nice wide monitor, a chunky riser, a lamp with a heavy base, then discover the keyboard no longer fits in front of it. Measuring the surface and the space behind it takes ten minutes and decides almost everything else.
Small is the operative word here. A desk between 36 and 46 inches wide with 20 to 24 inches of depth is enough for a full workday if you respect the numbers below. Anything smaller can still work, but only with a laptop or a single ultrawide screen.
Table of Contents
- What You Need for a Home Office on a Small Desk
- The essentials
- Worth adding, not worth starting with
- Step-by-Step
- 1. Measure the desk and plan the layout
- 2. Choose the right display and computer setup
- 3. Improve lighting and reduce screen glare
- 4. Organize power, cables, and small accessories
- 5. Set an ergonomic working position
- 6. Test the finished workspace
- Common Mistakes
- Overcrowding the front edge
- Leaving the screen where it came in the box
- Putting the window behind the monitor
- Bundling cables at the wall instead of at the desk
- Buying a riser and then losing the space it took
- Ignoring chair fit because the chair is “temporary”
- Setting up the equipment and never revisiting it
- Frequently Asked Questions
- How small can a home desk be and still work?
- Should I use a laptop, a monitor, or both on a small desk?
- How do I set up a home office on a small desk with no drilling?
- How much clearance does a chair need behind a desk?
- What is the 20-8-2 rule for standing desks?
- How can I make a small desk feel and work better?
- Conclusion
What You Need for a Home Office on a Small Desk
Essentials are the computer, a raised screen, a keyboard, a light source, and somewhere to plug things in. Everything else on the list is an upgrade, not a requirement, and buying all of it at once is how small desks end up crowded again.
The essentials
- A work surface at least 20 inches deep. Shallower than that and your forearms hit the edge instead of resting on it.
- A screen raised to eye level. A laptop stand, a monitor riser, or a clamp monitor arm, depending on what you already own.
- An external keyboard and mouse. Reaching down to a laptop’s built-in keyboard wrecks your shoulders within an hour.
- A light you can aim. An adjustable desk lamp beats an overhead fixture for evening work, and it takes almost no desk space.
- A power strip with at least four outlets. Mounted under the desk or clipped to the back edge, not sitting in the middle of the surface.
- Cable clips or a sleeve. Six inches of loose cable behind a monitor eats an entire cable-management budget.
- A chair that fits the zone. Seat height matching the desk, with lumbar support and casters that roll on your floor type.
Worth adding, not worth starting with
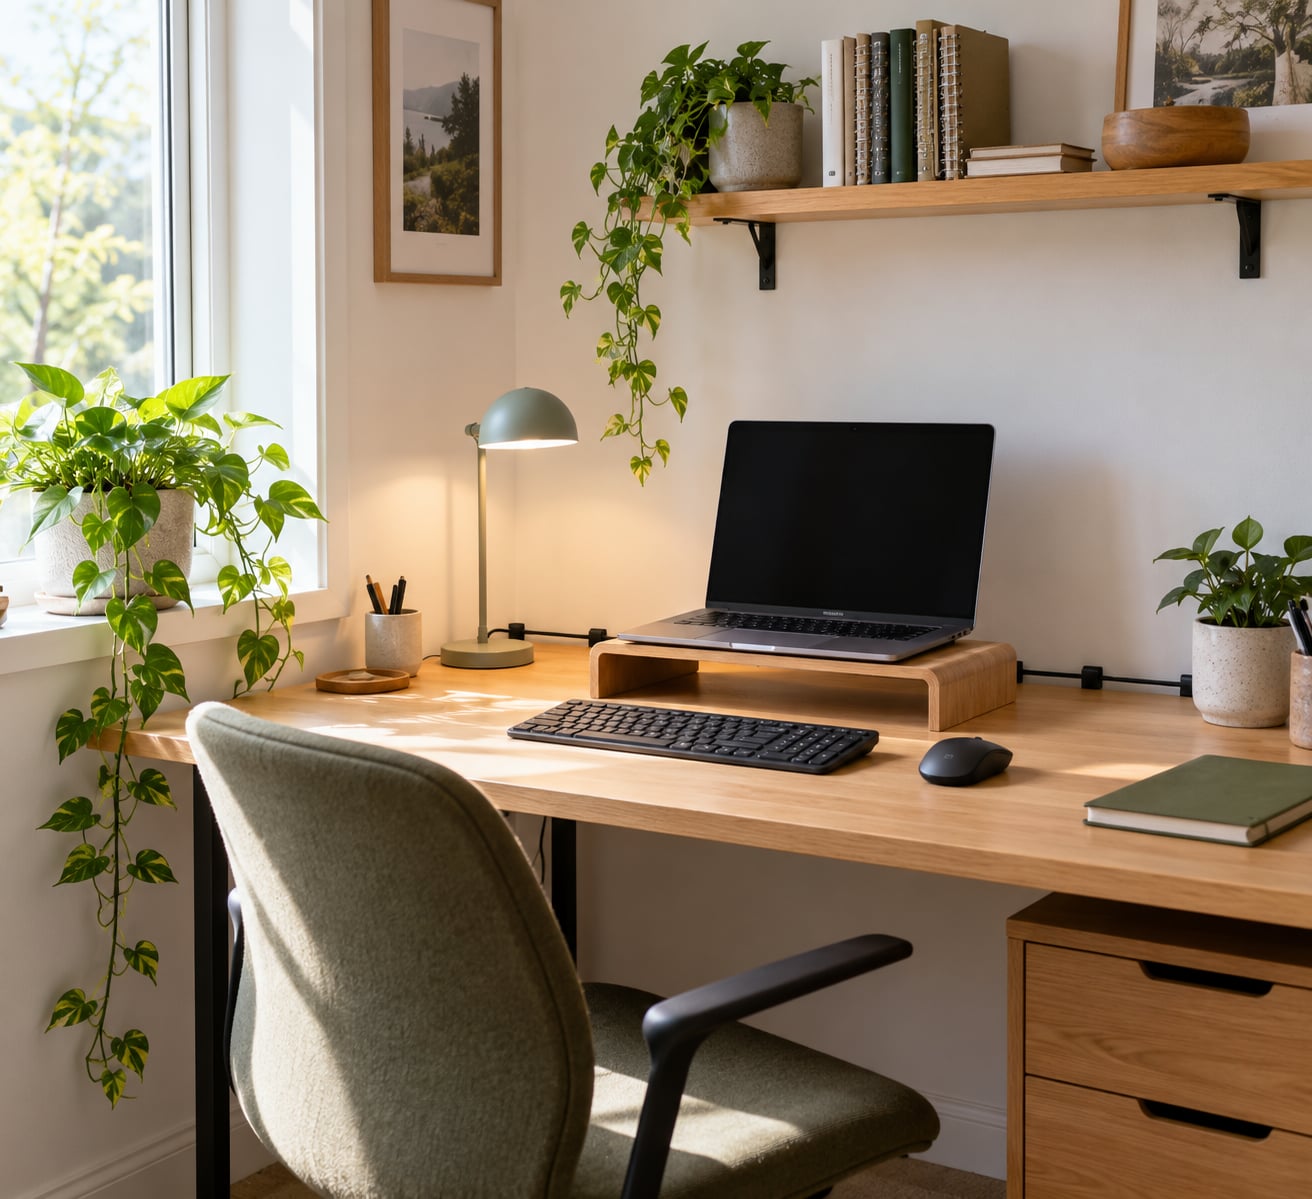
- A shelf or ledge mounted 18 to 24 inches above the desk surface, for anything you need within reach but not on the wood.
- A monitor arm. People report reclaiming roughly an 8 by 10 inch patch of surface, which on a 36 inch desk is the difference between workable and cramped.
- A wireless keyboard and mouse, so two receivers or one cable stop sitting around.
- A footrest, if your feet do not reach the floor flat once the chair is at desk height.
- A docking station, but only if you genuinely unplug the laptop. Otherwise it is just a box taking up a corner.
Renters can do this whole list without drilling. Adhesive cable clips, a clamp monitor arm, an under-desk power strip that hangs rather than screws, and a freestanding shelf against the wall all leave the surface reversible when you move.
Step-by-Step
Work through these in order. Each step assumes the previous one is done, and skipping ahead is how you end up rearranging the desk three times.
1. Measure the desk and plan the layout
Measure width, depth, and height, then measure the floor space behind the desk where your chair lives. Width and depth tell you what fits on the surface; the floor measurement tells you whether you can push the chair back at all.
- Width: 36 inches handles a laptop, a keyboard, and a mouse. 42 to 48 inches adds room for a monitor beside the laptop. Two separate monitors need roughly 54 inches plus margin.
- Depth: 20 inches is the floor for comfort. 22 to 24 inches gives you room for a monitor stand and a forearm rest without cramping.
- Height: 28 to 30 inches suits most adults from about 5 foot 4 to 6 foot. If the desk is fixed at the wrong height, that changes your chair and foot plan, not your buying list.
- Chair clearance: aim for about 36 inches behind the desk edge. Under 30 and you cannot slide back to type without hunching.
Then map the reach zone. Anything you touch more than a few times an hour belongs in the front 12 inches of the surface. Everything else moves to a shelf, a bin, or out of the room.
Placement matters as much as size. A desk against a wall loses nothing; a desk floating in the middle of a small room wastes depth behind it. A corner is the most space-efficient option, and a standard closet is often more usable than it looks, since closets run roughly 24 inches deep and a 22 inch deep desk just clears.
2. Choose the right display and computer setup
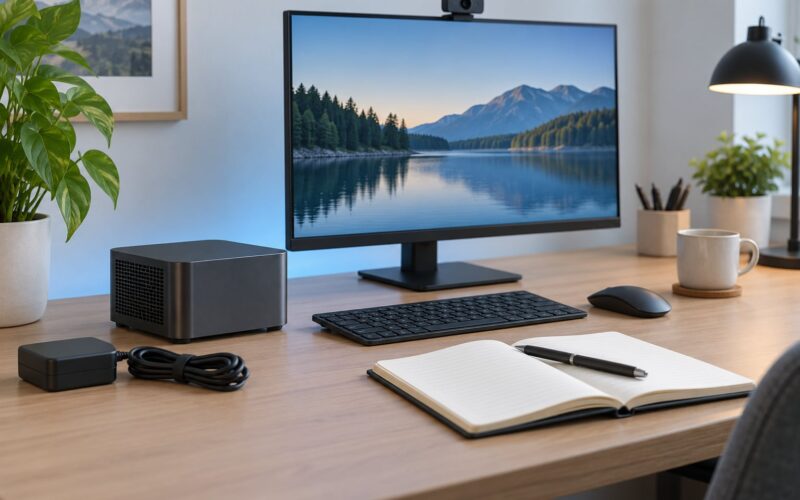
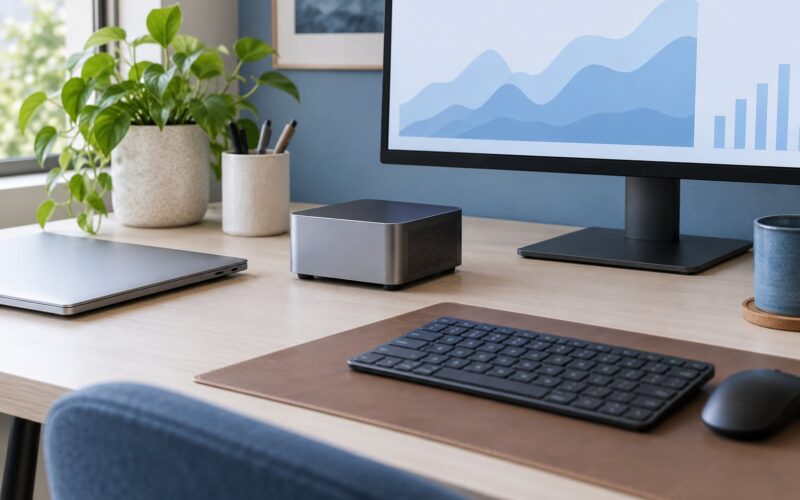
Pick one setup and commit to it: laptop on a stand with an external keyboard, or a laptop with a separate monitor beside it on an arm. Stacking a laptop on top of a monitor is the one arrangement that reliably wastes width, because you need both devices upright and side by side to fit them at all.
A single 25 to 27 inch monitor is the sweet spot for a small desk. Bigger screens look appealing and push the edges past your arm span, which means constant leaning. A single ultrawide is a reasonable alternative when your work involves one long window rather than two separate ones.
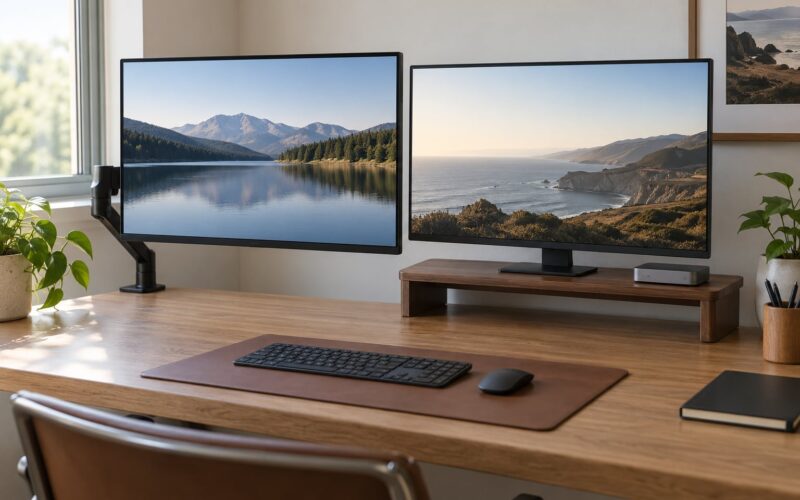
For riser versus arm: a riser is cheap, stable, and adds 4 to 6 inches of height, but it consumes surface. A clamp arm costs more, needs a desk edge with room for the clamp, and gives the surface back. If your desk is shallow and your screen is heavy, check the clamp’s weight rating before you buy.
Keyboard and mouse placement decides whether step 5 works. Put both on the same level as your forearms, and push them far enough back that your elbows stay near your sides instead of reaching forward.
3. Improve lighting and reduce screen glare
Side light beats back light, and that one rule resolves most of the complaints I get about headaches after video calls. If the only window is behind your monitor, you are lighting the back of the screen and creating reflection on the front of it. Turn the desk 90 degrees so the window sits beside you instead.
Add an adjustable desk lamp aimed at the work surface, not at your eyes, and place it on the opposite side from the window so the two sources do not fight. Warm light in the evening, neutral light during the day, brightness matched to the room rather than turned to maximum.
Check it with a simple test. Sit at your normal working position for two minutes and look at a white document on screen. If you see a faint reflected image of the lamp or the window, angle the lamp, close or angle the blind, and try again. Your head should never be the brightest thing in the frame.
4. Organize power, cables, and small accessories
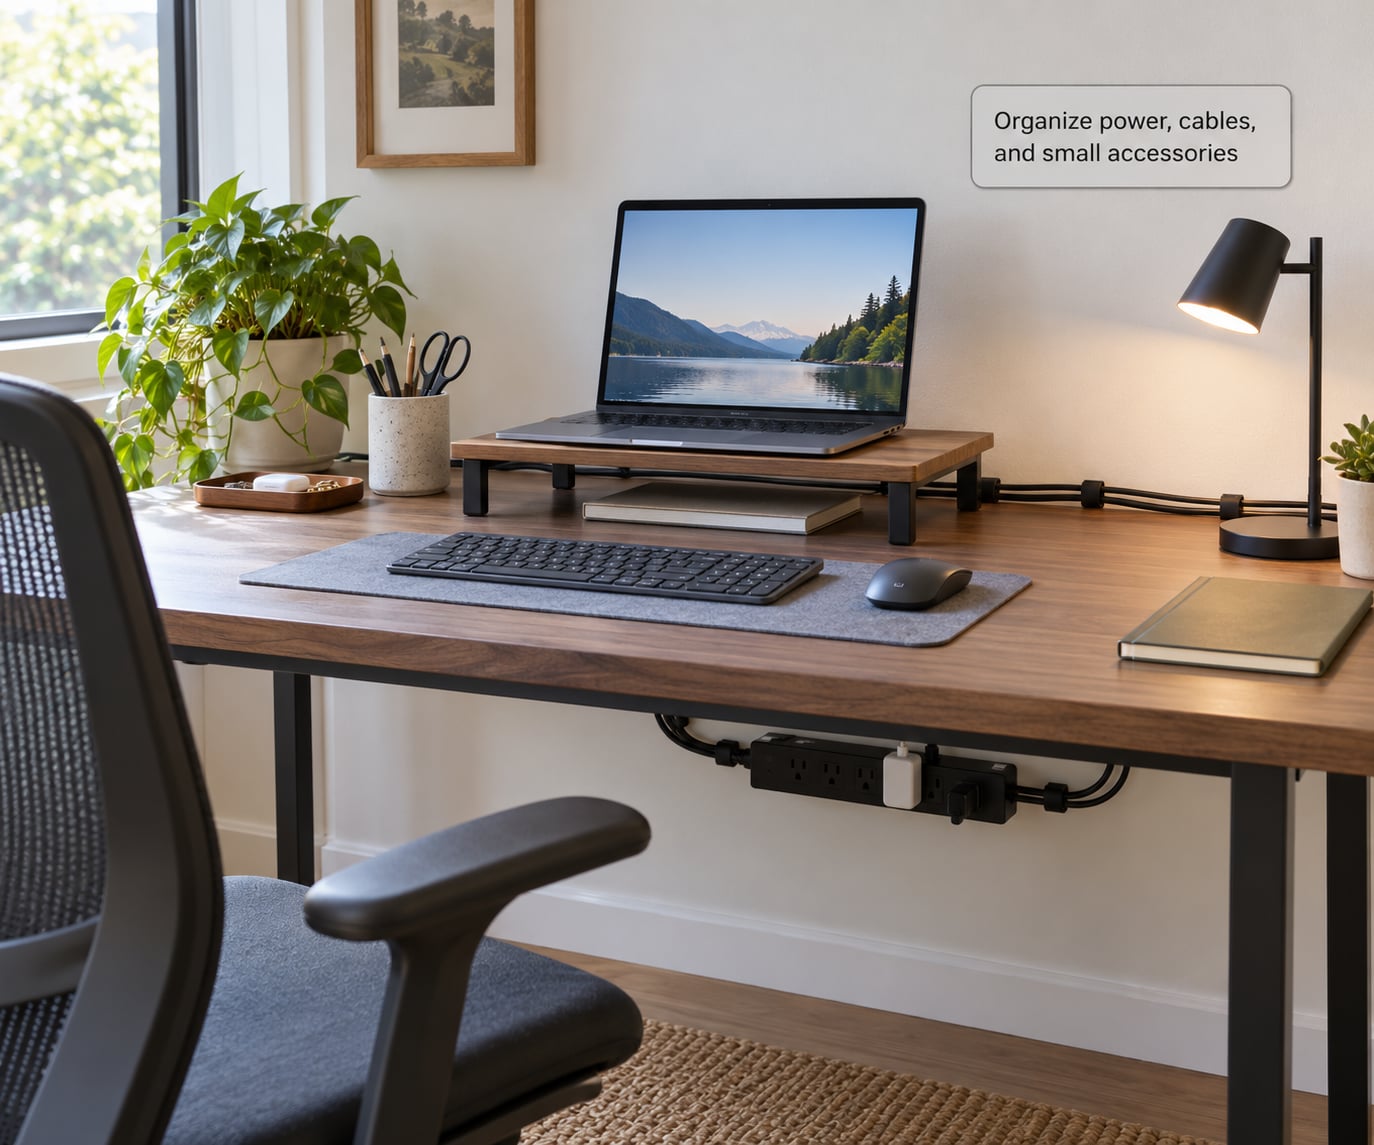
Cable management on a small desk is mostly about getting wires off the wood and behind the back edge. Run one power strip under the desk or clip it to the rear rail, then route everything down a single leg with adhesive clips every 8 inches or so.
Group by function rather than by device. All the display cables run together, all the charging cables run together, and anything you unplug more than twice a week gets a different plan entirely, usually a wireless option.
Stop clutter from coming back with one rule: every item needs a home that is not the desk surface. Chargers live in a small bin under the desk. Notebooks and chargers go on the shelf above. Headphones hang on a hook or live in the drawer. If you cannot name the home for something, it does not need to be in the room.
The renter version is the same idea without screws: adhesive clips on the back edge, a sleeve or braid for the run down the leg, and a power strip that hangs rather than bolts on. It all comes off at moving day with a little heat from a hair dryer on the adhesive.
5. Set an ergonomic working position
Set your position before you start typing and adjust it once an hour, because you will drift. Feet flat on the floor or on a footrest, knees at roughly 90 degrees, lower back supported by the chair rather than by leaning forward.
Set the screen so the top edge sits at or just below eye level, about an arm’s length away. On a fixed-height desk that usually means a riser or a stack of sturdy books under the monitor. If you cannot get the height right, raise the seat and add a footrest, which fixes the same problem from the other end.
Elbows near your sides, forearms roughly level, hands relaxed. If you feel your shoulders rising, your keyboard is too high or too far forward. If your wrists bend upward while typing, lower the keyboard or add a low wrist support rather than propping your wrists up.
On standing work in a small footprint, the 20-8-2 rule is a reasonable starting point: 20 minutes standing, 8 sitting, 2 moving. Most small desks are fixed height, so this mostly applies if you have a sit-stand model. Standing all day is not a training program, and switching between positions usually helps more than choosing one.
6. Test the finished workspace
Run the setup through one full work block before you call it finished. Most problems show up in hour three, not hour one.
- Connectivity: run a video call from your normal seat and check for dropouts, especially if your router is in another room.
- Audio: test your microphone with headphones on, since a small room often has more echo than you expect.
- Lighting on camera: check that the light is on your face rather than behind you. A lamp behind the monitor makes you a silhouette on every call.
- Reach: over a morning, notice how often you move the mouse to reach the mug, the notebook, the phone. Anything you shoved twice belongs on the shelf.
- Cable safety: check nothing crosses a walking path or dangles where a knee can catch it.
- Comfort: if you are shifting position constantly or your shoulders are up by your ears, the problem is height, not the chair.
Do a five-minute reset at the end of each day: cables back on the hooks, papers onto the shelf, dishes off the desk. It is a small habit, but it is what keeps a compact setup compact.
Common Mistakes
Most small-desk problems come from a handful of repeated errors, and each has a fix that takes under ten minutes.
Overcrowding the front edge
A mug, a notebook, a phone, and a keyboard need more depth than most people allow. Keep the front 12 inches clear for forearms, and move everything else to the shelf or a bin.
Leaving the screen where it came in the box
A monitor sitting flat on the surface is a monitor at the wrong height, and that is the root of most neck complaints. Raise it before you do anything else with ergonomics.
Putting the window behind the monitor
Back light creates glare you will spend months blaming on your eyes or your screen. Rotate the desk so the window sits beside you.
Bundling cables at the wall instead of at the desk
Tidying everything into one knot behind the desk means unplugging three cables to swap a charger. Group and clip on the desk instead, then run a single sleeve down the leg.
Buying a riser and then losing the space it took
A riser adds height and subtracts usable surface, which on a 20 inch deep desk can be the difference between resting your wrists and hitting the edge. Measure the riser’s footprint before committing, and consider a clamp arm instead.
Ignoring chair fit because the chair is “temporary”
Chair fit is the most common complaint in compact setups: the seat does not match the desk height, or your feet do not reach the floor once the chair is raised. A footrest and a lumbar cushion solve more of this than a new chair does.
Setting up the equipment and never revisiting it
Posture drifts by the end of a week. Put a recurring 15-minute calendar block on yourself to re-check screen height and elbow angle, since nothing about a workstation stays fixed on its own.
Frequently Asked Questions
How small can a home desk be and still work?
A 36 by 22 inch surface handles a laptop on a stand with an external keyboard and mouse, and it is comfortable for most of a workday. Go below 20 inches of depth and your forearms hit the edge. Below 30 inches of width, you are down to a laptop only, with no room for a notebook.
Should I use a laptop, a monitor, or both on a small desk?
One of the two, not both stacked. A laptop on a riser with an external keyboard is the simplest option. A separate monitor beside the laptop suits people who keep reference windows open. Stacking the laptop on the monitor is the one layout that reliably wastes width on a compact desk.
How do I set up a home office on a small desk with no drilling?
Use adhesive cable clips on the back edge, a clamp monitor arm that grips the desk rather than bolting to it, and an under-desk power strip that hangs from the rear rail. A freestanding shelf against the wall adds storage with no holes at all. Everything reverses when you move.
How much clearance does a chair need behind a desk?
Aim for about 36 inches behind the desk edge so you can slide back fully and still type without hunching. Under 30 inches, your chair will hit a wall or a door and you will end up working at a fixed forward angle. If clearance is impossible, a compact chair and a footrest help more than a wider desk.
What is the 20-8-2 rule for standing desks?
It is a starting pattern for splitting a workday between positions: 20 minutes standing, 8 minutes sitting, 2 minutes moving. Most small desks are fixed height, so this applies mainly to sit-stand models. The useful part is the switching, not the standing itself.
How can I make a small desk feel and work better?
Reclaim surface area instead of adding to it. A clamp monitor arm gives back roughly an 8 by 10 inch footprint, a shelf mounted 18 to 24 inches above the desk holds the things you need within reach, and a wireless keyboard and mouse clear a cable from the surface.
Conclusion
Start with the tape measure, not the shopping cart. Note your width, your depth, and the clearance behind the desk, then put only daily-use gear on the wood. Raise the screen, aim the light from the side, clip the cables down a single leg, and adjust seat and screen height together at the start of each work block.
That is the whole method for how to set up a home office on a small desk: measure, keep the surface honest, and push everything else up and down rather than out. Recheck it every few months, since your work changes and the setup should too.