To measure headphone comfort before buying, run a timed fit test rather than a quick try-on: check the weight and headband design, wear the pair for at least 30 minutes with your usual glasses or earrings, and note where pressure builds up. Comfort is a slow-building sensation, which is exactly why store try-ons mislead people.
Clamping pressure that feels fine at minute two can turn into a dull ache by minute forty. On headphone forums, that pattern comes up again and again, and the fix is boringly simple: give the test a duration, a checklist and a written record.
Here is the protocol I use, built from what review labs and enthusiasts actually argue about. It costs nothing, takes half an hour, and it catches the problems that end in a return.
Table of Contents
- What You Need
- Step-by-Step: How to Measure Headphone Comfort Before Buying
- 1. Establish the fit and clamping force
- 2. Check ear-cup contact and padding
- 3. Measure comfort during a realistic listening session
- 4. Test movement, noise and everyday stability
- 5. Compare the results before buying
- Common Mistakes
- Frequently Asked Questions
- Can I test headphone comfort without buying them?
- How long should I wear new headphones before deciding whether they are comfortable?
- Does a tight seal mean headphones are more comfortable?
- Should I test headphones while wearing glasses?
- Is it better to choose over-ear, on-ear, or true-wireless headphones for comfort?
- What should I do if a headphone feels comfortable in a store but uncomfortable at home?
- Conclusion
What You Need
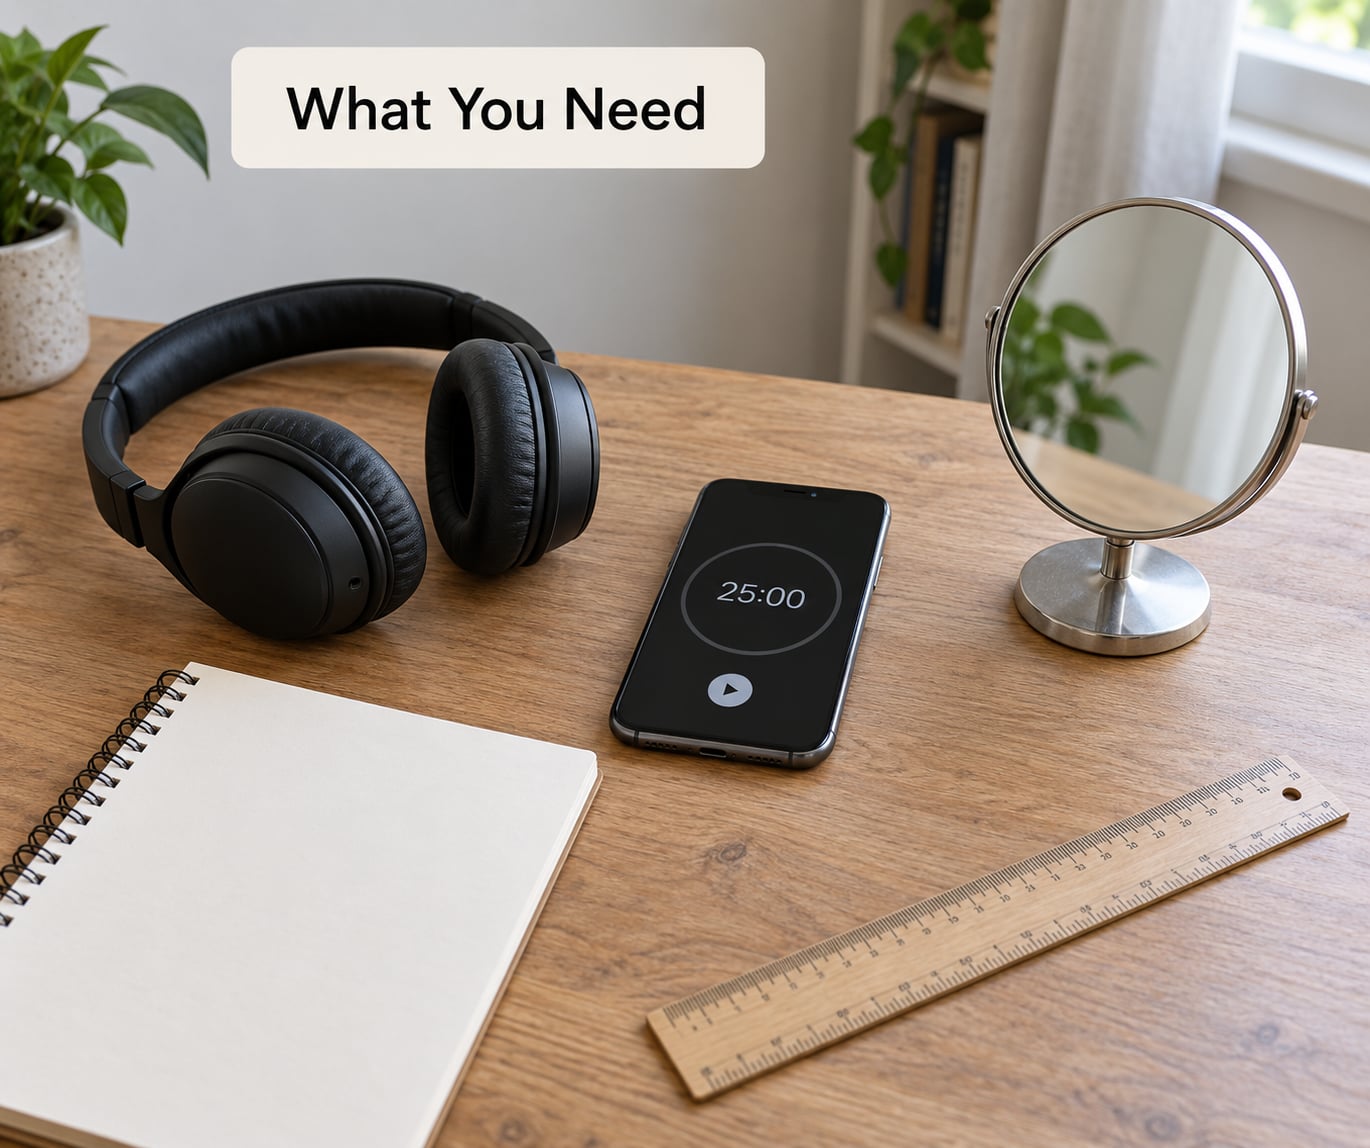
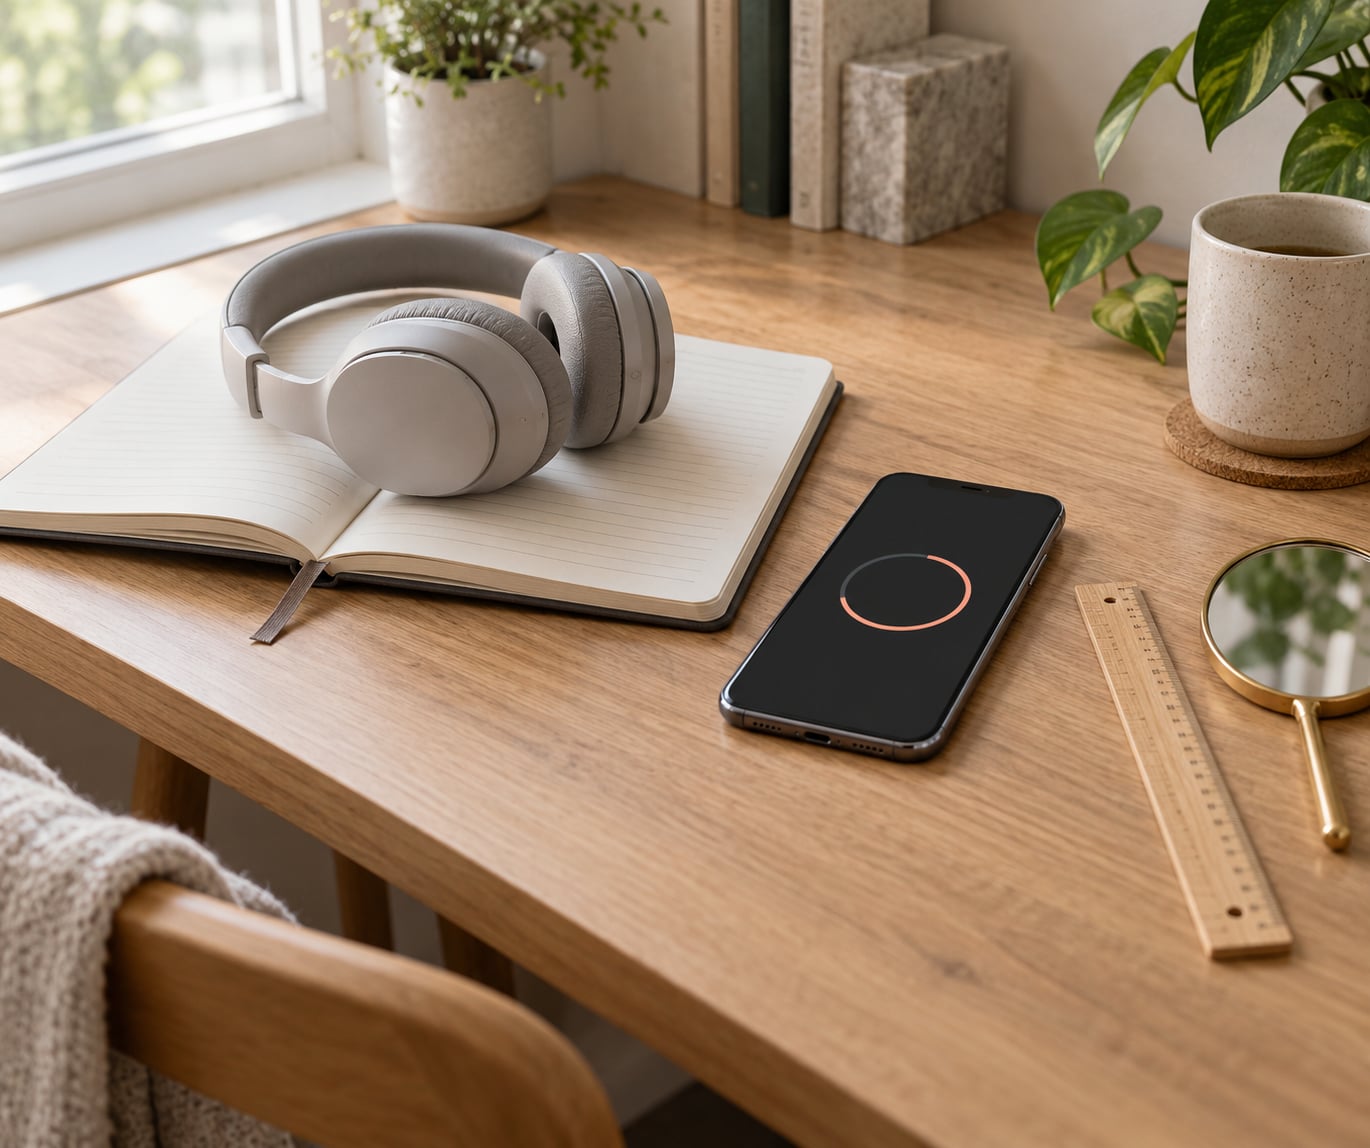
You need very little. The headphones themselves, a timer, a mirror, a ruler or tape measure, a notebook, and optionally a phone audio app that plays steady tones or pink noise.
The timer matters more than it sounds. Without one you will lose track of how long you have been wearing the pair, and the whole test collapses back into an impression.
The notebook is where you record pressure notes at set intervals. A scribbled “left side temple, dull, after 15 min” is worth far more at return time than a vague memory that “they felt a bit tight”.
The ruler comes in for two measurements: your head circumference and, if you wear glasses, the width of the temples at the point where they meet your head. Compare those against the pad width and headband range later.
Run the test in a quiet room, in the clothes and hairstyle you would normally wear. Testing bare-headed in a shop is testing a different product than the one you will live with.
Two things you must wear during the test: your everyday glasses, and any earrings, hat or mask strap that regularly interferes. These are the most common fit blockers and the ones shoppers skip.
Step-by-Step: How to Measure Headphone Comfort Before Buying
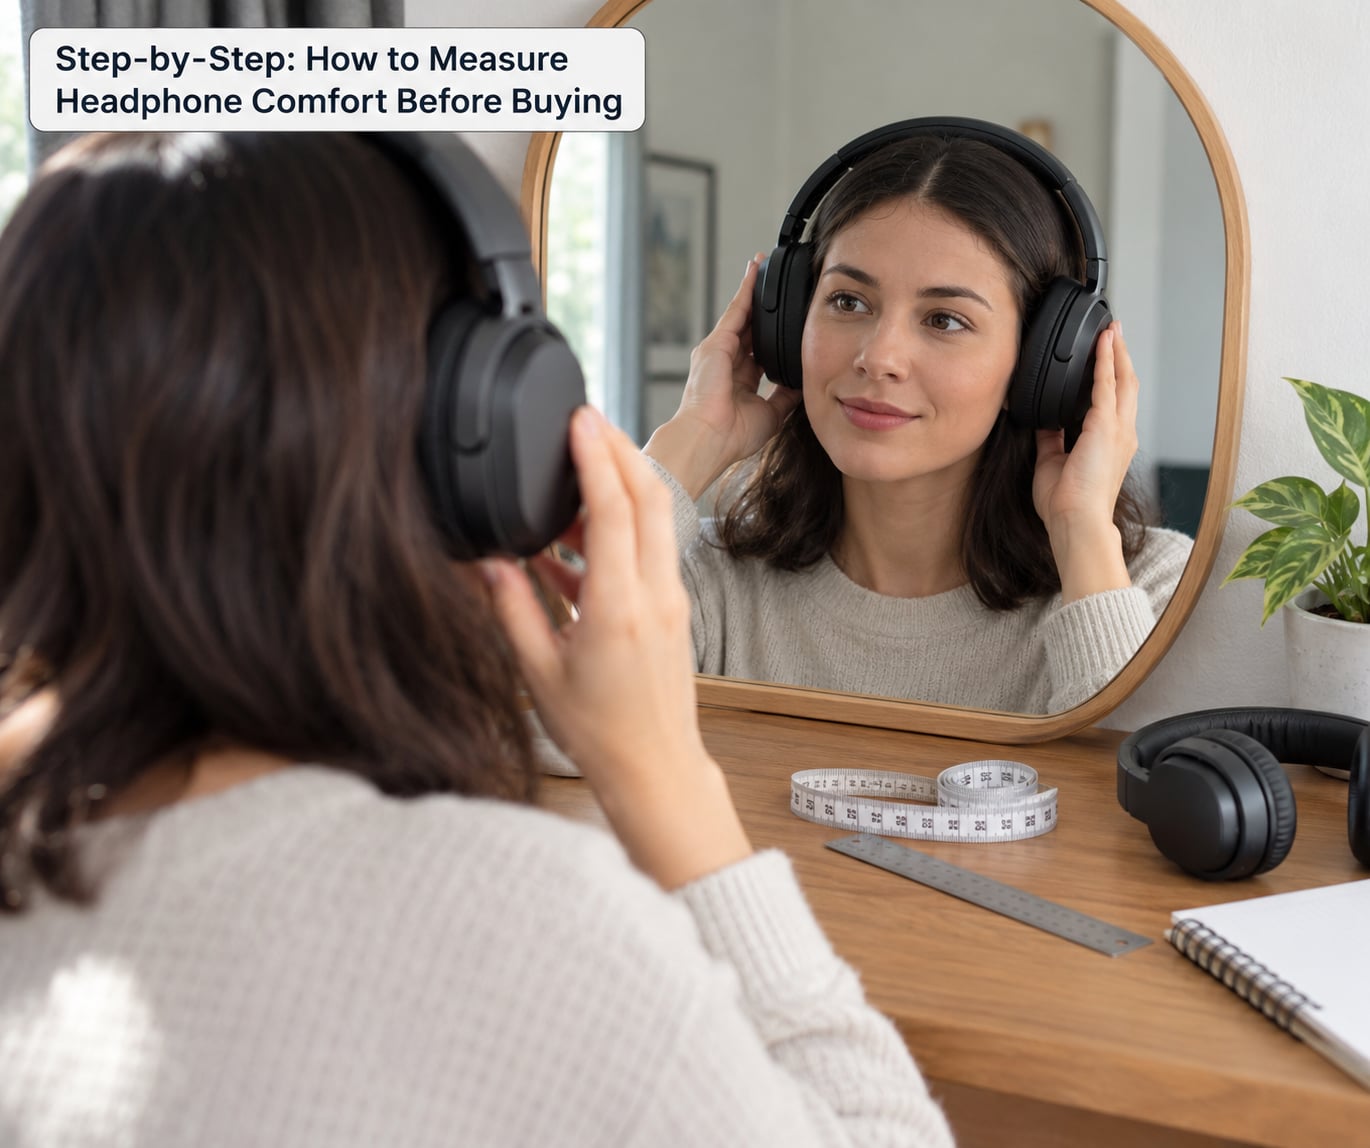
Five stages, in order. Each one produces a written note, and each one has a clear pass condition. Skip a stage and you will be guessing again.
1. Establish the fit and clamping force
Start by putting the headphones on the way you would wear them, not the way the packaging shot shows them. Slide the headband down until the cups sit centred on your ears, then check your jaw can open fully without the cups shifting.
Clamp force is the inward squeeze the ear cups and headband apply to your head. Headband tension is the part of that squeeze coming from the band rather than the cups. Neither is published as a standard number for most models, so you measure them by feel.
Three checks. First, hold the cups gently against your head and release. If the pressure keeps pulling them in, headband tension is high. Second, wiggle the headphones up and down. If they slide more than about a centimetre, the clamp is too loose for your head. Third, talk for a minute. A good pair barely moves while your jaw works.
A tight seal is useful, but seal and comfort are different measurements. A firm grip that leaves an ache after an hour is a failing comfort test even with a perfect seal.
2. Check ear-cup contact and padding
This is where you measure headphone comfort pressure points, and it takes two minutes with the mirror. Put the headphones on, press each cup against your head for ten seconds, then take them off and look at your skin for red marks that hold.
Marks on the top of the head mean the headband is sitting too tight or too high. Marks around the ear canal or the jaw hinge usually mean the cups are pressing on bone rather than the soft area around it.
Next, press a finger into the pad where it touches your head. Very soft pads feel comfortable for ten minutes and then the cup rim digs in, which is a very common complaint from long-session listeners. Very firm pads spread pressure well but can feel hot and hard after a couple of hours.
Run a jaw test too. Open and close your mouth while wearing them. If the cup edge touches the jaw hinge or the pad lifts away from the seal when you open wide, on-ear cups will not work for you regardless of how good they look.
Glasses get their own test. Push your glasses arms fully back, put the headphones on, then push the arms forward to their usual position. If the temples now sit under the pad edge and dig, note it. That is your single most useful note for later comparisons.
3. Measure comfort during a realistic listening session
This is the core of the test. Play something steady, set your normal volume, and set a timer for 30 minutes. Thirty minutes is the practical minimum because clamping discomfort and heat both build slowly and are often invisible in the first ten.
If your normal session is longer than that, extend it. People who wear headphones for a full workday should run a two-hour test, because the second-hour problems are different from the first-hour problems.
Record at three checkpoints. At 5 minutes, note the immediate feel: pad pressure, any hotspot, whether you keep adjusting. At 15 minutes, note heat at the ears and the top of the head, plus whether the urge to take them off has arrived. At 30 minutes, note what has changed.
The 15-minute note is the most predictive one. That is where a fair pair stays neutral and an uncomfortable pair starts producing a small urge to reach for the headband. That urge is the signal.
Keep the volume at your usual level. Testing loud to “hear the seal better” adds ear fatigue to the mix and ruins the reading.
4. Test movement, noise and everyday stability
Comfort is not just sitting still. Stand up, walk across the room, turn your head, and do a minute of typing or clicking while wearing them.
Check for sliding. Over-ear cups that creep toward your forehead in the first ten minutes will be down on your neck by the end of an hour. For earbuds and on-ear models, check the opposite: whether the weight pulls them out of place.
Watch the cable. With wired headphones, moving your head or reaching for a mouse reveals cable pull, and pull at the cup is a pressure source that a static try-on never shows. A cable that stays slack while you turn is a good sign.
Then add some background noise: a fan, a fan plus conversation, or whatever your real listening environment sounds like. Noise makes you shift the headphones and tighten the band, which is where clamping problems usually announce themselves.
Remove them once at the end and look at your head again. Marks that persist for more than a minute or two after removal mean the fit is off, not that your skin is sensitive.
5. Compare the results before buying
Write your notes as a simple scorecard: fit, pressure, heat, stability, leakage. Give each one a pass or a fail against your own tolerance, because comfort is personal in a way that a gram figure is not.
Any fail you can fix cheaply deserves a second test. Replaceable ear pads, a headband stretched over a book stack for a day or two, or swapping the band for a thinner strap all change the result. Headphone enthusiasts reshape tight bands with heat and weight routinely.
A fail you cannot fix is a return. That is the moment the return policy matters more than any spec on the box, so check it before you commit.
Keep the notes with the box or in a photo. When you compare two pairs later, the written record beats memory every time.
Common Mistakes
Judging comfort in five minutes. Clamping builds gradually and heat takes longer still. Fix it by never making a decision before 30 minutes, and treating the first ten minutes as setup rather than evidence.
Testing at a loud volume. Ear fatigue and pressure discomfort feel identical after twenty minutes. Fix it by using your real everyday volume and keeping it there.
Dropping your glasses or earrings for the test. Anything you normally wear changes the fit. Fix it by testing twice: once without, once with, and comparing the pad contact notes.
Forgetting headband position. A perfectly good pair can feel bad because the band sits half a centimetre too high. Fix it by resetting the band each time and checking in the mirror before you start the timer.
Confusing isolation and bass with comfort. Heavy clamping and strong bass often come as a package on cheaper designs, and buyers read one as the other. Fix it by scoring comfort and audio separately.
Waiting for a break-in to fix a clamp. Pads and protein leather do soften slightly with use. Headband tension on a cheap plastic band does not change, and no amount of wearing will turn a narrow headband into a wide one.
Testing only at home. Worth doing where you can, but try before you buy where possible. In-store, the useful test is wearing the pair for a full minute while talking and turning your head, not a lift-and-check.
Ignoring what review labs publish. Published weight in grams, clamp force in newtons where available, and fit notes are useful predictors. Cross-check them with your own head size rather than trusting them outright, since head shape and hairstyle change the result more than the average person expects.
Failing to plan the return. Check the return window and the cost of shipping before you order. Then treat those days as a free comfort lab, running the full test inside the window rather than in the first evening.
Frequently Asked Questions
Can I test headphone comfort without buying them?
Partly. Most shops let you try over-ear and on-ear headphones on for a few minutes, though earbuds are usually sealed in packaging. That gives you fit, clamp and pad feedback but not heat or long-session feedback. For those, ask whether the shop has a demo pair, or order from a retailer with a return window and run the 30-minute test at home before you decide.
How long should I wear new headphones before deciding whether they are comfortable?
Thirty minutes is the practical minimum for most people, because pressure and heat build slowly and hide a bad fit in the first ten minutes. If you listen for more than an hour a day, run a two-hour test instead. Judge the 15-minute mark especially carefully: a comfortable pair stays neutral there, while an uncomfortable one quietly creates the urge to adjust or remove it.
Does a tight seal mean headphones are more comfortable?
No. A seal is about isolation and bass response, while comfort is about whether pressure builds anywhere on your head. Plenty of comfortable pairs have a modest seal that feels fine, and plenty of pairs that block a lot of noise clamp hard enough to hurt. Score the two separately during your test rather than treating a good seal as proof of a comfortable fit.
Should I test headphones while wearing glasses?
If you wear glasses every day, test with them on. Push the temples fully back before you put the headphones on, then return them to your usual position afterwards. If the temple arms sit under a pad edge and dig, that pair will be uncomfortable all day. It is worth repeating the test without glasses too, so you know how much of the pressure comes from the frames.
Is it better to choose over-ear, on-ear, or true-wireless headphones for comfort?
Over-ear usually wins for long sessions, because the pads rest on the area around the ear instead of on it and the weight is spread across the headband. On-ear cups press directly on the ear and leave less room for larger ears. Earbuds avoid headband pressure entirely but add the issue of weight pulling at the ear canal, and they tend to wear out sooner.
What should I do if a headphone feels comfortable in a store but uncomfortable at home?
Check the variables you changed first: hairstyle, glasses, hats, and whether you were standing in a cold shop rather than sitting at a warm desk. Then run the full 30-minute test at home before deciding. If the fit is objectively wrong, return them early. If it is a marginal pair, replaceable ear pads or a different band position often fix it.
Conclusion
Start with the contact points. Wear the pair for 20 to 30 minutes with your normal glasses and accessories, take them off once at the 15-minute mark, and write down where pressure landed and whether they slipped. Then confirm the result against the retailer’s return or exchange policy before the window closes.
That half hour is the cheapest test you will ever run on a purchase, and it catches nearly every problem that ends in a return.