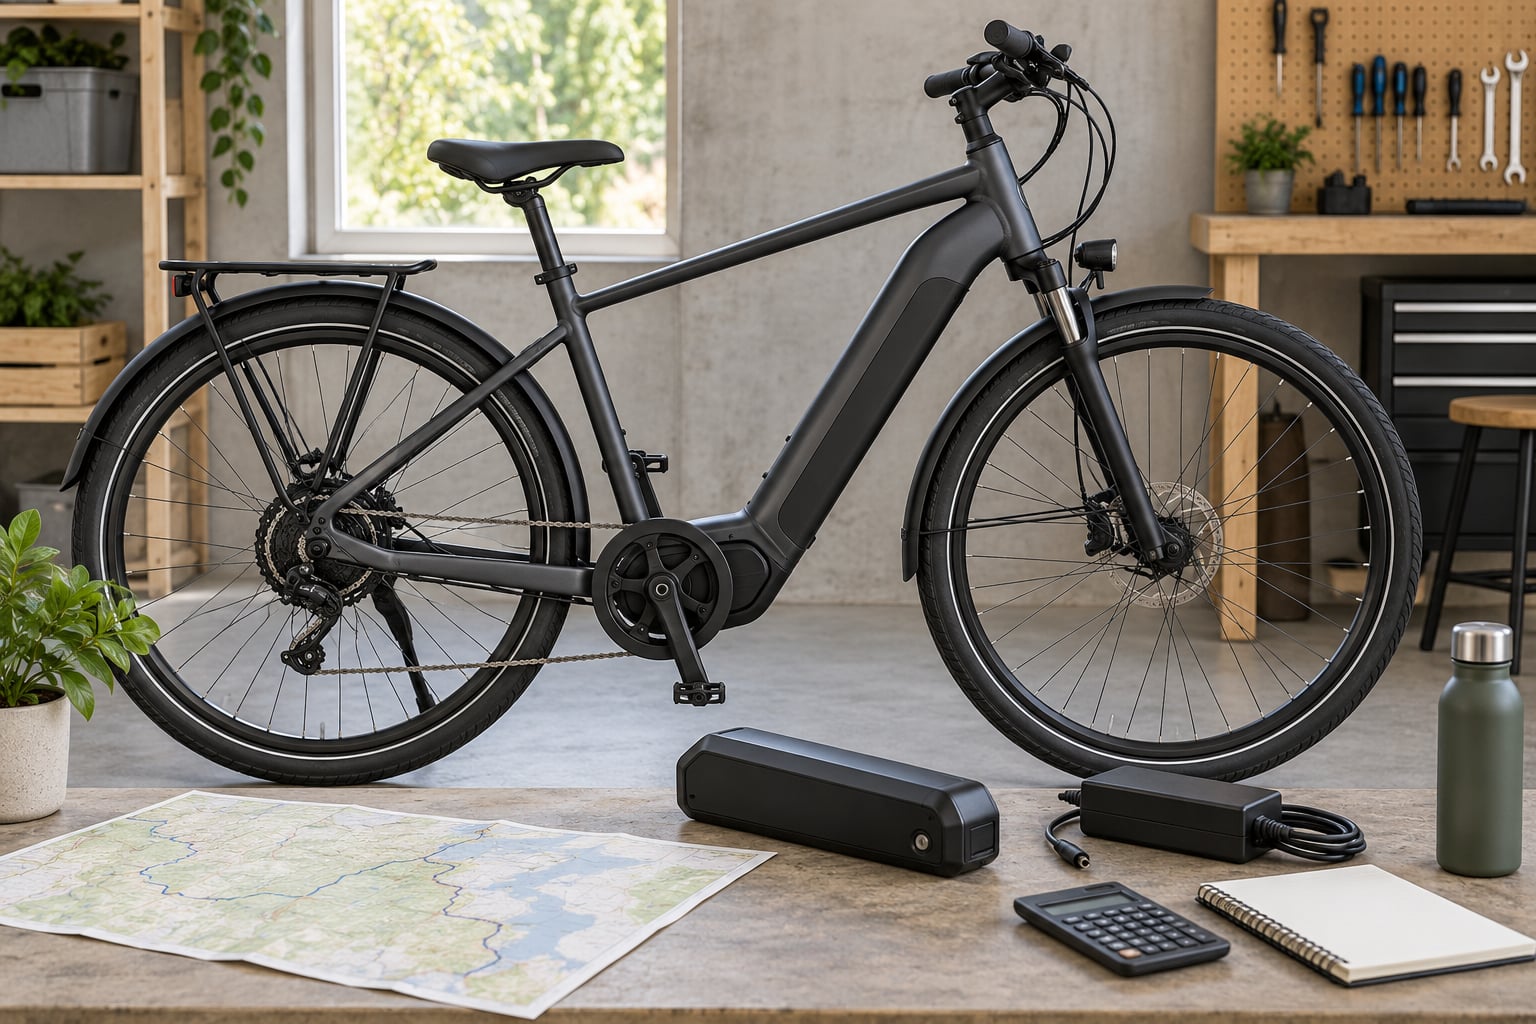
To choose an electric bike motor and battery size, work out how far and how steep your rides actually are, size the battery in watt-hours to match, then pick a motor whose placement and torque suit that riding. Battery capacity is watt-hours, and watt-hours equal voltage times amp-hours, so a 48V 20Ah pack stores 960Wh. Torque in Newton metres tells you far more about climbing than peak watts do, and extra power you cannot use is just extra weight on the frame.
Most disappointing e-bikes are not bad bikes. They are bikes with the wrong motor and battery pairing for the job, and the mistake usually gets made in the first ten minutes of shopping, when the biggest number on the spec sheet wins. Get the numbers written down first and the rest of the decision gets much easier.
This guide covers the sizing workflow end to end, including the legal limits that decide how big a motor you are even allowed to buy, and the checks that catch an undersized pack before you are halfway up a hill with a heavy bike. Rules and limits change, so verify anything here against your local regulations and the manufacturer’s compatibility notes.
Table of Contents
- What You Need
- Step-by-Step
- 1. Set Your Riding Requirements
- 2. Choose the Motor Type
- 3. Select a Sensible Motor Power Level
- 4. Calculate Battery Capacity from Real Range Needs
- 5. Check Voltage, Charger, and Battery Compatibility
- 6. Review Range, Weight, and Safety Before Buying
- Common Mistakes
- Frequently Asked Questions
- How many watts do I need for an electric bike motor?
- Is 48V better than 52V for an electric bike battery?
- How far should I expect to ride on a 500Wh battery?
- Should I leave my electric bike battery plugged in all the time?
- How do I size a motor and battery for an e-bike conversion kit?
- Conclusion
What You Need
You need seven facts before you look at a single product page, and every one of them comes from your own riding rather than from a brand’s marketing.
- System weight. Your body weight plus the bike and any cargo, because this is what the motor has to move uphill.
- Your longest regular ride. The longest distance you ride on a typical day, not the longest you have ever managed on a full charge.
- Your steepest regular climb. A percentage grade if you can find it, or the name of the hill, which tells you the same thing in practice.
- Surface and terrain. Smooth tarmac, gravel, mud, or trails, since rolling resistance and traction change how hard the motor works.
- Cargo and passenger load. A rack, panniers, a child, or a delivery box all add weight the rating has to absorb.
- Your local power and speed rules. Legal motor wattage and the assisted cut-off speed where you ride, which cap your choices before you start.
- Charging access. Whether you have a socket where the bike lives, or whether you need a removable pack you can charge indoors overnight.
The manufacturer’s compatibility requirements come last on that list but they are the hard constraint. Motor, controller, battery and charger are designed as one system, and mixing components from different systems is what voids most warranties.
Step-by-Step
1. Set Your Riding Requirements
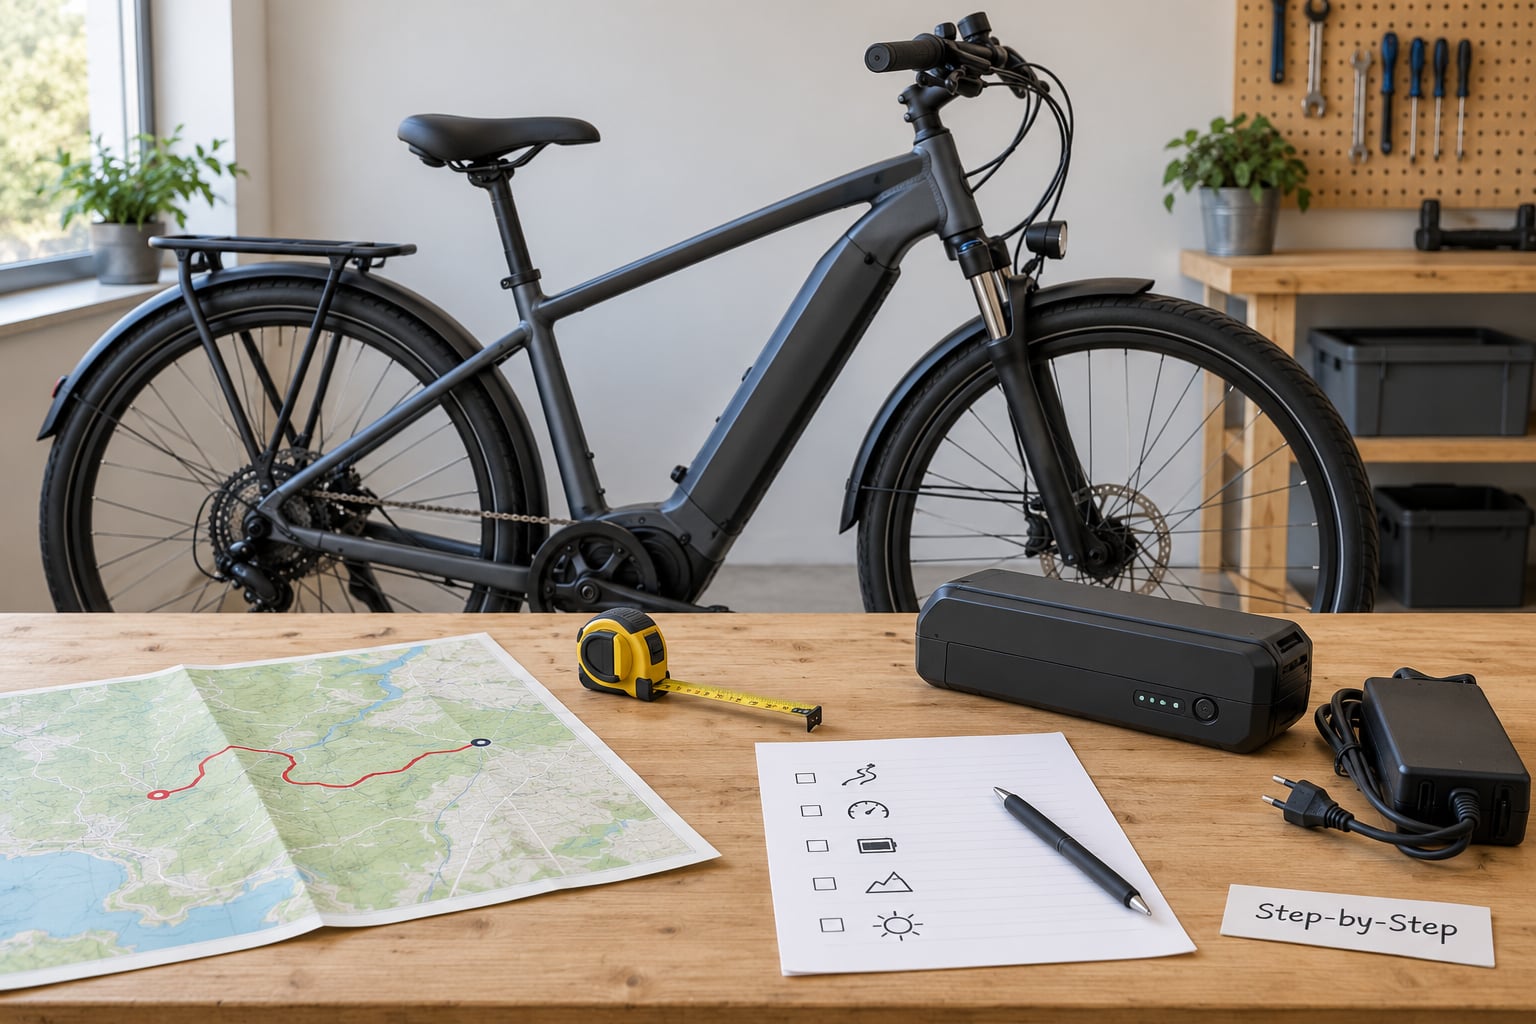
Write down your requirements as numbers before you look at brands, because a written figure can be checked and a feeling cannot. Take the longest ride you do in ordinary weather, add about 20 percent for the days something goes wrong, and that is your target distance.
Then find your steepest regular grade. A gentle river path might top out at 3 percent, while one long hill on your commute can be 8 or 10 percent, and that difference changes the torque requirement more than any other single variable. Riders often under-estimate hills because a car makes them feel shorter and easier than they are.
Decide how much help you actually want from the motor. If you want to pedal and have the bike assist you on the flat and part-way up, a moderate assist level works. If you need the bike to carry you up a steep grade while the load stays on the pedals, you need more torque and a lower gear ratio, and you should plan for a mid-drive motor rather than a small hub.
One more decision belongs here: whether the bike must be pedal-assist only or will use a throttle. Throttles change the legal classification in some regions, and they change how conservatively you should size the battery, because a throttle user draws far more energy per mile than a pedaller.
2. Choose the Motor Type
Motor placement matters more than most buyers expect, because it decides where the weight sits, how much noise you hear, and whether the motor works with your gears or fights them. Four layouts cover almost everything on sale.
| Motor type | Where the power goes | Strengths | Weaknesses | Best for |
|---|---|---|---|---|
| Mid-drive (crank) | Multiplies your pedal gears | Quiet, efficient on climbs, small and light, freewheel when switched off | Higher cost, wears chain and cassette faster | Hills, cargo, trail, longer-distance riding |
| Geared rear hub | Directly to the wheel | Cheap, self-contained, easy to fit to a converted bike | Heavier, gears inside can wear, less efficient on climbs | Flat commuting, utility and budget builds |
| Direct-drive rear hub | Directly to the wheel, no reduction gearing | Simple, durable, no internal gears to strip | Heavy, noticeable at low speed on climbs, drags slightly when off | Flat routes, heavy riders on pavement, cargo |
| Front hub | Directly to the front wheel | Easy to install, good pull on loose surfaces | Unbalanced handling, pulls the bars on poor surfaces | Gravel and light cargo on gentle terrain |
If your riding has real hills in it, the mid-drive is usually the better answer, and the drivetrain wear that puts people off is a cost of chains and cassettes rather than a repair bill. If your route is flat, short and paved, a geared hub does the job for less money and takes up no frame space near the bottom bracket.
3. Select a Sensible Motor Power Level
Rated power is what a motor delivers continuously, and peak power is a short burst. Advertisements show peak power, so a listing for a 2000W motor usually describes something that produces 500W or 750W steadily. Decide on the rated number and treat the peak figure as background noise.
Roughly 250W continuous is enough for a light rider on flat tarmac, 500W covers most commuting riders with moderate hills, and 750W is the practical ceiling for a heavier rider, steep grades or heavy cargo. Above that you are mostly adding mass unless you ride off-road on private land.
Torque is the number that actually predicts climbing ability, because power is torque multiplied by wheel speed. Mid-drive motors publish torque routinely, so you can compare them directly: typical performance models sit around 85 to 90 Nm, lightweight ones around 50 to 60 Nm, and small geared hubs often publish far less or nothing at all.
Keep one thing in mind while comparing: legal limits decide your ceiling. The EU and UK allow 250W rated power with an assisted cut-off at 25 km/h, US classes 1, 2 and 3 are all based on a 750W rated motor with assisted speeds of 20, 20 and 28 mph, and Ontario uses 500W and a 32 km/h cut-off. A motor larger than your local cap is a land-use motor, not a road-legal one, and the rules can change, so check before you commit.
4. Calculate Battery Capacity from Real Range Needs
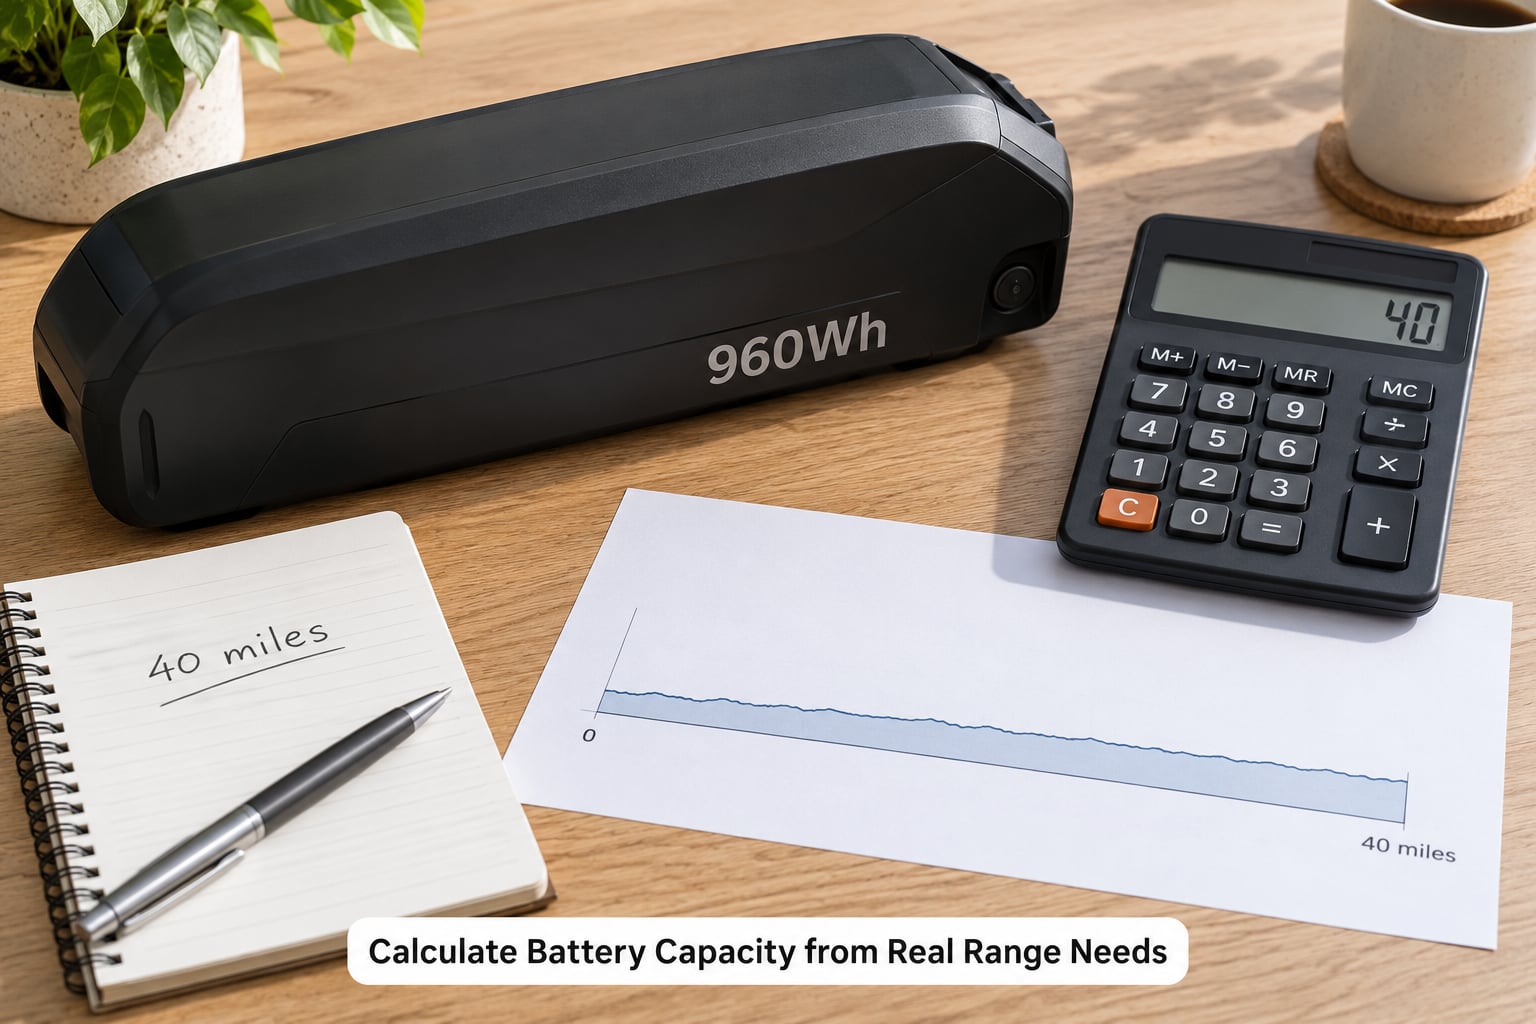
Size the battery in watt-hours, not amp-hours, because amp-hours mean nothing until you know the voltage. The formula is simple: watt-hours equal voltage multiplied by amp-hours, so a 48V 20Ah pack stores 960Wh and a 52V 17.5Ah pack stores 910Wh. Both deliver similar range; the second asks for less current to do it.
Then work out how many watt-hours your riding consumes. Riders planning their own builds use a band of roughly 20 to 40 Wh per mile rather than trusting a quoted range, and higher speeds push consumption up sharply because aerodynamic drag rises faster than speed. Use these as planning figures, then adjust for your own weight, terrain and the assist level you will actually use.
| Riding conditions | Typical consumption |
|---|---|
| Flat tarmac, light rider, low assist, cruising under 16 mph | 10 to 15 Wh per mile |
| Flat tarmac, moderate assist, cruising 18 to 20 mph | 18 to 25 Wh per mile |
| Rolling hills or mixed surface, assist 2 to 3 | 22 to 30 Wh per mile |
| Steep repeated climbs, heavy load, assist 4 to 5 | 30 to 45 Wh per mile |
| Fast riding, 25 to 30 mph, headwind | 35 to 45 Wh per mile |
Multiply distance by consumption, then add a safety factor of about 1.2 to 1.4 to cover cold weather, a strong headwind, a heavier rider or an unusually high-assist day. Work three profiles to see how it lands.
| Rider profile | Calculation | Battery to look for |
|---|---|---|
| 20-mile flat commuter | 20 miles x 18 Wh x 1.25 = 450Wh | 48V 10Ah, or 48V 12Ah for margin (480 to 576Wh) |
| 40-mile mixed-terrain rider | 40 miles x 25 Wh x 1.25 = 1250Wh | A 48V 20Ah pack (960Wh) plus a second pack, or 52V 25Ah (1300Wh) |
| 60-mile touring rider | 60 miles x 19 Wh x 1.2 = 1370Wh | 52V 25Ah (1300Wh) or two mid-size packs carried in rotation |
Two cautions about this arithmetic. A quoted range figure is a best case measured with a light rider, low assist, warm weather and low tyre pressure, so treat it as an optimistic ceiling rather than a promise. And a bigger battery does not make the bike faster, it only carries more energy, which is a trade between weight and range rather than a free upgrade.
Cold weather and altitude both cut usable capacity, and so does riding at the top assist level all day, which is one reason riders who underestimate their range end up carrying a second pack. Sizing for your normal day and letting extremes go slightly short is usually lighter than sizing for the worst case all year.
5. Check Voltage, Charger, and Battery Compatibility
System voltage sets how hard the motor works and how much current the pack must supply for the same power. 36V systems suit small folding and utility bikes, 48V is the common standard for commuting and cargo, 52V adds a little headroom above the usual charge cutoff, and 72V appears on high-power off-road machines where extra current would strain the wiring.
Higher voltage at the same wattage means lower current, and lower current means less heat in the cables and connectors and less voltage sag when you ask for full power mid-climb. That is the whole argument for stepping up a tier rather than adding amp-hours.
The pairing rules matter as much as the voltage. Peak current demand equals peak motor watts divided by system voltage, so a 1500W peak system on 48V asks the pack and controller for roughly 31 amps. The controller’s continuous and peak amp rating and the battery’s discharge rating both have to cover that, or the system will cut out under load on a hill. This is exactly the mismatch conversion builders report, and it shows up as power cutting out part-way up a climb.
Use the charger specified for the pack, confirm the connector type and current rating match, and resist the urge to substitute. A charger from a different voltage or a pack from a different system may work briefly, but the warranty generally covers the bike as a tested combination rather than as a collection of parts.
6. Review Range, Weight, and Safety Before Buying
Run your own derating on any advertised range. Multiply the claim by about 0.7 for mixed terrain, by about 0.8 for a heavier rider, and by about 0.85 in cold weather, then compare that with your calculated figure. If the two numbers are far apart, ask why, because the answer is usually a low assist setting and a very light test rider.
Then weigh the consequences of pack size. Batteries are heavy, roughly a couple of kilograms for a mid-size pack and much more for a large one, and all of that mass sits high on the frame. A big pack turns a nimble bike into something you have to think about on corners, and it hurts the handling that made you want an e-bike in the first place.
On safety, check that the pack uses certified cells and includes a protection board for over-charge, over-discharge and over-current, and confirm the charger carries a recognised safety certification. Look at how the pack mounts to the frame, whether the contacts are sealed against road spray, and whether the mount leaves room for your frame bag.
Finish by checking the warranty length on both motor and battery, the availability of replacement parts, and whether the bike as specified is compliant where you ride. If the pack is sealed and non-serviceable, accept that you will replace the whole unit when it ages rather than just the cells.
Common Mistakes
These eight errors account for most of the disappointment I see in sizing conversations, and each has a simple correction.
- Buying on peak watts. A headline figure of 2000W usually means a 500W or 750W rated motor. Compare rated power and torque instead, and treat peak numbers as marketing.
- Trusting advertised range. Quoted figures come from ideal conditions. Derate them for terrain, weight, speed and temperature, then run your own watt-hour calculation.
- Forgetting pack weight. Extra capacity adds mass high on the frame and slows handling. Buy for your normal ride, not for your worst-case ride.
- Mixing voltages. A 52V pack on a 48V controller leaves headroom on the table, but a pack from a different system can over-discharge cells or trip the controller. Stay inside the specified system.
- Assuming more assist means more range. Assist level changes how much energy you use per mile, not how much the pack holds. High assist shortens range sharply.
- Over-sizing a road bike. A 1000W or 1500W motor on smooth tarmac adds weight and drains the pack for capability you will never use. Match the motor to the terrain.
- Buying a sealed pack with no support path. Cells age, and packs that cannot be opened or serviced usually mean replacing the whole battery. Check the warranty terms before you commit.
- Skipping the local class rules. Road-legal limits are decided by your region and they change. Check the current figures for both power and assisted speed before buying.
A ninth habit is worth mentioning because it costs money: buying two batteries instead of one correctly sized pack. Riders often carry a second pack to remove range anxiety when the real problem is that they never worked out how far they ride. Do the calculation first, then decide whether a second pack is the answer or just a heavier way to carry the same energy.
Frequently Asked Questions
How many watts do I need for an electric bike motor?
Most riders are well served by 250W to 500W rated power on flat to rolling terrain. Heavier riders, steep repeated climbs and heavy cargo point to 750W. Compare rated power rather than peak figures, and remember that legal limits cap what you can buy: 250W in the EU and UK, and 750W across US classes 1 to 3.
Is 48V better than 52V for an electric bike battery?
A 52V pack gives slightly more usable energy than the nominal 48V name suggests and asks for less current at the same wattage, which reduces heat and voltage sag on climbs. Most mid-drive systems are built around 48V, so a 52V pack is only sensible when the manufacturer approves it. Never pair a pack with a controller outside its stated voltage range.
How far should I expect to ride on a 500Wh battery?
On flat tarmac at moderate assist and steady speeds, a 500Wh pack commonly delivers around 20 to 25 miles per charge. Steep hills, a heavier rider, cold weather and sustained high assist can cut that to 15 miles, while gentle flat riding at low assist can stretch it further. Plan with a range of 20 to 40 Wh per mile and apply a safety factor of 1.2 to 1.4.
Should I leave my electric bike battery plugged in all the time?
No. Most modern chargers and management boards stop charging when the pack is full, but leaving it plugged in keeps the battery at full charge in a warm room, which is hard on long-term cell life. Store it around 40 to 60 percent charge in a cool, dry place, and top it up every few weeks if the bike sits for a month or more.
How do I size a motor and battery for an e-bike conversion kit?
Work out peak current first, since peak amps equal peak watts divided by system voltage, and confirm the controller’s continuous and peak amp ratings plus the pack’s discharge rating all cover it. Builders commonly pair a 48V 500W geared hub with an 11 to 22 amp controller and a 48V 20Ah pack. Check axle and bottom bracket standards and expect to upgrade brakes for the added weight.
Conclusion
Write down your longest regular route and your steepest regular climb, then convert both into numbers: miles, percentage grade, total system weight. Those two lines give you the watt-hours you need, and the grade tells you how much torque the motor has to produce. Choose the motor placement that suits that grade, stay inside your region’s power and speed limits, and keep the whole system within the manufacturer’s compatibility list.
That is the whole process, and it takes about fifteen minutes on paper. It also protects you from the two mistakes that cost the most money, which are buying on peak wattage and trusting a range number you have not adjusted for your own riding.