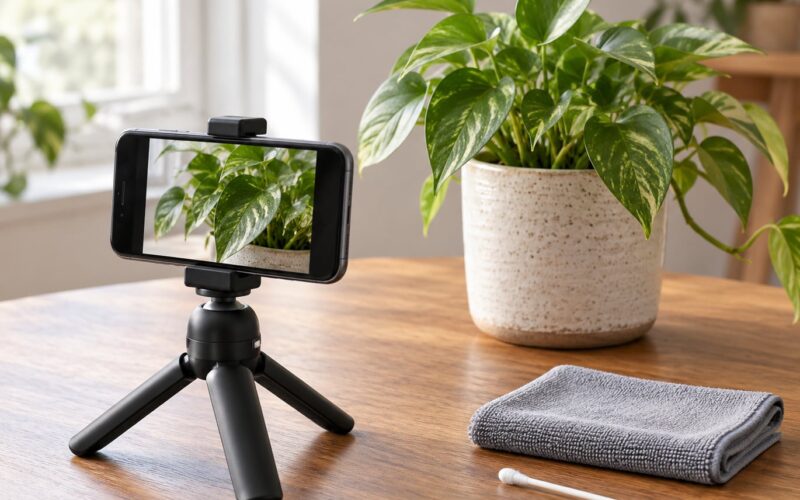
Learning how to take product photos with a phone at home is mostly about control: one soft light source at an angle, a plain paper backdrop, a steady stand, and manual camera controls instead of the flash. Set up once and a single product takes about five minutes to shoot, though cleaning, posing and checking each angle is where the time actually goes.
Most sellers who start out shoot on a kitchen table with white poster board and whatever light the room gives them. It works until it doesn’t, because a bare overhead bulb makes a yellow cast, a window at the wrong hour blows out one side, and a handheld shot comes out slightly tilted and soft. Fix those three things and the results look expensive.
Sellers on Reddit forums talk about this constantly, and the advice repeats: a cheap phone stand does more for image quality than a better phone would, window light beats ring lights for accurate color, and a wipe of the camera lens fixes surprises more often than people expect. This guide stays on the technique side, not the hardware side.
Table of Contents
- What You Need
- How to Take Product Photos With a Phone at Home, Step by Step
- Prepare the Product and Background
- Create a Simple Backdrop
- Set Up Soft Light
- Set the Right Resolution and Timer
- Focus, Frame, and Capture
- Check the First Shot
- Edit for Consistency
- Take Better Photos of Reflective Products
- Common Mistakes
- Photography Tips for Consistent Results
- Frequently Asked Questions
- Do I need a tripod to take product photos with a phone at home?
- Can I use the front camera instead of the rear camera?
- What is the best background for product photos taken with a phone?
- Should I use HDR and night mode when photographing products at home?
- How do I photograph a white product on a white background?
- Which free editing app is best for product photos on Android?
- Conclusion
What You Need
A dedicated light box is the one thing you do not need. Everything below costs nothing or nearly nothing, and you probably own most of it already.
- A phone with a working rear camera. Any recent mid-range Android handset is enough. Resolution matters less than steady light and a clean lens.
- A large sheet of white or light-gray cardstock. Two pieces of A2 taped side by side make a surface that runs up into a wall with no visible horizon line.
- A roll of paper or card. Useful for a second background color, or for lifting a white product away from a white sheet.
- A small tabletop or clear patch of floor. A tabletop keeps the product near window height and saves your back.
- Soft household light. A window is ideal. A single desk lamp with a frosted shade works in a dark room.
- A phone stand or stable stack. Two thick books, a small tripod, or even a mug with a firm base.
- A white card the size of the product. This is your bounce card, and it fills the dark side of anything you shoot.
- A microfiber cloth. For fingerprints on the product and smears on the lens.
- Optional: a sheet of translucent paper. Tape it over a hard lamp or window edge to soften the light when shadows come out too sharp.
That is the whole kit. If you shoot more than a dozen items a week, the next useful purchase is a small light panel you can angle, but only after the free setup is already consistent.
How to Take Product Photos With a Phone at Home, Step by Step
Prepare the Product and Background
Cleaning is the step people skip, and it shows. Wipe the product with the microfiber cloth, pay attention to glass panels and glossy edges where fingerprints read as haze under a side light, and remove any label, price sticker, cable or protective film that will be visible from the camera angle.
Look around the shooting spot before you set anything down. A patterned tablecloth, a striped wall, a wooden floor with strong grain and a power cable all end up in the frame. Clear a patch roughly a meter wide, and move anything that competes with the product for attention out of frame or further back.
Props are optional. One or two simple items, in a neutral tone and smaller than the product, give scale and context. Three props in three colors turn a catalog shot into a scene, and a scene is harder to keep consistent.
Create a Simple Backdrop
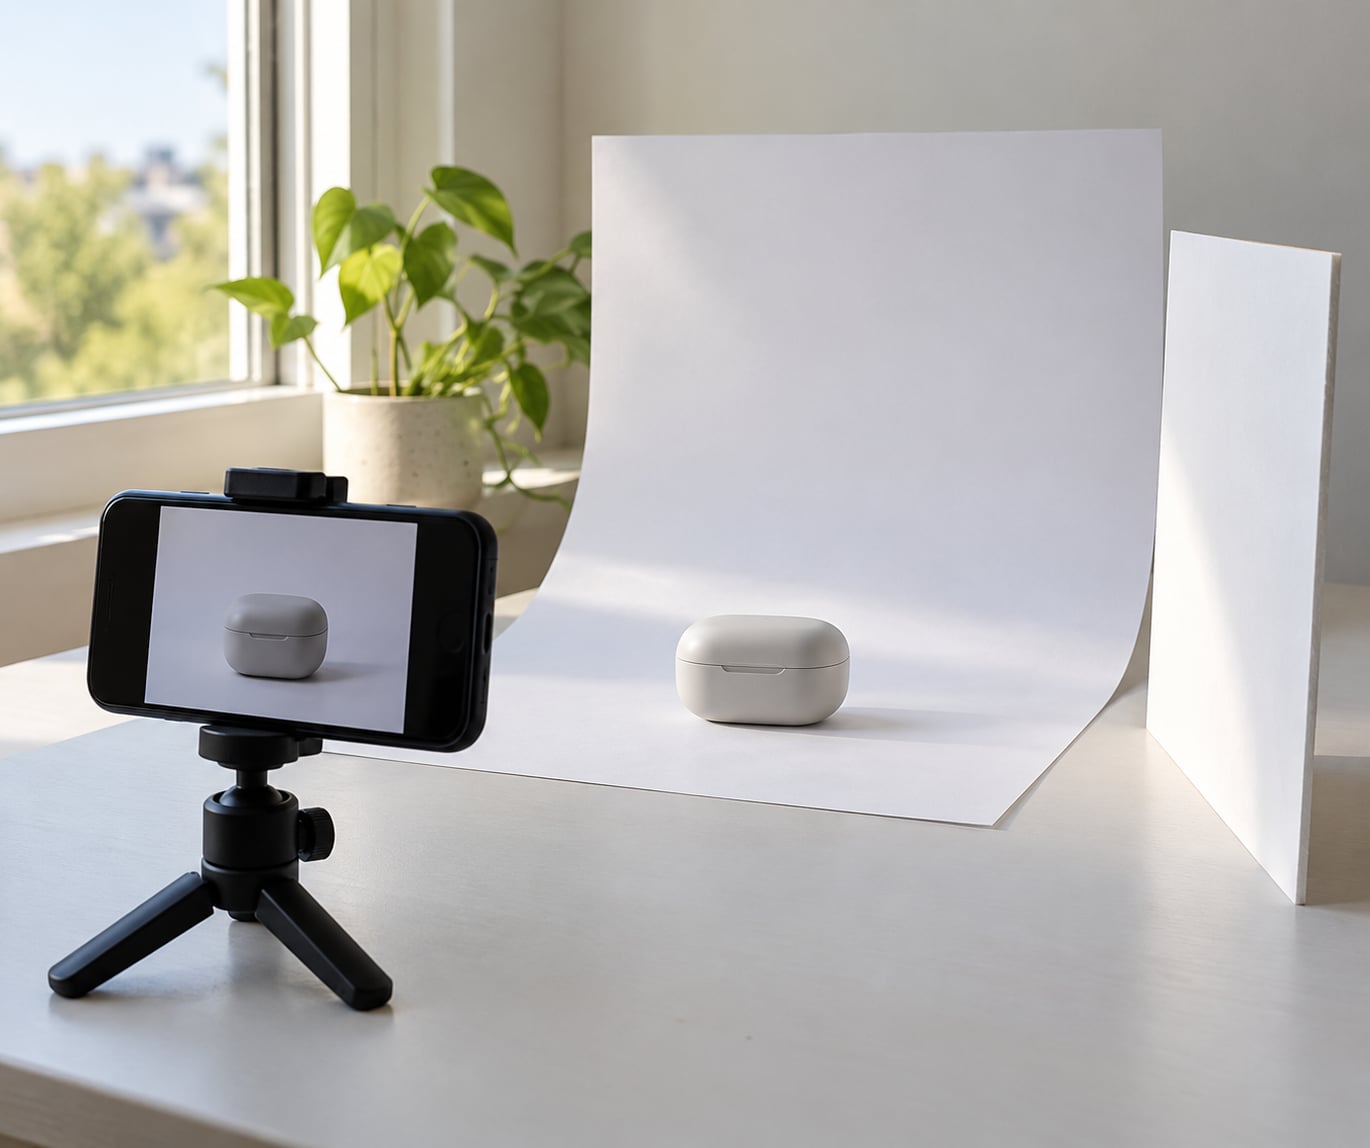
Curve a sheet of white or light-gray paper across the tabletop and up the wall behind it so the surface and background meet in a smooth arc with no line where they join. Most home setups fail because the paper is flat, and that flat join becomes a hard horizon cutting across the product.
Tape the paper down well outside the camera frame, because tape catches light and reads as a distraction. Now inspect the sweep for wrinkles, creases, old marks and any color cast from the wall or table bleeding through thin paper. A grey card taped under a thin white sheet, or a second layer of paper, fixes a see-through backdrop.
For a white product on a white background, switch the paper to light gray. A pure white product disappears against pure white paper, and the camera will also try to expose the white background to middle grey, dulling the product. A slightly darker backdrop keeps the edges visible.
Set Up Soft Light
Place your light source 30 to 60 centimeters from the product, off to one side and slightly above it, then aim it down at about 45 degrees. Light from directly overhead flattens a product and drops a dark shadow underneath; light from the front kills texture; light from the side reveals shape. That 45-degree side position is the single change that improves most home shots.
Turn off every other light in the room before you start. Mixed lighting is the top complaint in seller forums: a cool window plus a warm ceiling bulb gives you two color temperatures in one frame, and no edit fixes it cleanly. If you must use artificial light, one source only, and keep it in the same position for every product in a session.
Shadows that look too dark or too hard mean the light is too small or too close. Tape a sheet of translucent paper over the lamp shade or across the window to spread the light into something softer, and place a white card opposite the light to bounce a little fill back onto the shadow side. Sellers often shoot on an overcast day for a reason: a big soft sky is the easiest diffuser there is.
Set the Right Resolution and Timer
These steps apply to most Android 12 through 16 devices. Open the Camera app, confirm you are on the rear camera, not the selfie viewfinder, and set photo resolution to the highest option your phone offers in the camera settings.
Turn off HDR and any beauty or skin-smoothing effect. Turn off the flash, always. Portrait and night modes stay off for the main product frame too, because they merge several shots together and shift edges and colors from one image to the next.
Use the ten-second self-timer rather than the three or five second option, or a Bluetooth shutter remote if you have one. Sellers report that a longer delay means your hand has fully settled before the shutter fires, which is where most blur comes from.
Menu labels differ by brand app. In Google Camera, settings sit behind the top-right word Settings. In Xiaomi Camera, look under Settings, then Camera settings for resolution, HDR and timer. In Samsung Camera, tap the gear icon on the right of the preview for the same options. Pro or Manual mode, where it exists, also gives you ISO, shutter speed and a focus slider you can lock manually.
Focus, Frame, and Capture
Tap the product to focus, then tap and hold to lock focus and exposure where the phone offers AE/AF lock. Without the lock, the camera re-evaluates every frame and your exposure drifts between identical shots. This single habit is what separates how to take product photos with a phone at home from a phone snapshot.
On phones with macro or manual focus, switch off autofocus hunting and pull focus until the front edge of the product is sharp. Move in close until the product fills roughly 70 to 80 percent of the frame width, and leave a little breathing room so the crop works for square social posts later.
Shoot the sequence every catalog needs: front, three-quarter angle, side profile, back, top-down flat lay, plus two or three detail shots of anything textured or mechanical. Move yourself, not the product, between shots when you can. If you move the product, tape a small mark on the surface so every shot lands in the same spot.
Do not use digital zoom to fill the frame. Zoom in physically instead, by stepping closer or cropping afterwards. Pixels invented by zoom are the fastest way to make a phone photo look soft.
Check the First Shot
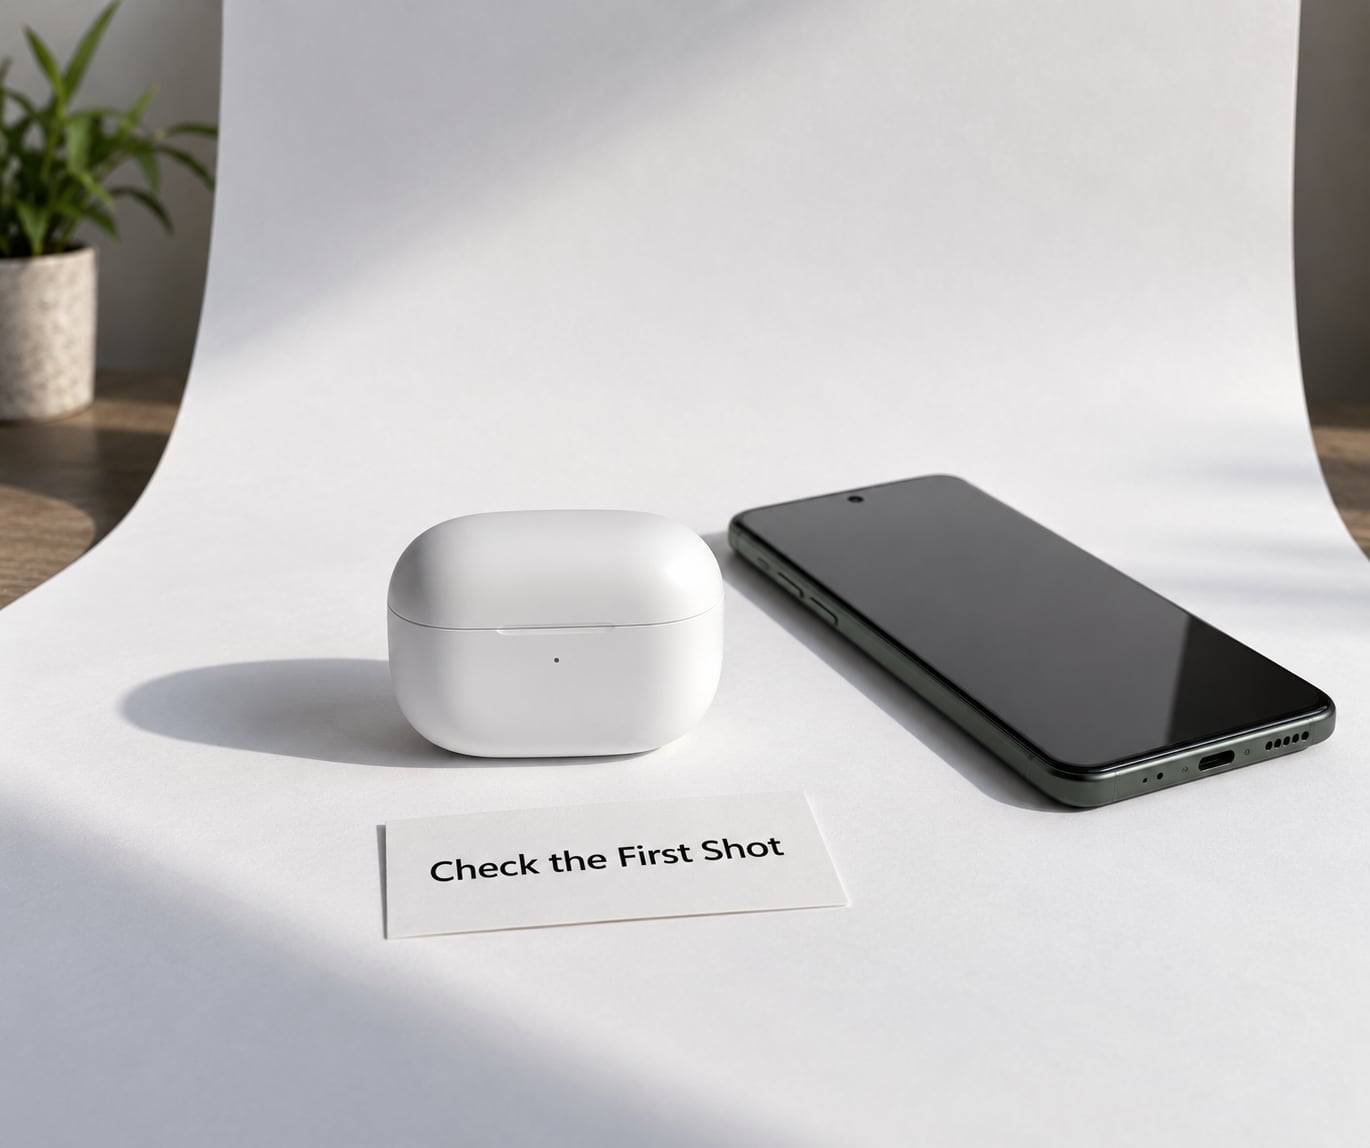
Zoom the preview to 100 percent and look before you shoot forty more frames. Check four things: focus on the nearest edge, edge definition against the background, reflections on glossy surfaces, and any shadow falling across the product instead of beside it.
Then check white balance by comparing the paper against something you know is neutral. If the paper reads yellow or blue, change the white balance setting now rather than correcting every image later.
Look for background distractions too. A shadow of your own arm, the edge of a tape strip, a bright spot from a window reflected in the paper. Small things in the background pull the eye away from the product, and they are much cheaper to fix now than to retouch later.
Edit for Consistency
Keep one editing routine and apply it to the whole set with the same values. In Google Photos or your gallery editor, correct the crop and perspective first, since cropping can pull in background you had already excluded.
Next, pull down highlights that have clipped and lift shadows that have crushed, raise exposure slightly if the product reads dark, and neutralize the color cast until the paper looks white rather than cream. Use texture and sharpening conservatively. Over-sharpening adds a hard halo along edges and makes a clean product look worse, not better.
Sellers report that the real time saver is a reference shot: at the start of every session, photograph a grey card or a piece of white paper under the same light, then match each edit to it. That is how you keep colors consistent when a listing gets new photos weeks later.
Take Better Photos of Reflective Products
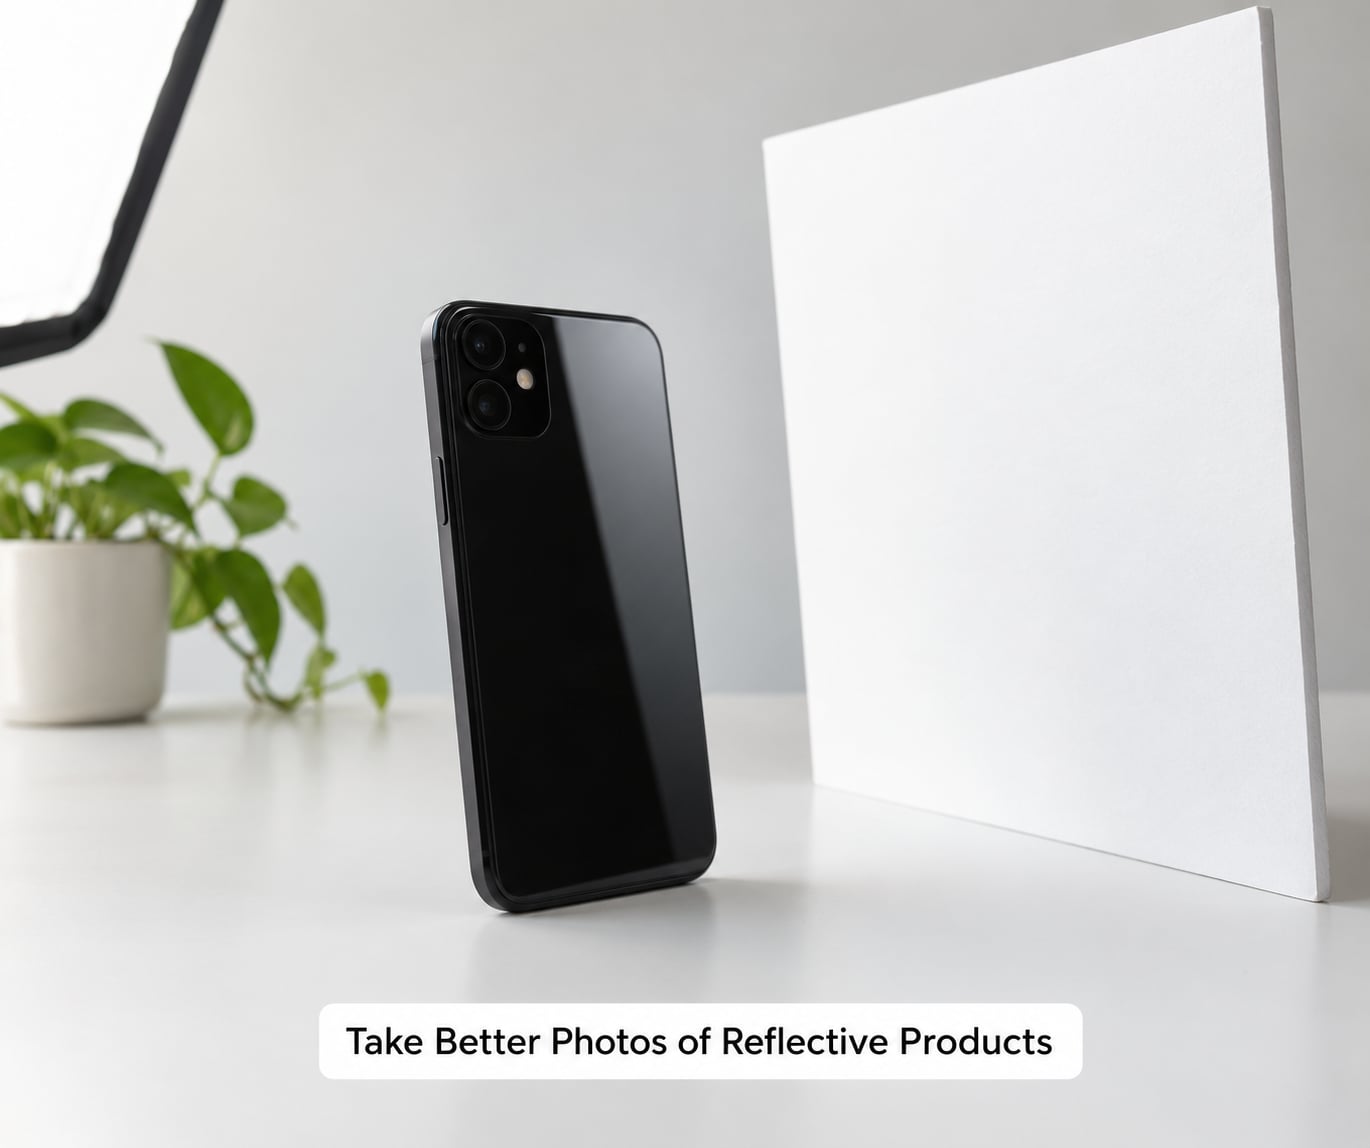
Phones, watches, glasses, chrome and glossy packaging all act as mirrors, and they will reflect your window, your ceiling light and your own face. You cannot prevent this. You arrange it.
Move the light so the reflection lands on a large white card rather than in the lens, and move the phone so the reflection falls along a curve or an edge instead of covering the whole face. A strip of white card standing off to one side gives you a clean highlight band that reads as a studio strip light.
For glass and jewellery, block stray reflections with a sheet of black card on the opposite side, and shoot against a mid-grey background so the edges separate. For anything mirrored, photograph what is actually in the reflection, not the object, then crop tighter if the shot has to sell the product rather than show the environment.
Filters and portrait blur will not rescue a bad reflection. Change the angle instead.
Common Mistakes
Most disappointing home product photos trace back to one of ten fixable errors.
- Mixed lighting. Fix: turn off every source except one, and shoot the whole session under it.
- Using the flash. Fix: turn it off and move the light to one side at 45 degrees instead.
- A wrinkled or visible background join. Fix: curve the paper and tape it outside the frame.
- A dirty lens. Fix: wipe the camera lens before every session; it costs nothing and it shows.
- Clipped highlights. Fix: lower exposure by a third to half a stop, or pull highlights down in editing.
- Digital zoom. Fix: step closer and crop afterwards.
- An unstable camera. Fix: use a stand or stacked books plus the ten-second timer.
- Distracting props. Fix: one or two neutral items, smaller than the product.
- Changing settings between shots. Fix: lock focus, exposure and white balance once, then keep them.
- Over-editing. Fix: match the same settings to every image in the set and stop when the paper reads white.
Photography Tips for Consistent Results
Consistency across a catalog matters more than any single perfect shot. A shopper scrolling your listing compares images to each other, not to a studio portfolio, and mismatched color and scale read as unreliable.
Tape marks on the floor or table for the stand position and for the product position. Sellers on forums swear by this, and it takes about a minute at the start of a session.
Keep the camera distance identical for every main product frame. If you work in Pro mode, dial in a fixed shutter speed and ISO for the session so brightness does not shift when you move the light or the product.
Take one reference photo at the start of each session and keep it in the same folder. It gives you a target for white balance edits on the day you add more products.
Save the original file before editing, and export at the size your store actually needs. Large phone files are slow to upload and slow to load on a phone browser, which is exactly where most of your traffic comes from. Write a short descriptive filename and a real alt text, since that helps with image search as well as accessibility.
Make small corrections rather than inventing detail. If a scratch was not visible in person, it should not appear in the photo.
Frequently Asked Questions
Do I need a tripod to take product photos with a phone at home?
No. A small phone stand, two thick books stacked level, or even a firm mug works fine for short shoots. What matters is that the phone does not move between the moment you frame the shot and the moment the shutter fires. If you buy a tripod, set it at product height, lock the legs, frame the shot with the rule-of-thirds grid if your camera app has one, then use the ten-second self-timer or a Bluetooth shutter remote so nothing touches the camera.
Can I use the front camera instead of the rear camera?
Use the rear camera in almost every case. It has the higher resolution, the wider view options and generally better optical performance, and it is the camera most phone tips and app tutorials are written for. The front camera is worth using only when the product has to appear through the screen or inside a hand for scale. If you must shoot on the front camera, prop the phone up rather than holding it.
What is the best background for product photos taken with a phone?
A smooth sheet of white or light-gray paper is the safest choice for catalog images. Curve it across the tabletop and up a nearby wall so the surface and background meet without a visible line, and tape the edges outside the camera frame. Keep it wrinkle-free and check for color bleed from the wall. Avoid wood grain, tiles, patterned walls and busy counters, which fight with the product and change color between sessions.
Should I use HDR and night mode when photographing products at home?
Usually not for the main product image. HDR, night mode and portrait processing merge several frames together, which can soften edges, shift color and vary from one shot to the next. Shoot in normal mode with the flash off for a predictable result. Once you know how to take product photos with a phone at home reliably in normal mode, you can turn night mode on later for a single creative lifestyle shot.
How do I photograph a white product on a white background?
Change the background before you change anything else. A white sheet of paper makes a white product vanish at the edges, and the camera will expose for the background and leave the product looking grey. Use light-gray paper or card stock, and place one edge of the product against the light grey so the outline separates. If you must keep pure white, add a thin darker line or shadow at the base so the shape reads.
Which free editing app is best for product photos on Android?
Snapseed comes up most often in seller communities for Android, mainly because one adjustment you copy across a set is easy to repeat. Google Photos handles straightening, cropping and highlight recovery with no extra install at all. Lightroom mobile is worth it when you shoot a catalog and want one look applied to a whole folder. Whichever you pick, write down the values you used so the next batch matches.
Conclusion
Start with four things: put the product on a clean curved paper backdrop, turn the flash off, put a single window or lamp to one side and slightly above it, and take one test shot at 100 percent zoom before you shoot anything else.
If you take one thing from this guide, remember that light and setup matter more than equipment. A steady phone, one soft light and a plain background produce catalog images that hold up next to shots taken with far costlier kit.