Yes. Any modern phone can turn a sheet of paper into a clean, straight PDF, and learning how to scan documents with a phone camera takes about two minutes. The scanner is already on your handset: it spots the four corners of the page, flattens the perspective, corrects colour and crops the edges automatically. All you supply is decent light and a flat page.
What trips most people up is not the capture. It is finding the finished file again afterwards, because a scan saved straight to the gallery looks like an ordinary photo and disappears into a camera roll next to a snapshot of the dog. Scanning through a document app such as Google Drive, Google Photos, Samsung Notes or Xiaomi’s own Gallery keeps pages together in one named PDF instead.
The steps below follow the Android workflow first, because Google Drive, Files and Google Photos ship on most Android handsets. Samsung One UI and Xiaomi HyperOS use their own apps with a few extra taps, and those paths are covered too. At the end there is an iPhone Notes route, since plenty of people switch between both.
Table of Contents
- What You Need
- How to Scan Documents With a Phone Camera, Step by Step
- Prepare the Document and Your Phone
- Position the Document and Adjust the Lighting
- Capture the Page
- Check and Crop the Scan
- Enhance the Image
- Save and Export the Scan
- Scan Multiple Pages
- Share the Finished Document
- Common Mistakes
- Frequently Asked Questions
- Can I scan a document with my Android phone camera without a scanning app?
- What is the best Android app for scanning documents?
- How do I scan multiple pages into one PDF on my phone?
- Why is my scanned document blurry or difficult to read?
- Can I scan handwritten notes and receipts with a phone camera?
- How do I share a scanned document from my Android phone?
What You Need
You need five things, and four of them are free.
- A phone with a working rear camera. Any handset from the last six or seven years is enough. Front cameras are deliberately fixed at a wide angle, so their edge detection struggles with an A4 page.
- A flat surface that contrasts with the paper. A dark wooden desk or a dark grey mat beats a white table. The software looks for a clear boundary between the page edge and everything around it.
- Even, indirect light. A window or a desk lamp is ideal. Direct overhead light and bare overhead bulbs are the two setups that produce glare and harsh shadows.
- The document itself, flattened. Folds and raised staples throw off the corner detector. Press creases flat and turn to the page you need, not the whole pad.
- An optional scanning app. Google Drive is preinstalled on most Android phones and does everything a paid scanner does. Google Lens, Google Photos and the Files app can each produce a PDF, and Microsoft Lens, Adobe Scan, CamScanner and Scanbot are the third-party names people reach for when they want more control.
A note on the case: a thick protective case with a raised lip can stop the camera from seeing all four edges at once, and the capture then fires with part of the page outside the frame. It is a small thing, yet it is the reason a lot of scans have clipped margins. Pop the case off if that happens.
How to Scan Documents With a Phone Camera, Step by Step
Open the app you plan to use and work through these steps in order. On Android with Google Drive: tap the plus button at the bottom right, then the Scan icon shaped like a framed square.
Prepare the Document and Your Phone
Put the paper on the flat, contrasting surface and smooth out any curl at the corners. Give the camera lens a quick wipe on your shirt — a fingerprint on the lens is the single most common cause of soft, smeared scans, and nobody notices it while photographing.
Open the camera or scanning mode in portrait orientation. Landscape feels natural for a wide page, but the auto-capture routine is tuned for portrait and fires far more reliably there. On Google Drive the camera opens automatically once you tap Scan.
If the paper is glossy, laminated, or a thermal till receipt, set it down and wait a moment. Those surfaces bounce light straight back at the lens and produce a bright wash across the middle of the page.
Position the Document and Adjust the Lighting
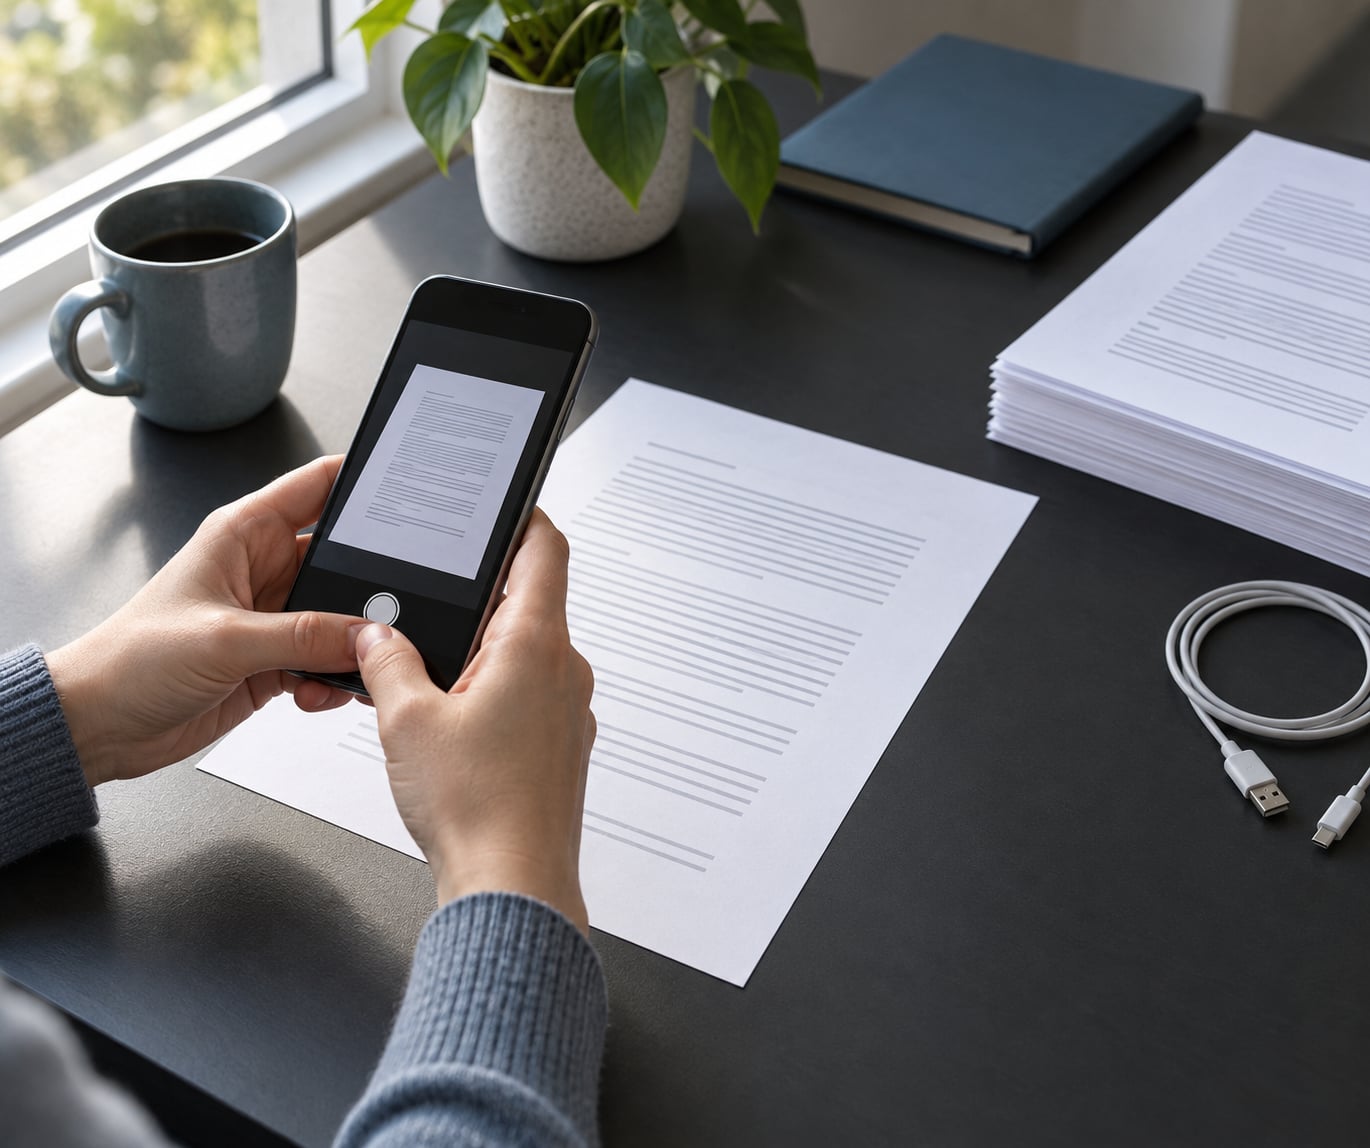
Stand the phone above the page, roughly 25 to 30 centimetres away, tilted straight down rather than held at an angle. Point your own shadow away from the paper; your arm and head are the most common source of the dark wedge across one side of a scan.
Move so the light comes from the side or from behind the phone, never from directly above the lens. A window beside you works better than a lamp behind you, because it lights the page evenly instead of firing straight back.
Turn the flash off for paper. It looks like the obvious choice in a dim room, and it flattens the page into a white blob with a dark rim. The flash is only useful for a page held slightly upright in a genuinely dark space, and even then a torch app from a second phone beats it.
You will know the light is right when the whole page reads as an even paper colour on screen, with no bright patch and no shadow crossing any text.
Capture the Page
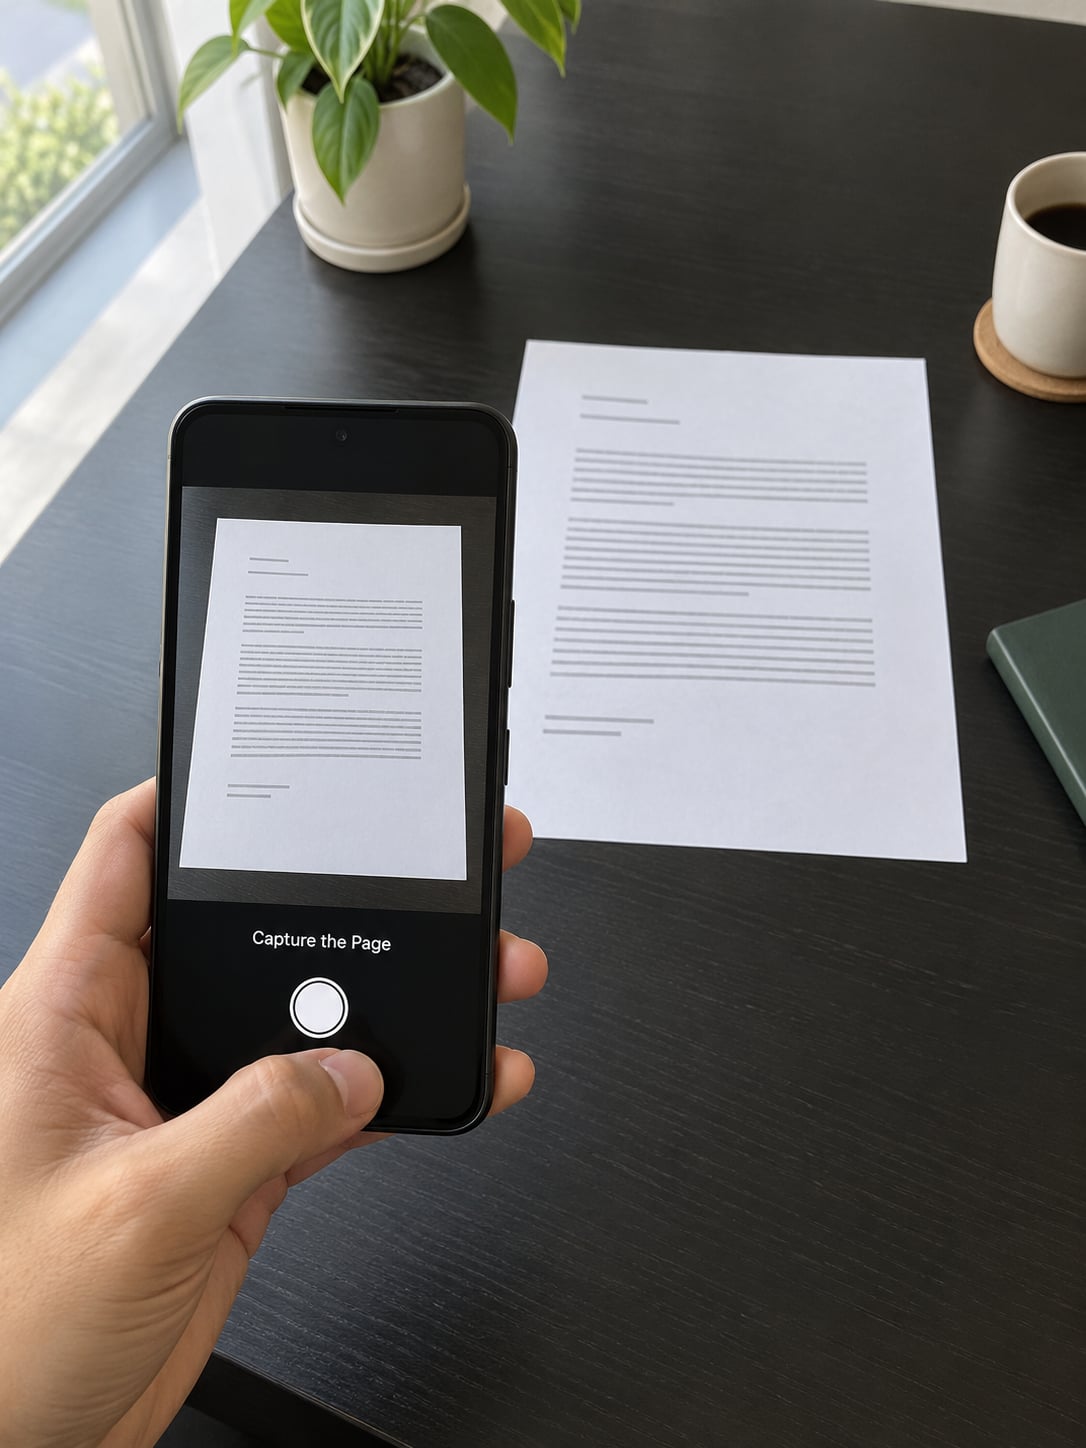
Fill the frame with the page. Leave a couple of centimetres of margin around the edges so the detector has background to lock onto, and keep all four corners inside the frame.
Wait a moment. Most scanners count the corners, hold steady for a beat, then capture on their own — Google Drive, Google Photos, iPhone Notes and HyperOS Gallery all do this. If nothing fires after a second or two, tap the shutter yourself instead of waving the phone around trying to trigger it.
Hold still for the capture. Movement during the shot is what causes the doubled, ghosted edges you see on a bad scan, and it is nearly always the photographer rather than the phone.
Photograph one page at a time. Cramming two pages side by side halves the resolution on both and confuses the boundary detection. If you need a spread, scan each side separately and merge them afterwards.
Check the preview before moving on: every corner of the page should be inside the outline, and the text should look flat rather than tapered.
Check and Crop the Scan
Open the preview and check four things: is the text sharp, is the page square, are the shadows gone, and is any text clipped at an edge.
Drag the four corner handles outward if the crop cut into the page. If the detector clipped a margin, pulling the corners back out usually fixes it without reshooting. Perspective correction is applied automatically in most apps; where it is manual, the Correct perspective or Magic button is worth a tap because it flattens the trapezoid an angled shot produces.
Rotate in 90-degree steps if the page came out sideways. For a slightly crooked page, drag the corner handles until the edges of the document line up with the guide grid.
If any line of text is cut off at the edge, reshoot rather than accept it. A PDF missing the last few characters of a total is worse than no scan at all, and you will only notice later.
Enhance the Image
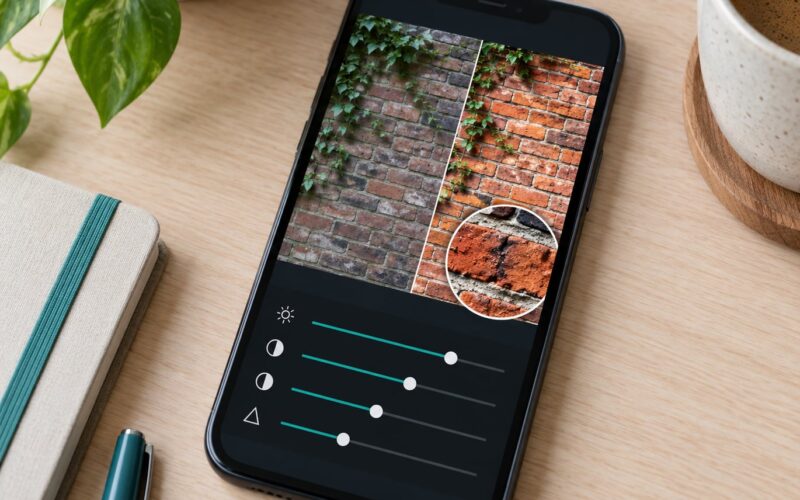
Google Drive offers four filters on the preview screen: Colour, Greyscale, Black and white, and Original. Colour suits photographs, forms and anything with a signature or a coloured stamp.
Black and white is the one to reach for on typed pages, printed invoices and dense text. It throws away the grey paper tone that lowers contrast, shrinks the file considerably, and makes small text much easier to read on a phone screen. Greyscale sits in between and keeps stamps and highlighting legible.
Several apps also expose brightness, contrast and shadow removal controls. Nudging contrast up until the page looks like printed paper works well; pushing sharpness filters harder than that just outlines the letters and makes the scan look noisy. Leave the white balance alone unless the page has a strong colour cast.
Do not over-edit. A scan that has been brightened three times loses the faint pencil marks and pale ink that were on the page in the first place.
Save and Export the Scan
Tap Done or Save, then choose PDF for anything multi-page or anything that needs to be signed, emailed or archived. JPEG or PNG is fine for a single page you plan to drop straight into a message, but it loses the multi-page structure.
Name the file something searchable. A file called Scan-0001 is useless six months later; a name like Lease-agreement-signed works. This one habit fixes the most common complaint people post about, which is scans that vanish into the camera roll and can never be found again.
Know where it went. Google Drive saves to My Drive, Files on Xiaomi and Samsung saves to the Documents or Samsung Notes folder, Google Photos keeps it in the gallery, and iPhone Notes attaches it inside the note.
If the file looks enormous, the cause is almost always colour JPEG at full camera resolution. Switching to a black and white filter, or lowering the quality setting inside the app, cuts the size dramatically with no visible loss on text.
Scan Multiple Pages
Google Drive handles this in one continuous flow. Tap the plus button and then the dots icon to add another page, or simply take the next photo and tap Add page again. Reorder with the thumbnail strip and rotate any page that came in sideways, then tap Save and choose PDF to combine everything into a single file.
Google Photos does something similar: open the photo, then Scan. Tap the thumbnail of the finished page and tap Add page to continue, and export the result as a PDF document.
Samsung Notes takes the most natural route for Galaxy phones. Open a note, tap the plus button in the keyboard bar, then Scan document or image. Each capture is inserted straight into the note as an image object you can resize, reorder or convert to PDF when you export.
Xiaomi, Redmi and POCO phones with HyperOS use Gallery. Open Gallery, tap the blue plus button, choose Scan, and capture. Each page is added as a separate item; select the scanned items in Gallery, tap Combine and pick PDF to merge them.
On iPhone, open Notes, start a new note, tap the camera icon in the toolbar and choose Scan Documents. Automatic capture grabs each page as you position it; tapping Add Scan adds more, and the whole stack is stored as one PDF attached to the note.
Two details worth knowing. In iPhone Notes, Scan Text and Scan Documents are different: Scan Text runs optical character recognition and drops editable text into the note body, while Scan Documents attaches the pages as an image PDF that looks like paper. And very long documents — a book, say — are better handled a few pages at a time, then merged, because each capture takes a second or two and a fifty-page session is hard to keep straight.
Share the Finished Document
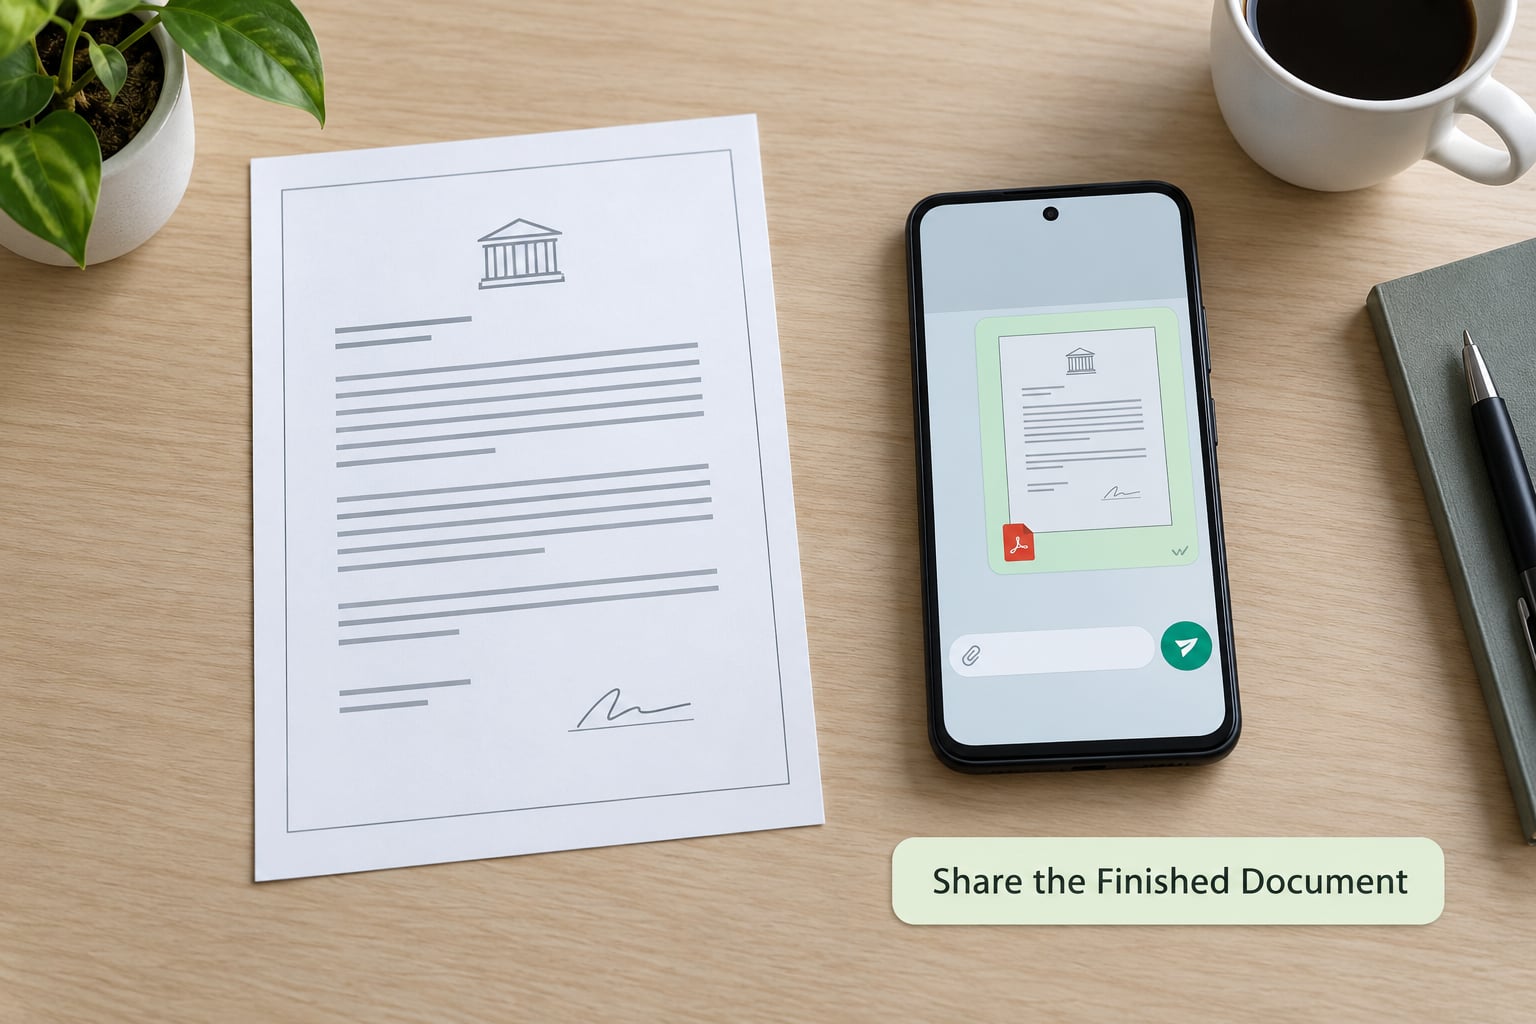
Tap Share on the finished PDF, then pick the destination. Email keeps a record for both sides, messaging apps are fastest for a quick reply, and cloud links are the best option when the file is more than a couple of megabytes, since they get compressed away.
Before you hit send, open the file once on another device or ask the recipient to. A scan that lands as a thumbnail and refuses to zoom is the most common outcome when pages were captured at low quality.
To get the document onto a Windows PC or Mac, email it to yourself, or upload it to cloud storage and open that in the browser on the computer. Google Drive syncs a scan on Android straight to the Drive app on a Windows machine or the Drive site on macOS, and iCloud Drive does the same for iPhone scans. Android users without Google services can send the file over with Nearby Share or a USB cable.
One habit protects you later: give the PDF a name at the moment you share it. Files called Document1 or IMG_2044 are the reason people end up with forty identical attachments and no idea which one is the signed copy.
Common Mistakes
Every one of these has the same root cause: the phone was too close, too far, too tilted, or badly lit. The fixes below address each.
- Blurry or doubled text. Almost always movement during the shutter. Rest your elbows on the table, hold the shot for a beat, and check the lens for a smear. On lower-end handsets, switch off the extra high-resolution camera mode, since it drops the shutter speed.
- A crooked or trapezoid-shaped page. The phone was held at an angle instead of straight down. Go overhead, or tap the perspective correction button in the preview so the app flattens the page for you.
- Cut-off corners or missing text at the edge. The camera did not see all four corners. Leave more margin, or take the case off so the raised lip is not blocking a corner.
- Shadows across one side. You or a lamp arm is between the light and the page. Move the light source and check that your own shadow is not falling across the paper.
- Glare or a bright white wash. Glossy, laminated or thermal receipt paper reflecting the light back. Move the light to the side, tilt the page a few degrees away from the phone, or switch to a greyscale filter, which hides the hotspot.
- Grey, washed-out text. The lighting was flat and dim. Increase contrast or switch to the black and white filter; typed pages almost always look better after it.
- A PDF where the text cannot be searched. The page was saved as a plain image. Look for the search or recognition option before saving, or run optical character recognition afterwards in Google Drive, Adobe Scan or iPhone Scan Text.
- A file too big to email. Colour images at full camera resolution add up fast. Choose the black and white filter, or select a medium quality option in the save dialog.
- Scans lost in the gallery. They were saved as ordinary photos. Open the scan from the document app it was made in, tap Share or Save to Files, and rename it there.
- The scan button not appearing. On Android, Google app services drive most of these features, and the scanning icons vanish when those services are disabled or missing. LineageOS and other de-Googled builds have no Drive scanner at all, which is why a standalone app such as Adobe Scan or Microsoft Lens is the practical answer there.
On privacy, treat a scan of an ID, passport, contract or medical form exactly like the paper original. Documents saved to Google Drive or iCloud Drive sit in an account that is synced across your devices, so anyone who gets into that account can reach the file. Anyone who uploads a passport scan to an unknown app is handing that image to that company, and popular scanner apps have been criticised in forums for exactly that. For anything sensitive, use a built-in scanner, share the file rather than keeping it in the camera roll, and delete it once the recipient confirms they have it.
Most other scans are routine. Receipts, study notes and signed forms go through a free built-in scanner without ceremony, and the built-in options are already the most reliable choice for anyone who does not want to hand documents to a third-party account.
Frequently Asked Questions
Can I scan a document with my Android phone camera without a scanning app?
Yes. Google Drive, which is preinstalled on most Android phones, has a scanner built into the plus menu. Google Photos can also scan any picture you already took, and the Files app on several skins includes a Scan option. Camera quality and lighting decide how good the result is, not the app.
What is the best Android app for scanning documents?
Google Drive is the best starting point because it is free, already installed, makes multi-page PDFs and runs optical character recognition. People who want tighter control often move to Microsoft Lens or Adobe Scan, both free with no account. Paid scanners add filters and batch tools, and reader complaints focus on subscription prompts and clutter rather than scan quality.
How do I scan multiple pages into one PDF on my phone?
In Google Drive, scan the first page, then tap the dots icon to add another page and keep shooting. Tap Save and choose PDF to merge everything into one file. Samsung Notes inserts pages into a note, and on Xiaomi Gallery you select the scans, tap Combine and choose PDF. Reorder and rotate from the thumbnail strip before saving.
Why is my scanned document blurry or difficult to read?
Three causes account for most bad scans: movement during the shutter, a smudged camera lens, or not enough light. Rest your elbows on the table, hold steady for a beat, and wipe the lens. For faint or grey text, switch from the Colour filter to Black and white, which raises contrast on typed pages dramatically.
Can I scan handwritten notes and receipts with a phone camera?
Yes, with care. Photograph handwriting in bright, even light with the page flat, and switch to the Greyscale filter so pencil strokes stand out against the paper. Thermal receipt paper and glossy receipts throw reflections at the lens, so angle the page slightly and use greyscale rather than colour to hide the hotspot.
How do I share a scanned document from my Android phone?
Open the finished PDF in the app that made it, tap Share, then choose email, a messaging app, or upload to cloud storage and send the link. Email keeps a copy for both sides. If the file is more than a few megabytes, a cloud link travels better because it does not get compressed by the mail app.
Start with lighting and a flat, dark surface, then run one page through Google Drive and switch the filter to black and white before you judge the result. Once the first page looks right, the rest of a document takes a few seconds each, and saving it as a named PDF means you can still find it in six months.