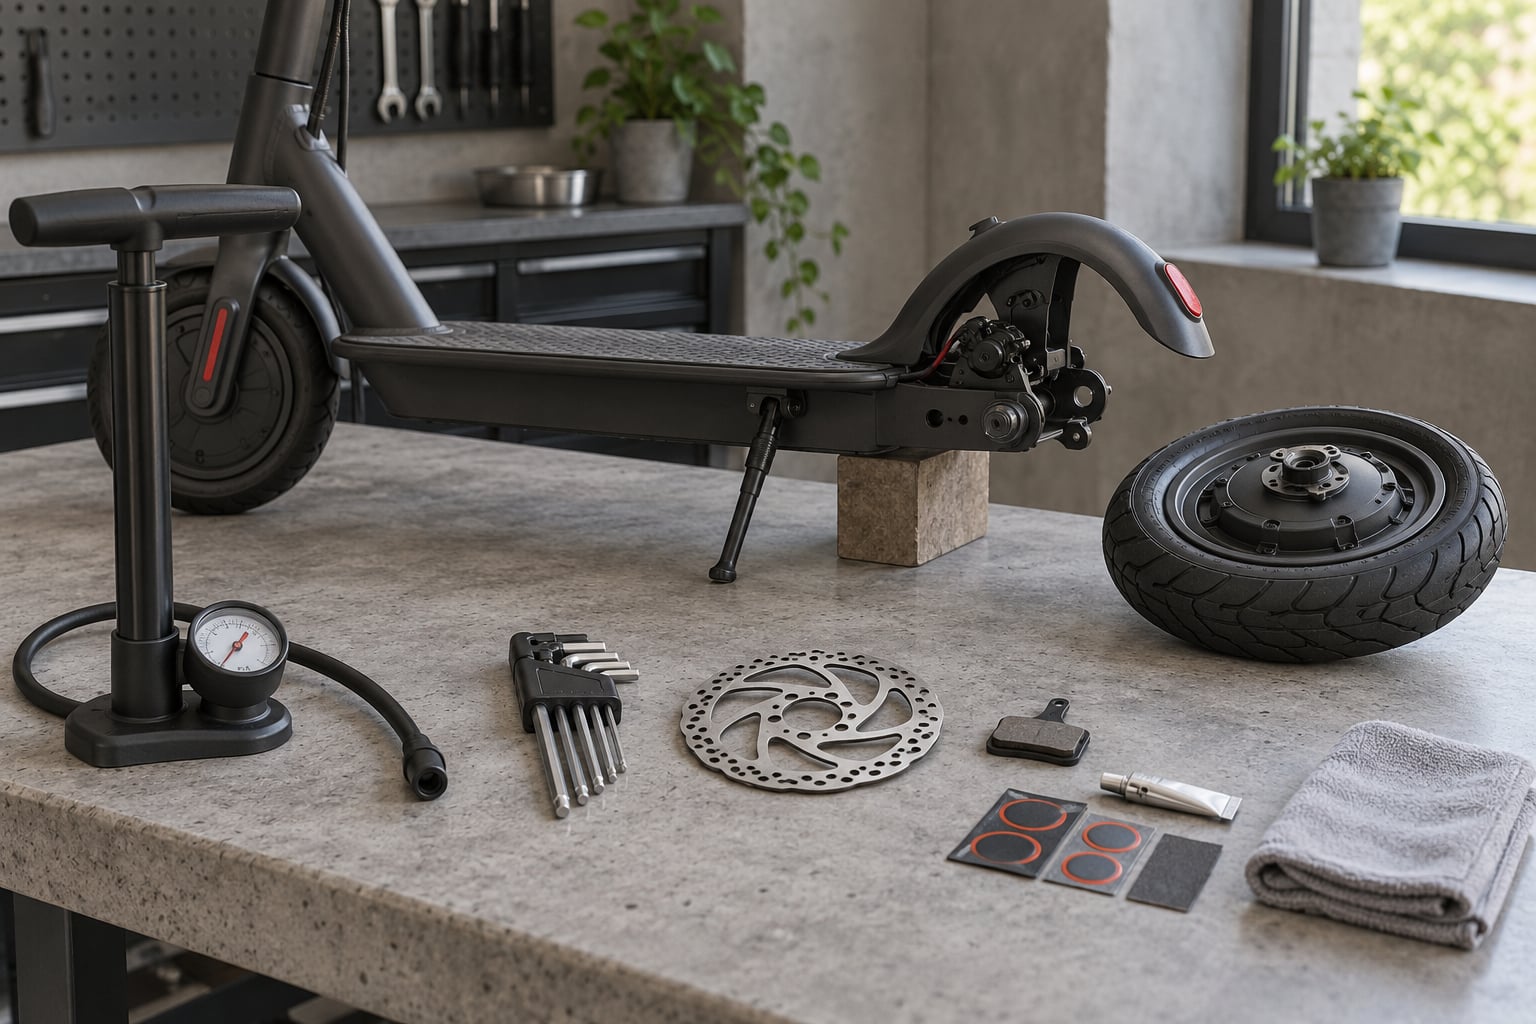
Tires and brakes are the only two things between you and the ground, so learning how to maintain an electric scooter tires and brakes is the highest-value maintenance you can do. Most of it takes 20 to 30 minutes: check pressure with a real gauge, look at the sidewalls and tread, spin both wheels, then inspect the brake pads, rotor and cable while the scooter is still cool. Do it on a stand, follow the manual that came with your scooter when it disagrees with anything here, and replace a damaged cable rather than improvising one.
Below is the sequence I use on commuters and light trail scooters, plus the mistakes that cause repeat flats and sudden brake problems.
Table of Contents
- What You Need
- Step-by-Step
- 1. Check the Scooter Before Starting
- 2. Inspect the Tires for Damage and Proper Inflation
- 3. Clean the Tires and Check Wheel Movement
- 4. Inspect and Clean the Braking System
- 5. Adjust Brake Levers or Cables
- 6. Test the Scooter at Low Speed
- Maintenance schedule you can actually keep
- Common Mistakes
- Common brake problems and what actually causes them
- Frequently Asked Questions
- What PSI should my electric scooter tires be?
- How often should I check electric scooter tire pressure?
- Why do my electric scooter brakes feel soft or weak?
- Can I ride my electric scooter with a flat tire?
- Will Fix-a-Flat style sealant work on an electric scooter tire?
- What tools do I need to change an electric scooter tire?
What You Need
A complete tire and brake service needs very little. A floor pump with a pressure gauge matters more than anything else on this list, because most premature flats come from scooters that have been ridden chronically soft.
- Floor pump with a gauge — a pencil gauge on the stem is fine if it reads accurately. A gauge-less pump is the single most common reason riders cannot answer “what PSI should my tires be”.
- Tire levers and a patch kit — plastic levers protect the rim tape, and a patch kit plus vulcanizing fluid handles tube-type tires.
- Hex key set — 3 mm, 4 mm, 5 mm and 6 mm. The 6 mm key fits most axle nuts and the brake caliper mount on mainstream scooters; your model may differ.
- Isopropyl alcohol (90% or higher) and a clean lint-free cloth — for rotors, calipers and grimy rubber. Skip the aerosol brake cleaner if you plan to touch the pads with your fingers.
- Mineral oil or a plastic syringe — for freeing a seized hydraulic caliper piston, never for cable housings or a standard mechanical brake.
- Basic hand tools — open-ended or ring spanners, a Phillips screwdriver, and a torque wrench only if your scooter specifies a fastener torque.
- Flashlight and a work stand or block — a block under the deck lifts the wheel off the ground so it can spin freely.
- The manufacturer manual — it carries the tire size, the rated pressure range, the brake type and any torque figure. When it disagrees with a generic guide, the manual wins.
Paper towels and a bucket of soapy water are worth keeping nearby. You will get something on your hands.
Step-by-Step
Work from the top of the scooter down, on a level surface, with the scooter powered off. The order below matters: you cannot judge brake feel with a flat tire, and you cannot test a wheel that is still full of debris.
1. Check the Scooter Before Starting
Before any inspection, look at the scooter the way you would at a crossing. Set it on the stand, squeeze the brake lever, and confirm the mechanism engages before you put weight on it.
- Look for visible damage: cracked stem or deck, a bent fender, a wheel sitting out of alignment, or a tire visibly squashed at the bottom.
- Run a finger along the deck seams and the folding hinge. Any movement in the hinge clamp means the scooter goes to a shop, not your garage.
- Check that the axle nut or quick-release lever is fully closed, and that the wheel cannot be pulled side to side by hand.
- Power on and read the display for a low-battery warning, a fault code or a brake error light. Note it before you do anything else.
- Squeeze the brake lever fully. It should firm up quickly, not pull all the way to the bar.
That last step is the fastest brake test there is, and it costs nothing.
2. Inspect the Tires for Damage and Proper Inflation
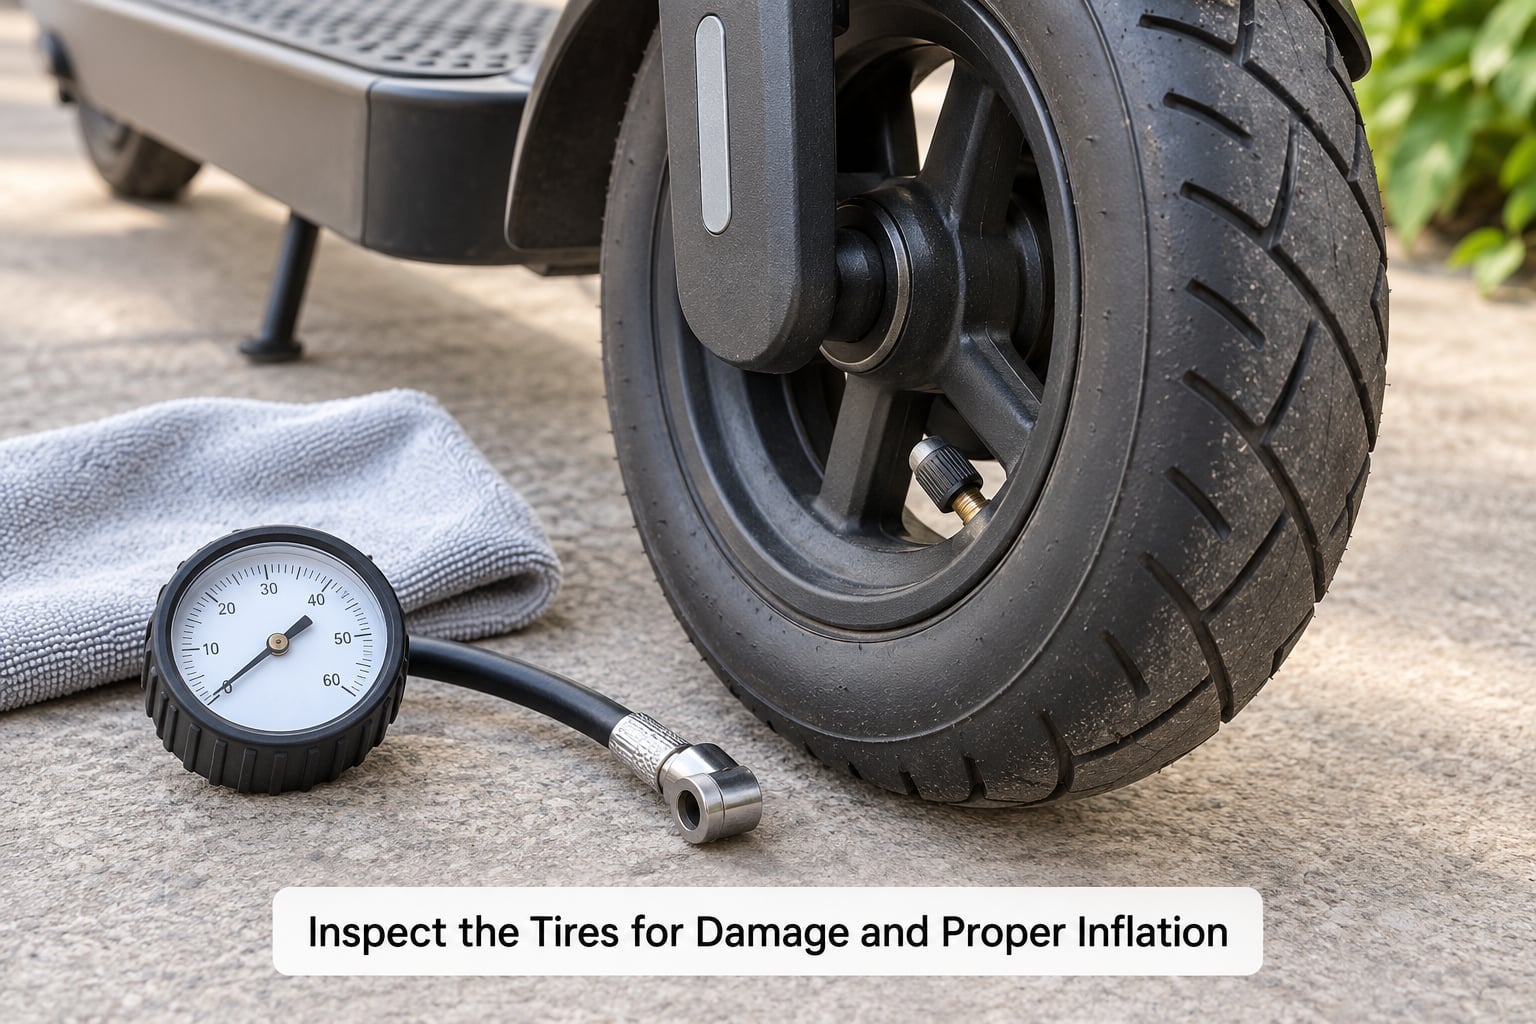
Read the sidewall before anything else. It carries the diameter and width (for example 8.5 x 2.0, 10 x 2.5 or 12.5 x 2.75), the load and speed rating, and often a pressure range or a max PSI. If the tire shows a tube valve, it is tubed; if it has a solid core with no valve, it is a solid tire that never goes flat but grips worse and rides harsher.
Check the pressure with a gauge, cold, before riding or after the scooter has stood for at least an hour. A warm tire reads a few PSI high.
- Tread — run a thumb along the grooves. Worn tires on scooters are usually smooth on the centre rather than across the full width. A worn tire loses grip in exactly the wet conditions where you need it most.
- Sidewalls — look for cuts, bulges, a rope-like bulge, or scuffing that has worn the lettering away. Any bulge is a replace-it-now finding.
- Valve stem — check that it sits straight and that the cap still fits. A loose or bent valve core leaks slowly and makes the tire look flat in the morning.
- Punctures — a hissing sound, a visible hole, or a tire that will not hold pressure overnight.
- Pressure — inflate to the middle of the range printed on the sidewall, then confirm with the gauge.
Why pressure matters so much: an underinflated tire flexes more with every roll, which lets the tube or tire carcass pinch against the rim edge and split. That is a pinch flat, and it is why riders who keep their tires at the top of the rated range report far fewer flats. Owners on scooter forums describe the same pattern repeatedly, one rider logging six flats in a few months on the same model before switching to a gauge pump.
As rough guides, 8.5-inch street tires commonly sit between 40 and 60 PSI, 10-inch tires between 40 and 60 PSI, and 12.5-inch tires between 25 and 40 PSI. Treat those as starting points only, not as instructions. The sidewall rating on your tire is the figure that applies to you.
3. Clean the Tires and Check Wheel Movement
Rotate the wheel slowly by hand and watch the contact point. A tire that bounces or hops has a flat spot, a heavy object embedded in the tread, or a buckled rim.
Remove embedded stones and glass with a plastic pick, working from the edges of the groove inward so you do not push debris deeper. Wipe the casing with a damp cloth and a little of the same mild detergent you would use on a car panel.
Stay away from harsh solvents, degreasers and silicone dressings. They swell the rubber, soften the sidewall and make the tire slippery in the rain. If you have a pressure washer, keep it away from the scooter entirely; water and detergent force their way past the stem seals, into the motor housing and the controller, and drying that out is far harder than cleaning a tire.
Spin the wheel at speed. It should turn smoothly, with a faint hum at most. Then push the wheel up and down and side to side at the rim; a small amount of play is normal, more than a few millimeters means the bearings or axle need attention.
4. Inspect and Clean the Braking System
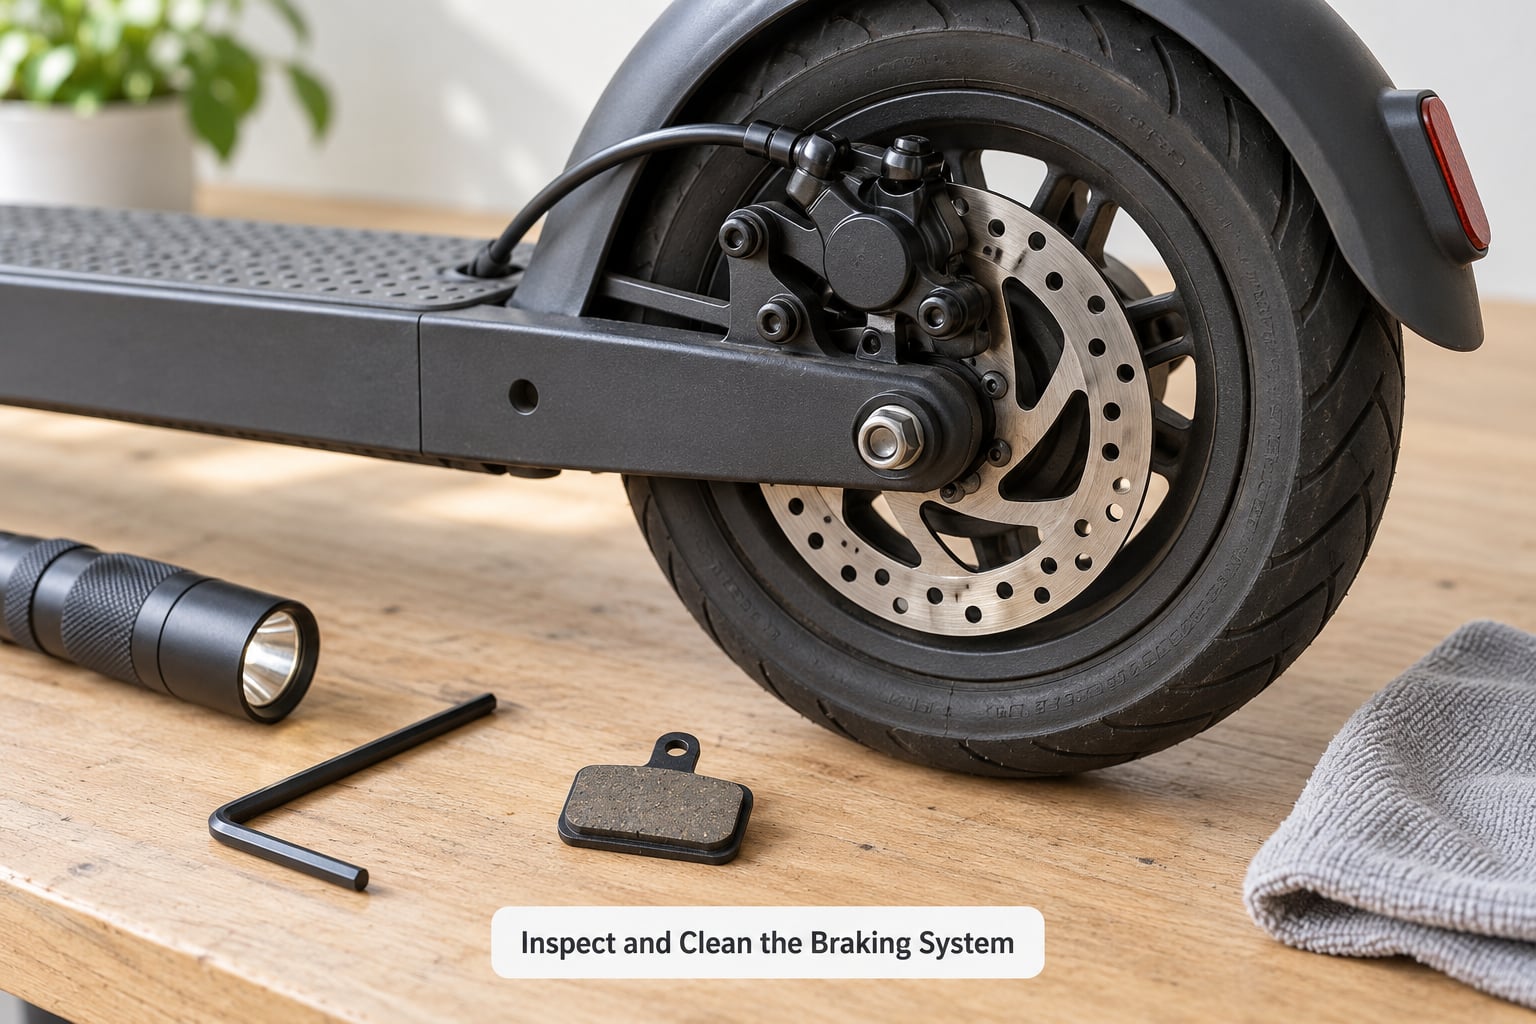
Know which brake you have before you take anything apart. Mechanical disc brakes use a cable pulling a caliper onto a rotor. Drum brakes sit inside the hub. Hydraulic brakes push fluid through a hose. Electronic or regenerative brakes slow the motor instead of a friction surface, and many scooters use two of these at once, for example a rear disc plus motor braking. Only friction brakes need pads and rotors checked; electronic braking needs clean connectors and a healthy battery.
For a friction brake, work through these in order with the wheel still in the bike.
- Squeeze the lever and watch the rotor. The caliper should clamp and the rotor should stop. If the lever moves but the rotor does not, the cable, caliper arm or pad backing plate has come loose.
- Check pad thickness. Most scooter pads are readable from the side of the caliper, and a worn pad shows metal backing where the friction material used to be. Riders often go through pads far faster than expected on hilly routes or when carrying a heavier load.
- Look at the rotor edge for rust or a bluish tint and the braking face for scoring, grooves or a hot blue patch. A rotor cut that you can feel with a fingernail is worn out.
- Spin the wheel and listen. A light squeal that fades with speed is often surface rust. A continuous grinding noise is a pad down to metal, and it damages the rotor quickly, so replace the pad before the rotor.
- Check that the wheel spins freely with the lever released. A wheel that slows to a stop and stays there means the caliper is dragging.
Clean with isopropyl alcohol on a cloth, never by flooding the caliper. Wipe the rotor until it looks grey metal again and the pads until the black glaze is off. Hold the pad by the metal backing plate, not the friction material, so your skin oils do not contaminate the surface.
After riding through rain, dry the brake the same day by rolling the scooter forward with the lever lightly applied, then wipe it down again. Brakes that get wet stop working properly until they warm up and dry, which is why wet-weather stops feel longer than they should.
5. Adjust Brake Levers or Cables
Adjustment is about lever reach and cable tension, and the manual takes priority. Mechanical systems are adjusted at one of two places: the cable clamp at the caliper, or the barrel adjuster at the lever.
- Set lever reach first. Most brake levers have a reach screw or a clamp that sets how far the lever sits from the bar. Set it so you can comfortably wrap one finger around the lever with a full pull.
- Set cable tension. Loosen the cable clamp bolt at the caliper, pull the cable housing until the arm is snug with the lever released, then retighten the bolt. The lever should now take up most of its travel before the pads touch.
- Fine-tune. The barrel adjuster at the lever turns in for less tension and out for more. A quarter turn at a time is plenty.
- Check clearance. Spin the wheel. The pads should not touch the rotor at all when the lever is released, but should clamp fully well before the lever reaches the bar.
If a cable is kinked, frayed at the housing exit, or stretched so far that tension is gone, replace it. Do not extend a cable with a knot, tape or a second length. A seized hydraulic caliper piston is the other common jam: spray isopropyl around the piston bore, work mineral oil under the piston seal with a plastic pick, pump the lever slowly, and repeat until the piston moves. If it still will not move, the caliper needs a shop, and riding on it is not an option.
6. Test the Scooter at Low Speed
Put the scooter back on level ground in an open area, power it on, and take it to walking pace. The whole test takes two minutes and catches most problems you just created.
- Roll out slowly and confirm straight tracking, with no pull to one side. A wheel fitted back the wrong way or centred badly shows up here as a steady drift.
- Apply the brake gently and confirm the lever stays firm and does not hit the bar.
- Stop briskly from a moderate speed and check the wheel locks and the scooter stops straight, without a shudder or a lever knock against the bar.
- Listen for new rattles, rubbing or a hum that was not there before.
- Check the axle hardware is still snug and the wheel still spins freely, then take the scooter off the stand and confirm a normal low-speed ride.
Maintenance schedule you can actually keep
| Interval | Tires | Brakes |
|---|---|---|
| Before every ride (60 seconds) | Pressure by gauge, tread glance, no visible bulge | Lever firm, wheel spins freely, no rubbing |
| Weekly | Full gauge reading on both tires, valve caps | Quick lever and rotor look |
| Monthly, or every 300 km | Sidewall and tread inspection, tread depth check | Pad thickness, rotor wear, cable tension |
| Every 6 months, or 1,500 km | Clean tread and casing, bearing feel and play | Deglaze pads and rotor, re-adjust, check fasteners |
| Annually, or 3,000 km | Replace if tread is worn or the casing is cracked | Pads and cables typically renewed; rotor measured |
Whichever column of units fits your riding, use the sooner one. A commuting rider racks up distance fast; a casual rider still wears tires out through time and sun exposure.
Common Mistakes
These are the errors I see most often, and most of them are cheap to prevent and expensive to fix afterwards.
- Riding on tires you never measured. A gauge-less pump is the root of most repeated pinch flats. Buy a gauge pump, check weekly, and set pressure to the top of the sidewall range.
- Replacing a brake pad without checking the rotor. A grinding pad cuts a groove into the rotor that a new pad will inherit, so the noise comes straight back.
- Touching pads with bare fingers. Skin oil on the friction surface causes glazing and squealing. Handle the backing plate only.
- Using an improvised cable extension. A spliced or taped brake cable is a failure waiting for a hill.
- Soaping the chain, cables and bearings with the wrong product. Lubricants that are fine for a chain destroy brake pads and can contaminate a rotor.
- Spraying the scooter with a pressure washer. Water finds its way into the stem, the motor housing and the controller.
- Over-tightening the axle. Crushed bearings and a wheel that no longer runs true are common results.
- Riding a flat or a dragging brake to “see if it holds”. A flat tire destroys the tube, can damage the rim, and destroys the tire bead. A dragging brake overheats the rotor and fades the pads.
Common brake problems and what actually causes them
| Symptom | Likely cause | Fix |
|---|---|---|
| Squeal that fades with speed | Surface rust or light contamination | Clean rotor and pads with isopropyl alcohol, re-bed them on a quiet street |
| Grinding or a scraping sound | Pad worn to the metal backing plate | Replace pads immediately, then measure the rotor for wear or grooves |
| Lever feels soft or spongy | Loose cable clamp, air in a hydraulic line, stretched cable | Retighten clamp, then bleed the system or replace the stretched cable |
| Lever pulls to the bar, weak braking | Lever over-travel, glazed pads, low tire pressure | Re-adjust reach and tension, clean pads, set tire pressure by gauge |
| Wheel drags or slows to a stop | Caliper misaligned, seized piston, pad stuck | Align the caliper, free the piston with alcohol and mineral oil, check pad backing plates |
| Brake feel changes after cleaning | Residue or pad misaligned in the caliper | Deglaze both surfaces and re-seat the pads square in the caliper |
| Brakes fade on a long descent | Heat soak, thin pads, glazed rotor | Stop, cool the rotor slowly with water, then inspect pads and pressure |
Stop riding and get the scooter checked when the lever reaches the bar before the brake bites, when a brake is dead on one side only, when a tire has a visible bulge or cord showing, or when the axle hardware is loose. Those are not adjustments, they are failures in progress.
Frequently Asked Questions
What PSI should my electric scooter tires be?
Inflate to the pressure printed on the sidewall, which is the rating that applies to your tire. As a rough starting point, 8.5-inch and 10-inch street tires often sit between 40 and 60 PSI, and 12.5-inch tires between 25 and 40 PSI. Check cold, before riding, with a real gauge, and err toward the top of the range to reduce pinch flats.
How often should I check electric scooter tire pressure?
Before every ride is the ideal, but a weekly gauge reading is the realistic minimum for anyone riding regularly. Air pressure drops over time from permeation through the tube and from small slow leaks, and a soft tire is the main cause of repeated pinch flats. Check cold, before riding, and add air whenever it reads below the sidewall range.
Why do my electric scooter brakes feel soft or weak?
The usual causes are a loose cable clamp at the caliper, a stretched cable giving excessive lever travel, air trapped in a hydraulic line, glazed pads, or simply a soft tire. Work through them in that order, starting with the cheap checks: retighten the clamp, set tire pressure by gauge, then clean the pads and rotor with isopropyl alcohol. If the lever reaches the bar before the brake bites, do not keep riding it.
Can I ride my electric scooter with a flat tire?
Keep the ride as short as possible, ideally a few hundred metres to a home or a shop, and avoid potholes, curbs and anything fast. A flat tire pinches the tube against the rim edge, which can destroy both in a single trip, and it removes your steering and braking grip. If the tire is off the rim, the bead is damaged, or the sidewall is torn, do not ride it at all.
Will Fix-a-Flat style sealant work on an electric scooter tire?
It works on tubed tires: a tubeless sealant injected through the valve often seals small road-debris punctures and can also prevent many flats. Riders also use a plug strip through the puncture, which is a good temporary fix but may fail again. Sealant does nothing for a pinch flat, a cut sidewall or a tubeless tire, and any of those ends the ride.
What tools do I need to change an electric scooter tire?
A floor pump with a pressure gauge, plastic tire levers, a patch kit with vulcanizing fluid for tubed tires, a 6 mm hex key for most axle nuts and caliper mounts, an open-ended spanner, and a clean cloth. Isopropyl alcohol is worth having for the rotor and caliper. Check whether your scooter uses a nut, a quick-release lever, or an axle bolt before you start.
Start with the sixty-second check: gauge on both tires, lever squeezed, wheel spun. That single habit catches low pressure, a dragging brake and a soft lever before any of them becomes a roadside problem.
Once a month, give the scooter the fuller version described above. Set the pressure, clean the rotor and pads, check pad thickness and re-adjust the cable. Keep a small log of what you did and when, and you will stop guessing about when something was last serviced.