Most blurry phone close-ups fail for three reasons: focus drifts, the subject sits in a millimetre of sharpness, and the phone shakes. To take better macro photos with a phone, you take control of those three things yourself rather than trusting the automatic macro mode. Clean the lens, find soft light, tap and lock focus on the detail you care about, then hold the phone still or rest it on something solid. Ten minutes of setup saves you a hundred frames of mush.
Table of Contents
- What You Need
- Step-by-Step: How to Take Better Macro Photos with a Phone
- 1. Choose a Small Subject and a Clean Background
- 2. Set Up Bright, Diffused Light
- 3. Clean the Camera Lens and Set the Phone
- 4. Lock Focus on the Most Important Detail
- 5. Keep the Camera and Subject Still
- 6. Take Several Shots and Choose the Sharpest
- Common Mistakes
- Frequently Asked Questions
- What is the best way to focus when taking macro photos with a phone?
- Can I use my phone’s built-in macro mode for small objects?
- How close should I hold my phone to a small subject?
- Should I use the flash when taking macro photos with a phone?
- Why are my macro photos blurry even when the subject looks sharp on screen?
- What app can help me control focus and exposure on an Android phone?
- Conclusion
What You Need
The good news is that the whole setup fits in one hand. You need four things, and three of them are free.
- Your phone camera. Any phone made in the last decade shoots close-ups well enough with the right technique. A dedicated macro mode helps, but it is not doing the work for you.
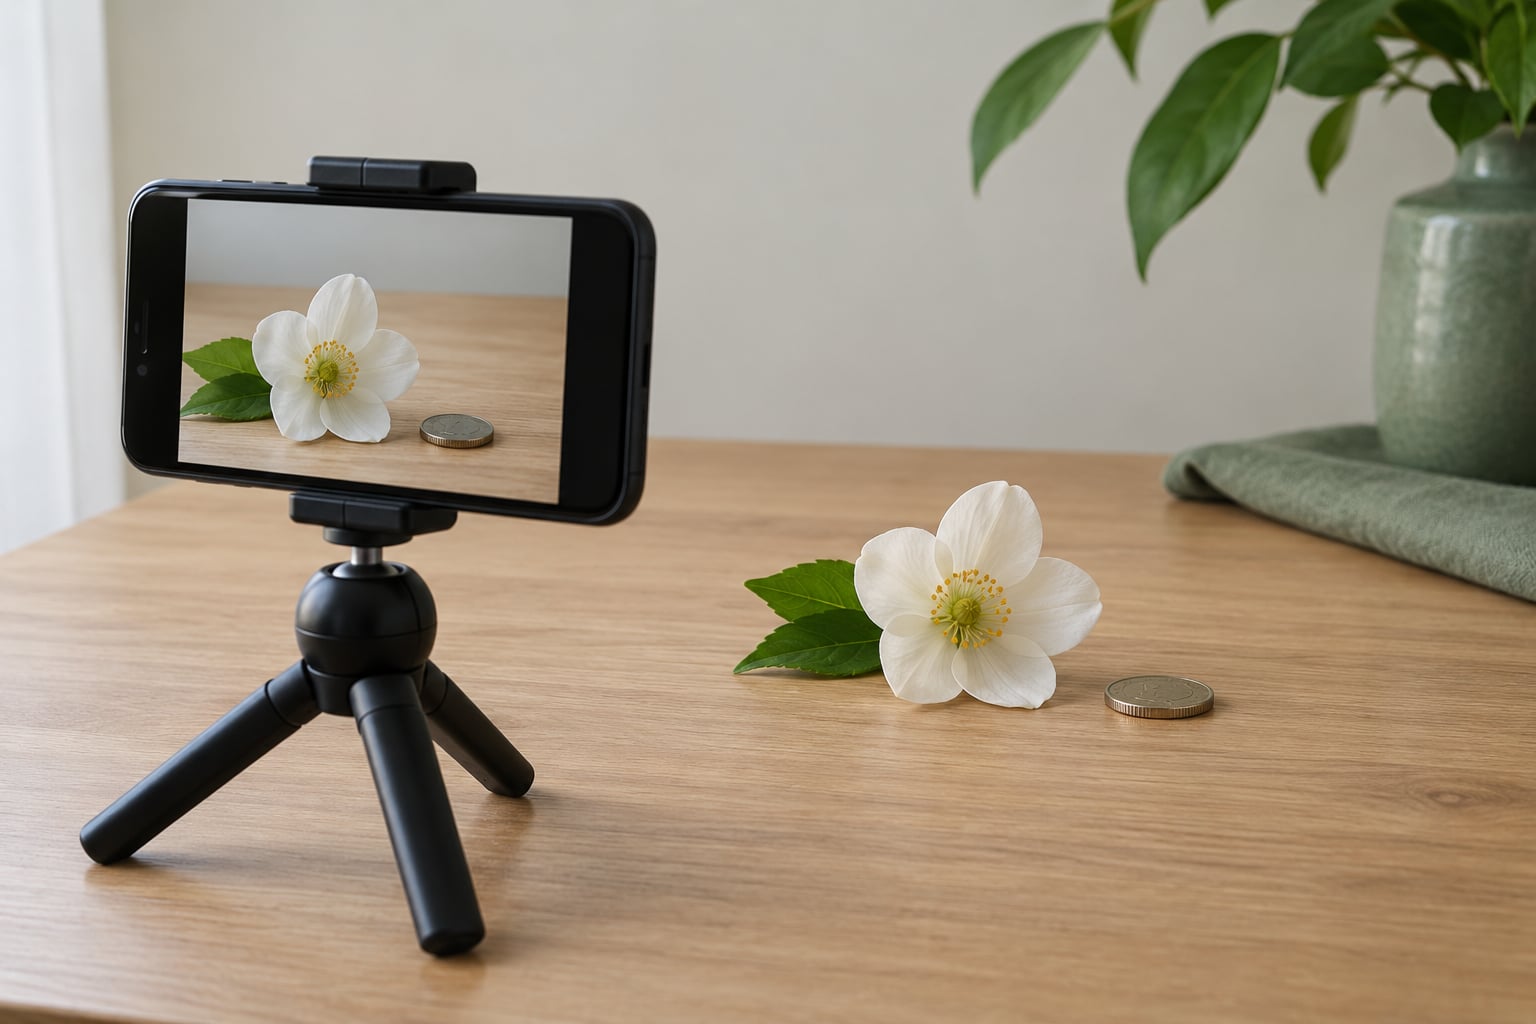
- A small subject. Flowers and petals, a coin, a ring or earring, a leaf, fabric weave, a circuit board, a crumb of food, a stamp, a screw head. Detail is the point, so pick something with texture or a pattern.
- A plain background. A sheet of plain paper, a clean table, a wall, or open shade. A busy background competes with the subject at close range and makes blur look like noise.
- One soft light source. A window with indirect daylight is the single best one. A desk lamp with a shade, or a small LED panel, also works if you can move it.
Optional but useful: a small tabletop tripod or a phone clamp (many fold flat), a stack of hardcover books to sit the phone on, and a piece of white card paper to bounce shadow back into the dark side of a subject. On Android, a manual camera app such as a Pro-style app gives you a focus slider and focus peaking, which the stock camera rarely offers.
Step-by-Step: How to Take Better Macro Photos with a Phone
The goal of this process is a sharp, evenly lit close-up where one specific detail reads clearly and nothing else competes for attention. Six steps get you there, and they work in this order for a reason: light first, then focus, then stillness. Focus cannot be fixed after the exposure is wrong, and neither can shake.
1. Choose a Small Subject and a Clean Background
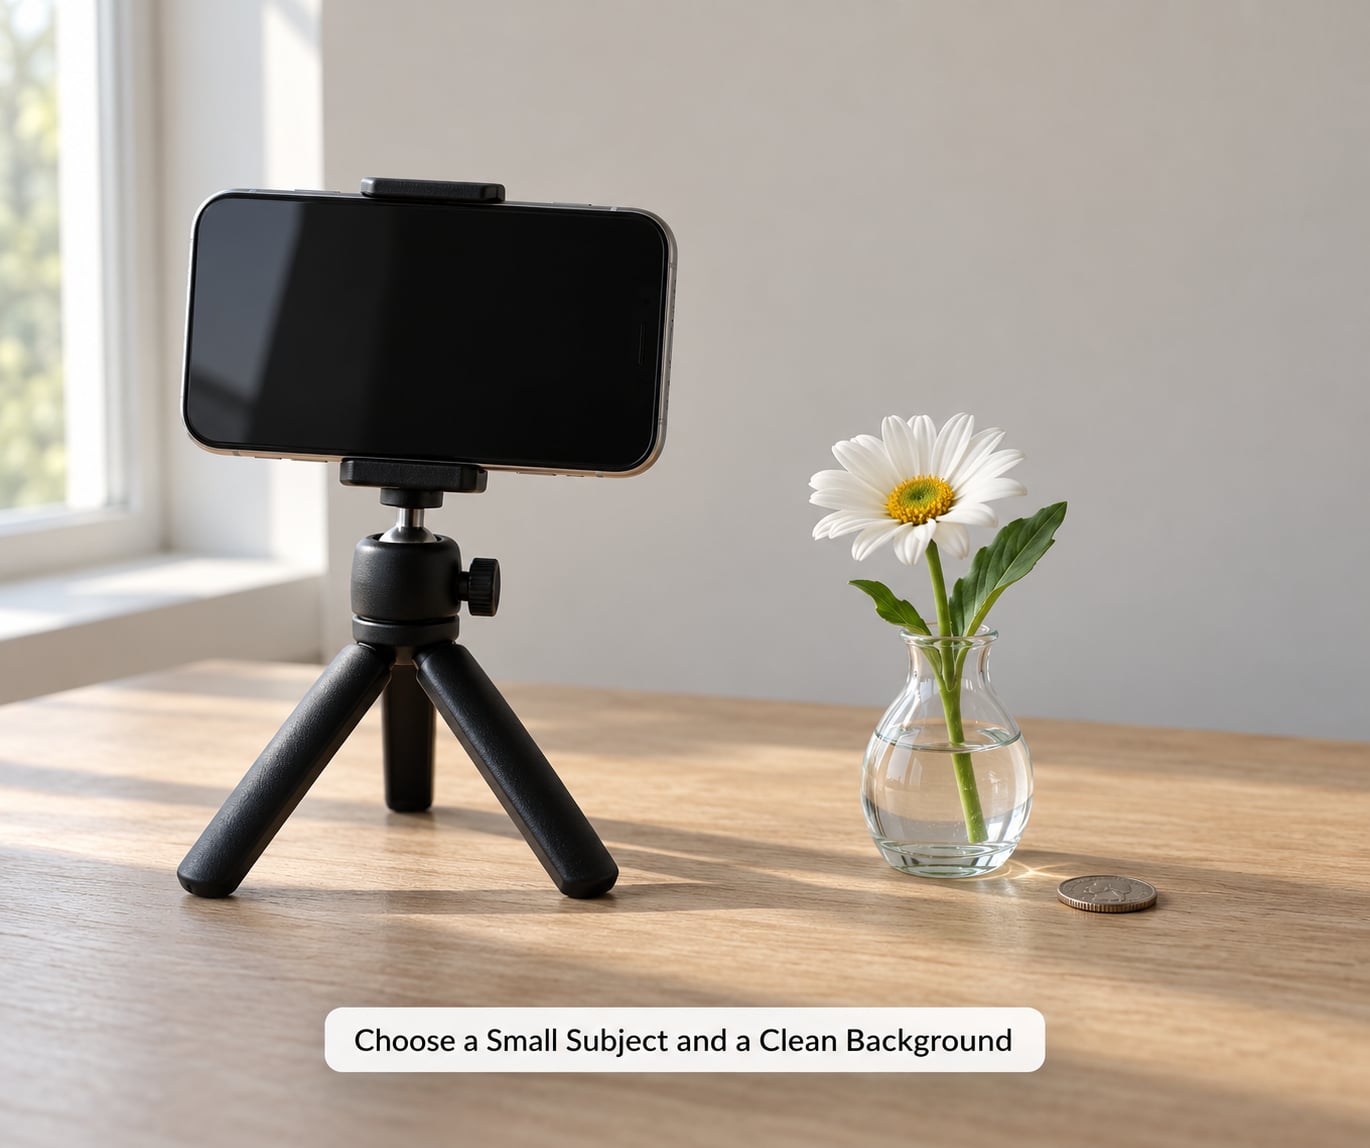
Start with something that holds its shape and does not move on its own. A flower bud, a leaf, a coin or a piece of fabric is far easier than a bee, and you can learn the whole process on a still subject before chasing moving insects.
Put it against a background with no pattern. Close up, a striped tablecloth competes with the grooves in a coin, and your camera will lock onto the wrong thing. If you have nothing plain nearby, a sheet of white or black paper is enough.
Look at the subject at arm’s length first and pick the one detail you want sharp: the stamens inside a flower, the lettering on a rim, the weave of a thread. You cannot make the whole subject sharp, so decide what matters before you raise the phone.
2. Set Up Bright, Diffused Light
Direct sun or a bare bulb at close range gives you harsh shadows with blown-out edges. Soft, indirect light gives you even detail across the subject, which is the whole point of a macro shot.
Set up next to a window, turn the subject so it faces the glass, and keep the window itself out of frame. Daylight from one side with a white card opposite it fills the shadows without flattening the texture completely. Outdoors, open shade under a tree or the edge of a building beats direct sun for the same reason.
If you must use the phone’s own torch or flash, do not point it straight at the subject. Bounce it off a wall or piece of white card above and behind the subject, or drape a single thin layer of tissue paper over the light to break it up. If the light is flat and boring, slide the light across to one side so texture casts small shadows, then fill the dark side with the white card.
Rotate the subject, not the light, when a highlight blows out. Small moves matter far more here than in normal photography, because the subject is only centimetres from the lens.
3. Clean the Camera Lens and Set the Phone
Dust, fingerprints and haze ruin close-up photos far more than wide shots, because you are magnifying whatever is on the glass. Wipe the rear lens with a soft cloth before every session, and blow off any pocket grit first.
Switch to the rear camera. The front camera on most phones has no autofocus at all, so a close-up comes back soft every time.
Then set the phone up like this:
- Photo mode, not portrait. Portrait mode fakes blur and often fakes focus badly at close range.
- Highest resolution. On phones with a 12MP or 50MP or 108MP setting, use it and crop later instead of relying on digital zoom.
- RAW if it is free. ProRAW on recent iPhones and ProRAW equivalent on some Android models gives you shadow and highlight latitude in an edit. It costs storage and slows the shot down, so switch it on for your best frames, not every frame.
- Flash off, grid on. Turn the flash off when you are using daylight or a torch, and turn on the grid lines to place the subject.
On Android you can also use a manual app instead of the stock camera. In the stock camera, look along the mode strip at the bottom of the viewfinder for a Pro or Pro Camera mode, usually behind a small edit icon. In Pro mode you get a manual focus slider and often focus peaking, where in-focus areas light up in colour. In iOS, Macro Control lives under Settings, then Camera, then Macro Control, on models that have the feature; on iPhones without it, a manual app gives the same slider.
4. Lock Focus on the Most Important Detail
Tap directly on the detail you chose. The phone sets both focus and exposure to that spot, then re-hunts every time the camera moves even slightly, which is exactly what happens when you approach a subject from a few centimetres away.
Stop it hunting by locking focus and exposure together. On iPhone, press and hold the screen on the detail until the focus box turns from yellow to blue and the label changes to AE/AF Lock. On most Android stock cameras, long-press or tap the lock icon on the focus box; Samsung and Xiaomi builds usually show a small padlock on the focus ring. Take ProRAW captures with the lock on.
With focus and exposure locked, you can now move the phone in and out by a hair without the camera readjusting. Slide the phone towards the subject until the detail you care about is at maximum sharpness, then back off slightly. That peak is sharpest at the exact focal distance, and it is often only 1 to 2 mm wide on a phone, so the motion has to be slow.
If highlights are distracting, pull exposure down with the sun or minus icon. Check the screen at maximum zoom before firing: the live view at 100% shows you focus errors that the small viewfinder hides.
5. Keep the Camera and Subject Still
At macro distance, a hand tremor of a millimetre is enough to throw the focal plane off completely. Rest the phone on something solid rather than holding it: a stack of hardcover books, a table edge, a clamp tripod, or a beanbag of socks on a flat surface.
If you must hold it, use both hands, tuck your elbows against your ribs, and exhale slowly rather than holding your breath. A two- or ten-second timer removes the last wobble from the shutter press, because pressing the button nudges the phone. On Android, the burst or ten-shots option gives you the same benefit without waiting.
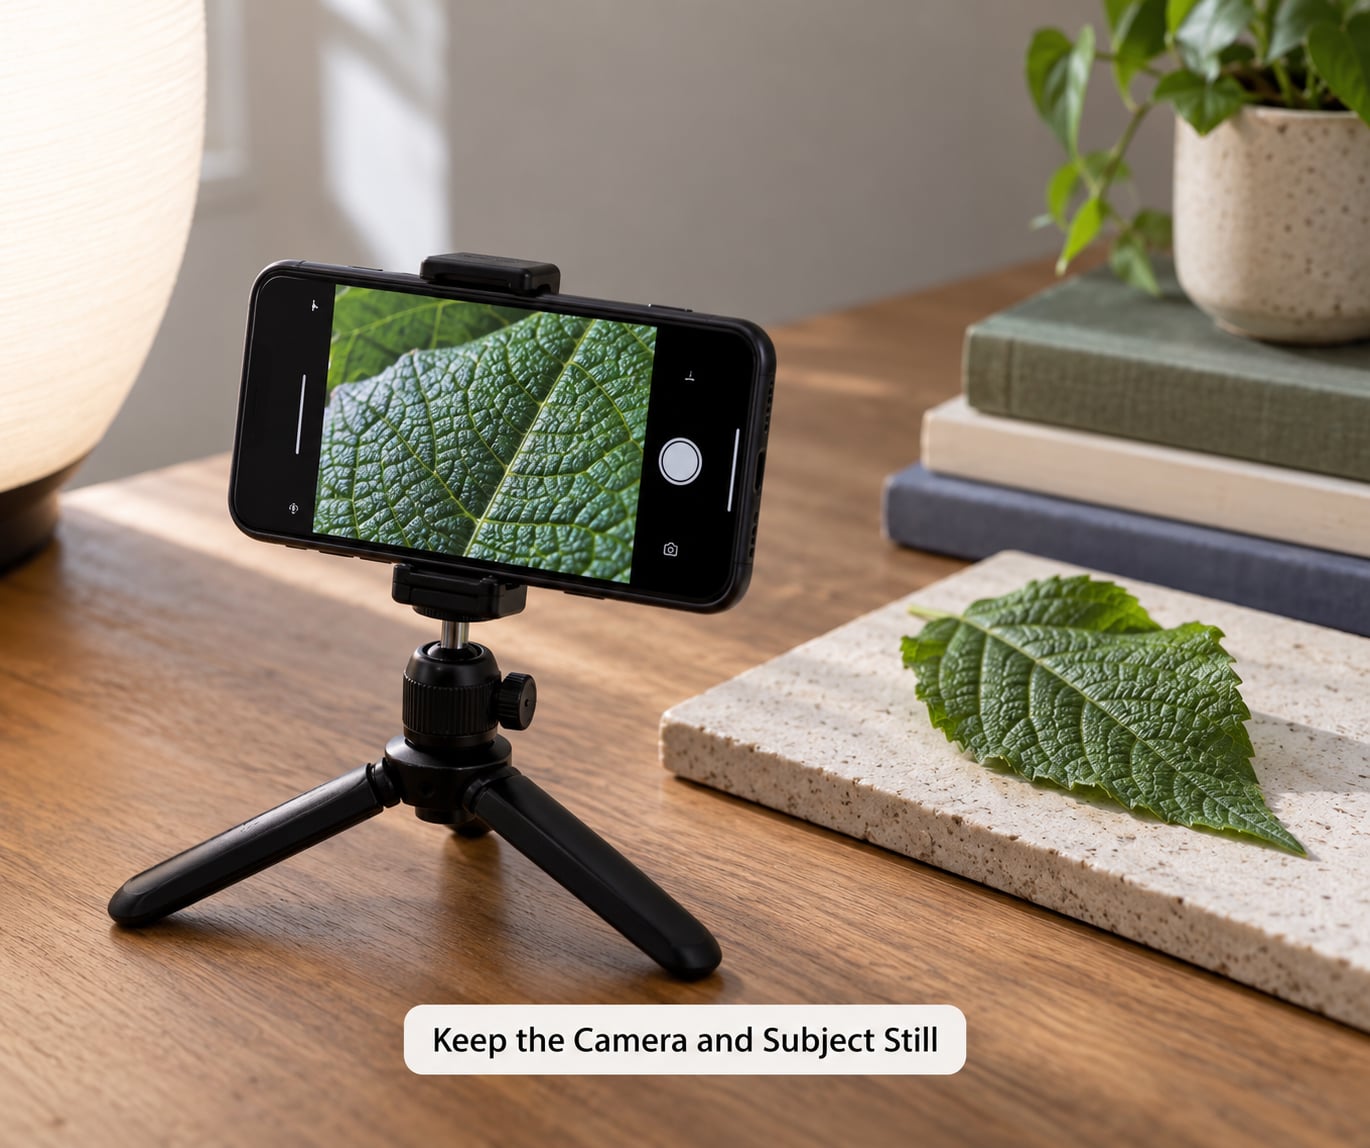
The subject has to hold still too. Wind moves a flower, and insects move constantly. For a still life, weight the base with a small blob of museum putty or tape the stem down out of frame. For a moving subject, work in bursts and take your best frames from a longer sequence.
6. Take Several Shots and Choose the Sharpest
Do not judge a macro shot from one frame. Shoot five or ten, changing only one thing between them: shift the phone a fraction closer, rotate the subject, or nudge exposure down. Change one variable at a time or you cannot tell which change fixed the image.
At full zoom on the review screen, look for the frame with the crispest edges on your chosen detail, not the prettiest colours. A frame can be beautifully exposed and still soft where it matters. Then crop tightly into the part that worked, because a tighter crop hides the thin depth of field and makes the detail read better.
Common Mistakes
These are the failures I see again and again, and each has a simple fix.
Blurry photos. Almost always movement or missed focus. Rest the phone, use the timer or burst, and clean the lens. If the image is soft even when the screen looked sharp, the focus peak was missed by a hair; step the phone back a fraction at a time and shoot a short run at each position.
Everything dark. The camera meters for the bright background and underexposes a small subject against it. Tap the subject itself to bring exposure up, add a white card reflector opposite the shadow side, or move to a brighter spot. A phone is not a DSLR here; the sensor has little room to recover a badly metered frame.
Washed-out or blown highlights. Direct sun and bare flash at centimetres. Turn off the flash, use shade or a window with indirect light, and drop exposure compensation one or two stops.
Focus hunting or pulsing. The auto focus cannot decide, usually because the subject is moving or the background is as bright as the subject. Lock focus and exposure with a long press, or switch to manual focus in a Pro app and use the slider.
Excessive noise. Indoor low light forces the phone to raise sensitivity. Add light rather than raising ISO, or move to daylight. Overhead kitchen lights also cast a strong yellow or green cast on close subjects; switch off the auto white balance and set it to a daylight preset.
Reflections and glare. Curved or glossy subjects catch the phone or your own shadow. Move the light so it bounces away from the lens, keep your own shadow out of the frame, and for coins or jewellery, tilt the subject until the reflection is off-camera.
The subject is too small in the frame. Crop in afterwards. A tight crop on the detail that worked is the cheapest single improvement you can make to an ordinary close-up, and it costs you nothing.
Two more habits pay off quickly. Clean the lens before every session, not weekly. And shoot at the same three settings each session so you can compare frames later instead of re-solving the problem every time.
Frequently Asked Questions
What is the best way to focus when taking macro photos with a phone?
Tap your detail, then press and hold to lock both focus and exposure, which iPhone shows as AE/AF Lock and most Android builds show as a padlock on the focus box. With the lock on, slide the phone slowly towards the subject until the detail is sharpest, then back off slightly. Shooting a short burst at peak sharpness gives you several safe frames.
Can I use my phone’s built-in macro mode for small objects?
Yes, and you should try it first, but treat it as a starting point rather than an answer. Macro mode forces the camera to its closest focus and can switch lenses on models that have more than one. It still meters and focuses automatically, so it will still hunt and still shake. Use it to get close, then lock focus and stabilise the phone yourself.
How close should I hold my phone to a small subject?
As close as you can get while the chosen detail is still sharp, which on most phones is roughly 5 to 15 centimetres from the lens. Closer is not automatically better: once you pass the minimum focus distance the detail goes soft again. Watch the screen at full zoom while you move in slowly and stop at the sharpest point.
Should I use the flash when taking macro photos with a phone?
Not pointed straight at the subject. A bare flash at that range burns out the closest detail and leaves a hard shadow behind the subject. Indirect light is better: bounce the flash off a wall or white card, or cover it with a single thin layer of tissue paper. Daylight from a window beats both, so try that first.
Why are my macro photos blurry even when the subject looks sharp on screen?
The live view lies slightly at this range because it resizes and smooths the preview, and it changes while you move. Any tremor during the shutter press also throws the focal plane off. Rest the phone on something solid, use a timer or burst, confirm focus at maximum zoom on the preview, and remember the in-focus slice is often only one or two millimetres deep.
What app can help me control focus and exposure on an Android phone?
A manual or Pro-style camera app. Free options such as the Pro Camera and Open Camera families give you a manual focus slider, focus peaking that colours in-focus areas, RAW capture and an exposure dial. On Samsung, Xiaomi, Redmi, Huawei and Oppo phones, first check the manufacturer’s Pro mode in the stock camera, which is usually free and does the same job.
Conclusion
Start with one still subject on a plain background, put it in window light, lock focus on a single detail, and rest the phone on something solid. Shoot a short burst each time you change one thing, then crop into the frame that worked. Before your final shot, check three things: the lens is clean, the detail you care about is sharp at full zoom, and no highlight is blown. That habit alone puts most phone close-ups ahead of what automatic macro mode gives you.