Phone portrait photography is the practice of photographing people with a smartphone so the result looks natural and flattering, not like a snapshot. Almost all of the difference comes from four things: where the light comes from, how far you stand, which lens you pick, and how you direct your subject. None of that costs money.
If you want to know how to shoot better portraits with a phone, this is the full workflow: prepare the camera, find soft light, frame it, get sharp focus, then edit lightly. Budget about ten minutes of setup per session and expect better results from the first frame.
One warning before we start. Camera apps differ a lot between Android phones, so menu names here are described the way most HyperOS, MIUI and stock Android builds expose them. Where your phone does something else, look for the setting by what it does rather than by its label.
Table of Contents
- What You Need
- Step-by-Step: How to Shoot Better Portraits with a Phone
- Choose the Right Camera and Settings
- Find Soft, Even Lighting
- Frame It: How to Shoot Better Portraits with a Simple Background
- Get Sharp Focus and a Natural Expression
- Edit Without Making the Portrait Look Fake
- Common Mistakes
- Frequently Asked Questions
- How do I take good portraits with a phone if the camera focuses on the background?
- Is portrait mode better for every kind of phone portrait?
- How can I make a phone portrait look professional without a tripod?
- What is the best lighting for portraits taken with an Android phone?
- How do I take portraits of several people with a phone?
- Can I fix a blurry phone portrait in editing?
- Start With One Change
What You Need
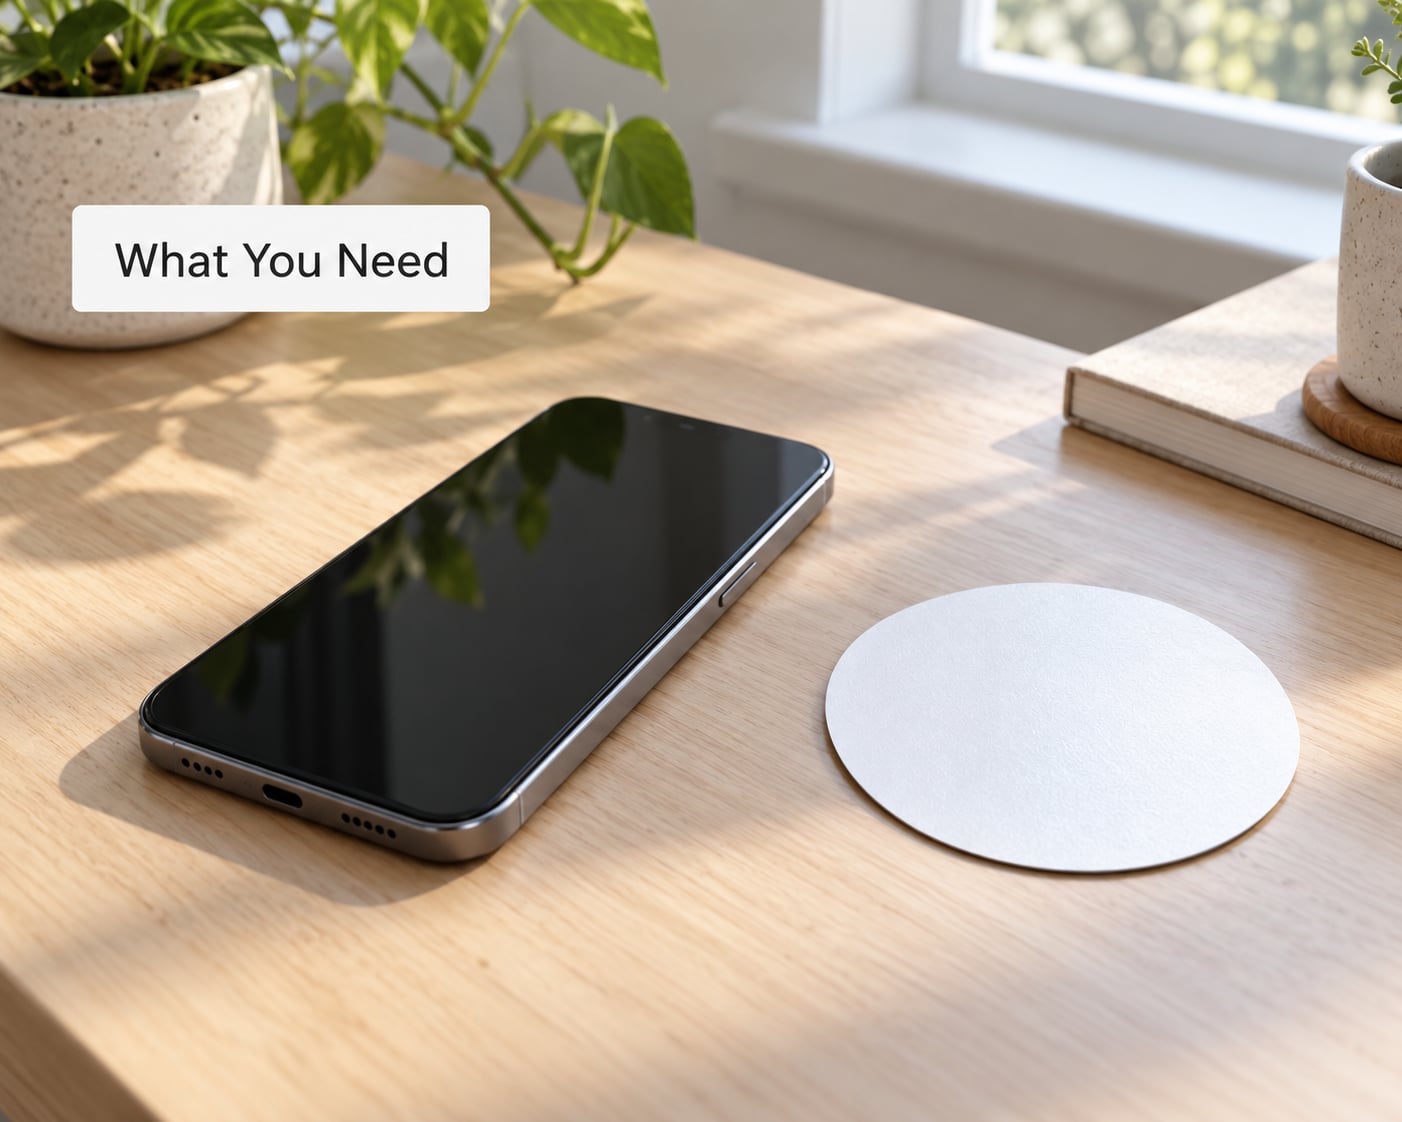
You need a phone, clean hands, and a source of soft light. That is the honest list. Everything else is optional.
Start with the rear camera. The selfie camera on most phones has a fixed wide lens, which stretches the edges of the face, and it holds a smaller sensor than the rear module. Use the front camera only when you are shooting yourself with a timer.
Wipe the rear lens before every session. A pocket puts a film of grease on it, and that film scatters light and gives you hazy shots with a milky veil and stray flare. Reviewers on photography forums keep coming back to this one, and it costs ten seconds to fix.
Portrait mode matters, but it is not the whole game. It simulates a shallow depth of field by guessing which parts of the frame are closer. That guess fails on hair edges and on moving subjects, so treat it as a finishing tool rather than the starting point.
For light, an ordinary window beats any cheap lamp you can buy. A white or silver card, a sheet of printer paper, or even a pale wall opposite the window works as a reflector to push light back into shadowed eye sockets.
Step-by-Step: How to Shoot Better Portraits with a Phone
Choose the Right Camera and Settings
Open the stock camera app on the rear lens, switch off the flash, and turn on the grid. On most HyperOS and MIUI builds the path is Camera, then the settings icon beside the modes strip, then Grid. On Google camera apps it is usually Settings, then Framing grid.
Set the aspect ratio to the format you actually want, usually 4:3 for the most detail and 4:5 or 1:1 for social feeds. Once you pick a narrower ratio the camera crops instead of using the full sensor, so leave the decision until you know where the photo goes.
Choose Portrait mode when the phone offers it, then decide your lens. This is where most phone portraits go wrong, because the default 1x lens sits close to the face and exaggerates the nose and edges.
| Lens | What it does to a face | Use it for | Working distance |
|---|---|---|---|
| 0.5x ultra wide | Strong stretching at the edges, closest look | Groups, tight rooms, full body with scenery | 1.5 to 2 m |
| 1x wide | Slight widening, the least flattering option up close | Avoid for close portraits | 2 m or more |
| 2x telephoto | Flattering, compressed features | Headshots, working portraits | 2 to 3 m |
| 3x or longer | Most compressed, background separates well | Outdoor portraits, candid street shots | 4 m or more |
The rule that reconciles the usual argument about zooming: optical zoom keeps the full sensor resolution, digital zoom crops and interpolates, so it gets soft fast. Step back and use 2x or 3x rather than pinching to magnify the screen image. Top advice on photography forums lands on the same move, and photographers coming from a 50mm lens find 2x behaves closest to what they know.
Tap the subject to focus, then drag the brightness slider up or down until the face sits just shy of blown out. Two-finger slides adjust exposure and zoom together, so make sure your fingers are not on the screen when you tap, or the shot jumps to a wide lens.
Find Soft, Even Lighting
Light decides more than any setting. A face lit from the front at eye level looks open; the same face lit from directly above gets dark sockets, shadows under the brow, and a squint you did not ask for. That overhead look is the single most common flaw in outdoor phone portraits.
Put your subject near a window, turned about 45 degrees toward it, with the window at face height or slightly above. If one side is darker, put a white card on that side. Overcast days work beautifully because the cloud layer acts as a giant diffuser.
Outdoors, open shade under an awning, a tree canopy, or a building overhang is the safest midday option. Open shade is the whole story: no sky visible from the subject’s position, shadow edges soft, background far behind.
Golden hour is the hour after sunrise and the hour before sunset, when the sun sits low and the light turns warm and directional. Turn the subject so the low sun rakes across the face from the side rather than pointing straight into it. Backlighting works too, but then raise the exposure for the face and accept a bright rim.
Never shoot with the sun directly behind your phone. You get lens flare, washed-out colour and a dark subject, and no amount of editing brings the face back properly.
Frame It: How to Shoot Better Portraits with a Simple Background
Stand at the subject’s eye level or a little below, never above. Shooting down from a high angle shortens the head and widens the shoulders, which is why overhead snapshots rarely flatter anybody.
Move the subject away from the background rather than moving the background. A metre or two of separation, combined with 2x or 3x, gives you background blur that costs nothing. A busy wall directly behind the head is what makes a portrait look like an ID photo.
Turn on the grid and put the eyes on the upper third line. The rule of thirds means dividing the frame into nine squares and placing the subject on a line or a crossing point, which leaves space in the direction the person faces or looks.
Leave a little room above the head. Cropping tight to the hair or cutting the top of the head is the most common framing error and it is unfixable because the pixels are simply not there. Leave space on the side the subject is looking toward, and leave air under a chin.
Ask what is behind them before you take the shot. Bins, laundry, a tangle of cables and half-finished packing all pull the eye away from the face. Rotate the subject slightly, or take two steps sideways, to put a cleaner part of the room in frame.
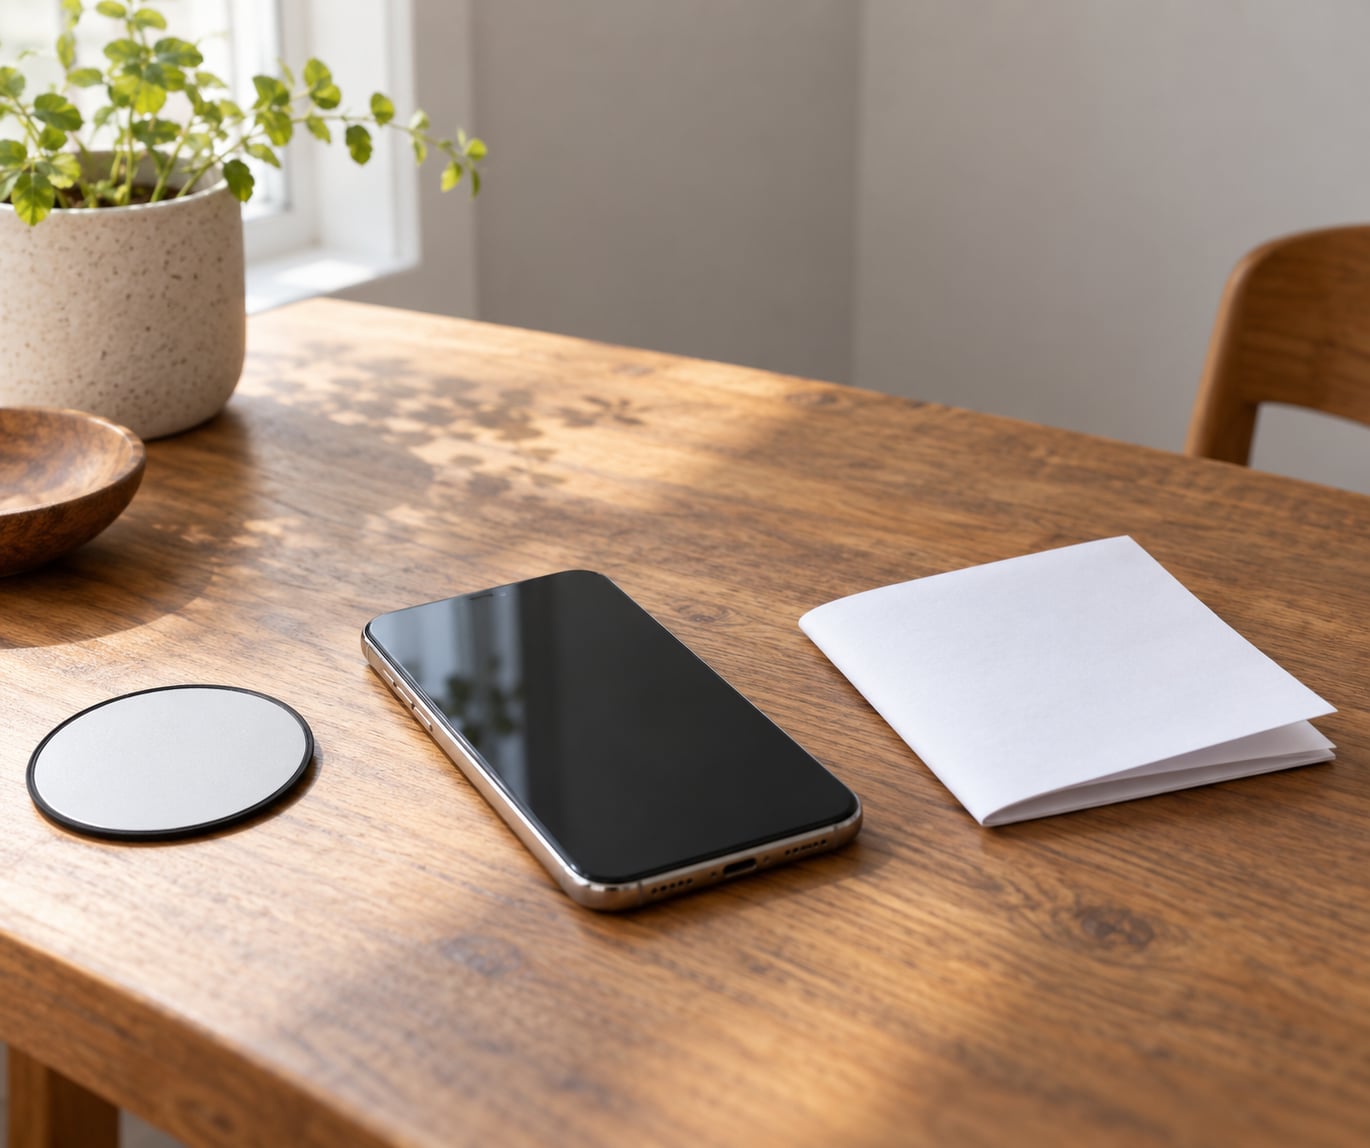
If you shoot yourself, set the phone on a stack of books at eye height, open the timer for ten seconds, and use the rear camera. That is the only way to get the good lens on a self-portrait. Stack or place your phone where a Bluetooth selfie stick clamps, and the same setup works.
Get Sharp Focus and a Natural Expression
Tap to focus on the nearest eye and check the viewfinder before shooting. If the phone offers face or eye tracking, turn it on so the focus follows movement. Watch for the focus box locking onto a bright background instead, then tap the face again to move it back.
Shoot more than one frame. Take a short burst or five single frames of the same pose, because the difference between frames is mostly expression. Reviewers describe this plainly: take multiple shots and pick the best one.
Keep the phone still with two hands, elbows tucked into your ribs, or set it on something solid. Shaky one-handed shots are the usual reason a phone portrait looks soft.
On the posing side, give one direction at a time. Ask the subject to bring the chin forward and down a fraction, which opens the jawline, then turn the shoulders about 45 degrees away from the camera, then look back at the lens.
Loosen the shoulders, because a person holding tension looks stiff in every frame. Ask for one deep breath in and a slow exhale out, and take the shot at the end of the exhale. That moment is when the mouth and eyes relax.
Talk while you shoot. Ask a question that gets a real answer rather than a pose, and keep the camera ready. Candid frames, where the subject is looking slightly away, often beat the stiff front-facing shot.
For kids and pets, drop to their eye level and use burst mode, because they will not hold still for a second pass. For groups, use 0.5x, stand close enough that the outer people are not cut off, and take a short burst after the frame is set.
Edit Without Making the Portrait Look Fake
Edit in a fixed order, and keep each step small. First exposure and highlights, then white balance, then contrast, then sharpness last.
Raise shadows slightly and pull down highlights so window-lit faces do not wash out. Warm the white balance a touch for outdoor shots, because phone cameras tend toward the cooler blue end. Add a small amount of contrast to give the face some shape back.
Apply sharpening at low strength. Phone photos already carry a lot of computed detail, and pushing sharpening makes skin texture look crunchy. The same goes for clarity and dehaze sliders, which exaggerate every pore in the frame.
On Android, Snapseed, Lightroom Mobile and the built-in editor in Google Photos all handle this well for free. The built-in editor is already on the phone, so start there before installing anything.
Use portrait blur sparingly. If the blur bleeds into hair, ears or fingers, dial it down. Excessive background blur with a sharp subject is the give-away sign of an artificial portrait, along with heavy skin smoothing and slimmed faces.
Crop last. Trimming a 4:3 shot down to 4:5 or 1:1 gives you social-ready framing without digital zoom, so the resolution stays where it started.
Common Mistakes
| What went wrong | Why it happened | Fix it |
|---|---|---|
| Soft, hazy photo | Greasy lens, or digital zoom | Wipe the lens, switch to 2x or 3x and step back instead of pinching |
| Face looks wide or nose too big | 1x ultra wide lens held too close | Step back to 2 m or more and use 2x |
| Dark eye sockets, squinting subject | Harsh overhead midday sun | Move into open shade or turn the face 45 degrees off the sun |
| Flat expression in the photo | Hard light from below or behind | Face the light, add a reflector card opposite the window |
| Hair looks cut out with a glowing rim | Portrait mode guessed the depth wrong | Move hair away from a contrasting background, or lower the blur |
| Legs or shoulders cut off | Too tight a frame in portrait mode | Step back so the whole body fits before switching portrait on |
| Background blur on the wrong part | Subject and background were too close together | Move the subject a metre or two further from what is behind |
| Skin looks plastic | Beauty or smoothing filter turned too high | Turn the smoothing down or off and add a little grain instead |
| Blurry subject, sharp background | Camera shook during a one-handed shot | Two hands with elbows braced, or set the phone on something solid |
| Background pulls attention | Clutter behind the subject | Reposition or zoom until the clutter falls outside the frame |
Two habits fix most of the table above. Wipe the lens, and shoot a second frame after you have adjusted. Neither takes time.
If you want to get noticeably better, do a five-minute daily drill for a month: one person, one light source, ten frames. Change only one variable each day, the lens one day and the light the next. You will find your phone’s quirks quickly, and that is worth more than any preset.
Frequently Asked Questions
How do I take good portraits with a phone if the camera focuses on the background?
Tap directly on the face or nearest eye before shooting, then check the viewfinder shows the focus box on the skin. Turn on face or eye tracking if your camera has it, and move the subject a metre or two away from whatever is behind them so the two distances are easier to tell apart. If it keeps locking on the background, use 2x or 3x, which increases the gap between subject and background.
Is portrait mode better for every kind of phone portrait?
No. Portrait mode works well for a still subject standing more than about a metre from a distant background, with hair clear of a contrasting wall. It struggles with fast movement, with hair edges, and at very close range where the depth estimate breaks down. For candid shots, kids, pets and travel portraits, use the normal photo mode and get separation with distance and the 2x lens instead.
How can I make a phone portrait look professional without a tripod?
You do not need one for shots of other people. Brace the phone with two hands, tuck your elbows into your ribs, and hold your breath for the frame. A tripod only matters for self-portraits and for slow-shutter situations at night, where a stack of books and the ten-second timer do the same job. Add a few seconds of planning about the background and the light, and it reads as a deliberate shoot.
What is the best lighting for portraits taken with an Android phone?
Soft light at face level or slightly above, coming from the front or 45 degrees to the side. A large window on an overcast day is the easiest version, and open shade outdoors gives the same effect at midday. Avoid direct overhead sun, which darkens the eye sockets and makes people squint, and avoid light coming from behind, which turns the face into a silhouette. A white card opposite the light fills shadows for nothing.
How do I take portraits of several people with a phone?
Switch to the 0.5x ultra wide lens so everyone fits, then stand back far enough that nobody is clipped at the edges. Put the tallest person in the middle and stagger the rows slightly rather than lining everyone up flat. Check the light reaches all the faces, since one person at the end is often a stop darker. Set a short timer or use burst, and take several frames because someone will blink.
Can I fix a blurry phone portrait in editing?
Only partly. Sharpening tools in Snapseed, Lightroom Mobile or the built-in editor can rescue mild softness, and a small crop removes a shaky edge, but detail that was never captured cannot be rebuilt. Prevention is easier: clean the lens, hold the phone with two hands, use 2x or 3x instead of digital zoom, and make sure the light is bright enough for the phone to choose a fast shutter speed.
Start With One Change
If you change nothing else, wipe the lens and move your subject into open shade. Those two steps fix more bad phone portraits than any setting or editing app.
After that, learn how to shoot better portraits with a phone on one lens, 2x, from a fixed distance of about two metres. Once that frame looks right every time, add the light work and the posing. Slow additions are what make the shots consistent rather than lucky.