To set up eSIM on Android, open your SIM or mobile network settings, tap Add eSIM, scan the QR code your carrier supplied, then turn the new profile on and select it as the line used for mobile data. It takes about five minutes, and most of that is waiting for the profile to download.
The catch is that almost every failed eSIM setup comes down to one of three things: the phone does not support eSIM, the QR code was already used, or the profile installed fine but Android is still routing your data through the physical SIM. Menu wording also shifts with Android versions, so this walkthrough reflects current One UI, Pixel and HyperOS builds in 2026. All three failure points are covered below.
Table of Contents
- What You Need
- Step-by-Step: How to Set Up eSIM on Android
- 1. Check That Your Phone Supports eSIM
- 2. Get the eSIM Activation Details
- 3. Open the eSIM Settings
- 4. Scan the QR Code or Enter the Code Manually
- 5. Confirm the eSIM Plan and Finish Setup
- 6. Transfer an Existing eSIM Profile
- 7. Set the eSIM as Your Default Connection
- 8. Test the Connection and Remove the Old SIM Safely
- Common Mistakes
- Frequently Asked Questions
- How do I add an eSIM to my Android phone?
- How do I manually activate an eSIM?
- Why is my eSIM failing to activate or showing as already in use?
- Why does my eSIM show signal but no internet?
- Which Xiaomi, Redmi and POCO phones support eSIM?
- Does a factory reset delete an eSIM, and can I move it to a new phone?
What You Need
Before you open Settings, gather these four things. Grabbing the activation details first is what separates a two-minute setup from an afternoon of troubleshooting.
- An eSIM-capable Android phone. Most flagships from the last few years qualify, but the same model can ship with or without eSIM depending on the region, so confirm yours first.
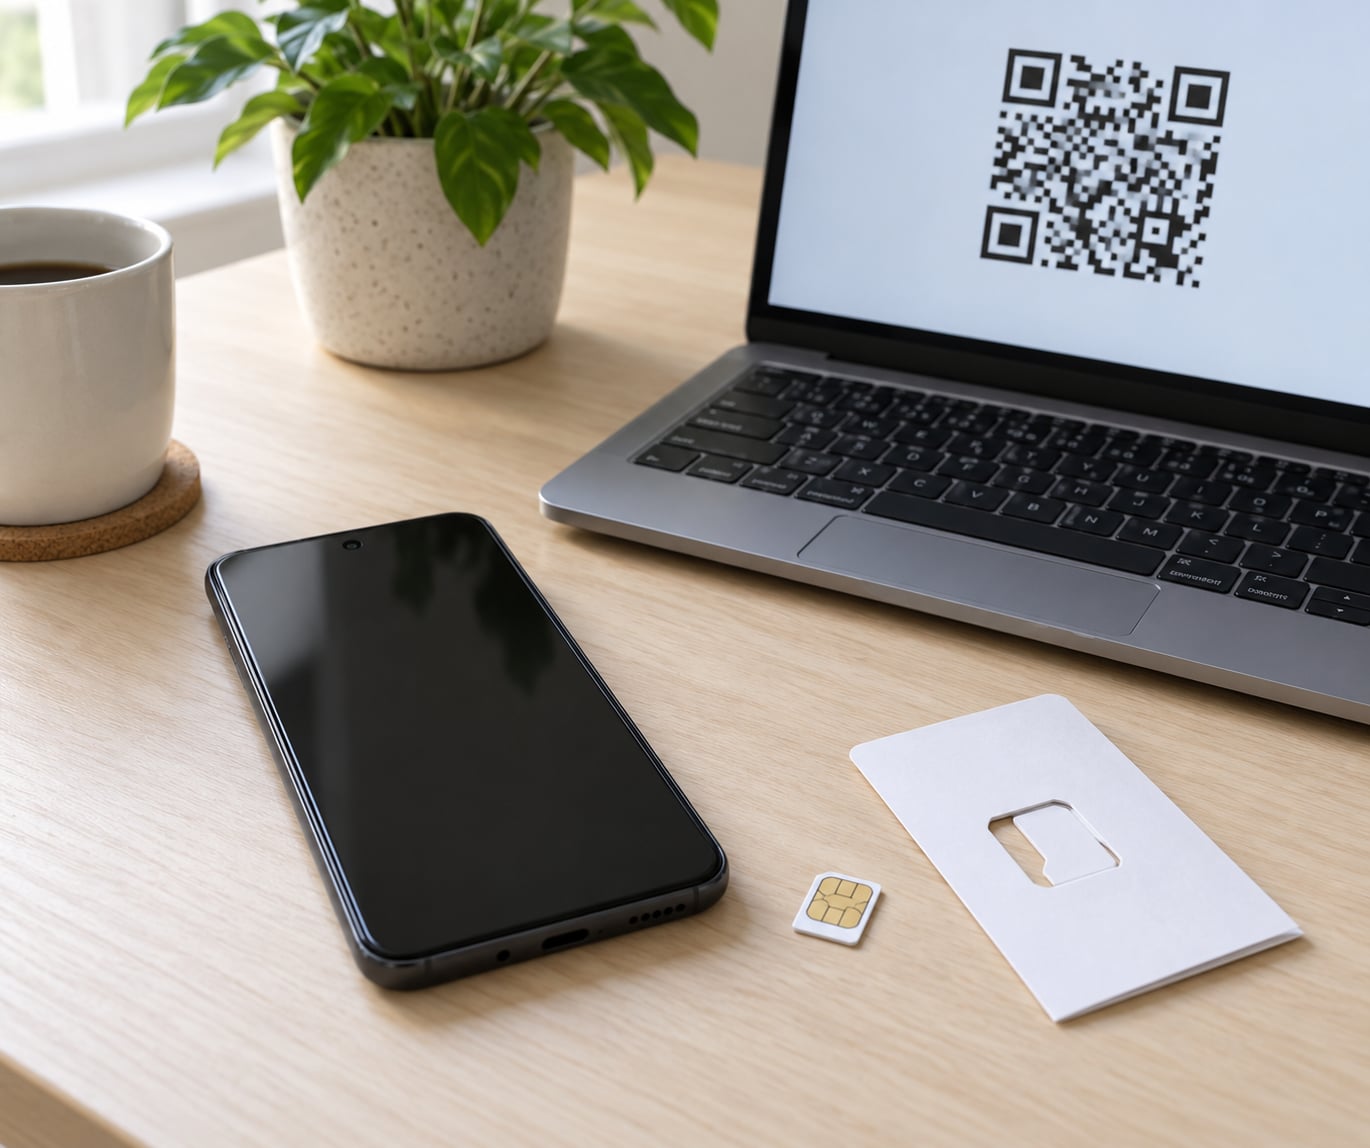
- The activation QR code from your carrier, either in an email, a carrier app, or on a printed insert. You will also see it described as a QR code, an activation link, or an SM-DP+ address plus activation code.
- A stable Wi-Fi connection. Use your home network, not a phone hotspot, and leave any VPN or secure DNS app turned off until setup finishes.
- The old phone, if you are transferring a profile you already own. Most carriers need the old device switched on and online while the eSIM moves across.
One warning before you go any further. A carrier QR code is usually single-use, and an installed eSIM profile generally cannot be deleted and reinstalled. Take a photo of the paper insert if you have one, and never post a QR code or activation code in a forum or group chat.
Step-by-Step: How to Set Up eSIM on Android
Android calls the same feature something slightly different depending on who made the phone, so read the steps below rather than hunting for an exact label. Samsung, Google Pixel, Motorola, OnePlus, Xiaomi, Redmi and POCO all ship this function; only the menu wording changes.
1. Check That Your Phone Supports eSIM
Dial *#06# on your phone. If the phone supports eSIM, the result screen shows an EID alongside the IMEI, because eSIM has its own hardware identifier built into the phone.
If there is no EID, check Settings > About phone > SIM status, or search the word "eSIM" in Settings search. Still nothing? Your model or your region variant does not support it, and no amount of menu hunting will change that.
On Xiaomi, Redmi and POCO devices the search often turns up nothing at all, which is why so many owners land on community forums asking how to surface the option. If the model was sold in a region without eSIM, the hardware option is not there.
2. Get the eSIM Activation Details
Your carrier or eSIM provider is the only source you should use. They hand you either a scannable QR code or, for manual setup, an SM-DP+ address (the server the profile downloads from) and an activation code (the one-time key that authorises it).
If you requested the eSIM online, the details are usually in a confirmation email or inside the carrier’s app under your order. If you bought a SIM in person, the card or insert has them printed on it.
3. Open the eSIM Settings
Menu labels differ by brand, so match what you see on your screen to the row for your phone:
| Brand | Path to Add eSIM | Where data roaming lives |
|---|---|---|
| Samsung (One UI) | Settings > Connections > SIM manager > Add eSIM | SIM manager > Mobile networks > Data roaming |
| Google Pixel | Settings > Network & internet > SIMs > Add eSIM | SIMs > Mobile network > Roaming |
| Xiaomi, Redmi, POCO (HyperOS) | Settings > SIM cards & mobile networks > Manage eSIM / Add eSIM | SIM cards & mobile networks > Data connection > Roaming |
| Oppo, Realme, OnePlus | Settings > Additional settings > Mobile network > Add eSIM | Mobile network > Data roaming |
| Motorola | Settings > Connected devices > Connection preferences > SIM manager | SIM manager > Mobile networks |
| Generic Android | Settings > Network & internet > SIMs (or Mobile network) | Mobile network > Data roaming |
If the Add eSIM option is missing on a phone that should support it, check that the device is network-unlocked and not managed by a work profile, since both can hide carrier settings.
4. Scan the QR Code or Enter the Code Manually
Tap Scan QR code and point the camera at the code on your screen or on the printed insert. Hold the phone 4 to 6 inches away, set screen brightness to full, and keep the code flat and glare-free. Scanning a screenshot taken at low quality is a common cause of failures.
No camera available? Choose Enter code manually instead, then type the SM-DP+ address and activation code exactly as your carrier supplied them, including any plus signs. That path works identically on every brand.
5. Confirm the eSIM Plan and Finish Setup
Android downloads the profile, usually in under a minute. When it finishes, you will see the carrier name and plan appear in the SIM list with a toggle next to it.
Give it a useful label right now, such as "Work line" or the destination name if it is a travel plan. Generic labels are the reason people enable the wrong profile six months later. If the phone prompts for a restart, accept it.
6. Transfer an Existing eSIM Profile
Moving a profile you already own works differently from installing a new one. Your carrier either sends a device-to-device transfer QR code or walks you through it in their app or on a support call.
Keep the old phone switched on and connected to Wi-Fi or mobile data for the whole transfer. Most transfers finish in a few minutes; if it stalls, restart the old phone first, then try again. Once the profile lands on the new device, the old phone’s copy deactivates on its own.
Note that installing an eSIM is not the same as transferring one. A factory reset usually removes eSIM profiles along with everything else, so check your profile list after a reset or a new phone setup.
7. Set the eSIM as Your Default Connection
This is where most people get stuck, and it is why a correctly installed eSIM seems broken. Enabling a profile and selecting it as the data line are two separate switches. Tap the eSIM’s toggle on, then set Mobile data to that profile.
While you are in there, set SMS and Calls to whichever line you want to keep for two-factor codes and messages, and turn Data roaming on for the eSIM if you will use it abroad. You can keep your physical SIM active at the same time for calls and SMS.
8. Test the Connection and Remove the Old SIM Safely
Turn Wi-Fi off, open a web page, and send yourself a test text. If pages load and messages go out, the eSIM is working. Make one call too if it handles calls, since that confirms voice registration as well as data.
Only once everything passes should you disable or pull the old physical SIM. Leaving it in costs you nothing, and keeping it gives you a fallback while you live with the new setup for a few days.
Common Mistakes
Almost every eSIM problem on Android lands in one of these buckets. Work down the row that matches what you see rather than changing settings at random, because several quick tweaks in a row tend to break a setup that was nearly working.
| Symptom | Most likely cause | First thing to try |
|---|---|---|
| QR code will not scan | Glare, low brightness, a screenshot, or too little distance | Full brightness, 4 to 6 inches away, scan the printed code on stable Wi-Fi with VPN off |
| Invalid or expired QR code | Single-use code already scanned, or the window passed | Ask the carrier to reissue a new code; do not keep rescanning |
| "eSIM is already in use" | Another phone holds the profile, often a traded-in device | Contact the carrier to release the old device before reissuing |
| Too many attempts with this QR code | The download failed repeatedly and the provider locked the code | Stop trying and have the carrier reset or reissue it |
| Installed but No Service or SOS | Profile installed on a network the carrier does not cover | Toggle the profile off and on, restart, then try manual network selection |
| Signal bars but no internet | eSIM is enabled but not set as the mobile data line | Open SIM settings and select the eSIM for mobile data |
| No internet during setup itself | VPN, secure DNS, or a beta firmware build blocking the download | Disable VPN and DNS filtering, move off beta software, retry on Wi-Fi |
| Transfer stalled mid-way | Old phone offline or out of battery | Keep the old phone powered on and online, then restart it once |
| No Add eSIM option anywhere | Region variant or carrier-locked model | Confirm the EID via *#06# and check unlock status with the carrier |
A few habits keep future setups painless. Restart the phone after any profile change; users on OnePlus and Pixel forums repeatedly report that a simple toggle plus restart is what finally clears a stubborn error. Keep your Wi-Fi on and your VPN off until the download completes. And when something refuses to work, escalate to your carrier with your model, Android version, and the exact error text rather than deleting the profile.
Frequently Asked Questions
How do I add an eSIM to my Android phone?
Open Settings, go to your SIM or mobile network menu (Connections SIM manager on Samsung, Network and internet SIMs on Pixel, SIM cards and mobile networks on Xiaomi), tap Add eSIM, and scan the QR code from your carrier. Wait for the profile to download, turn the profile on, then select it as the line used for mobile data.
How do I manually activate an eSIM?
Choose Enter code manually instead of scanning, then type the SM-DP+ address and the activation code your carrier gave you. Android downloads the profile from that server and installs it the same way a scanned code would. The address is often a long https link and the code is a string of digits and letters, so double-check both before confirming.
Why is my eSIM failing to activate or showing as already in use?
Already-in-use means another device still holds that profile, which happens with traded-in phones and old transfers. Contact your carrier, give them the EID and IMEI from *#06#, and ask them to release the old device. Activation failures on a fresh code are usually network, VPN, or beta firmware related rather than the code itself.
Why does my eSIM show signal but no internet?
Because the profile is enabled but not selected as the data line, which is the most common eSIM complaint. Go to SIM settings, set Mobile data to the eSIM, confirm the profile toggle is on, and toggle airplane mode to force a re-register. Only touch APN settings after everything else checks out, since manual APN edits break working setups often.
Which Xiaomi, Redmi and POCO phones support eSIM?
Support depends on the exact model and the region it was sold in, and the same handset can differ between markets. The reliable check is to dial *#06#: if an EID appears alongside the IMEI, the hardware supports eSIM. If only the IMEI shows, your variant does not, no matter what your carrier’s compatibility list says.
Does a factory reset delete an eSIM, and can I move it to a new phone?
A factory reset usually wipes installed eSIM profiles along with your other data, so check your SIM list after resetting or setting up a new phone. To keep a profile, ask your carrier for a device-to-device transfer with both phones switched on and online. Never delete a profile you cannot re-obtain without a new code from the carrier.
Start by confirming your phone supports eSIM with a quick *#06# check, then get the official activation details from your carrier before you open Settings. Everything after that is the eight steps above, and the one switch people forget is selecting the new profile as the mobile data line.