Most projectors are designed for a dark room, which is why so many look grey and lifeless at 3pm. Learning how to choose a projector for a bright living room comes down to three levers working together: enough measured brightness, a screen that rejects ambient light, and physical control of the light in the room. No brand is pushed below, so the numbers are worth taking at face value.
A bright room projector needs somewhere between 2,500 and 3,000 ANSI lumens to look convincingly good with the lights on. Push past 3,500 if daylight lands on the screen, and pair the whole thing with an ambient light rejecting screen.
Table of Contents
- How much projector brightness do you need?
- What type of projector works best in a bright living room?
- How do room size and projector placement affect your choice?
- Which screen should you use with a bright-room projector?
- What picture and smart features are worth paying for?
- How to test a projector before buying
- What to check before you choose a projector for a bright living room
- How to choose a projector for a bright living room on a budget
- Frequently Asked Questions
- Can a projector work well in a room with daylight?
- Is 3,000 lumens enough for a bright living room?
- Is an ALR screen necessary for a bright room?
- What throw ratio do I need for a living-room projector?
- Do I need 4K resolution for a bright living room?
- What is the 4 6 8 rule for projectors?
How much projector brightness do you need?
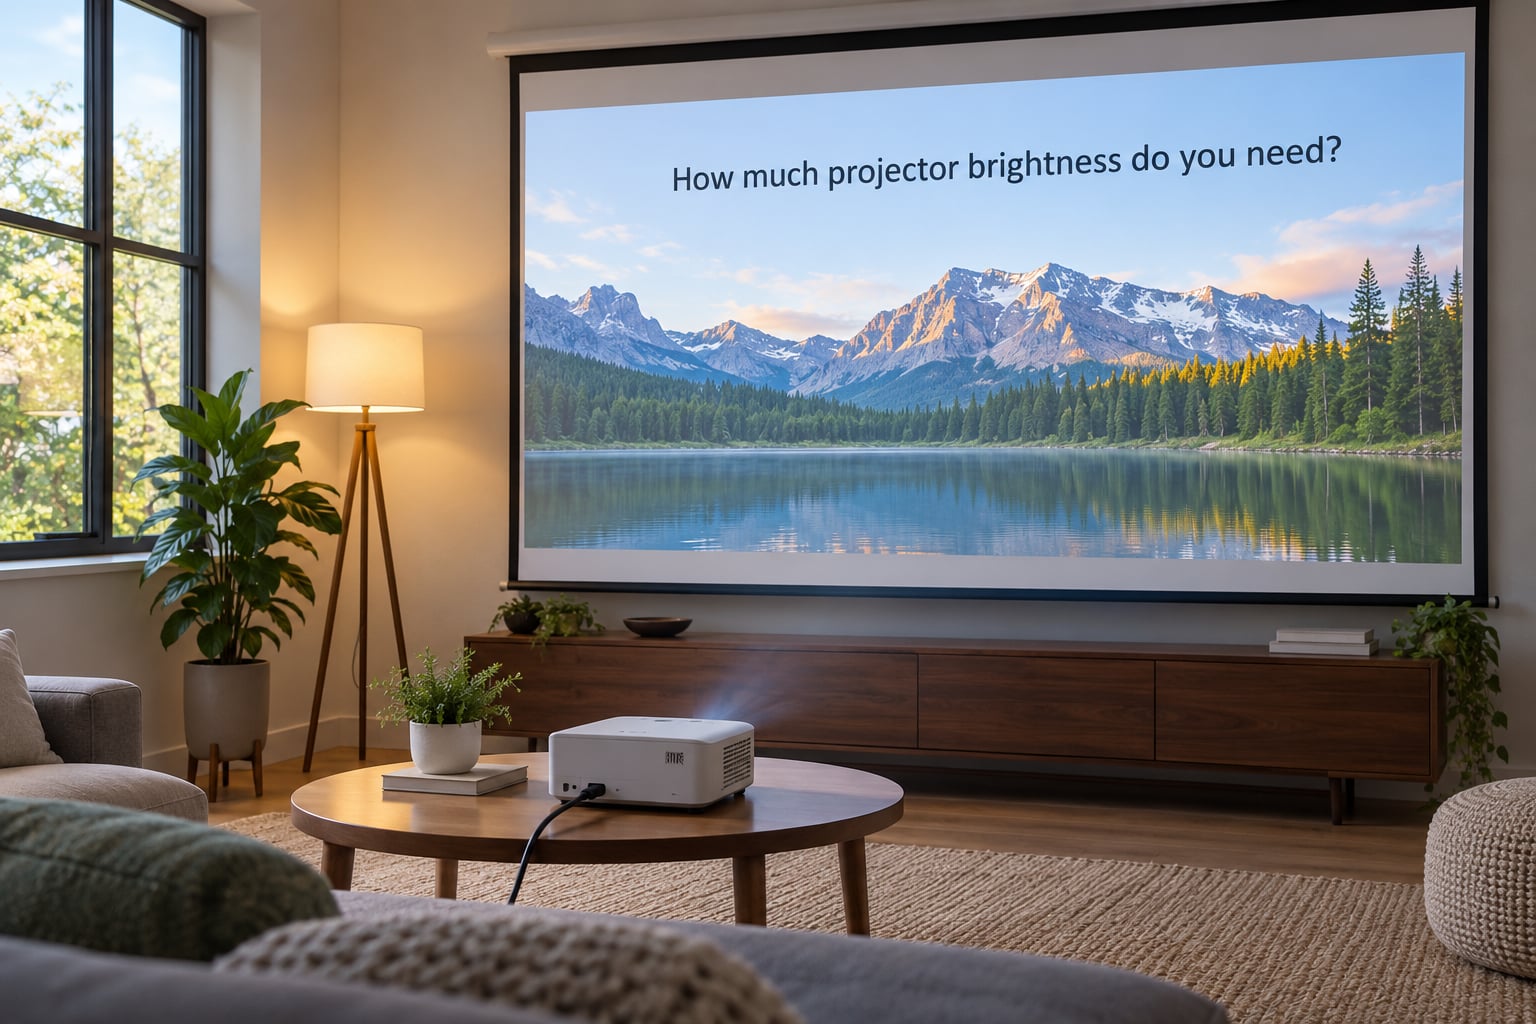
For a room you actually live in, 2,500 to 3,000 ANSI lumens is the realistic starting point. Go higher, to 3,500 or more, only when direct daylight hits the screen for part of the day. The number on the box is not what matters unless it was measured to a standard, and most budget projectors do not measure to one at all.
ANSI lumens is a measurement of how much light leaves the lens, taken across multiple points on the screen so that a hotspot in the middle cannot flatter the result. ISO lumens uses a stricter procedure with fewer sample points, which is why an ISO figure tends to read lower than an ANSI figure for the same projector. Neither is wrong; they are just different rulers, and the two are not directly convertible.
Raw “LED lumens” or “light source lumens” are marketing numbers measured before light passes through the lens and optics, so they run roughly two to three times higher than the ANSI figure on the same unit. Ignore them when comparing brands.
| Room condition | ANSI lumens target | Screen that suits it |
|---|---|---|
| Dedicated media room, blinds shut | 1,200 to 1,600 | Matte white, gain 1.0 to 1.1 |
| Living room, lamps on at night | 1,800 to 2,200 | Matte white or light grey |
| Living room, lights on, daytime | 2,500 to 3,000 | ALR or high-gain, gain 1.3 to 1.6 |
| Floor-to-ceiling windows or glass roof | 3,500 and above | High-gain ALR plus curtains |
Screen size matters as much as the lumen figure, because a bigger image spreads the same light over more surface. Doubling the diagonal halves the light per square inch. People with glass walls or big windows usually land in the top row of that table, and pairing that image with an ALR screen matters more than which model they pick.
One practical step that is easy to skip: measure your room. Use a phone lux meter app at screen height, in the afternoon, lights as they normally sit. Below 50 lux is a dark room, 50 to 200 is a normal lit living room, and 200 to 500 is a genuinely bright one. That number tells you which row of the table you actually belong in.
What type of projector works best in a bright living room?
A high-brightness DLP or laser projector beats a cheap lamp LCD in a lit room. DLP holds black levels and contrast better against ambient light, and a laser light source keeps full brightness for far longer than a bulb. A more expensive technology does not automatically help, though; the gap between projectors is mostly brightness and contrast, not marketing tier.
DLP projectors use a tiny silicon chip and, on single-chip models, a colour wheel that spins fast enough to look solid. The risk in a bright room is the rainbow effect, faint coloured fringes visible on high-contrast edges around text or subtitles. Triple-laser models drop the colour wheel entirely, so the fringes disappear and colour gets wider, but they cost considerably more.
LCD projectors, and the LCoS models above them, put out more light per watt and tend to be cheaper for a given brightness. What they lose is black level. In a room where stray light already lifts the black point, LCD’s grey-black is much more visible than on a DLP, and that grey-black is what makes an image look washed out.
| Light source | Brightness behaviour | Maintenance | Best for bright rooms? |
|---|---|---|---|
| Lamp (bulb) | Bright when new, fades with hours | Replacement bulb every few thousand hours | Only if you plan for replacements |
| LED | Steady, no warm-up drop-off | None, very long life | Good value choice |
| Laser phosphor | Steady, keeps peak output for years | None in normal use | Strong choice |
| Triple laser | Steady, very wide colour | None | Best picture, highest cost |
Contrast is the number that most affects how the picture survives daylight, and manufacturers often bury it. Native contrast measured under a proper ANSI setup is the figure to trust, not the “dynamic” or “FOFO” marketing ratios that inflate a spec sheet into fiction.
Colour helps too, in a way that surprises people. Saturated colour reads as brighter than the same luminance in neutral tones, an effect psychologists named after Helmholtz and Kohlrausch. A wide-gamut projector in DCI-P3 or Rec.2020 will punch through ambient light better than a dimmer projector with a narrow palette, so treat colour gamut as a brightness feature.
How do room size and projector placement affect your choice?
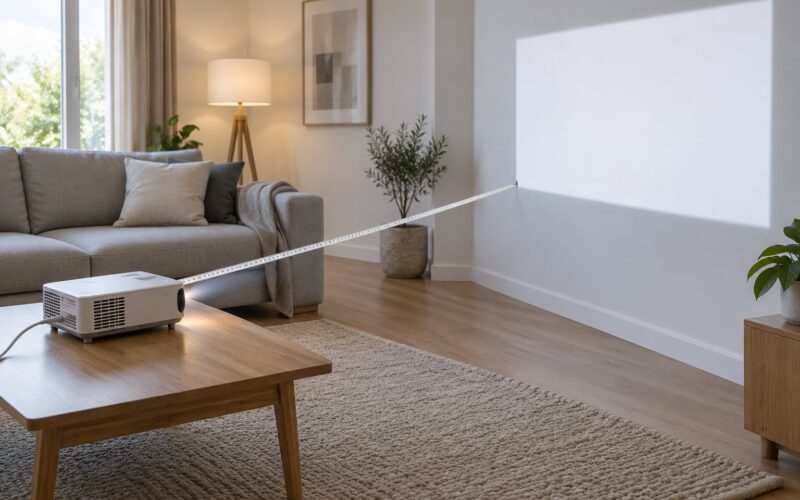
What decides your projector is the distance from the lens to the wall. Measure that distance first, then pick a model whose throw ratio produces the image size you want at that distance. Most home projectors sit at a ratio of about 1.8 to 2.2, so a 120 inch 16:9 image needs roughly 11 to 12 feet of throw.
A 16:9 image is 1.78 times as wide as it is tall, so for a 120 inch diagonal the width works out near 105 inches, or 8.7 feet. With a 2.0 throw ratio you need about 17.5 feet between lens and wall, which is further back than most living rooms allow. This is the single most common reason people settle for a smaller image than they wanted.
Your options when the room is short on depth:
- Short-throw models, around a 1.3 ratio, fill a large image from roughly 8 feet back.
- Ultra short throw (UST) projectors sit inches from the wall on a media unit, at the cost of a large footprint and a more expensive lens.
- Lens shift moves the image up or down without tilting the projector, which keeps the picture square and the ceiling fan out of the light path.
- Keystone correction also fixes geometry, but it throws away pixels and therefore sharpness. Use shift first, keystone only as a last resort.
Ceiling mounting in a living room looks tidier but doubles the effort, since everything becomes a ladder job and the cable run has to be planned. A shelf or a slim floor stand that clears head height is usually the smarter call in a room with furniture you actually use.
Which screen should you use with a bright-room projector?
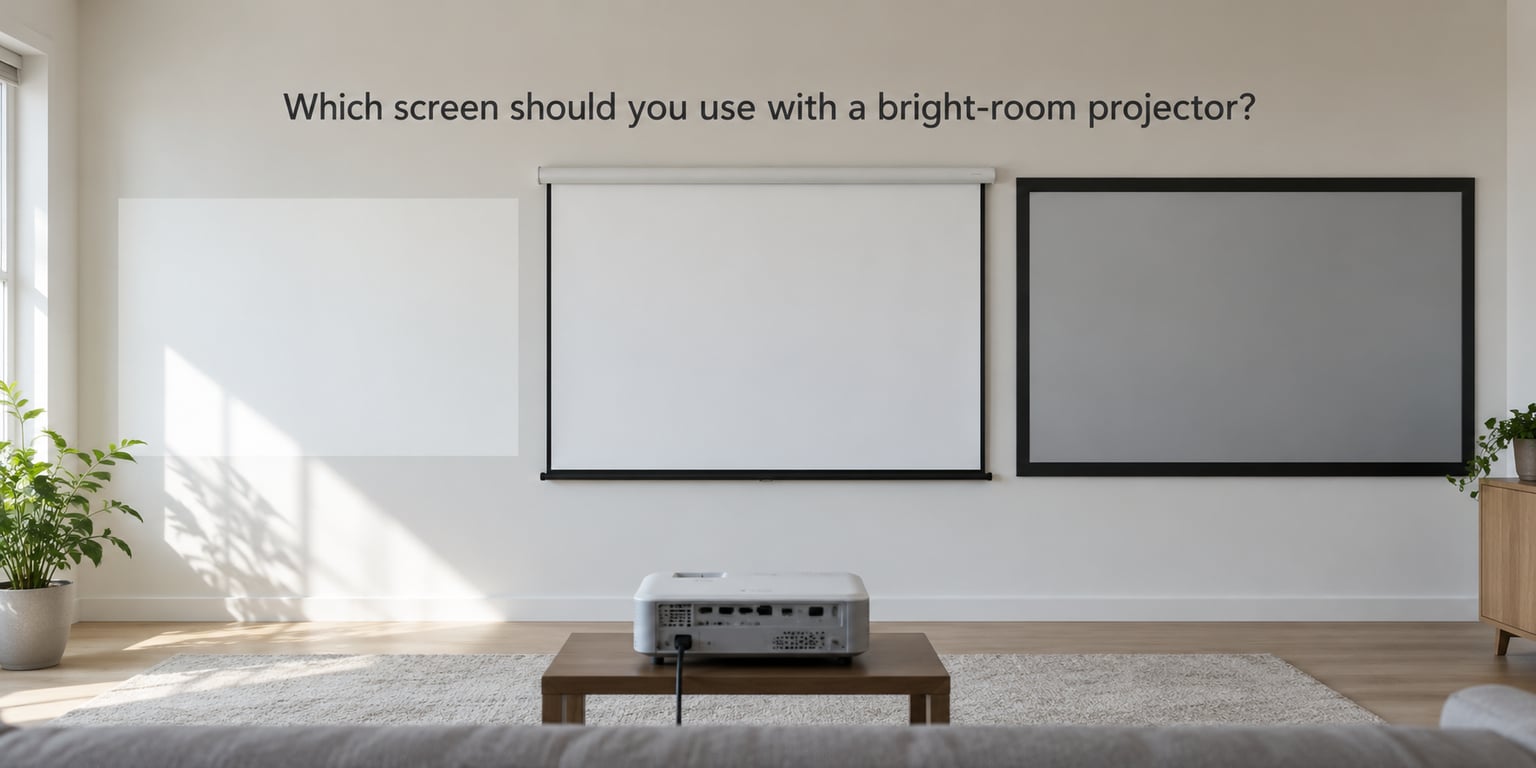
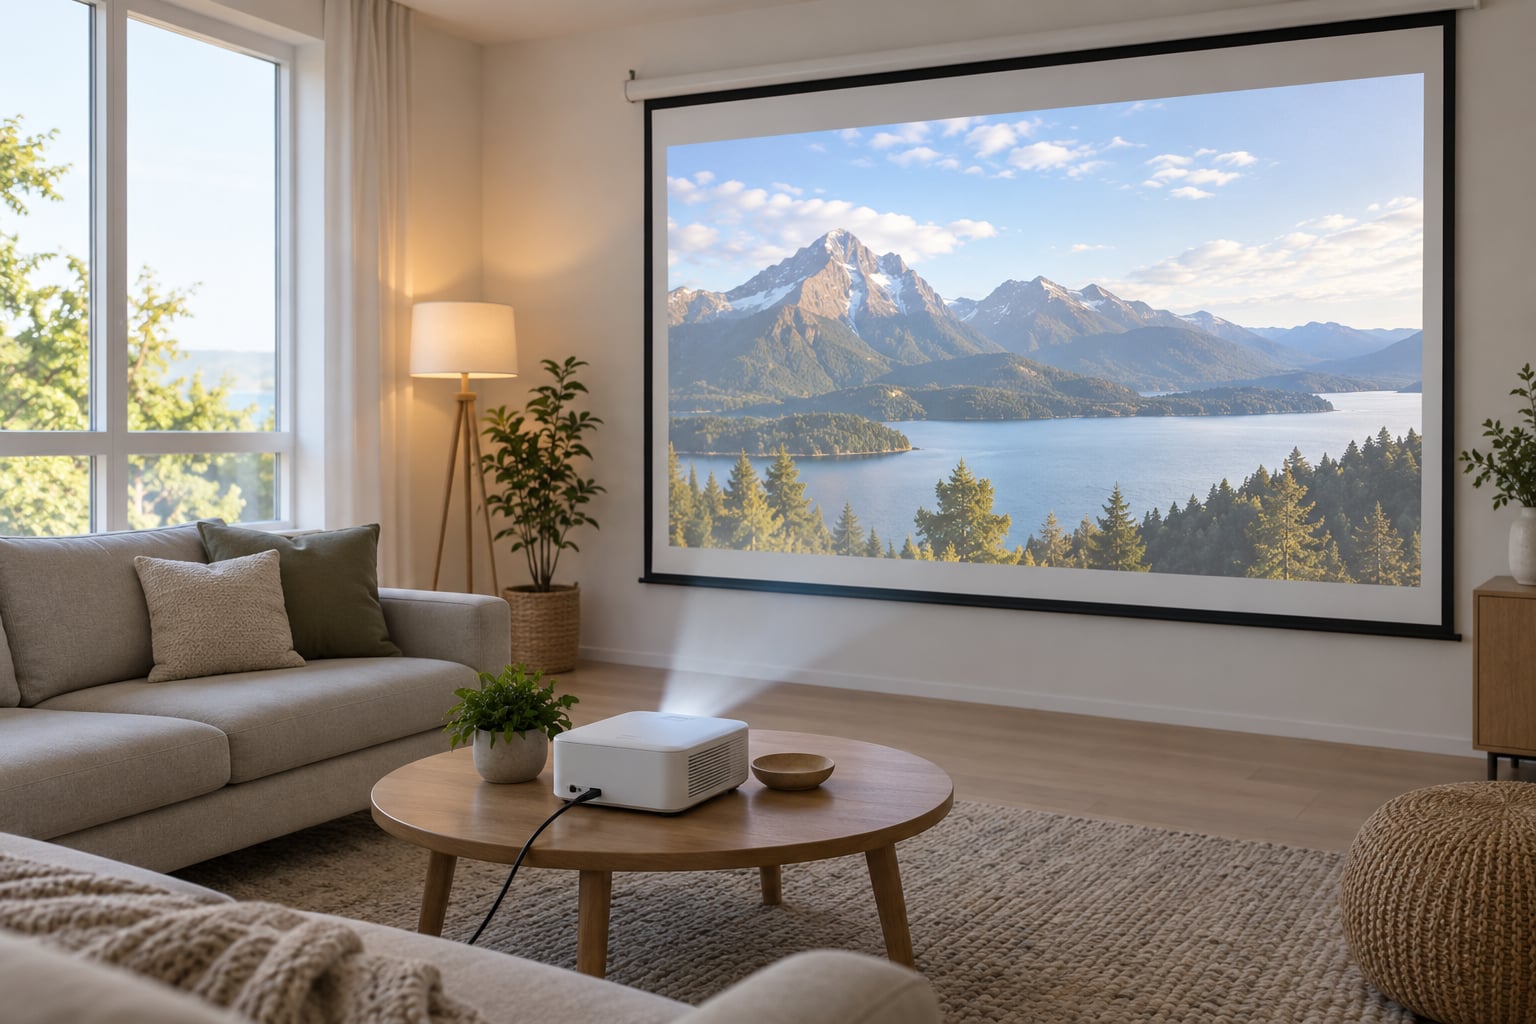
In a bright living room, use a high-gain ALR screen if you can, because it rejects light arriving from the side while still throwing a bright image at your seat. On a white wall or a standard matte screen, even an excellent bright room projector looks grey once the lights are on.
A white wall is a matte-white surface with a gain of roughly 1.0. It costs nothing and it is genuinely fine for renters and trial periods, but every bump and paint roller mark shows, and it cannot help you fight ambient light at all.
A matte white screen is the middle option: gain 1.0 to 1.1, a viewing cone wide enough for anyone in the room, and an image that survives moderate light. It is the safest choice when people watch from different seats.
An ALR or high-gain screen uses a grey, microstructured surface with gain between 1.3 and 2.0. It sends more of the projector’s light toward your seat and bounces window light away, which is exactly what a lit room needs. The trade-offs are real: narrower viewing cone, so people sitting far to the side see a dimmer picture; a surface that shows dust and fingerprints; and microstructured surfaces that can be permanently scratched by careless cleaning.
One compatibility trap almost no guide mentions, and it catches people out constantly: ALR material has to match the throw type. Standard sawtooth and Fresnel materials are designed for long and short throw lenses, and they can look very poor with an ultra short throw projector, which needs its own lenticular material. Check before you buy both parts.
For renters, start with a good white screen on a tensioned frame rather than drilling for a fixed frame. For homeowners replacing a wall-mounted television, a fixed frame keeps the screen taut and doubles as acoustic treatment worth a surprising amount.
What picture and smart features are worth paying for?
Spend on contrast and colour gamut, then on brightness, and treat almost everything else as a convenience. Resolution, refresh rate and the long feature list on the box matter far less to a normal living-room setup than contrast does.
Contrast ratio, measured properly rather than by the dynamic marketing figure, decides whether you see black or dark grey during the day. Colour gamut in the DCI-P3 range keeps skin tones and daylight scenes believable instead of grey.
Resolution is about matching sharpness to screen size. On a 100 inch screen viewed from ten feet away, a native 1080p projector already resolves detail the eye can pick up. Paying several times more for 4K only pays off on a very large screen viewed close up, and a dimmer 4K model in a bright room is the wrong trade. Pixel-shifted 4K from a 0.47 inch DLP chip is a legitimate step up, but read the specification as what it is.
HDR support is worth having in a lit room, though less than it is in a dark one. HDR10 with dynamic tone mapping keeps bright content from clipping, and Dolby Vision on a laser or triple-laser model is a genuine bonus rather than a checkbox.
The rest of the list, roughly in order of usefulness: built-in Google TV or Android TV so you are not hunting for a streaming dongle; at least two HDMI ports plus eARC so a soundbar can carry the audio; autofocus and automatic keystone if the projector gets bumped; low fan noise, since a bright projector runs its fan harder; and automatic ambient light adjustment, which is genuinely useful in a room that changes through the day.
Gaming features like HDMI 2.1 and auto low-latency mode matter only if you play on the big screen. Input lag under about 17 milliseconds keeps a controller feeling connected, and that threshold is the number to read.
How to test a projector before buying
What to check before you choose a projector for a bright living room
Test it in your own light, at your own screen size, for at least a few minutes. A showroom with dark walls and dimmed lighting will flatter anything, so rely on the return window instead of the shop floor.
When a retailer only offers a promotional brightness claim, look for the standard it was measured to. If the spec sheet says raw lumens, light source lumens or gives no standard at all, assume the ANSI figure is a third of what is printed and treat it as unverified.
On the first night at home, run this short list:
- Turn the room lights to how they actually sit at that hour of the day and judge the image in that state, not at night.
- Check focus at the edges of the image by putting text on screen; softness at the corners shows up before it shows in the centre.
- Watch for brightness falloff toward the edges, which reveals an uneven lamp or a weak colour wheel.
- Listen to the fan at normal and bright settings, since daytime viewing runs it constantly.
- Check black level by looking at letterbox bars and the room behind the screen for grey glow.
- Confirm every port you will actually use, including the audio return path for your soundbar.
- Sit in your normal seat, not the best seat, and check the image holds up from an angle.
- Walk past the screen with a lamp or phone torch on and look for hotspots or panel seams.
How to choose a projector for a bright living room on a budget
Spend your money in one order: brightness first, then throw distance, then the screen, then colour and contrast, and only then the extras. A cheaper projector with the right throw ratio and a decent ALR screen will beat an expensive one aimed at the wrong wall.
Entry tier, roughly the bottom third of the market: expect 2,000 to 2,500 ANSI lumens from an LED or lamp DLP model, 1080p, and no laser. This is enough for an evening in a curtained room and disappointing at noon without curtains.
Mid tier is where bright rooms get practical. Laser phosphor or triple-laser models here reach 2,800 to 3,500 lumens, keep contrast in colour better, and remove the bulb replacement from your life entirely. If you are buying once, this is the tier to buy.
High tier adds wider colour, brighter optics and better lens shift. Worth it for a large screen in a genuinely bright room, and largely wasted on a 65 inch image on a white wall.
Where shoppers waste money: paying for 4K in a dim model, buying a high-gain screen smaller than the room allows, and overspending on a colour wheel trick that nobody notices at a normal seat. The cheapest fix is usually the room itself: darkening it beats a tier upgrade more often than the spec sheets admit. Curtains plus a ceiling painted a flat matte white can look like a whole new projector.
One cost-of-ownership note. A lamp model bought for brightness eventually needs a bulb, and that is part of its real price. Laser and LED sources remove the recurring cost entirely, which is worth more over five years of daily use than most people expect.
Frequently Asked Questions
Can a projector work well in a room with daylight?
Yes, but it needs measured brightness, a suitable screen and careful placement. A high-brightness DLP or laser projector stays watchable with the lights on, and curtains help more than most buyers expect. What daylight destroys is not brightness alone but contrast: stray light lifts the black level, so image quality depends on how well the projector, the screen material and the room lighting are matched.
Is 3,000 lumens enough for a bright living room?
For most living rooms with lamps on, yes. Around 3,000 ANSI lumens handles a 100 inch image in a normally lit room. That need rises with image size and with direct sun on the screen, where 3,500 or more plus an ALR screen is a better target. Check that the figure is ANSI or ISO measured, since raw LED lumens can run two to three times higher than the real output.
Is an ALR screen necessary for a bright room?
Not necessary, but it is the single biggest upgrade you can make. ALR material rejects light coming from the side while directing more projector light toward your seat, so it recovers contrast that no amount of extra lumens will. The trade-offs are a narrower viewing cone, more visible dust and fingerprints, a surface that scratches easily, and the need to match the material to your throw type.
What throw ratio do I need for a living-room projector?
Measure the distance from where the projector will sit to the screen wall, then work backwards. A 120 inch 16:9 image is about 8.7 feet wide, so a typical ratio of 2.0 needs roughly 17 feet of throw. If your room is shorter, look for a short-throw model around a 1.3 ratio, or an ultra short throw unit that sits inches from the wall.
Do I need 4K resolution for a bright living room?
Resolution does not fix a washed-out image, and in a lit room brightness and contrast come first. On a 100 inch screen viewed from about ten feet, native 1080p already resolves detail the eye can follow. A 4K model only earns its cost on a very large screen viewed close up, and if that 4K model is dimmer than a 1080p alternative, the dimmer-looking option is the better buy.
What is the 4 6 8 rule for projectors?
It is a screen size heuristic, not a brightness rule: a 4 foot viewing distance suits roughly an 80 inch image, 6 feet suits 100 inches, and 8 feet suits about 120 inches. It assumes a standard throw projector and a 16:9 image. In a bright living room, treat it as a starting point, then reduce the size a little if ambient light is high, since a bigger image divides the same light thinner.
Start with the room, not the projector. Measure your throw distance and your afternoon lux level, then pick a model with at least 2,500 ANSI lumens and a throw ratio that fits. Everything else on the spec sheet is detail by comparison.