To transfer a phone number to a new carrier, you give the new carrier four things from your old account: your account number, your port-out PIN (also called a number transfer PIN or transfer code), your account holder’s exact name, and your billing address. The new carrier handles the rest, and a wireless number usually moves within minutes.
There is one rule that breaks more ports than anything else. Do not cancel your old line before the transfer finishes, because the moment the service is closed the number becomes available for anyone else to claim.
This guide covers Android users switching carriers in the US, and the same steps work for iPhones because the port itself happens on the carrier side, not on the phone.
Table of Contents
- What You Need
- How to Get Your Port-Out PIN, by Carrier
- Step-by-Step: Transfer Your Number Without Losing Service
- 1. Check That Your Current Number Can Be Transferred
- 2. Gather Your Old Carrier Account Information
- 3. Ask the Old Carrier for the Transfer Code
- 4. Choose the New Carrier and Confirm the Number Is Available
- 5. Start the Port With the New Carrier
- 6. Keep the Old Service Active Until the Port Completes
- 7. Confirm the New Service Is Working
- Common Mistakes
- Porting is not the same as unlocking your phone
- What actually breaks during a port
- Porting when you are not the account holder
- Frequently Asked Questions
- How long does it take to transfer a phone number to a new carrier?
- Do I have to cancel my old phone service before porting?
- What do I need to transfer my number from one carrier to another?
- Can I port my number by myself?
- Why is my number transfer being rejected?
- Will my photos and contacts move when I port my number?
- What to Do First
What You Need
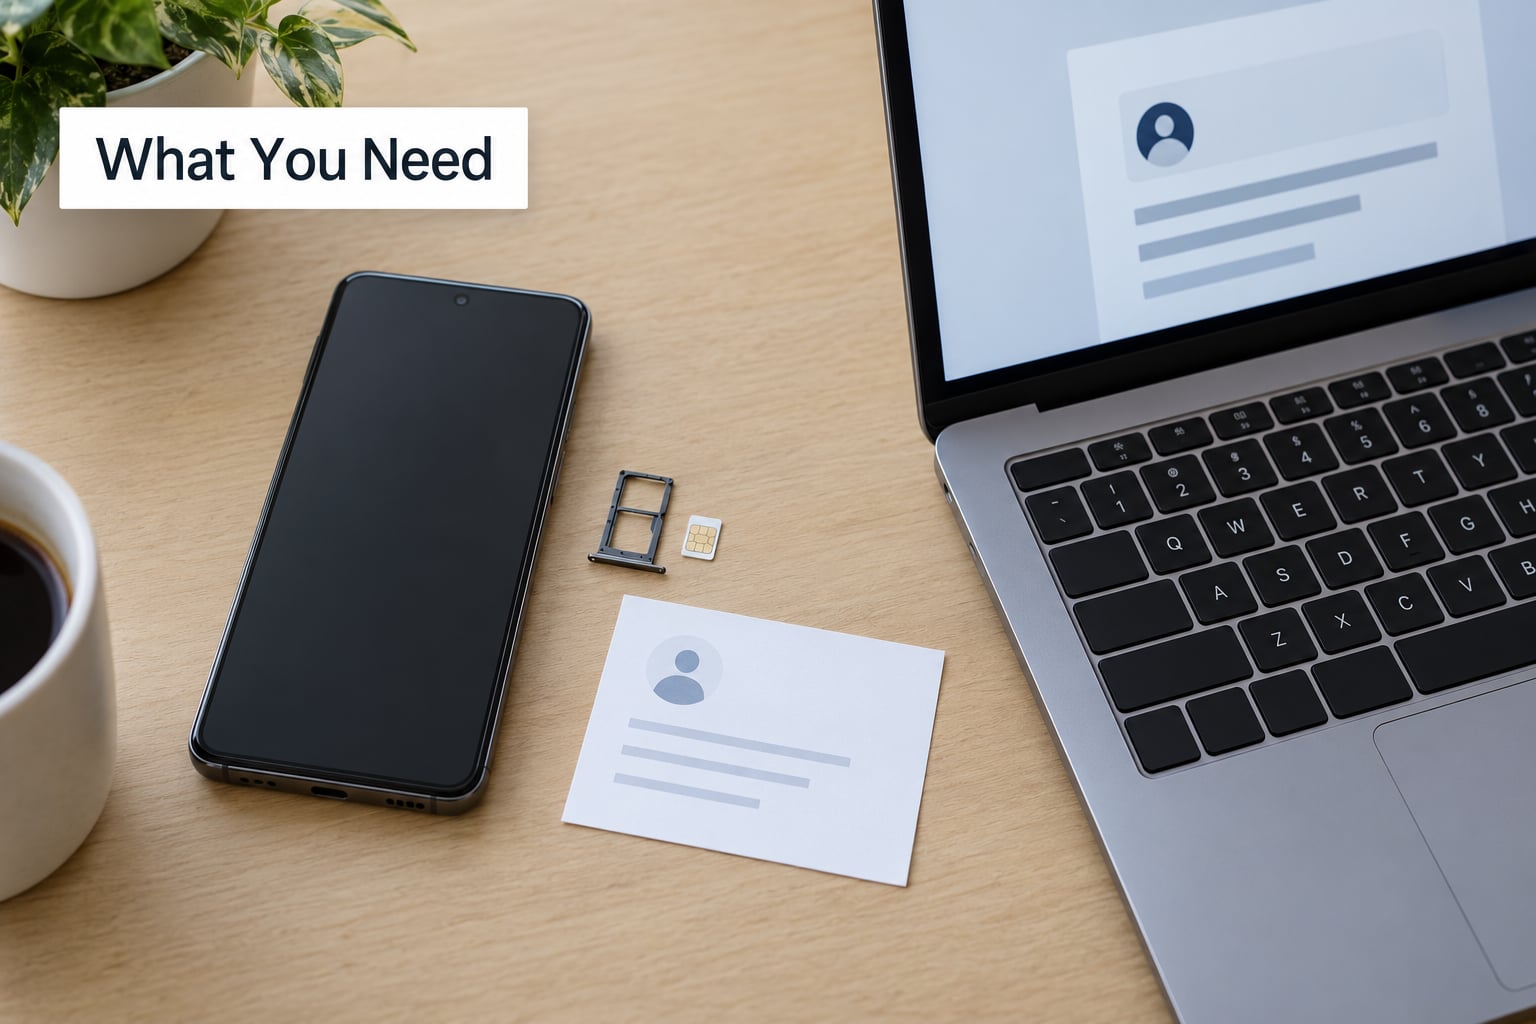
Gather everything before you start shopping, because transfer PINs expire and reissuing one can take a day or two.
- Your old carrier account number. This is the customer ID on your bill, and it is usually not your phone number.
- Your port-out PIN. A short numeric code the old carrier issues to authorize a transfer. Some carriers use the term number transfer PIN instead.
- The account holder’s exact name. First and last exactly as the old carrier has it, including middle initials if shown.
- Your billing address and ZIP code. Copied word for word from the old carrier’s account page or a recent bill.
- The exact number you are moving. Including any country code if you are porting from outside the US.
- An unlocked phone. If the device is financed or leased, pay it off or confirm the carrier will remove the lock after the port.
- Your new carrier’s plan, SIM or eSIM, and payment details.
- A stable internet connection. Most activation flows happen in the new carrier’s app or website.
Worth noting: the account number, not the phone number, is what the new carrier matches first. People enter their mobile number there and the port stalls with a rejection message.
How to Get Your Port-Out PIN, by Carrier
Every US carrier has to provide this code on request, and most do it in under a minute. Paths change with app versions, so use this as a starting point rather than a contract.
| Carrier | Fastest way to get the PIN | Where else it lives |
|---|---|---|
| Verizon | Text PORT to 66327 | My Verizon account, or automated service line |
| AT&T | Account page, Transfer your number section | myAT&T app or call support |
| T-Mobile | My TMobile app or account portal | Automated account line |
| Google Fi | Fi app, account details page | Google account settings |
| Mint Mobile | Account dashboard under account info | Support chat |
| Visible | Visible app or account settings | Help chat |
| US Mobile | Account portal, port-out info section | Support |
| Cricket Wireless | Account overview page | Call center |
| Boost Mobile | My Boost account settings | Retail store or support |
| Metro by T-Mobile | My Metro app or account page | Support |
| Google Voice | Desktop or mobile app, Settings, Porting information | There is no traditional account number; see below |
Google Voice is the odd one out. There is no account number in the usual sense, and the new carrier has to be told the number is a landline or VoIP number during activation, which routes it differently and takes several business days instead of minutes.
On PIN timing: these codes usually stay valid for about three to five days. Ask for it one or two days before you plan to activate, not the week before. If you request it too early and it expires, the new carrier’s app will call it invalid even though it was correct when issued.
Step-by-Step: Transfer Your Number Without Losing Service
1. Check That Your Current Number Can Be Transferred
Contact your old carrier or check the account and confirm the line is active, in good standing, and eligible for porting. Unpaid balances, an active installment agreement, or a pending port request can all block a release.
If you recently added the line, some carriers apply an early-cancellation window. If the line came from another carrier fairly recently, the new carrier may have already completed a port-in on it.
2. Gather Your Old Carrier Account Information
Pull the account number, port-out PIN, account holder name, billing ZIP code, and the number being transferred from one place, ideally a printed bill or the account overview page. If you are authenticated through an app or online portal rather than a PIN, note that, because some carriers ask for the temporary passcode instead of the number.
Match the billing details character for character. Abbreviations are a favorite reason for a rejected port, and users moving between prepaid carriers report exact-match billing requirements as the single most common blocker.
3. Ask the Old Carrier for the Transfer Code
Call, use the app, or use the short code listed in the table above. The account number is your identity, and the port-out PIN is the authorization. They are different things and carriers treat them differently.
Treat that PIN like a password. Give it only to the carrier you are actually switching to, and never post it in a forum thread or share it with someone offering to complete the port for you.
4. Choose the New Carrier and Confirm the Number Is Available
Pick the plan, then run the number through the new carrier’s activation flow to confirm it can be ported. Do this early, because if the number is tied to an account somewhere else, you will want to know before you hand over any details.
Decide on a physical SIM or an eSIM while you are there. Most Android phones from the last several years support eSIM, and choosing one up front means the activation moves entirely through software instead of waiting for a card in the mail.
5. Start the Port With the New Carrier
Enter, in this order: the old carrier, the account number, the port-out PIN, the account holder name, the billing address and ZIP, the number being transferred, and the date you want the cutover. Labels shift between carriers and app versions, but the fields are always the same.
Pick a date that is a few days out rather than the same minute. That gives the request time to validate without leaving you without service, and it avoids a gap if your old billing cycle ends mid-switch.
6. Keep the Old Service Active Until the Port Completes
Do not cancel the old line, pull the SIM, factory reset the phone, or accept a brand new number from the new carrier. Any of those steps before confirmation can leave you with neither your old service nor your number.
Wireless ports often finish in about 10 to 15 minutes. Landline, VoIP, and Google Voice ports run on manual routing and commonly take two to seven business days. Once the port completes, the old carrier’s line closes automatically, so there is nothing left to cancel yourself.
7. Confirm the New Service Is Working
Place a call, send a text, and load a page over mobile data to confirm service, then check voicemail and send yourself a code from an authenticator or bank app to verify two-factor authentication still routes to the number. Update emergency contacts on the new phone at the same time.
If calls still fail but texts work, the phone may still be pointing at the old SIM profile. A quick toggle of airplane mode, or a network reset, usually settles it. If the old number shows up on the new line for a while after activation, that is normal and clears within a day or two.
Common Mistakes
Nearly every stuck port comes down to one of a handful of causes. Here is what goes wrong and what to do about it.
| Symptom | Likely cause | Fix |
|---|---|---|
| PIN rejected as invalid | Stale or expired transfer code | Request a fresh PIN and enter it the same day |
| Port rejected, details correct | Name or ZIP typed differently from the old carrier’s record | Copy the exact billing name and address from a bill |
| Port stuck processing for days | Old carrier has not validated the request | Call the old carrier to confirm the release, then the new carrier to re-check the request |
| Phone works, network errors | Device still network locked because it is financed | Pay off the device or ask the old carrier to apply the post-port unlock |
| No service at all | Old service canceled before the port finished | Call the old carrier immediately to restore the line and restart the port |
| Port refused entirely | Number unsupported, business line, or protected by a port freeze | Confirm eligibility with the old carrier before trying again |
Porting is not the same as unlocking your phone
Porting moves the number. A device unlock removes the carrier lock from the hardware so it can run on another network. They are separate requests, and finishing one does nothing for the other.
If you are still paying off the phone, most carriers will apply the network unlock once the balance is cleared or after a set number of days following the port. If you want the device free and clear before you switch, ask the old carrier for the unlock terms in writing first.
What actually breaks during a port
The number moves. Nothing else does. Photos, contacts, apps, and your text message history live on the old phone’s storage or in each app’s own account, and they transfer through a separate device-to-device step, not through the port.
Two-factor codes do follow the number, which is the good news and also the risk. If you port a number out and back in quickly, or hand it to a carrier that mishandles it, services tied to your number can get locked out. Save recovery codes for email, banking, and password managers before you start, and keep your old line working until the new one is verified.
Messaging apps are their own category. WhatsApp and Signal tie an account to a phone number, so after a port you re-register with the same number and your history stays where it is. Some accounts on a number you no longer hold may need verification again.
Porting when you are not the account holder
On family and business plans, the account owner has to authorize the transfer. If a spouse or parent holds the account, they can usually generate the PIN from their own login or by calling support. Without that, the new carrier cannot start the port, and there is no workaround.
Porting several lines from one account has an order of operations. Do the account manager’s own line last, because removing it first often leaves the remaining lines without an account to port from.
Frequently Asked Questions
How long does it take to transfer a phone number to a new carrier?
A wireless number usually moves in about 10 to 15 minutes, though some carriers take a few hours. Landline, VoIP, and Google Voice numbers follow manual routing and can take two to seven business days. Ask for your port-out PIN one or two days before activation, since these codes expire after roughly three to five days and a stale PIN gets rejected.
Do I have to cancel my old phone service before porting?
No, and you should not. Canceling early releases the number, and released numbers can be recycled or claimed by someone else. Keep the line active until the new carrier confirms the port is complete. At that point the old carrier closes the line automatically, so there is nothing left for you to cancel.
What do I need to transfer my number from one carrier to another?
Four items: your old carrier account number, your port-out PIN, the account holder’s exact name as the old carrier has it, and your billing address with ZIP code. You also need the exact number being transferred and an unlocked phone. Most ports are completed by the new carrier once those details match the old carrier’s records.
Can I port my number by myself?
Yes. The new carrier submits the request on your behalf, either through its app, website, or a store, and you never deal with the old carrier’s port-out team directly. If the request is rejected, you handle it by fixing the detail the new carrier flagged, usually an expired PIN or a billing address that does not match exactly.
Why is my number transfer being rejected?
Expired transfer PINs are the most common reason, followed by a billing name or ZIP code that does not match the old carrier’s record exactly. Other causes include unpaid balances, an installment agreement on the account, a pending port request, or trying to move a number the old carrier will not release. Request a fresh PIN and copy the billing details from a recent bill.
Will my photos and contacts move when I port my number?
No. Porting only moves the number itself. Photos, contacts, apps, and text history stay on the old device or inside each app’s own account, and they move through a separate device-to-device transfer or cloud backup. Set that up before you switch so nothing gets left behind when you wipe the old phone.
What to Do First
Start by pulling your account number, port-out PIN, and exact billing details from the old carrier, then pick your activation date one or two days out so the PIN is still fresh. Leave the old line alone until the new carrier confirms the port, and check that the device is unlocked or that the old carrier will unlock it once the balance clears.
Everything else on this page is detail. Those two decisions, when to request the PIN and when you are allowed to touch the old line, decide whether the switch takes ten minutes or a week of phone calls.