Dual SIM on Android gives you two active phone numbers, usually on two different carriers, in one handset. Knowing how to use dual SIM on Android effectively means you pick which line handles calls, which one handles texts, and which one carries mobile data, then change any of that whenever you want. Most people set it up once, forget the settings exist, and end up paying roaming charges or missing a work call, so this guide walks through the whole thing step by step, including what to check first and how to fix a second SIM that refuses to work.
The catch is that no two Android phones put the dual SIM controls in the same place. Samsung labels it one way, Xiaomi another, and a Pixel running Google’s own build a third. So below I give the generic path first and then the exact menu strings for the brands most people are holding, so you can find the setting on your own phone rather than guessing.
Table of Contents
- What You Need Before You Use Dual SIM on Android
- Step-by-Step: Setting Up and Using Two SIMs
- 1. Check that Your Phone Can Use Dual SIM on Android
- 2. Insert and Activate Both SIM Cards
- 3. Set the Default Line for Calls and Messages
- 4. Set Which SIM Uses Mobile Data
- 5. Control Calls, Texts and Data While You Use Both Lines
- 6. Test Both Lines and Save the Configuration
- Common Mistakes and How to Fix Them
- Frequently Asked Questions
- Is there a downside to using a dual SIM phone?
- Can I switch off one SIM in a dual SIM phone?
- How do I switch between SIMs on a dual SIM phone?
- Can I just use one SIM card in a dual SIM phone?
- How do I switch mobile data from SIM 1 to SIM 2?
- Why is SIM slot 2 not working?
- Conclusion
What You Need Before You Use Dual SIM on Android
Before you touch any settings, confirm you have the hardware and the account access to make it work. It takes about fifteen minutes once the cards are activated, and the only part that can genuinely fail is the carrier lock check.
- A dual-SIM capable phone. Two physical nano-SIM slots, one physical plus one eSIM, or two eSIMs. Check the spec sheet for your exact model, including the regional variant, because the same phone sold in one market can have one slot and the version sold in another can have two.
- Both SIM cards activated with their carriers. A card that has been sitting in a drawer for a year may need to be re-enabled before the phone will register it.
- Your account PIN and PUK codes. If you are entering a four-digit SIM PIN, you get three tries. A PUK code resets the PIN, and a wrong PUK can brick the card permanently.
- APN details for any MVNO or travel line. If data connects but nothing loads, the access point name is usually the reason. Your carrier’s support page has it, and the string is long, for example something like internet or wholesale.
- An unlocked phone, or a carrier that lets you add a line. Some US carriers, Verizon in particular, block a SIM from a different carrier in the second slot. Nothing you change in Android settings fixes this.
One more thing worth checking before you start: whether the second slot shares space with the microSD card. A huge number of budget and mid-range Android phones use a hybrid tray, so you physically cannot have a second SIM and a memory card in it at the same time. If your phone is one of those, the choice is a second line or more storage, not both.
Step-by-Step: Setting Up and Using Two SIMs
1. Check that Your Phone Can Use Dual SIM on Android
Open Settings and look for Network and internet, then SIMs, or on some skins Connections, then SIM manager. If you can see two SIM entries with individual toggles, your phone supports two active lines and you can skip to step 2.
If you only see one entry, one of three things is true: the phone is a single-SIM model, the second slot shares the microSD tray and the memory card is occupying it, or the second SIM is not seated properly. Pull the tray and look, or check the hardware spec sheet for the number of SIM slots.
Now the technical bit that trips people up: DSDA versus DSFA.
- DSDA (Dual SIM Dual Standby) means both SIMs stay registered to their networks at all times, so the second line still receives texts and can ring. What you give up is the ability to use both lines for data at once.
- DSFA (Dual SIM Full Active) means the phone can run both lines on data simultaneously. Very few Android phones ship with this, and it usually shows up in the spec sheet as dual SIM active or dual SIM full active.
The practical way to tell which one you have is empirical. Turn both lines on, put the phone somewhere the second carrier’s signal is weak, and check whether its name appears in the notifications shade. If it drops out, you are on DSDA, which is what almost every phone uses. Practically speaking, DSDA is fine for a work line or a travel eSIM, since those mostly wait for you to use them.
Two more compatibility checks. Carrier locking: if the phone was bought on a contract or financed through a carrier, the second slot will usually reject a competing SIM, and some carriers will not even let you activate a second line at all. And 5G: many phones support dual SIM on 4G but only allow 5G on one line at a time, so if you put the cheap data plan on the wrong SIM you may find yourself on 4G speeds. The setting is usually called Preferred network, Preferred SIM for 5G, or Dual SIM mode in the per-SIM network settings.
2. Insert and Activate Both SIM Cards
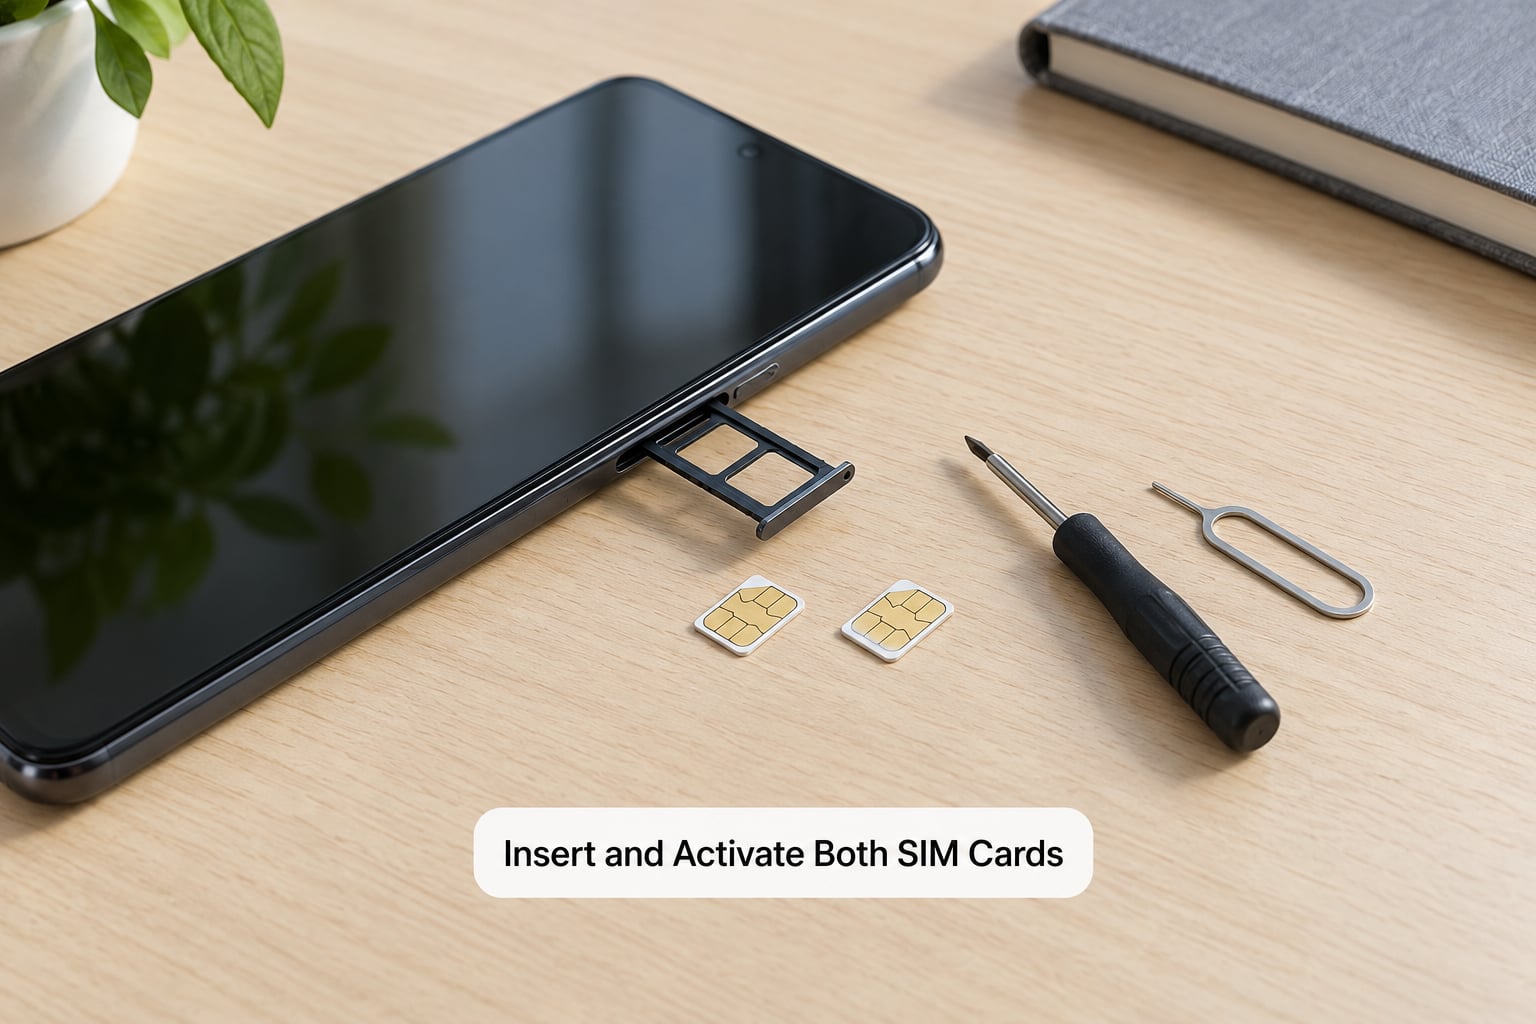
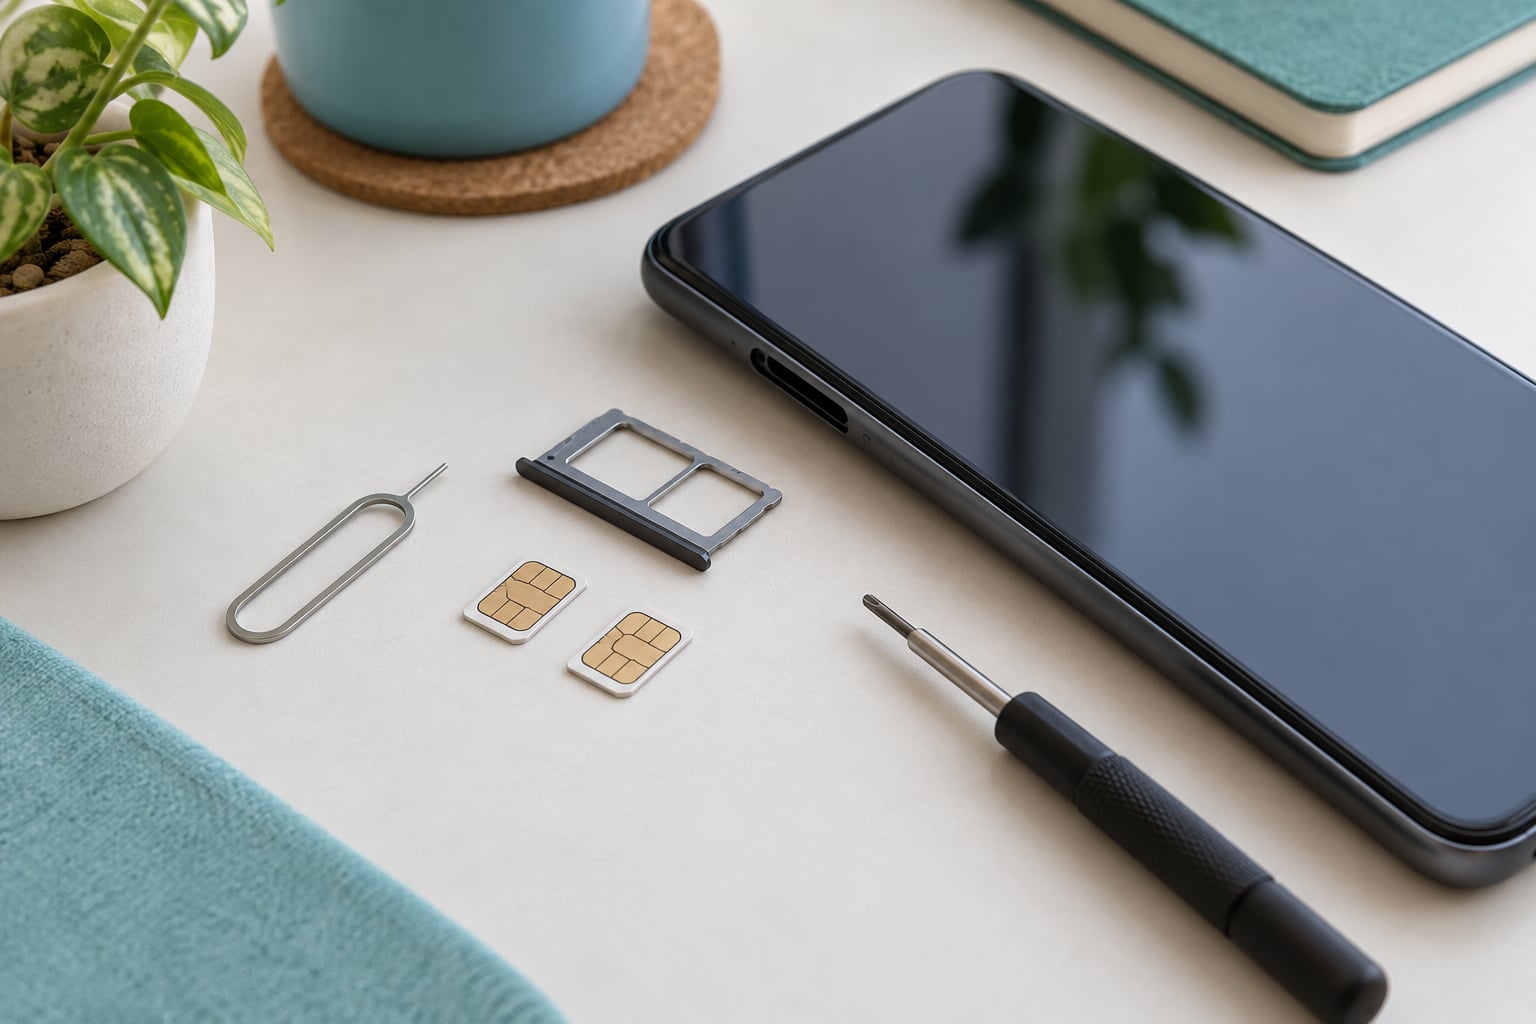
Power the phone down first. Insert the eject tool into the tray hole, or open the tray by hand on most current models, then slide each nano-SIM into its slot gold contacts facing down and aligned with the cutout shape. The second slot on many phones sits directly above the first, so check the printed outline on the tray rather than guessing which way the card goes.
Push the tray in, restart the phone, then return to Settings, Network and internet, SIMs. Both lines should appear with their carrier names. To check that worked, confirm both show a registered status and a network rather than No SIM card or Not registered.
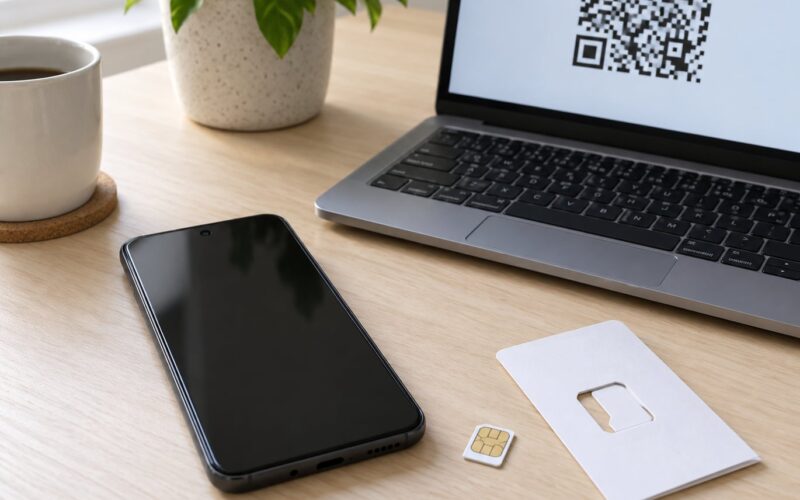
For an eSIM, go to Settings, Network and internet, SIMs, Add eSIM or Add network. Most carriers give you a QR code to scan with the phone’s rear camera, and some give a long activation code you type instead. Scan it, pick a label if the plan allows more than one profile, and wait for the download to finish. Do not close the screen mid-download; a partial eSIM profile is a common reason a line later shows as missing.
If a physical SIM is locked with a PIN, Android asks for it the first time it registers the card. Three wrong entries and the card needs its PUK code. If your carrier sent the PIN separately, dig it out before you start rather than guessing.
If you are consolidating two old phones onto this one, handle your contacts and call history before you delete anything. Exporting contacts to a Google account or a SIM’s own storage, or copying your recent call log, takes a couple of minutes and there is no way to merge the two after the fact. Messages usually do not transfer cleanly at all, so check what you still need from the old phone before you switch it off.
Once both lines are registered, write down the IMEI shown for each one. Dial the hidden code *#06# to see both, or find the numbers in Settings, About phone, SIM status. If a line stops registering one day, having those numbers means your carrier can trace the card instead of you re-explaining your whole setup.
3. Set the Default Line for Calls and Messages
Two SIMs give you two numbers, and Android needs to know which one to use when you do not say. In the SIMs settings screen, tap the line you want to be the default for calls and for messages. On Google’s own Android build, the two options are named Preferred SIM for calls and Preferred SIM for messages, sitting right under the SIMs heading.
The common real-world setups look like this.
- Work number on SIM 1, personal on SIM 2. Set the work line as the default voice SIM, then assign a per-contact default for your family so personal calls skip the office line.
- Personal on SIM 1, travel or data eSIM on SIM 2. Keep voice and messaging on SIM 1, and use SIM 2 purely for mobile data while abroad.
- Old number retained, new number as the main one. Set the new line as the default for both calls and messages, then set a per-contact default for anyone who still has the old number saved.
Those menu paths move around between manufacturers, so here is where the same settings actually live on the brands people ask about most.
| Phone | Where the SIM settings live | Where the default line is chosen |
|---|---|---|
| Samsung Galaxy (One UI) | Settings, Connections, SIM manager | Tap the SIM, then Preferred SIM for calls and messages. Dual SIM always on is on the same SIM manager screen. |
| Xiaomi, Redmi, Poco (HyperOS, MIUI) | Settings, SIM cards and mobile networks | Tap the card, then Voice calls, Messages and Mobile data. Dual SIM feature is on the SIM cards screen. |
| Google Pixel | Settings, Network and internet, SIMs | Tap a SIM, then Preferred SIM for calls, texts and mobile data. |
| Motorola | Settings, Network and internet, SIMs | Tap a SIM, then Default SIM for calls, texts and mobile data. |
| OnePlus and Oppo (OxygenOS, ColorOS) | Settings, Network and internet, SIM settings | Tap a SIM, then Default SIM for calls, messages and data. |
Set a per-contact default next, because it fixes more problems than anything else in this guide. Open the contact, edit it, and look for Set default SIM or a phone number field with a SIM picker. Save, and that person now always rings through the line you chose, whichever one is the global default.
4. Set Which SIM Uses Mobile Data
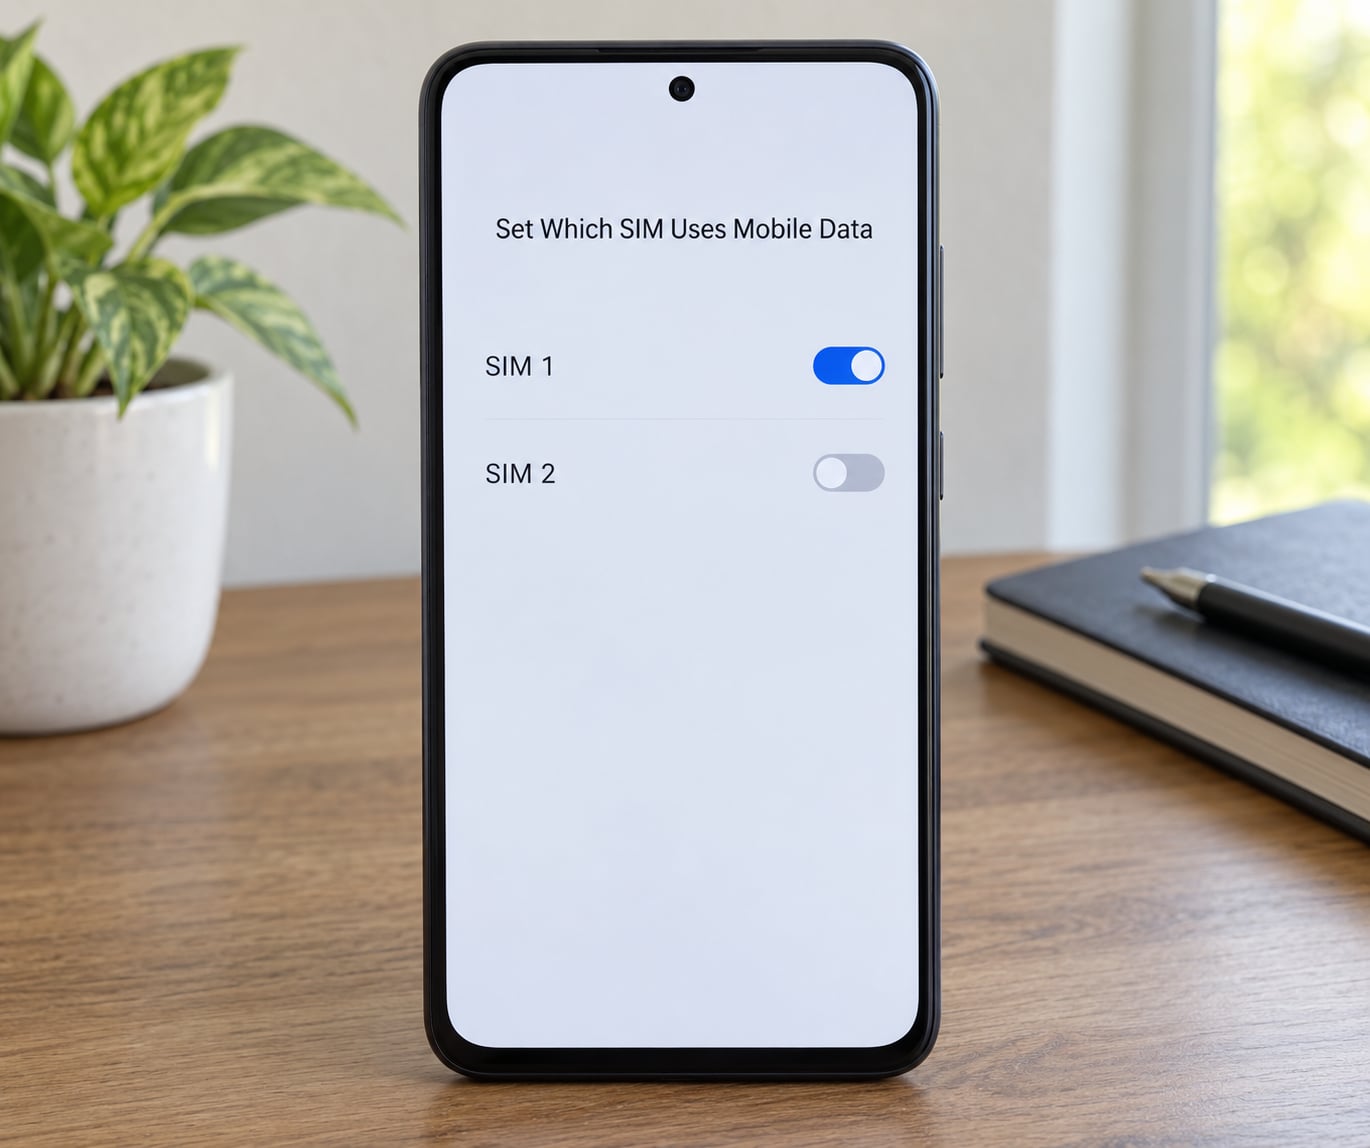
Here is the single most useful fact about dual SIM data: on most Android phones, only one line can carry mobile data at any moment. There are two SIMs and one data radio path, and Android hands it to whichever line you pick.
To choose, open Settings, Network and internet, SIMs, tap Mobile network, and set Mobile data to SIM 1 or SIM 2. On Samsung it is Connections, SIM manager, tap the SIM, then Mobile data switch. On Xiaomi, SIM cards and mobile networks, tap the card, then Mobile data switch. Each line also has its own data on or off toggle in the SIM manager, so you can leave the line switched off entirely and still keep it registered for calls.
After you change it, turn Wi-Fi off for a moment and open a web page to confirm data actually flows through the new line. Then check the per-line usage counters, usually under Settings, Network and internet, Data usage, where each SIM is broken out separately. Knowing which line burned through a large chunk of the month is the difference between a mild surprise and a nasty one.
There is one more setting in this area worth understanding, and it causes real frustration. Some skins offer automatic data switching, which moves the data line to whichever SIM has the better signal. It sounds convenient until a video call drops the moment you walk into a lift, because the switch tears down the connection and both lines go offline for a moment. If you rely on calls over data, turn automatic switching off and pick your line manually.
For MVNOs, travel eSIMs and prepaid data plans, open Mobile network access point names for that SIM and compare the entries against your carrier’s settings. If everything else works but web pages and apps stall, the APN is the first thing to change.
5. Control Calls, Texts and Data While You Use Both Lines
Day-to-day switching takes seconds once you know where the controls are. Swipe down twice for the quick settings panel and tap the SIM tile to toggle a line on or off, or pin a Mobile network tile for one-tap data switching. On Google’s own Android build, the notification area also shows which line handles calls and data at the top of the shade.
When you dial, tap the line picker on the call screen to route that single call through the other SIM without changing any setting. In the dialer, some skins add a long-press on the call button or a SIM toggle above the number pad. For messages, the messaging app usually shows which number is sending, and a per-conversation option lets you send a single thread through the other line. This is the practical way to keep a work WhatsApp and a personal WhatsApp genuinely separate.
Per-contact defaults are the cleaner route for regular numbers, because they apply whether you dial from the recents list, the contact card or a search result, and they survive you changing the global default later. I set one for my bank, my old number and my employer, and stopped thinking about it.
Turning a line off is different from removing it. The card stays in the phone with all its settings, so you can switch it back on in one tap. This is the right move for a travel line you are not using, and for any second SIM sitting on a network with no signal where you currently are, which is the situation that quietly eats battery all day.
On some One UI builds the dual SIM always on toggle needs setting twice before it sticks. If your setting does not save, open the screen, turn it, leave the app, come back and confirm before you walk away.
Call forwarding covers the case where a line is off. Most carriers forward unconditionally to another number, so a disabled SIM 2 can still reach SIM 1. It costs what your plan charges for forwarded minutes, so check that before leaving it on for months.
Wi-Fi calling is the answer to the expat problem, where you keep a home-country number for banking and one-time codes but live on a foreign network. Enable Wi-Fi calling on that line, and the number stays reachable over your home Wi-Fi or a stable connection abroad without relying on roaming. That is the practical way to keep a home number active overseas. Turn it on for the roaming line only, and check that your carrier supports it, because some markets do not offer it.
To run two accounts in one messaging app, use the dual account or dual messenger feature. On Samsung it is Dual Messenger, on Xiaomi and its sister brands it is Dual Apps, and apps such as WhatsApp and Facebook usually offer a built-in second account toggle. Pick the second number from the list of your two lines when the app asks. If your messaging app has no such feature, apps that clone a messenger exist, but check the permissions carefully before granting them your messages.
Finally, notifications. Each line has its own notification style on most phones, so you can set the work SIM to silent and keep its badge only on priority apps, and leave the personal line fully audible. It is the cheapest way to separate the two halves of your day, and it pairs well with a work profile if your employer uses one.
6. Test Both Lines and Save the Configuration
Before you close the settings screen, run a two-minute test on each line. Make an outgoing call and confirm the number shown on the other end is the one you expect, then call your own other number from a colleague’s phone or from a landline. Send a text from each line, and reply to it from the other so both directions are covered. Open a web page with Wi-Fi off to confirm data is on the line you chose, and check the per-line data usage counters afterwards.
Voicemail is the one that gets forgotten. Each line has its own voicemail box and its own PIN, and on some carriers the greeting and PIN for the second line are set up separately after activation. Call and hold on each line to check you land in the right box.
Also confirm that contacts saved during a call or a text got the right number attached, because that is how the wrong line gets used later without you noticing.
Finally, restart the phone and look at the SIM screen again. Settings that survive a restart will survive a software update. If a line drops after a big firmware update or a beta build, the eSIM profile sometimes needs to be deleted and re-scanned, and a factory reset is the last resort rather than the first move.
Common Mistakes and How to Fix Them
SIM 2 is not detected at all. Power off, remove the tray, check the card’s orientation against the printed outline, and reseat it. On hybrid trays, remember the microSD card is using the slot. If the tray has two separate slots and only one card works, the other slot may be a different size or may be disabled in hardware.
The line shows no service or keeps dropping. Check the network mode on that SIM, and set it to the highest mode your carrier actually supports. A 5G-only setting on a network with no 5G coverage is a common cause. If the carrier has recently refarmed or changed bands, a factory network settings reset, which clears cached carrier profiles, often fixes it. As always, keep your PUK code handy before any SIM PIN work.
Calls go out on the line you did not choose. Open Contacts, edit the contact, and check whether a per-contact default is set. If one is, it overrides your global default every time, which is intentional but surprising the first time. Clear it or change it there.
Data will not move to the other line. Turn the global Mobile data switch over, then toggle the data switch for each SIM off and on. If an app is holding the old connection, switch airplane mode on and off to reset the radio. If data connects but nothing loads, fix the APN.
Both SIMs go offline right after a data switch. This is the automatic switching problem described earlier. Turn off automatic data switching and move the line by hand. On a few skins the setting is buried under the data SIM, so look there first.
Roaming will not stay on for one line only. Some versions and some skins tie the roaming toggle to the whole dual SIM setup rather than one card. Set roaming per SIM where it is available, and if the skin blocks it, toggle roaming before and after you need it, or ask your carrier whether the line is set to roam at all.
Battery drains faster with two lines on. Two radios searching for signal is genuinely more work, and the effect is worst when one carrier has poor coverage where you are, because the phone keeps retrying. Switch the line off when you are not using it, and that is most of the problem solved.
The second line shows as missing after a software update. Delete the eSIM profile in the SIM manager and re-add it by scanning the QR code again. Back up first, and expect to need the carrier’s activation details once more.
A short set of habits that covers most of this: set per-contact defaults instead of changing the global default, keep a cheap data-only plan on the line you do not use for calls, turn the second line off rather than deleting its settings, and check the SIM screen after every major update.
Frequently Asked Questions
Is there a downside to using a dual SIM phone?
Yes, four real ones. Only one line can usually carry mobile data at a time, so you switch rather than run both. A weak second network makes the phone work harder for signal and battery drains faster. A hybrid tray means the second SIM and a microSD card compete for the same slot. And a carrier-locked phone may refuse a SIM from a different carrier in slot 2 entirely.
Can I switch off one SIM in a dual SIM phone?
Yes, and you should consider it more often than most people do. Open Settings, Network and internet, SIMs and tap the toggle for the line you want off. The card stays in the phone with all its settings, so you can switch it back on in one tap. Switching a line off also stops roaming on it, which matters more than most people expect if the card is a travel eSIM you forgot about.
How do I switch between SIMs on a dual SIM phone?
Four ways, depending on what you need. Swipe down for quick settings and tap the SIM tile. Tap the line picker on the call screen before dialling. Change the default under Settings, Network and internet, SIMs. Or set a per-contact default from the contact’s edit screen, which is the option that sticks. On most phones only one SIM can handle mobile data at a time, so data needs the settings route.
Can I just use one SIM card in a dual SIM phone?
Yes, with no loss beyond the second slot. Put one card in and leave the other slot empty, or install the card and switch it off in the SIM manager. The phone will not treat the missing line as a fault. Some people keep the second slot empty permanently, and others keep a card there switched off so roaming is available without a trip to the drawer.
How do I switch mobile data from SIM 1 to SIM 2?
Open Settings, Network and internet, SIMs, tap Mobile network, then change Mobile data to the other SIM. On Samsung it sits under Connections, SIM manager, tap the SIM, Mobile data switch. On Xiaomi, SIM cards and mobile networks, tap the card, Mobile data switch. If you also use automatic data switching, turn it off first, because it will move the data line back on its own and drop active calls.
Why is SIM slot 2 not working?
The usual causes are a hybrid tray with a microSD card in the way, a card that is not activated with its carrier, a carrier-locked phone rejecting a competing SIM, or a network mode set to something your carrier does not use. Reseat the card with the phone off, confirm the card is active, set the network mode to the highest mode your carrier supports, and check whether your carrier even allows a second line from another provider.
Conclusion
Set up two SIMs on Android in four passes, and it takes about fifteen minutes. Confirm the phone is unlocked and has a free second slot, then activate both lines and restart. Set your voice and message defaults, and add per-contact defaults for the handful of numbers that matter. Choose which line carries mobile data, and turn automatic data switching off if you rely on calls over data. Finally, run one test on each line, check voicemail on both, and look at the SIM screen again after your next system update.
Revisit those settings whenever you change phone, change carrier plan, or notice your data behaving strangely. That habit alone prevents most of the dual SIM problems people search for online.