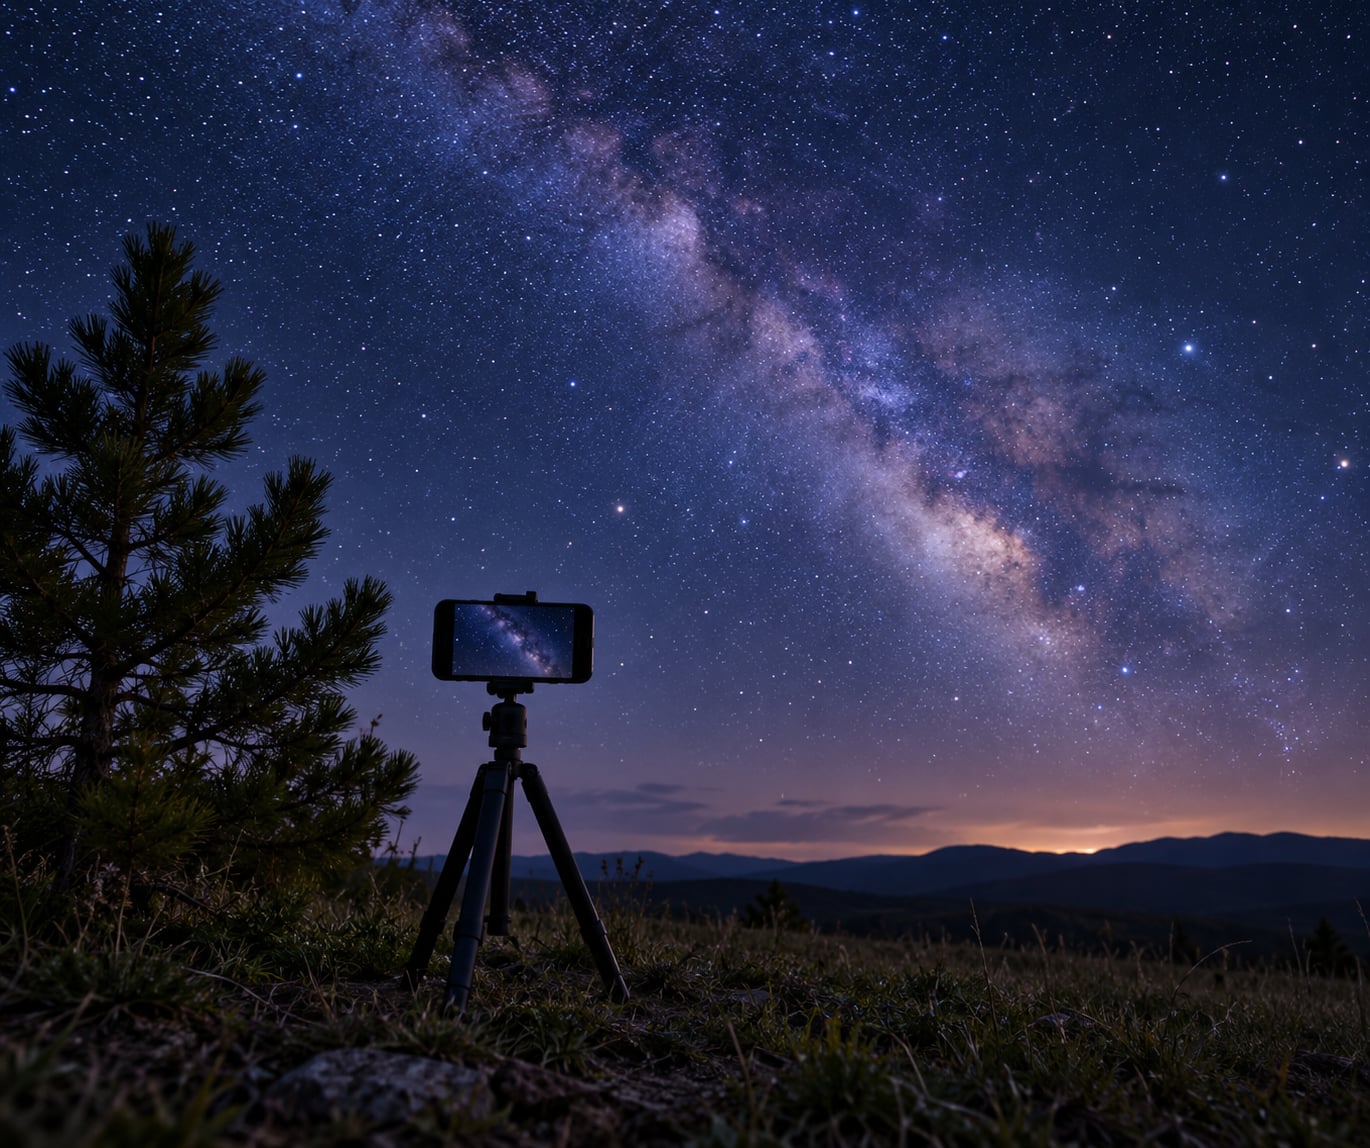
To shoot astrophotography with a phone, mount it on a tripod, switch the camera to manual, focus to infinity, and shoot a burst of 15 to 30 second frames at ISO 1600 to 3200. Stack those frames in an app and the noise drops away, leaving a photo of the stars that looks like it came off a dedicated camera.
The whole session takes about 20 minutes once you know where you are going. Almost everything that separates a blurry first attempt from a good one comes down to three things: steady mounting, focus that does not drift, and getting to a dark sky.
One thing worth understanding before you go out is why stacking works. Signal from the stars adds up linearly across frames, while random noise adds only as the square root of the number of frames. Merge 16 exposures and you get roughly four times the signal-to-noise ratio improvement of a single shot, which is the difference between a noisy grey rectangle and a usable night sky.
Hardware matters far less than people expect. Plenty of phone astrophotography results online come from mid-range handsets, because the technique beats the sensor. The controls that actually matter exist on almost every phone made in the last few years, so a recent Xiaomi, Samsung Galaxy, Google Pixel or iPhone will all do the job once you know where they hide.
Table of Contents
- What You Need to Shoot Astrophotography With a Phone
- Step-by-Step
- Choose a dark, unobstructed location
- Set up the phone and tripod
- Use manual focus for the stars
- Adjust exposure and capture multiple frames
- Stack and edit the photos
- Common Mistakes
- Additional Tips for Better Night-Sky Photos
- Frequently Asked Questions
- Can I take good astrophotography photos with a phone?
- How do I focus for astrophotography with an Android phone?
- What shutter speed and ISO should I use for phone night-sky photos?
- Do I need a telescope to photograph the stars with a phone?
- What is the best phone camera app for astrophotography?
- How do I edit a star photo taken with my phone?
- Conclusion
What You Need to Shoot Astrophotography With a Phone
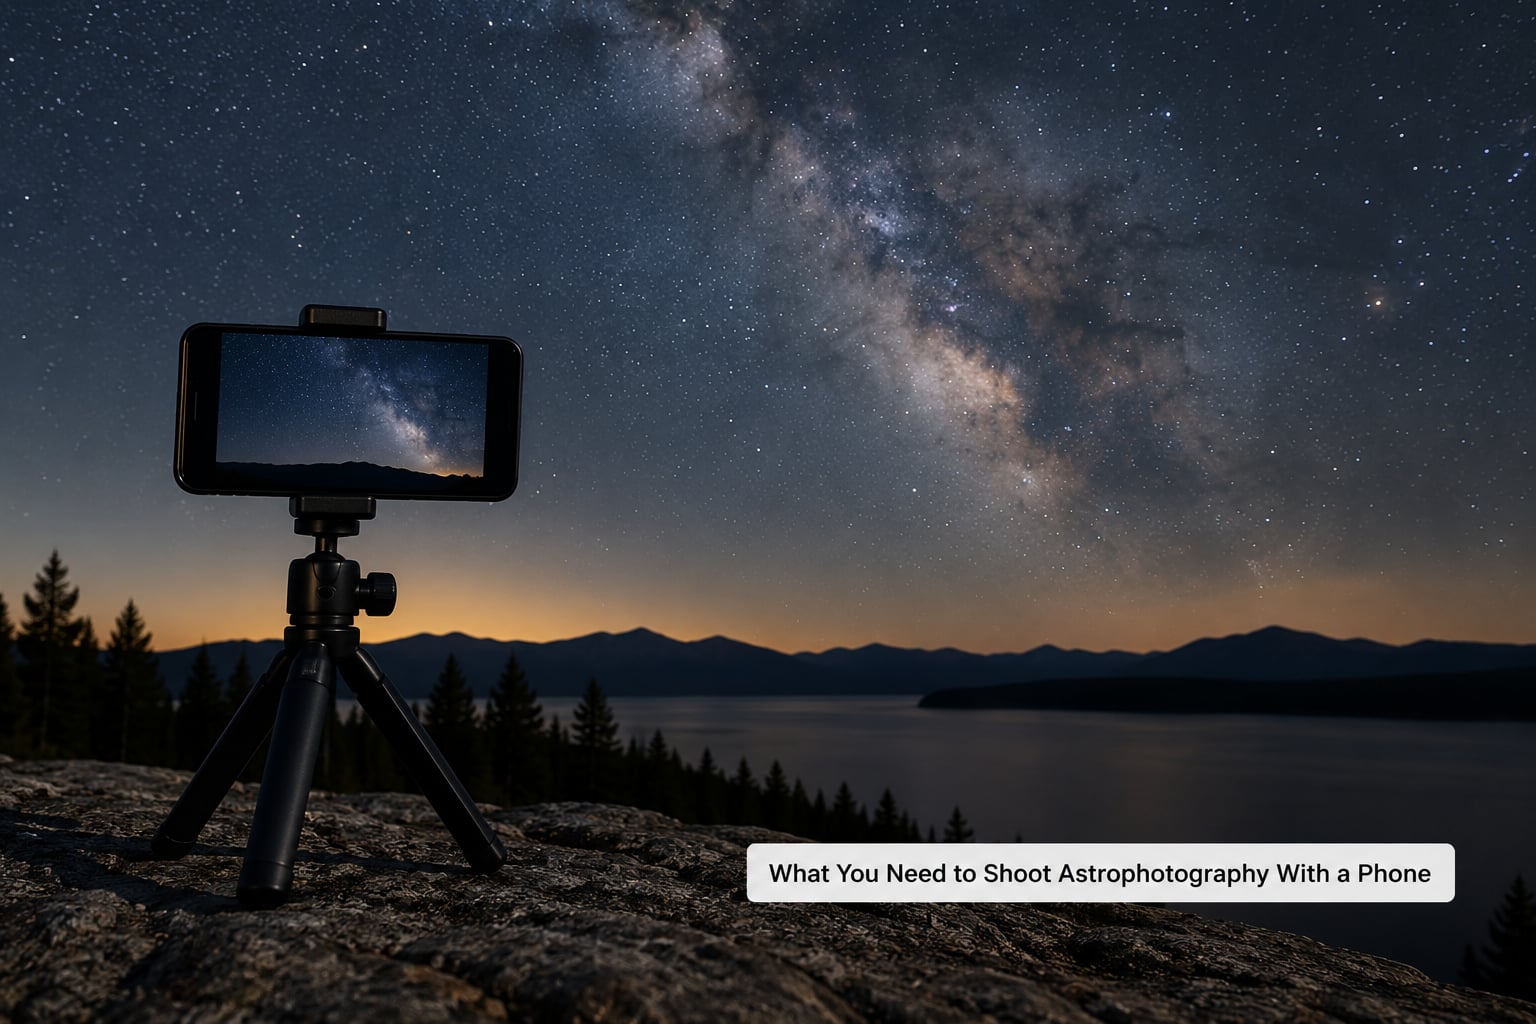
A tripod is the one piece of gear that is genuinely non-negotiable. Hand-holding shakes by a fraction of a millimetre, and over a 20 second exposure the Earth’s rotation turns that fraction into visible star trails. A phone tripod with a finger-grip clamp costs very little and fits in a pocket; a table, a wall and a stack of books will work in a pinch.
- A tripod or stable mount. Anything that holds the phone perfectly still for 30 seconds.
- A clear sky and a dark location. Check the cloud forecast and your local light pollution before you travel.
- Free storage. RAW frames are large. Clear out a gigabyte or two beforehand.
- A planning app. SkyView, Star Walk or PhotoPills will show you the moon phase and where a target sits in the sky at your location and time.
- A stacking app. Sequator handles the merging on a phone. Snapseed or Lightroom handle the finishing.
- Optional: a clip-on telephoto lens. It magnifies the Moon and bright deep-sky objects. It does nothing for a wide Milky Way shot.
A red-light flashlight is worth carrying too. It preserves your night vision so your eyes recover during setup, which matters more in the first ten minutes than it sounds.
Step-by-Step
Choose a dark, unobstructed location
Get as far from city glow as you reasonably can. The Bortle scale runs from 1, a pristine mountain site with a visible Milky Way, to 9, a city inner street where you will capture almost nothing but light. Moving a few miles out of town often makes a bigger difference than upgrading your phone.
Check the moon phase too. A first-quarter moon is manageable; a full moon washes out faint targets for nights in a row. Clouds are the harder limit, because thin high cloud is invisible from the ground and shows up as a flat grey haze in the finished frame.
Look at your foreground before you set up. A bare field gives you stars. A lone tree, a ridge line or a distant roofline gives you a photo. Plan your shooting spot in daylight, and tell someone where you are going if you are somewhere remote.
Set up the phone and tripod
Mount the phone horizontally, roughly level, and tighten the clamp until you cannot rotate it by hand. Wipe the lens with a cloth first. A fingerprint on the lens is the single most common reason people get a soft, hazy night sky.
Then set the phone itself up so nothing interrupts the exposure:
- Turn the flash off. A flash ruins a 20 second frame instantly.
- Switch on airplane mode. A notification sound or a call can end a shot mid-frame.
- Use the timer or a Bluetooth remote. Pressing the shutter button by hand moves the phone.
- Close every background app. Some phones throttle the camera when memory runs short.
- Leave the phone alone while it works. Touching it changes the focus.
Use manual focus for the stars
Autofocus is the most common failure in phone astrophotography. In a dark scene there is nothing for the camera to lock onto, so it hunts back and forth searching for an edge that does not exist, and your stars come out soft. You need to set focus yourself and tell the phone to stop hunting.
On most Android phones, tap and hold the sky in the viewfinder until a focus lock icon appears, then look for an MF or manual focus slider and drag it all the way to infinity. On a Xiaomi handset, open Pro mode and drag the focus slider to its far end while watching a bright star to check. On Samsung Galaxy models, tap the viewfinder to lock focus, then use the MF toggle that appears in the focus panel. On iPhone, tap a bright star to set Auto and exposure, then drag the yellow sun icon below the focus point all the way down to force focus to infinity.
Zoom in on a bright star to confirm the focus is right before you back out. The NPF rule, which accounts for aperture and sensor pixel size, says a phone’s main camera at around 25mm equivalent only holds pin-sharp stars for roughly 4 seconds per frame. The older 500 rule, which just divides 500 by the focal length, gives about 20 seconds. Phones tend to survive somewhere between the two, which is why community shots at 20 to 30 seconds still look fine.
Adjust exposure and capture multiple frames
Start at ISO 1600 and a shutter between 15 and 25 seconds, then check the histogram and adjust. ISO controls how bright the sky is and how much detail survives; shutter controls whether stars stay as points. Longer exposures bring brighter light and more trailing, so there is a real trade-off, and the frame count is how you buy brightness without paying for trailing.
Shoot 15 to 30 frames with a one second gap between them. The gap matters because a phone that shoots back to back heats up fast, and a hot sensor produces far more noise. Android users following the guides on r/Astro_mobile take the handset outside five to ten minutes before starting so the sensor starts cool.
| Phone | Where the manual controls live | Focus | Starting ISO and shutter | RAW |
|---|---|---|---|---|
| Xiaomi, HyperOS | Camera, then the Pro option under the viewfinder | Drag the focus slider in Pro mode to infinity | ISO 1600, 15 to 20 seconds | RAW/DNG toggle in the camera settings |
| Samsung Galaxy | Camera, then Pro; picture formats under camera settings | Tap to lock focus, then switch to MF | ISO 1600, 20 to 30 seconds | Set picture formats to JPG plus RAW |
| Google Pixel | Night Sight is automatic; use a manual app for control | Tap and hold, then manual focus slider | ISO 1600, 15 seconds | Available in the advanced camera apps |
| iPhone | Stock camera has no manual ISO; Night mode caps at 30 seconds | Tap a star, then drag the yellow sun icon to the bottom | Automatic; use Night mode for the 30 second frame | Apple ProRAW in Settings, Camera, Formats |
Samsung does ship a dedicated Astrophotography mode, and Galaxy users in r/GalaxyS22 describe it as excellent. It picks its own settings, which also means you learn nothing about what made the frame good. Shoot one round in the automatic mode, then do the same target manually and compare.
Stack and edit the photos
Open Sequator, add all your light frames, and use the stacking preview. It will reject frames where stars have trailed or where someone walked through the shot. Keep roughly half to two thirds of the frames; the average needs a stable group but not a perfect one.
Dark frames are the optional extra step. They are the same shot taken with the lens cap on, at the same ISO and shutter, and they capture the sensor’s fixed pattern noise. Even five or six of them, subtracted from the stack, clean up the blotchy bright spots that RAW night frames often show in the shadows.
For editing, work in this order and change one thing at a time:
- Open the stacked image in Snapseed or Lightroom.
- Raise exposure just enough to reveal the stars, then stop.
- Pull shadows up gently to recover the foreground, not all the way.
- Add modest noise reduction and a small amount of sharpening.
- Adjust white balance toward a cool blue by hand rather than letting an automatic filter do it.
If the sky ends up a flat electric blue, you have pushed too far. A real night sky shot has visible gradient and grain. The forum consensus from r/GalaxyS21FE is worth repeating here: most people prefer the honest exposure over a heavily processed one.
Common Mistakes
A dirty lens. The most common problem, and the easiest to fix. Wipe the glass before every session, and keep a cloth in your pocket.
Accidental flash. One stray frame ruins the stack. Confirm the flash is off in the camera settings before you mount the phone.
Autofocus hunting. If stars are soft blobs rather than points, focus did not lock. Switch to manual focus and confirm on a bright star at maximum zoom.
Camera shake. Long exposures magnify any movement. Re-tighten the tripod clamp and use a timer or remote rather than touching the phone.
One long exposure instead of many short ones. A single 60 second frame on a phone collects more light but trails badly and gets hot. Stack 20 second frames instead.
Bright foreground lighting. A porch light or streetlamp in frame forces you to underexpose the whole image, or blows out completely. Move the phone or turn the light off.
Expectations set by edited photos. Most viral phone sky images are heavily stacked and colour-graded. Your first honest attempt will look different, and that is normal.
Additional Tips for Better Night-Sky Photos
Shoot during astronomical darkness, which starts when the sun is more than 18 degrees below the horizon and ends at dawn. That is a longer window than most people expect, and it is the difference between a faint band and a bright one.
Pick a first-night target that is forgiving. The Moon is easy and bright. Star trails and a wide Milky Way arc over a silhouette work well on a first outing. The Orion Nebula and Andromeda are ambitious targets that really want an optical telephoto lens and a lot of stacking.
Compare RAW with the standard camera mode. Night modes and Night Sight handle single frames well and are genuinely useful for the Moon and for city-sky shots, but they take the stacking decisions away from you. RAW plus manual gives you the control you need for faint targets.
Watch the practical stuff in the field. Cold drains a battery faster than you would expect, and a long session on a tripod uses charge steadily. Turn the brightness down, carry a power bank, and check storage before you start. When you bring the phone back into a warm room from a cold one, let it sit before opening the gallery so condensation does not form on the sensor behind the lens.
Know the limits. Phone sensors are small, so they gather far less light than any dedicated camera, and the honest answer in r/AskAstrophotography is blunt: if you want faint deep-sky detail, buy a used mirrorless body or a telescope. A phone is still the right tool for the Moon, planets, star trails, the Milky Way core and any scene with scenery in the foreground, which is most of what people actually want to photograph.
Frequently Asked Questions
Can I take good astrophotography photos with a phone?
Yes, for most subjects. A phone handles the Moon, planets, star trails, the Milky Way core and landscape night scenes well once you use a tripod, manual focus and stacked frames. Small phone sensors gather much less light than a dedicated camera, so faint deep-sky objects like the Orion Nebula need heavy stacking and often a clip-on telephoto lens to look their best.
How do I focus for astrophotography with an Android phone?
Open the manual or Pro mode, tap and hold the sky to lock focus, then find the MF or manual focus slider and drag it all the way to infinity. Zoom into a bright star at maximum magnification to confirm the focus is sharp before you capture. Autofocus usually hunts in a dark scene, which is why manual focus is essential for stars.
What shutter speed and ISO should I use for phone night-sky photos?
Start at ISO 1600 with a shutter between 15 and 25 seconds, then check the histogram and adjust. Stars begin to trail when you exceed the safe exposure for your focal length, so brightness comes from taking more frames rather than longer ones. Shoot 15 to 30 frames with a one second gap between them to reduce heat and noise.
Do I need a telescope to photograph the stars with a phone?
No. A phone and a tripod can photograph the Moon, planets, the Milky Way, meteors, satellites and star trails, and a clip-on telephoto lens adds enough magnification for some brighter deep-sky targets. A telescope only becomes necessary when you want to photograph very faint galaxies and nebulae, where a small phone sensor simply cannot gather enough light.
What is the best phone camera app for astrophotography?
For capture, the built-in Pro mode on Xiaomi and Samsung Galaxy phones is the most controllable, and third-party manual camera apps such as Open Camera or a recent Google Camera version add more control where the stock app is limited. For planning, SkyView or Star Walk show the moon phase and target positions. For merging frames, Sequator is the straightforward beginner choice.
How do I edit a star photo taken with my phone?
Stack your frames in Sequator first, then open the result in Snapseed or Lightroom. Raise exposure until the stars are visible, pull the shadows up gently for the foreground, apply modest noise reduction and sharpening, and set white balance by hand toward cool blue. Change one thing at a time and stop before the sky turns flat and electric.
Conclusion
Start with the first action: find a dark spot away from city glow, mount the phone so it cannot move, set focus manually to infinity, and take 20 frames at ISO 1600 with a 15 to 25 second shutter and a one second gap. Stack them, then edit gently.
That is the whole method. Everything else is a refinement, and you will learn more from one night of shooting than from another hour of reading. Once you know where to point the camera and how your handset behaves after five minutes of shooting, how to shoot astrophotography with a phone stops being complicated.