Most people choose a webcam by staring at the resolution number on the box, then wonder why their video still looks dim and grainy. The specs that matter for daily calls are simpler than that: a sharp image at 1080p, autofocus that settles quickly, a microphone your room can actually support, and a mount that holds still at eye level.
This guide walks through how to choose a webcam for home office calls in seven steps, from defining what your calls are really for to running a ten-minute test before the return window closes. It takes about fifteen minutes to read and twenty minutes to apply, and it works whether you use Zoom, Microsoft Teams or Google Meet.
One disclosure before we start: the recommendations here come from documented specifications, published manufacturer details and what remote workers report in forums, not from a hardware lab. Nothing below depends on a model name, so the guidance still holds as new hardware arrives. Last reviewed in 2026.
Table of Contents
- What You Need
- Step-by-Step: How to Choose a Webcam for Home Office Calls
- 1. Set Your Priorities for Every Call
- 2. Choose the Right Resolution and Frame Rate
- 3. Check Focus and Image Quality in Different Lighting
- 4. Decide Whether You Need a Microphone
- 5. Check Connection, Privacy and Smart Features
- 6. Match the Webcam to Your Setup and Budget
- 7. Test Before You Keep It
- Common Mistakes
- Quick Tips for Better Home Office Video
- Frequently Asked Questions
- Do I need a separate webcam if my laptop has a built-in camera?
- Is a 4K webcam better for Microsoft Teams and Zoom calls?
- Should I use the webcam microphone or buy a separate USB microphone?
- Will any USB webcam work with my laptop and video-call app?
- What should I test before returning a webcam?
- Conclusion
What You Need
Before you open a single product page, write down seven things. Without them you are guessing, and guessing is how people end up with a camera that is technically impressive and practically wrong for their desk.
- Your device. Laptop, desktop or tablet, and whether you plug into the machine directly or through a dock or hub.
- Your calling platform. Zoom, Microsoft Teams, Google Meet or FaceTime, and whether you screen share often.
- Your room lighting. A bright window in front of you, a lamp behind you, or an evenly lit room after dark.
- Your connection. Wired ethernet and Wi-Fi both change how much detail survives compression.
- Your microphone habits. Headset already, or willing to buy one later.
- Mounting space. Desk depth, monitor thickness and whether anything already sits on top of your screen.
- Your budget range. A middle figure you are comfortable with, not a maximum you hope to hit.
If you cannot answer the lighting question honestly, that single answer will decide more than every other line on the spec sheet.
Step-by-Step: How to Choose a Webcam for Home Office Calls
1. Set Your Priorities for Every Call
Start by naming what the camera is actually for, because a webcam that suits a daily standup can be wrong for a recorded course or a client presentation.
Occasional internal calls ask the least of a camera: 720p at 30 frames per second with a fixed lens is genuinely fine. Daily meetings want a good sensor, reliable autofocus and a microphone that does not sound tinny.
Client presentations, job interviews and online teaching add a second requirement: you need to be framed well and hold eye contact, so field of view and mounting matter more than raw pixels. Recording work is where resolution and frame rate finally start earning their cost, because a recording keeps every pixel instead of throwing most of them away.
2. Choose the Right Resolution and Frame Rate
Pick 1080p at 30 fps for everyday home office calls. That combination holds detail on a typical connection, stays light on an older laptop and survives the compression every call platform applies. Move up only when your use case justifies it.
The compression point matters more than any other single fact on this page. Zoom, Teams and Meet re-encode your stream to fit available bandwidth, and they do it by discarding detail. A 4K camera sending a call at 1080p is not a mistake, but the extra pixels mostly get thrown away before anyone sees them. On a home connection with an upload speed around 5 Mbps, expect a 720p to 1080p picture no matter what the camera captures.
| Setting | Upload speed to aim for | What viewers actually receive | Worth paying extra for? |
|---|---|---|---|
| 720p at 30 fps | 2 Mbps or more | Soft but stable on most connections | Only if budget is very tight |
| 1080p at 30 fps | 5 Mbps or more | Clear, natural, the everyday choice | Yes, this is the sweet spot |
| 1080p at 60 fps | 5 Mbps or more | Smoother motion, same sharpness | For demonstrations and screen work |
| 4K at 30 fps | 10 Mbps or more | Usually downscaled on the call | Only for recording or streaming |
Sixty frames per second is worth it when you move your hands while explaining something, present in front of a whiteboard, or share screen content where scrolling stutters badly. It is not worth it for a static talking head, where the difference is close to invisible.
3. Check Focus and Image Quality in Different Lighting
Fixed-focus webcams set one distance and never adjust. That is fine when you sit still in the same spot, and a problem the moment you lean forward to read something. Autofocus webcams adjust, and the better ones settle in a fraction of a second instead of pumping back and forth, which is the hunting behaviour people complain about most.
Field of view is measured in degrees and decides how much room you get around your shoulders. Roughly 78 degrees is a tight, natural head-and-shoulders framing. Around 90 degrees gives you a little desk space and still looks composed. Anything past 110 degrees shrinks you in the frame, shows your ceiling and puts a barrel distortion on the edges, which is rarely what you want in a meeting.
Lighting beats every other image quality factor, and this is where low-light performance actually comes from: sensor size, not resolution. A large sensor gathers more light, so it stays clean in a dim evening room. A small sensor with more pixels gathers the same light and spreads it thinner, which is exactly why a 4K webcam can look grainier and flatter than a 1080p one in the same dim office.
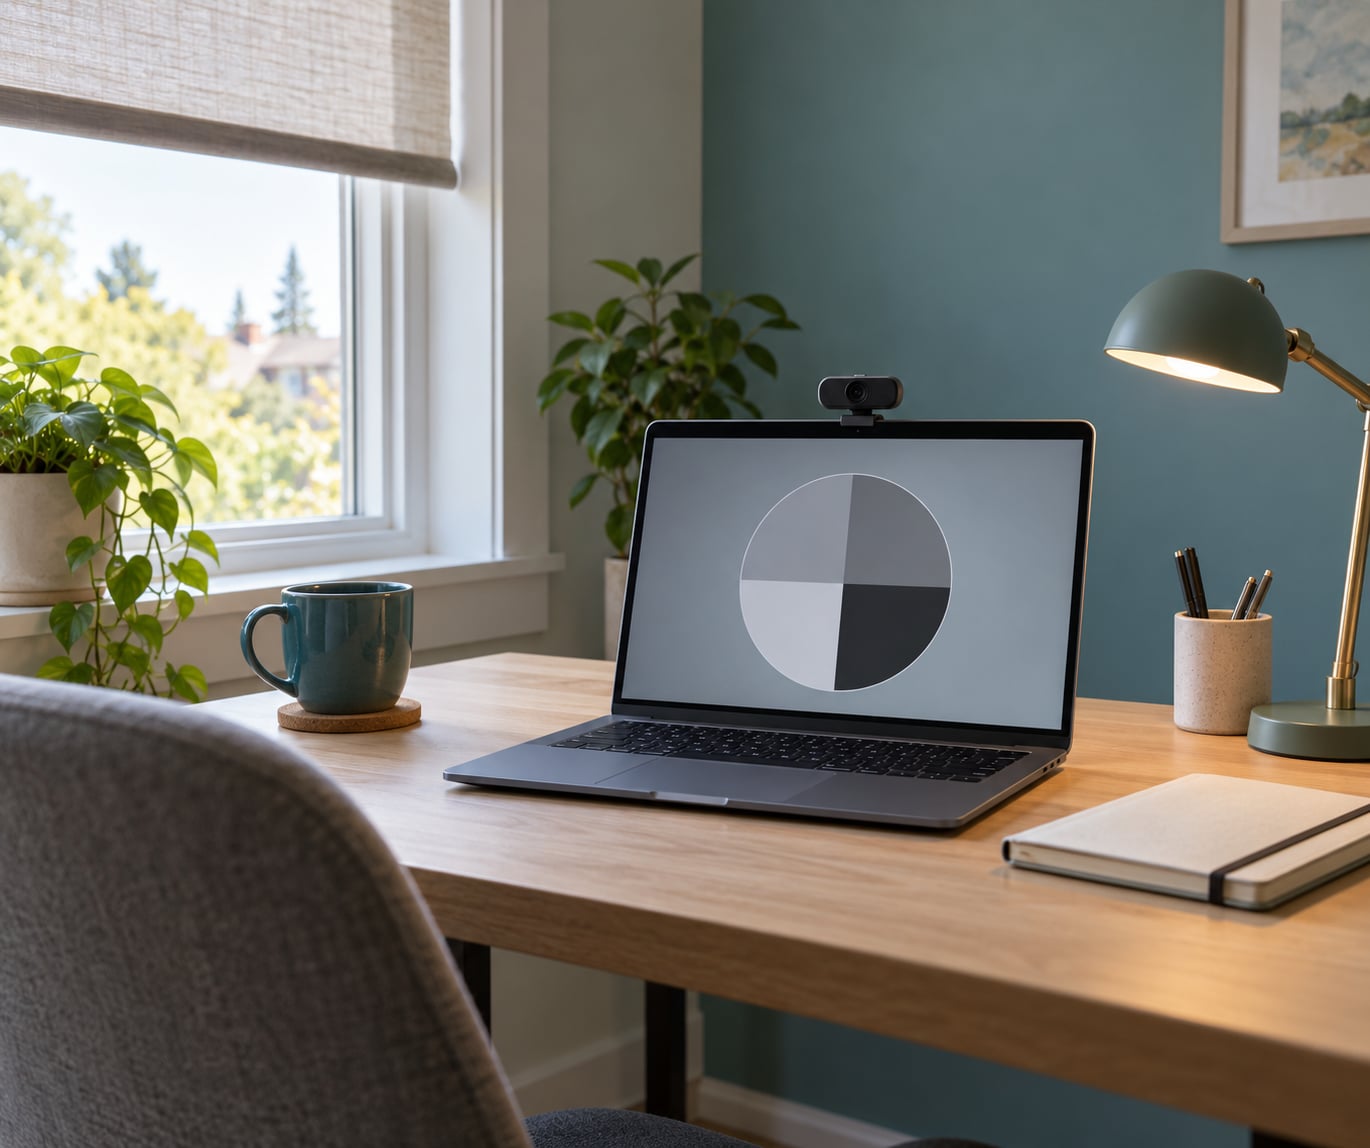
Run this test before you keep the camera: sit at your normal spot with a printed test chart or a grid of text on your screen, then record ten seconds facing the window, ten seconds with the light beside you, and ten seconds with the light behind you. Backlighting blows out the window and leaves your face in shadow, and no camera fixes that except one with wide dynamic range working hard. If the front-lit clip looks clean and the backlit clip looks awful, the problem is your desk, not the webcam.
4. Decide Whether You Need a Microphone
Treat the built-in microphone as a starting point, not a spec to shop on. Every webcam has one, and the gap in quality between them matters less than where it sits and what your room sounds like.
A microphone mounted on your camera, roughly half a metre away, will pick up your typing, your chair, your desk fan and the far wall. In a quiet room with a soft chair and a rug, that is fine. In a room with a hard floor, an air vent or a shared wall, it is not, and no amount of camera quality repairs it.
A separate USB microphone placed fifteen to twenty centimetres from your mouth solves voice pickup properly because it hears less room. A headset does the same and keeps you in one device, which matters if you move between calls and rooms.
Where you buy the microphone matters less than where you put it. Check that whatever you choose works with your calling platform without extra software, and that it does not fight your Bluetooth headset for the same connection.
5. Check Connection, Privacy and Smart Features
Confirm the port before you commit. Most webcams ship with USB-A, and plenty of newer laptops have only USB-C, so you may need an adapter or a hub, and on a thin laptop with two ports that hub may also be your charging port. Some newer webcams ship USB-C only, which is the reverse problem on older machines.
Privacy controls are worth more attention than most buyers give them. A physical shutter or lens cover that you can slide closed is different from an app setting, because it holds even when the app is misbehaving. People in shared or family homes mention this constantly, and owners of the Logitech C920s Pro in r/workfromhome threads name the slide-down shutter as the specific reason they paid more for that model.
Then sort the smart features into two piles. Genuinely useful: a hardware mute button you can find without looking, automatic exposure correction that handles a cloudy afternoon, and platform-agnostic virtual backgrounds if you travel. Probably friction: companion apps that want permissions you do not need, head tracking that drifts off your face mid-sentence, and auto-framing that crops you at the wrong moment.
There is no penalty for choosing a webcam that works across Zoom, Teams, Meet and Discord with no driver install. Reliability across platforms is a real buying factor, and many home office buyers treat it as one.
6. Match the Webcam to Your Setup and Budget
Three tiers cover almost every home office. Match your tier to the weakest part of your setup rather than the strongest.
| Tier | Typical trade-off | Best fit | Watch out for |
|---|---|---|---|
| Laptop built-in camera | Free, no extra hardware | Occasional calls in a bright room | Fixed focus, top-mounted angle, noisy mic, poor low light |
| External 1080p webcam | Big jump in image and audio for modest spend | Daily standups, client calls, interviews | Check the mount fits your monitor thickness |
| Premium 4K or large-sensor model | Better low light and framing controls, much higher spend | Recording, teaching, presenting, shared rooms | Extra detail is discarded on most calls |
Budget guidance without exact numbers: if your laptop camera looks fine in daylight and only struggles after dark, spend on lighting before hardware. If the image is soft and the framing is fixed, an external 1080p model is the upgrade that matters. Save the premium tier for work you record or broadcast rather than calls you join.
Mounting is part of choosing, not an afterthought. Monitor clips need enough bezel to grip and can slip on thin displays. Laptop risers put the camera near eye level but take desk space. Tripods take the most room and hold the steadiest. Whichever you pick, the goal is a lens at eye level, stable enough that a bumped desk does not end the shot.
7. Test Before You Keep It
Spend ten minutes on a real test before the return window closes. A webcam is one of the few purchases where the spec sheet cannot tell you what you need to know.
- Join a real call from the room you will actually use, not an empty test room.
- Check the frame at your normal sitting position: head centred, some headroom, no ceiling dominating the shot.
- Lean forward and back and watch for hunting or slow refocusing.
- Ask someone on the call whether your face is evenly lit and your colour looks natural.
- Speak for thirty seconds and ask how the audio sounds, whether your keyboard carries, and whether there is echo.
- Test the mute button and the privacy shutter without hunting for them.
- Switch between a screen share and camera view to confirm both behave.
- Check the return window length and who pays return shipping before you unbox anything.
Most disappointing cameras turn out to be badly placed rather than badly made. Raising the camera a few centimetres, turning it away from the window and moving the microphone closer usually fixes what a more expensive model was going to.
Common Mistakes
Buying resolution instead of the whole image is the most common error. More pixels cannot rescue weak lighting, slow focus, aggressive compression or a camera pointed at the wrong angle, and in a dim room a higher resolution can look worse than a lower one. Evaluate the whole picture instead: exposure, colour, focus speed and framing, all judged in your room at your normal call time.
Ignoring background noise and microphone placement comes next. Echo, fan noise and clattering keys undermine a call no matter how clean the video is. Improve the position first: closer microphone, softer surfaces, door closed. When the room itself is the problem, add a dedicated microphone rather than a better camera.
Paying for features that add daily friction is the quiet one. Elaborate software, subscriptions, companion apps and clever auto-framing get used once and then become a permissions dialog you dismiss every morning. Basic autofocus, automatic exposure and a physical privacy control should work reliably without any app at all, and everything else is optional.
Quick Tips for Better Home Office Video
Keep the camera at eye level and look into the lens for the last few seconds before you speak. Face a soft light source so the brighter side of your face is turned toward the window. Wipe the lens, because a fingerprint at close range is softer than anything a resolution upgrade can fix. Use a plain, uncluttered background, since a virtual background costs processing power and often has edge artefacts around hair. And prefer a wired connection or strong Wi-Fi, since a stalled upload destroys the image no camera can rescue.
Frequently Asked Questions
Do I need a separate webcam if my laptop has a built-in camera?
Not always. A built-in camera handles occasional calls in a bright room, but it is fixed-focus, sits above your screen at an unflattering angle and usually sits further from your mouth, which hurts the audio. If you are on calls most days, work in a dim room, or your laptop is a few years old, an external webcam is usually the cheapest real improvement available.
Is a 4K webcam better for Microsoft Teams and Zoom calls?
Usually not. Both platforms compress the outgoing stream to fit your connection, so most of the extra 4K detail is discarded before anyone sees it. On a typical home connection you receive a 720p to 1080p picture regardless of the camera. A large sensor in a 1080p model often produces a cleaner evening picture than a 4K model with a small sensor, and recording work is where 4K starts to pay off.
Should I use the webcam microphone or buy a separate USB microphone?
Start with the built-in microphone and judge it in your own room. If you hear your keyboard, a fan or echo from the walls, move closer to the mic or switch to a separate USB microphone about fifteen to twenty centimetres from your mouth, or a headset if you move between rooms. Better camera hardware will not fix a microphone that is too far away in a hard, echoey space.
Will any USB webcam work with my laptop and video-call app?
Almost any modern USB webcam works with Zoom, Microsoft Teams and Google Meet with no driver installed, on both Windows and macOS. The two things worth checking are the port type, since many webcams ship with USB-A and newer laptops often only have USB-C, and the number of free ports, since a thin laptop may need a hub to charge and call at the same time.
What should I test before returning a webcam?
Run a real call from the room you will use. Check framing at your normal sitting height, lean forward to test autofocus speed, ask someone how the lighting and colour look, and speak for thirty seconds so they can report keyboard noise and echo. Confirm the mute button, the privacy shutter, the return window length and who pays return shipping before you unbox anything.
Conclusion
Start with lighting, focus and reliable audio, because those three decide how professional you look. Pick 1080p at 30 fps for everyday calls and step up only when you record or broadcast. Confirm the port, the platform compatibility and the return window, then test the webcam in the room you actually use before it goes back in the box.