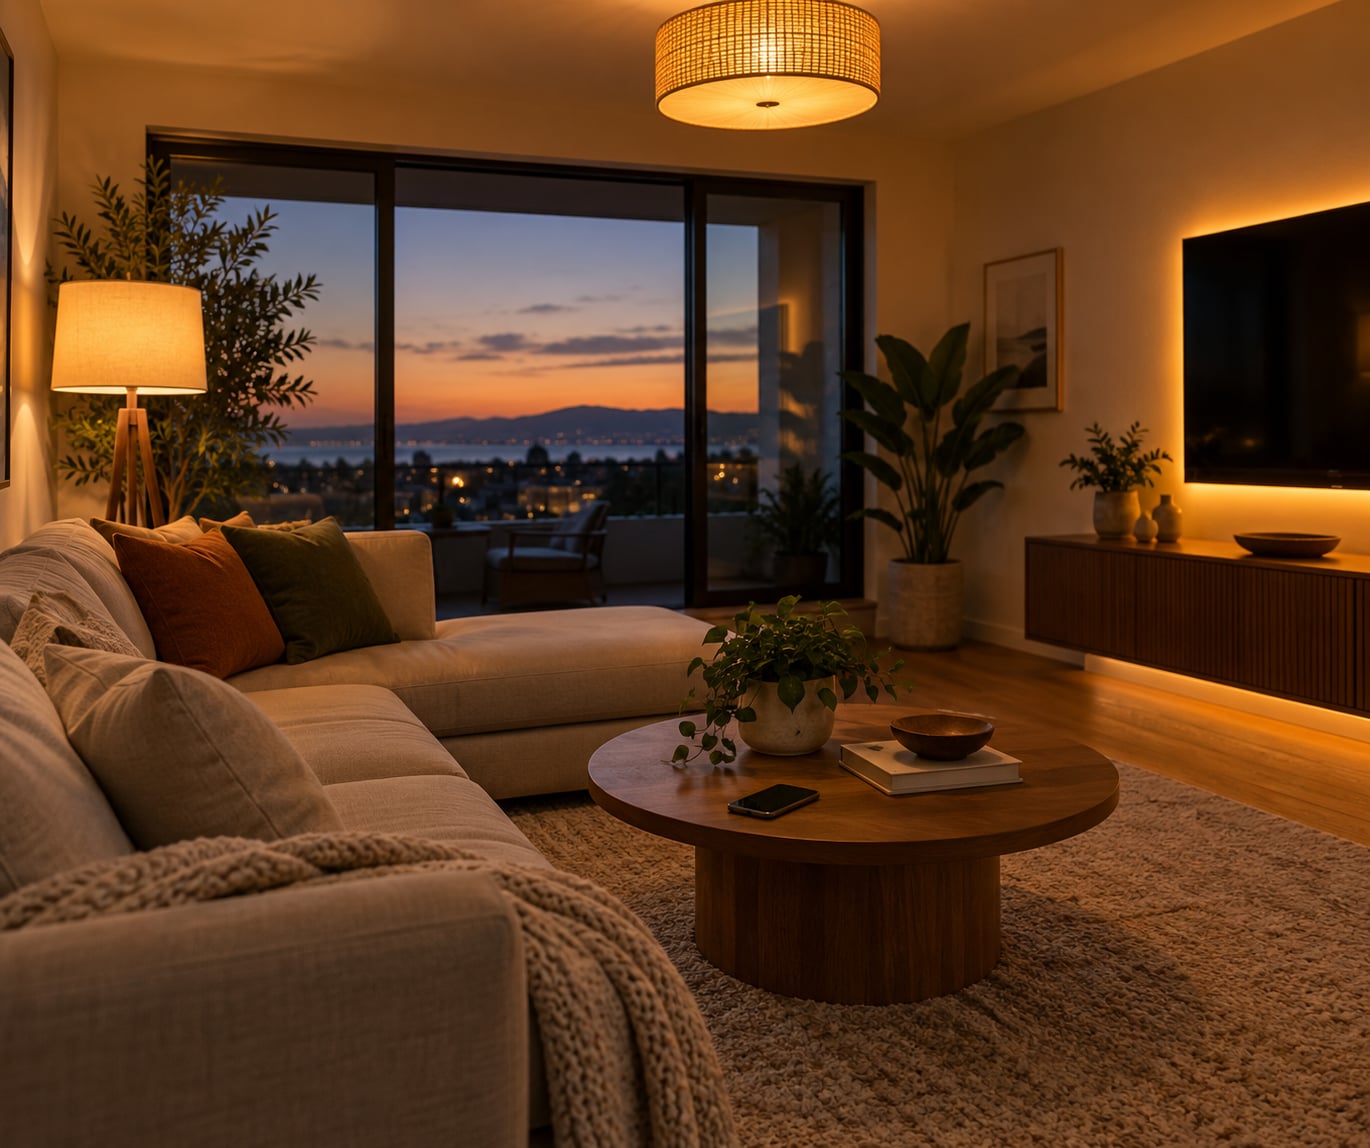
A smart lighting scene is a saved preset that sets the brightness, colour and colour temperature of one or more lights at once, so the whole room changes mood with a single tap, button, voice command or schedule. To learn how to set up smart lighting scenes in a living room, the work breaks into five stages: pick lights from one ecosystem, add and name them, save your first scene, assign triggers, then test and tune. Most first-timers finish the hardware in an afternoon and spend the following evening adjusting brightness levels until the room feels right.
One thing worth saying early. A scene is not the same as a light, a room or a group. The light is the bulb. The group is the set of bulbs you control together. The scene is the saved combination of brightness and colour you can recall any time. Once those three ideas sit clearly in your head, the rest is mostly tapping through menus.
The menu names below follow the common pattern used by Xiaomi/Mi Home, Philips Hue, Tapo, Govee, LIFX and HomeKit apps. Labels shift between versions, so look for the tab called Scenes, Scenes and Routines, or Automations rather than memorising a path.
Table of Contents
- What You Need
- How to Set Up Smart Lighting Scenes in a Living Room
- 1. Choose Compatible Smart Lights
- 2. Add and Name Each Light
- 3. Create the First Lighting Scene
- 4. Add Controls and Automations
- 5. Test and Refine the Scenes
- Common Mistakes
- Frequently Asked Questions
- Do smart light bulbs need a hub to create scenes?
- What smart lights are best for a living room scene system?
- How do I create a movie-night lighting scene?
- Can I control smart lighting scenes with Alexa, Google Assistant, or Siri?
- Why is one smart bulb not responding to a scene?
- Should I use a wall switch to activate a lighting scene?
- Conclusion
What You Need
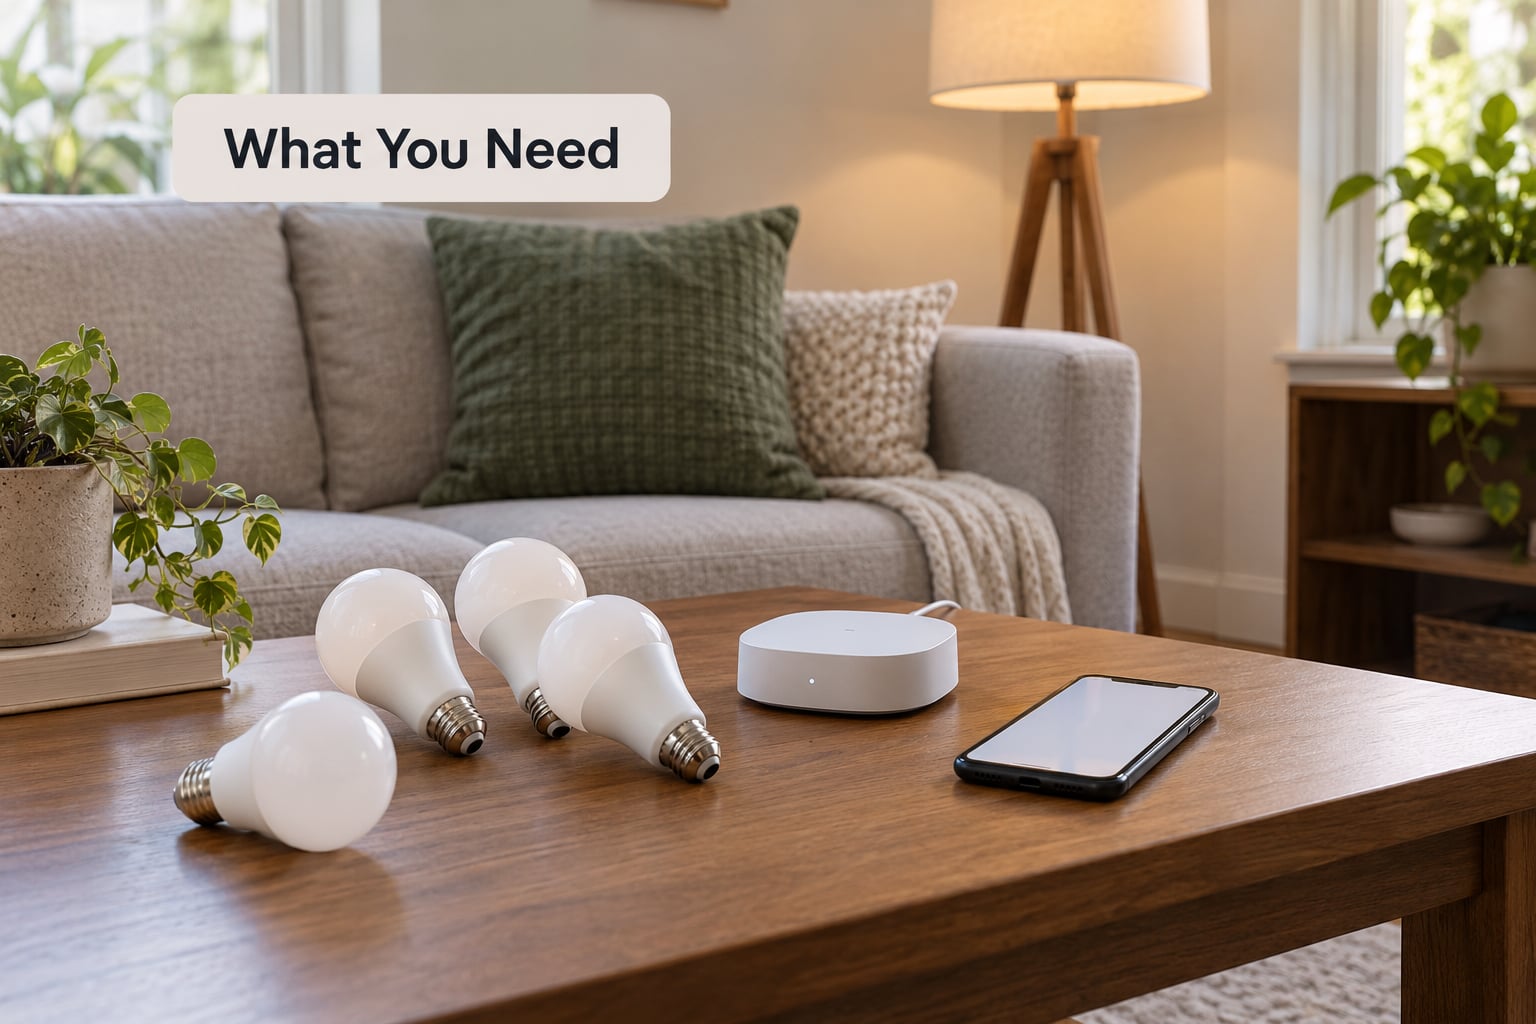
Before anything else, gather the physical pieces so you can see whether they belong to the same system.
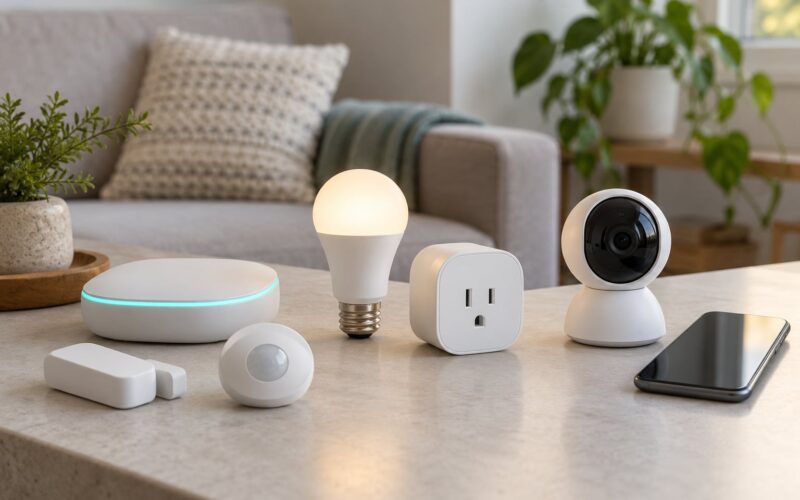
- Smart lights for the living room. A main ceiling light, a floor or table lamp, and ideally one accent light or LED strip behind the TV or along a shelf.
- A hub, bridge or none at all. Zigbee and Z-Wave bulbs need a hub or bridge. Wi-Fi bulbs talk to the router directly, which works but ties every scene to a stable 2.4GHz network.
- The manufacturer app and a phone. Scenes are created and stored in the app first. Voice assistants are added afterwards.
- A trigger, optional. A wall keypad, a wireless switch, a phone widget or a motion sensor makes scenes usable by guests and useful when your hands are full.
- A schedule you will actually keep. Decide now whether lights follow a time of day or a sunset trigger. It is harder to add later once you have five automations.
Two checks save the most frustration. First, confirm your router serves 2.4GHz, because a lot of Wi-Fi smart bulbs will not join a 5GHz-only network. Second, if you plan to fit smart wall switches rather than smart bulbs, open the switch box and check for a neutral wire. Bulbs sidestep the whole question because the existing switch just stays on.
How to Set Up Smart Lighting Scenes in a Living Room
1. Choose Compatible Smart Lights
Compatibility decides whether scenes work smoothly or become a two-app juggling act. Bulbs, strips, lamps, hubs and any smart switch should all sit in the same ecosystem, whether that is Mi Home, Hue, Tapo, LIFX, Govee or HomeKit.
Check four things before you buy. The connection type, whether it is Wi-Fi, Zigbee, Z-Wave or Matter. Whether the bulb is tunable white, because a scene without colour temperature control can only change brightness, not warmth. Whether a hub is required for that model. And whether your preferred voice assistant can see the brand, either natively or through the app’s own integration.
For a living room, tunable white matters more than RGB. Warm-to-cool white changes how a room feels far more than a rainbow does, and most people end up using colour only for a holiday accent. Mixing brands across rooms breaks grouping and voice control, which is a complaint that comes up constantly in smart-home forums, so pick one platform and stay with it for the first setup.
2. Add and Name Each Light
Put each light into pairing mode, which usually means a three-second press on the bulb, a pinhole button on the lamp, or holding a button on the strip controller. Add it in the app while your phone is on the same 2.4GHz network for Wi-Fi bulbs.
Assign every light to a room called Living Room, not to a default room or none at all. Then give each one a plain name you will say out loud: Main Lamp, Floor Lamp, TV Backlight, Accent Strip. Consistent names matter more than expected, because voice commands fail when one bulb is called Living Room Light 1 and its neighbour is called Lamp.
Check each light individually before moving on. Set it to 30% brightness, save that, then try 80%. If the bulb flickers at low levels, it may sit too close to a dimmer or be a poor match for the fixture.
3. Create the First Lighting Scene
Open the Scenes or Automations area, create a new scene, then choose the lights it should control. Set brightness and colour temperature for each one individually rather than applying the same value to all, because a floor lamp and a ceiling light at the same percentage look nothing alike.
Save it, then name it for the moment it serves. Movie Night, Relax, Bright Conversation, Reading Corner. Purpose-based names are easier for everyone in the household, including guests, to pick correctly.
Start every new scene at a 2-second fade rather than a hard switch. The fade reads as calm instead of abrupt, and it makes evening scenes feel less like the lights snapped on.
| Scene name | Brightness | Colour temperature | Best for |
|---|---|---|---|
| Movie Night | 10-20% | 2200K | TV viewing, LED strip behind the screen |
| Relax | 25-35% | 2400-2700K | Evening unwinding, background ambience |
| Reading Corner | 70% task lamp, 15% rest | 3000K | Long sessions in an armchair |
| Bright Conversation | 100% | 4000K | Daytime, guests, video calls |
| All Off | 0% | Any | Leaving the room or going to bed |
These are starting values. The right level depends on your bulb output, your shades and how dark the room gets after sunset, which is exactly why the last stage matters.
4. Add Controls and Automations
A scene that only lives in an app is a demo. Real scenes get triggers.
- App and phone widget. The quickest option and the one to set up first.
- Voice assistant. Link the account in the Alexa, Google Home or Siri app, then name the scene the way you named it in the manufacturer app. Assistant names are their own field, so check both.
- Wall switch or keypad. Popular because Wi-Fi bulbs need constant power, so a wall switch wired behind a bulb has to stay in the on position and become a scene trigger instead of a power cut.
- Schedule or sunset trigger. Fade the room to Relax at sunset on a weekday, and up to Bright Conversation at 8am. Both are standard automation triggers.
- Motion sensor. Good for a hallway or reading corner. Less good in a living room, where people sit still.
One rule about wiring. If a trigger means fitting or rewiring a wall switch, follow the manufacturer’s instructions for that switch, turn the power off at the breaker first, and have a qualified electrician handle anything you are unsure about. A scene you can trigger from the sofa is not worth a faulty connection.
5. Test and Refine the Scenes
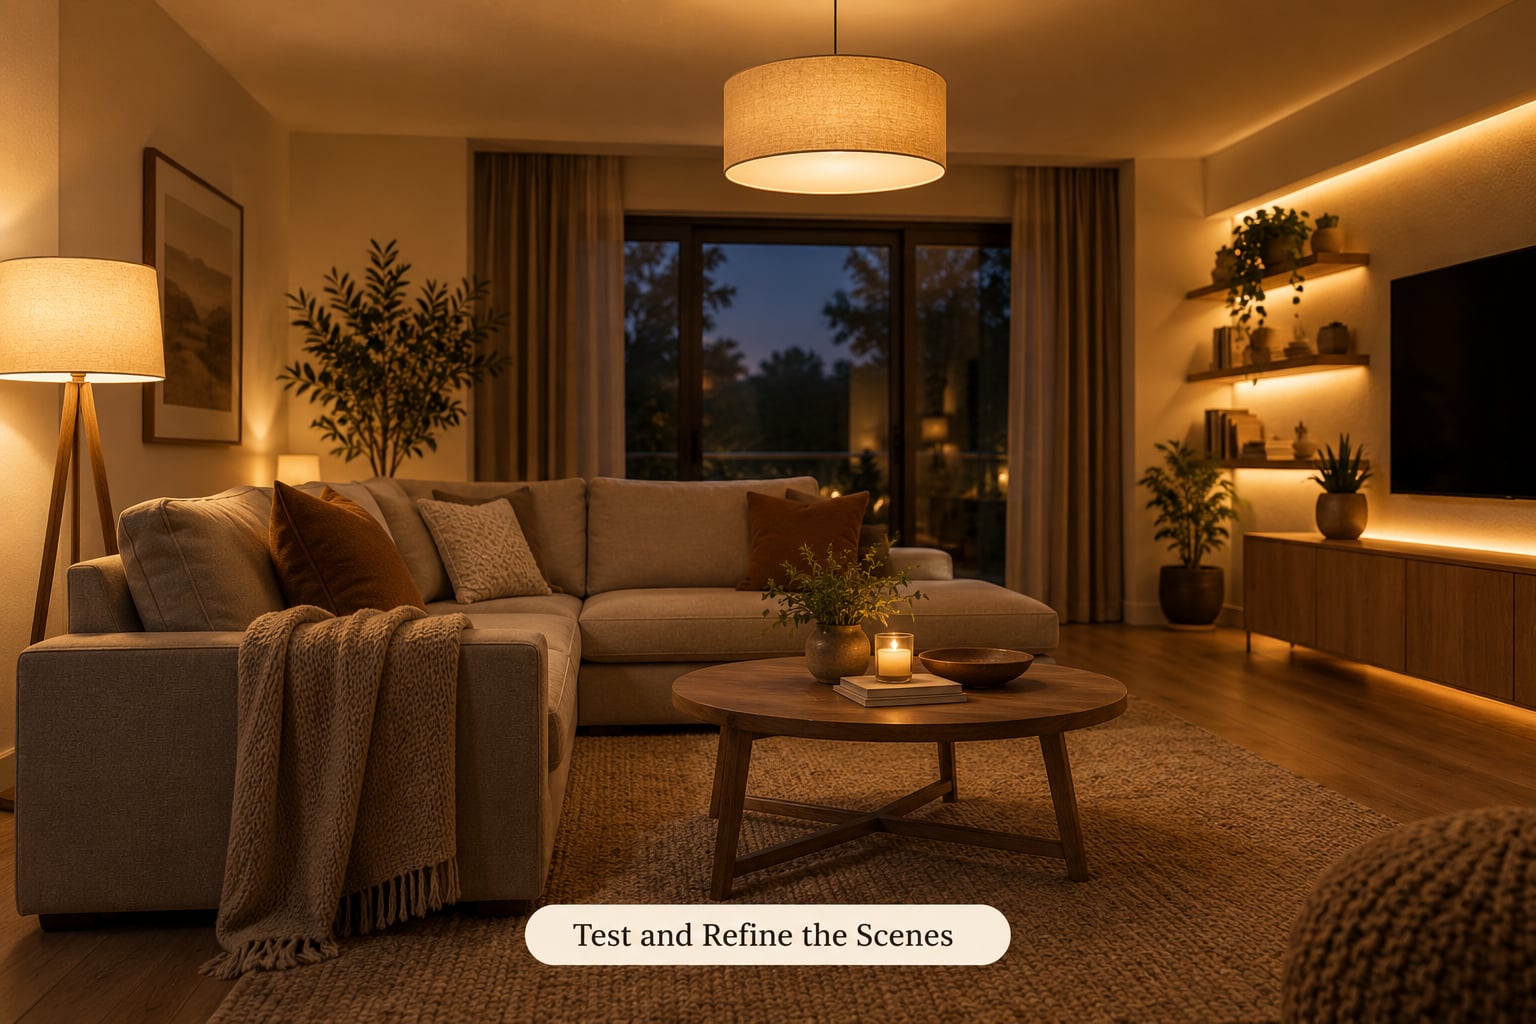
Fire each scene and stand in the middle of the room, not next to the sofa. Check every light individually: the one you forgot to include, the one set to the wrong level, the one flickering at 15%.
Then run the rest of the routine. Trigger each scene from the app, from voice, and from the wall switch if you fitted one. Confirm the scheduled automations fire on time. Pull the router briefly, or turn the hub off and on, and see whether your scenes still run afterwards. If a scene depends on the internet and the router is down, you will find out now rather than during a film.
Fine-tuning happens at night, because that is when the room matters most. Turn one light down 10%, add a second to the group, and stop as soon as it reads well rather than simply bright. Comfortable beats maximum.
Common Mistakes
- Mixing ecosystems. Lights from two brands rarely group cleanly, and voice assistants end up controlling only part of the room. Choose one platform first.
- Unstable Wi-Fi. Wi-Fi bulbs that drop off leave scenes half-applied, with some lights on and others dark. A 2.4GHz-only network, or a hub, is the fix.
- Wall switches cutting power. With bulbs, the physical switch stays on. With smart switches, the device must sit on the neutral wire.
- Wrong room assignment. A light added to no room or the wrong room shows up in the wrong scene list. Assign rooms before building scenes.
- Presets that are simply bright. A scene at 100% across every light looks like an office. Use the cheat-sheet values as a floor for adjustments.
- Forgotten default state. Decide what the room looks like when nothing triggers, otherwise the last scene sticks around for hours.
- Duplicate automation triggers. Two routines on the same sunset time can fight each other. Delete the older one before adding a new version.
- Three-way switches. The most common source of confusion. Many smart switches do not work with them, and smart bulbs are the simpler route.
A few tips that keep things tidy. Build one everyday scene before you build any automation. Name scenes by purpose rather than by device. Write your trigger list down, so you know what the room is supposed to do. And test everything at night, when you are the only person in the room.
Frequently Asked Questions
Do smart light bulbs need a hub to create scenes?
Usually not for Wi-Fi bulbs, which connect straight to your 2.4GHz network and let you build scenes in the manufacturer app. Zigbee and Z-Wave bulbs do need a hub or bridge, because they cannot reach the internet on their own. Check the product listing or the box: if it mentions a bridge, gateway or hub, you will need one before scenes work.
What smart lights are best for a living room scene system?
Start with tunable white bulbs, meaning they cover warm to cool white, because that shift changes a room far more than colour does. Good candidates for the living room are a main ceiling light, a floor or table lamp for task lighting, and one LED strip behind a TV or along a shelf for accent. Pick all of them from one ecosystem so they group properly.
How do I create a movie-night lighting scene?
Create a scene containing the ambient lights only, excluding the main ceiling light. Set each light to 10-20% brightness at around 2200K, add your LED strip at a slightly warmer level, and add a 2-second fade. Name it Movie Night and save. In HomeKit, Google Home and Alexa, check the scene name field separately so your voice command matches what you see in the app.
Can I control smart lighting scenes with Alexa, Google Assistant, or Siri?
Yes, after you link the account. In the Alexa, Google Home or Home app, add the lighting service or home, then sign in to the manufacturer account and grant permission. Your scenes appear alongside individual lights, usually under Scenes or Routines. If a command fails, check that the name you say matches the name in the assistant app, not only the name in the lighting app.
Why is one smart bulb not responding to a scene?
Usually one of four causes. The bulb is offline, often after a network change or a power cut. It sits on a different network from the others. Its name differs slightly from the ones grouped in the scene. Or it was never included in that scene at all. Open the light in the manufacturer app, confirm it responds to a manual on, then re-save the scene.
Should I use a wall switch to activate a lighting scene?
Yes, if people other than you use the room. Smart-home users commonly mount a wireless switch or keypad so guests can recall a scene without opening an app. With smart bulbs, keep the existing wall switch permanently on and use the smart switch only as a trigger. With fitted smart switches, confirm a neutral wire is present and follow the manufacturer’s instructions or call an electrician.
Conclusion
The first useful step is deciding on one ecosystem and confirming your lights will join it, because every later decision depends on that choice. How to set up smart lighting scenes in a living room beyond that point is mostly naming and timing. Add three lights, name them plainly, and save one everyday scene at Bright Conversation levels for daytime and one at 25-35% around 2700K for evenings. Only then add a voice trigger, a wall switch or a schedule.
Test every scene from the app, from voice and from the physical controls, and adjust the numbers at night until the room reads comfortable. Two well-tuned scenes beat ten unfinished ones, and guests will use them without being asked.