If you want to know how to back up an Android phone to Google, the short answer is three taps deep: open Settings, find the Backup entry for your Google account, and turn it on. Once it is on, Android copies your photos, contacts, apps, messages and settings to your account automatically over Wi-Fi. The whole thing takes about two minutes to set up, and the part most people skip is the last one — confirming the backup actually ran before you erase or sell the phone.
I have written this for Android 15 and 16 phones running stock Android, One UI and HyperOS, because the Backup menu sits in three different places depending on who made your handset. Samsung hides it in the Google account page, Xiaomi buries it under Additional settings, and Pixel keeps it where Google expects it.
Table of Contents
- What You Need
- How to Back Up an Android Phone to Google: Step-by-Step
- Step 1: Sign In and Check Your Google Account
- Step 2: Open Your Device Backup Settings
- Step 3: Choose What to Back Up
- Step 4: Turn On Google Photos Backup
- Step 5: Start and Verify the Backup
- Step 6: Restore Google Backup on a New Phone
- Common Mistakes
- Tips and Good Habits
- Frequently Asked Questions
- Does backing up an Android phone to Google include WhatsApp messages?
- Why does my Google Photos backup show pictures but they are not on my new phone?
- How long does a Google Android backup take to complete?
- Can I back up an Android phone to Google without a Wi-Fi connection?
- Will restoring a Google backup recover my old app data?
- Where is the backup option on a Xiaomi or Samsung Android phone?
- Conclusion
What You Need
Before you start, four things have to be true:
- A Google account signed into the phone. Open Settings and check Accounts. If nothing is listed, add one first.
- A connection you trust. Backups are large. Wi-Fi is strongly preferred; mobile data can chew through your data allowance fast.
- Free space in that Google account. Backups now draw on the same 15 GB that Gmail, Drive and Google Photos share, so an account sitting at the limit will silently fail.
- Ten minutes of charge. Android will not start a full backup below roughly 20% battery, and it will happily cancel one when battery saver kicks in.
Now the part nobody tells you. Google Backup does not copy everything on your phone. WhatsApp conversations, most banking apps, authenticator apps and anything sitting in a hidden folder such as Android/data are not covered. Neither are photos and videos that live only in a gallery app with sync switched off. Back those up on their own before you assume you are safe.
System updates deserve the same treatment. Take a manual backup before you install one, so you have something to fall back on if the new build mangles your settings.
How to Back Up an Android Phone to Google: Step-by-Step
Run through these in order. The first three steps set the backup up, steps 4 and 5 handle photos and verification, and step 6 covers what happens when you pick up the new phone.
Step 1: Sign In and Check Your Google Account
Open Settings, tap Accounts or Account & accounts, then Google. Your account appears with an email address underneath it. Tap it and you land on the account overview screen.
Read that email address carefully. Backups attach to whichever account is signed in, and if you have a work account and a personal one on the same handset, the wrong choice here is the single most common reason people find their contacts missing later.
If no account is listed, tap Add account and choose Google. Sign in, accept the prompts, and come back to this step once the account shows as active.
Step 2: Open Your Device Backup Settings
Backup lives in a different spot on every skin. Use the row that matches your phone:
- Pixel and most stock Android: Settings, then System, then Backup. Google also buries it at Settings andgt; Google andgt; Manage your Google Account andgt; Device Backup.
- Samsung One UI: Settings andgt; Accounts andgt; Google, tap your email, then Manage backup and restore or Backup and restore.
- Xiaomi and Redmi, MIUI and HyperOS: Settings > Additional settings > Backup, or Settings > Google > Account sync > Backup.
- Motorola: Settings > System > Backup and restore.
On Samsung and Xiaomi you may find the toggle first and the account selector further down. If Backup is attached to the Google account page rather than the main system menu, that is normal on those two — the toggle still controls the same device backup.
Step 3: Choose What to Back Up
Turn on Back up. Google stores a rollback copy of the device and every backup shares one timestamp, so the categories below are not separate backups you can run independently.
- Apps and app settings — the app list and each app’s preferences, where the app allows it.
- Call history, SMS and contacts — messages and recent calls, subject to carrier limits.
- Calendar and notes — entries tied to your Google account.
- Device settings — wallpaper, layout, keyboard, most system preferences.
- Documents and files — anything Google has indexed to Drive.
Photos are the exception and are handled separately. Open the Google Photos app and confirm the toggle is on, because a perfect device backup with photo backup switched off will still leave you without your pictures.
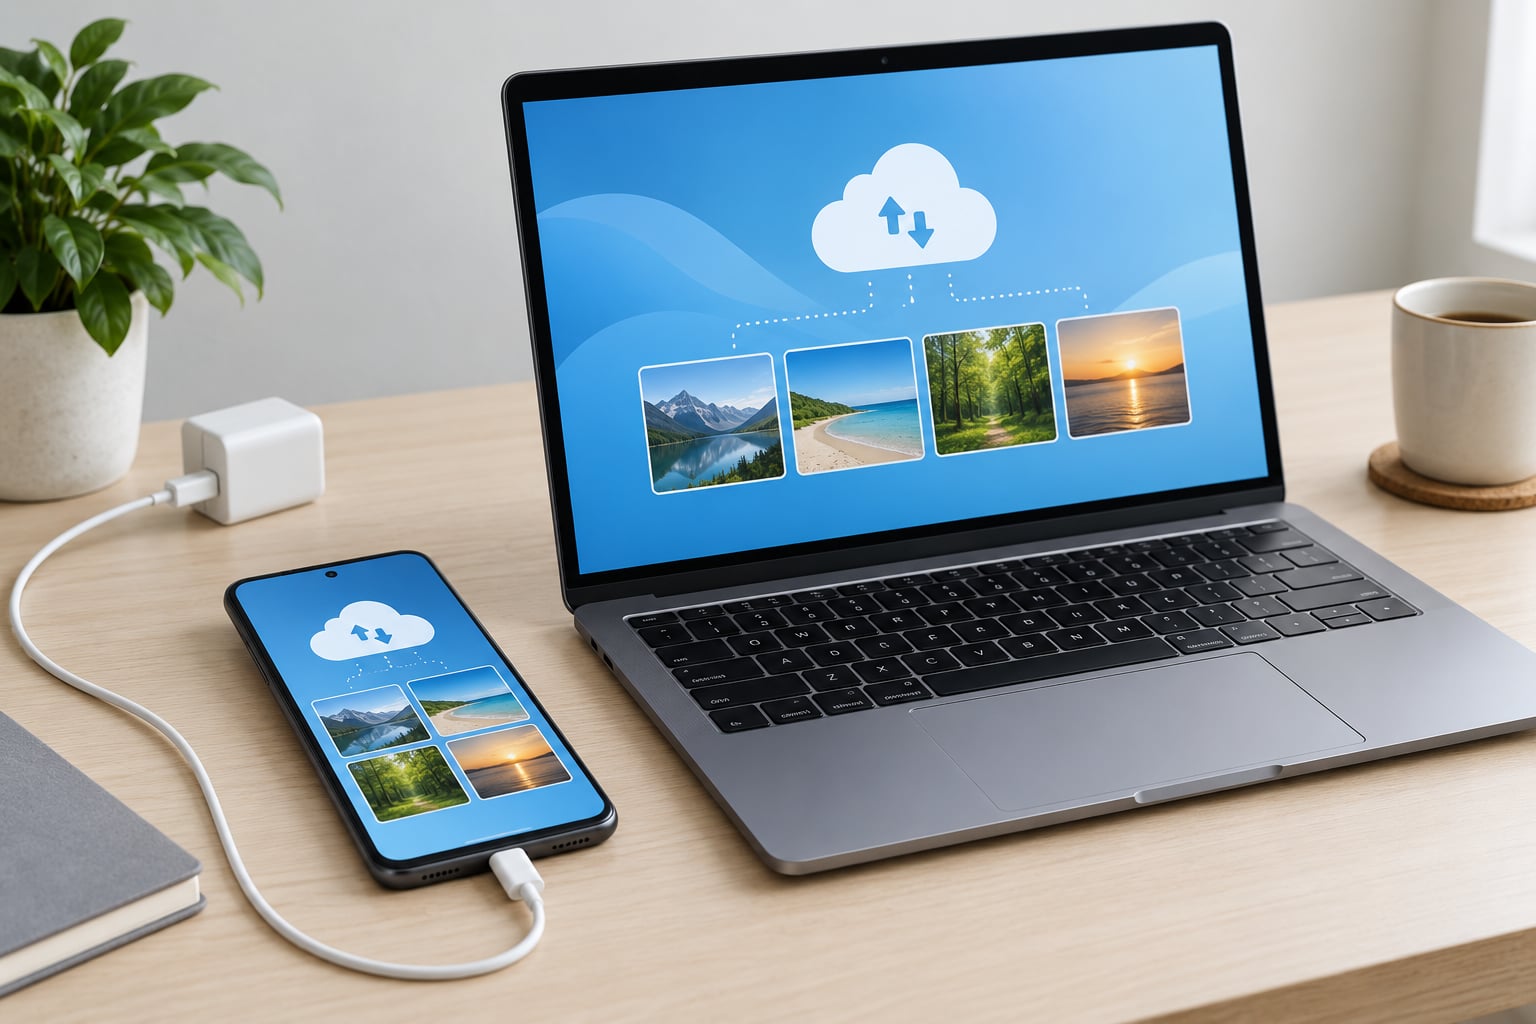
Step 4: Turn On Google Photos Backup
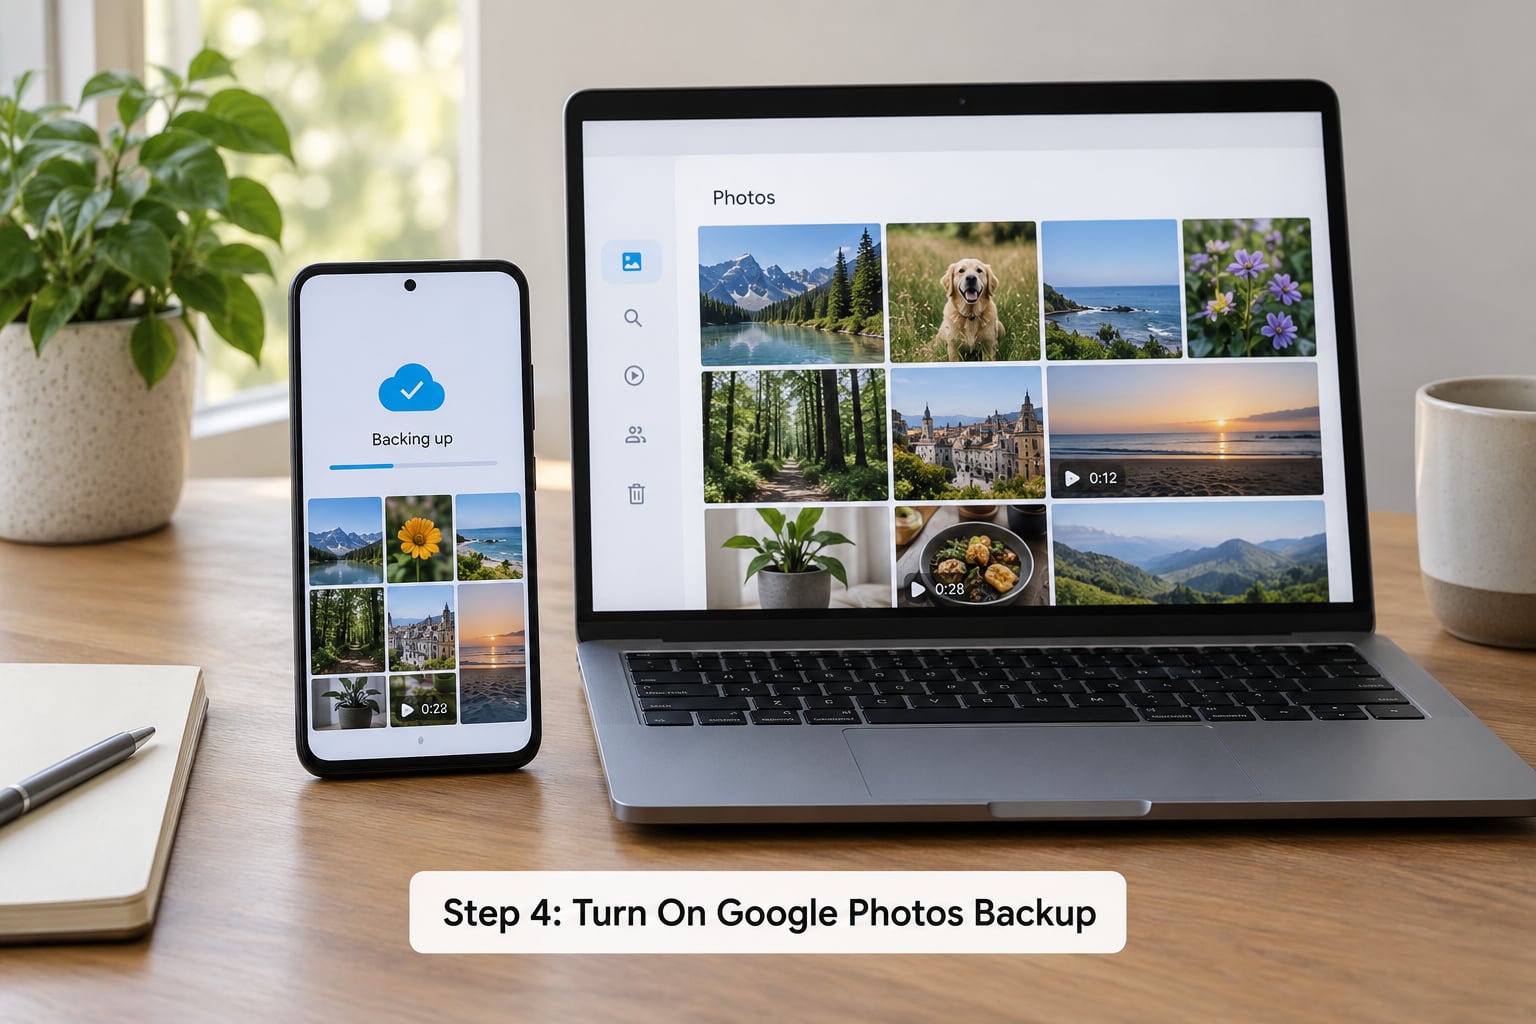
Open Google Photos, tap your profile picture in the top right, then Back up. Switch it on. Two decisions matter here.
Storage saver compresses photos to roughly 16 megapixels and Storage saver videos to 1080p, which stretches your 15 GB noticeably further. Original quality keeps the full-resolution file and eats storage quickly if your camera shoots 50-megapixel images. If you plan to print, crop heavily or keep the shots as masters, Original is worth the space.
Now the warning that catches people out. Turning on Free up space deletes the device copies of photos and videos that are already backed up, so the album then lives in the cloud only. That is fine on an unlimited-data plan and a disaster on a capped one, so read it before you tap it.
For individual albums, open the album, tap the three dots and choose Backup. Camera and Screenshots are on by default; your messaging and download folders usually are not.
Step 5: Start and Verify the Backup
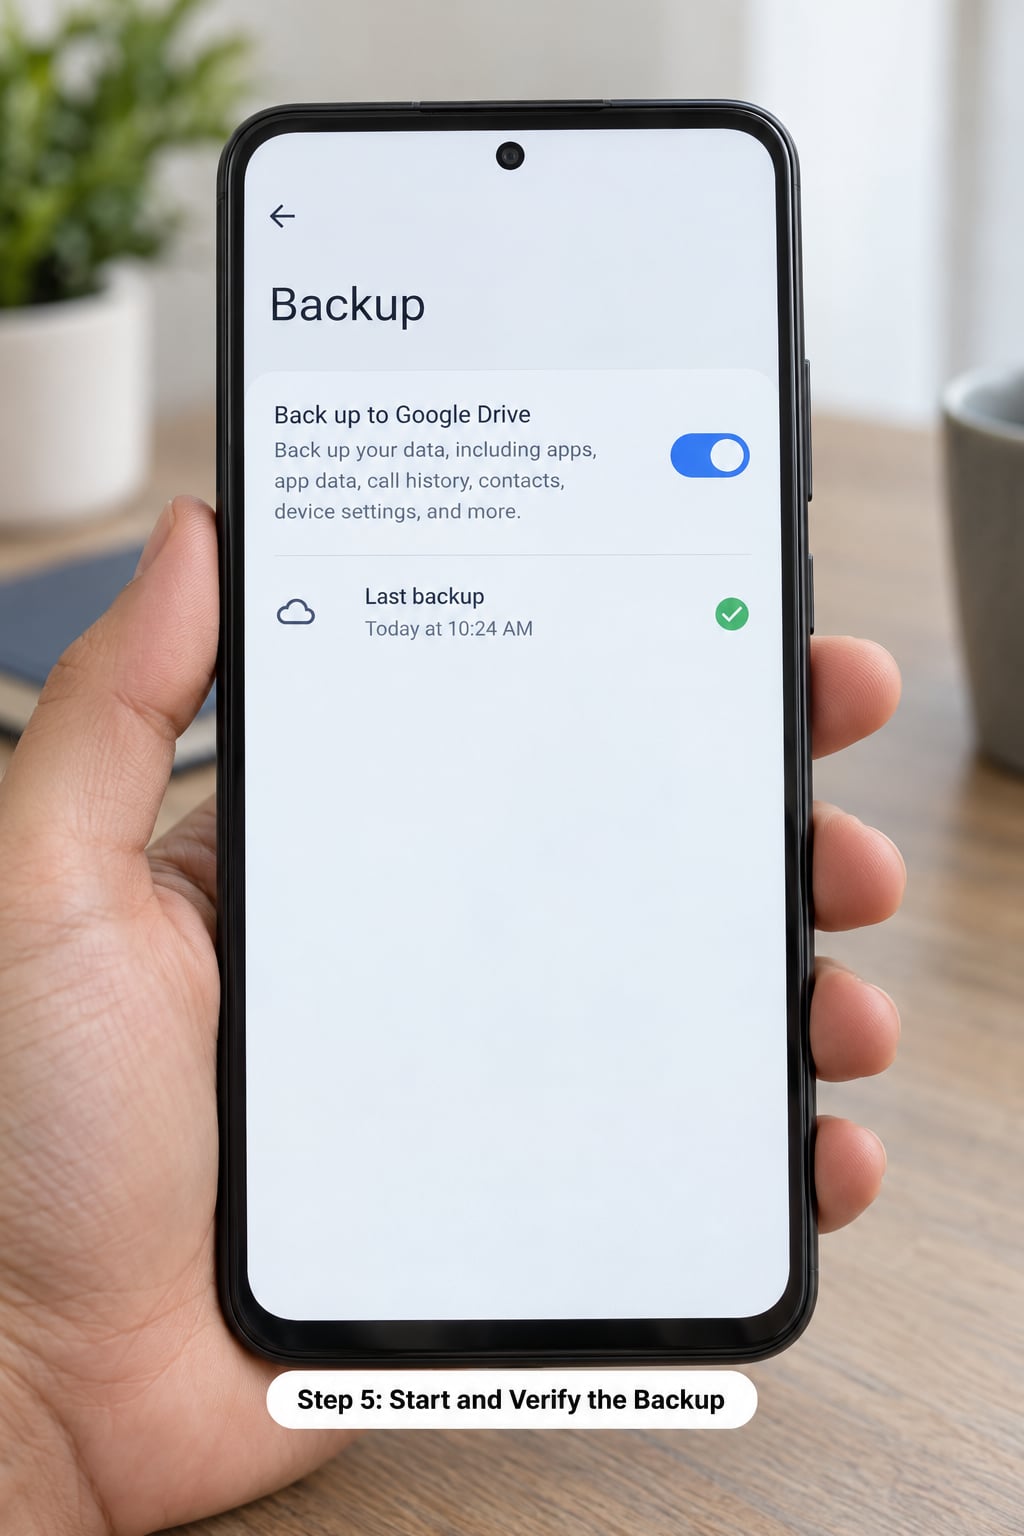
Return to the Backup screen and tap Back up now. Plug the phone in and leave it alone; a first full backup on a phone with a few years of photos can run 20 to 60 minutes on a normal connection.
When it finishes, the same screen shows Last backup with a date and time. That timestamp is your only real proof the backup worked, and it is the thing you should check before any reset, trade-in or upgrade.
No timestamp, or one that says Never? Something interrupted it. Check free space in your Google account, confirm Wi-Fi is connected, turn battery saver off, then tap Back up now again. On many devices the screen needs a pull-to-refresh or a trip through Settings before the new time appears.
Step 6: Restore Google Backup on a New Phone
On a brand new phone, turn it on and connect to Wi-Fi. Sign in with the same Google account during setup and the restore option appears — tap Restore. Android then downloads your apps, contacts, messages and settings, often in stages across the first hour.
If you are already past setup, add the account and open Settings > System > Backup, then choose Restore. Some versions offer a Fresh backup picker with a timestamp.
Photos come back through Google Photos, not the device backup, so they can appear after the device restore finishes. What does not come back: anything from apps that never shared data, WhatsApp chats without a separate backup, and some banking or authenticator data. Settings that restore slowly are usually just still syncing — leave the phone on charge and give it an hour.
Common Mistakes
Last backup says Never, or an old date. Android skipped it. Battery saver, low battery, a full Google account and switching Wi-Fi for mobile data are the usual triggers. Fix all four, then trigger it manually.
Contacts missing after a restore. Contacts sync separately from the device backup. Check Settings > Accounts > Google > your account and confirm the Contacts toggle is on, then look at contacts.google.com to see whether your list actually reached the cloud.
Photos gone despite a green tick. Check the trash first. Google Photos keeps deleted items for up to 60 days, and users on Reddit’s r/googlephotos community repeatedly recover apparently lost photos that way. If Google Photos offers you a Review out of sync changes prompt, accept it — that is the tool for pulling back photos it thinks changed elsewhere.
Backups suddenly failing. Android backup data now counts toward the shared 15 GB Google Account storage. When Gmail and Drive fill it, the device backup quietly stops. Free room in Drive first, then retry.
No restore prompt after a factory reset. People on r/AndroidQuestions report Google Support telling them some models simply never offer the screen. If that happens, restore contacts at contacts.google.com and pull photos from photos.google.com in a browser.
Couldn’t finish restoring the backup. This one annoys people on r/GooglePixel, and it usually is not a total loss: settings and apps often arrive while one item fails. Finish setup, check what landed, and pull anything missing from the web services directly.
Tips and Good Habits
Leave automatic backup on and stop thinking about it for day-to-day use. Open Settings > Backup every few weeks anyway — a ten-second glance at the timestamp catches a failed run long before it matters.
Run a manual Back up now before any major system update, before a factory reset and before you hand the phone over to someone else. It costs nothing and it takes a coffee break.
Use two methods for anything you would be genuinely upset to lose. Google Photos plus a manual copy in Google Drive or on a laptop covers the gap where a single toggle misses.
Export contacts to a CSV from contacts.google.com once a year. Cloud sync silently fails, and a flat file on your computer is immune to that.
Keep the Wi-Fi only switch on for photos if your data plan is capped, and leave battery saver out of the equation during backups. Both are one tap to change and both are the most common reasons a backup stalls at 90%.
Frequently Asked Questions
Does backing up an Android phone to Google include WhatsApp messages?
No. Google Backup copies Android-level data such as contacts, SMS, call history, apps and settings, but it does not back up your WhatsApp chat history, media or stickers. WhatsApp keeps its own encrypted backup in Google Drive or iCloud, and you run that separately from Chats u0026gt; More u0026gt; Settings u0026gt; Chat backup. Back up WhatsApp first, then run the Google device backup.
Why does my Google Photos backup show pictures but they are not on my new phone?
Usually one of three reasons. Photos restore through the Google Photos app, so open it and wait for the sync to finish, which can take hours on a large library. Or the photos only appeared backed up after a recent change and have not uploaded yet. Or they were deleted and are sitting in the Google Photos trash for up to 60 days, where you can restore them from the app or from photos.google.com in a browser.
How long does a Google Android backup take to complete?
A small, recently set up phone usually finishes in a few minutes. A phone holding several years of photos and lots of apps can take 20 to 60 minutes on Wi-Fi. Keep the phone plugged in and screen awake, and leave it alone. If it is still going after two hours, check Google account storage first, since a full 15 GB allowance stops backups outright.
Can I back up an Android phone to Google without a Wi-Fi connection?
Yes, but read the cost first. Mobile data backups can run through a monthly allowance in minutes, especially on a photo-heavy phone. Android 15 and 16 let you require Wi-Fi for the device backup in the Backup menu, and Google Photos has its own backup network setting with the same option. Turning Wi-Fi only on is the simplest way to keep a backup from becoming a bill.
Will restoring a Google backup recover my old app data?
Partly. Restoring reinstalls your apps and restores settings and preferences where each app allows it. Banking, authenticator and payment apps deliberately block external backup, so those you set up by hand. WhatsApp, some games and anything stored only in an app’s private folder come back empty too. Back those up inside their own apps before you reset or trade in the phone.
Where is the backup option on a Xiaomi or Samsung Android phone?
On Xiaomi and Redmi, open Settings u0026gt; Additional settings u0026gt; Backup, or Settings u0026gt; Google u0026gt; Account sync. On Samsung One UI, open Settings u0026gt; Accounts u0026gt; Google, tap your email address, then Manage backup and restore. Both routes reach the same toggle and the same Last backup timestamp, so pick whichever your phone shows.
Conclusion
Start by opening Google Photos and confirming backup is switched on, since that is the piece device backup cannot cover. Then run a device backup from Settings, keep the phone charging, and go back to the same screen to see the Last backup timestamp update.
Once that timestamp is current, you can reset, sell or upgrade the phone with a fair amount of confidence. Anything the service skips — WhatsApp, authenticator apps, banking data — back it up in its own app first.