To take night photos with a phone camera, clean the lens, turn on Night mode, point the rear camera at your subject, tap to focus on the brightest part of the scene, and hold the phone completely still until the capture finishes. That last part is where most people lose the shot.
A good night photo takes about 15 seconds of setup and 5 to 30 seconds of standing very still, depending on how dark it is. Difficulty is low once you stop moving.
Phones do not have a dedicated night sensor, so everything they do after dark happens in software. Your handset stacks several short exposures into one image, which is exactly why any wobble ruins the result. If you understand that one mechanic, the rest of this guide follows naturally.
Table of Contents
- What You Need
- Step-by-Step: How to Take Night Photos with a Phone Camera
- 1. Clean the lens and choose the right camera
- 2. Find more light and stabilize the phone
- 3. Open Night mode and set exposure
- 4. Take several photos and keep the phone still
- 5. Review, edit, and share the clearest result
- Common Night Photography Mistakes
- Frequently Asked Questions
- How to take night photos with a phone camera on a budget Android?
- How long should I wait for a Night mode photo to finish?
- Should I use the flash when taking night photos?
- Can I photograph people at night without ghosting them?
- Why do my night photos look so noisy?
- What is the longest handheld exposure for a phone at night?
What You Need
Almost any Android phone made in the last six or seven years has Night mode built in, and it runs automatically whenever the camera thinks the scene is dark. You do not need to buy anything to get started.
What you do need is light. Even a dim room beats a pitch-dark street, and moving your subject a metre closer to a lamp changes the photo more than any setting. Indoor restaurant shots, lit shopfronts, streetlamps and a clear horizon all work.
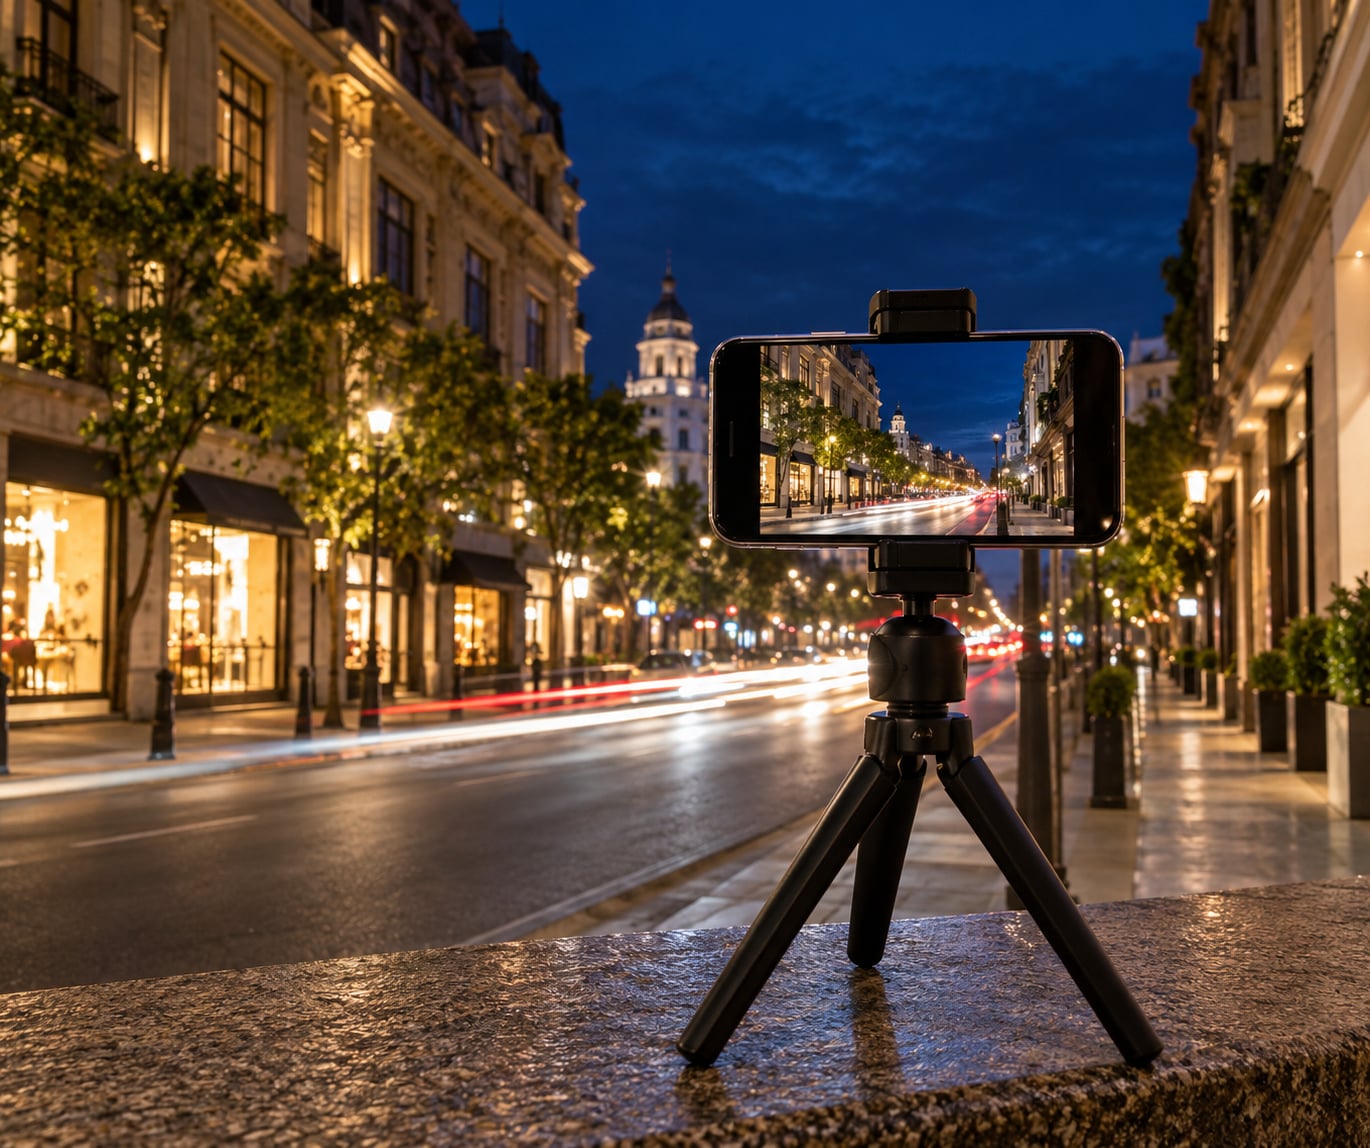
For stability, start with two hands and something solid to lean on — a wall, a railing, a table edge, a fire hydrant. A phone tripod with a Bluetooth remote is the next step up, and it matters most for the longest captures. If your phone lacks optical image stabilization, or the scene is genuinely dark, a tripod is not optional.
One accessory I keep coming back to is a second device. Holding a flashlight slightly off to the side while a long capture runs lights the foreground without flattening it like the built-in flash. That is how you get a person readable next to a night landscape.
Step-by-Step: How to Take Night Photos with a Phone Camera
Menu names differ by manufacturer, so you will see Night mode, Night Sight, Nightography, Super Night and Ultra Bright Night all meaning the same family of modes. Here is the process, then the exact tap paths.
1. Clean the lens and choose the right camera
Wipe the rear lens with a soft cloth before every night session. Greasy fingerprints scatter light and turn bright lamps into fuzzy blobs, and plenty of people blame the camera for a smudged lens.
Switch to the rear camera at 1x, the widest lens you have. Pinching to zoom crops the sensor, which throws away detail and leaves Night mode with less light to work with. On plenty of Android phones, Night and Pro modes refuse to leave the main lens anyway, so the zoom buttons simply do nothing useful.
If you want a tighter framing, walk closer or crop afterwards. That is the advice that comes up most often from people who shoot night scenes regularly, and it is right every time.
2. Find more light and stabilize the phone
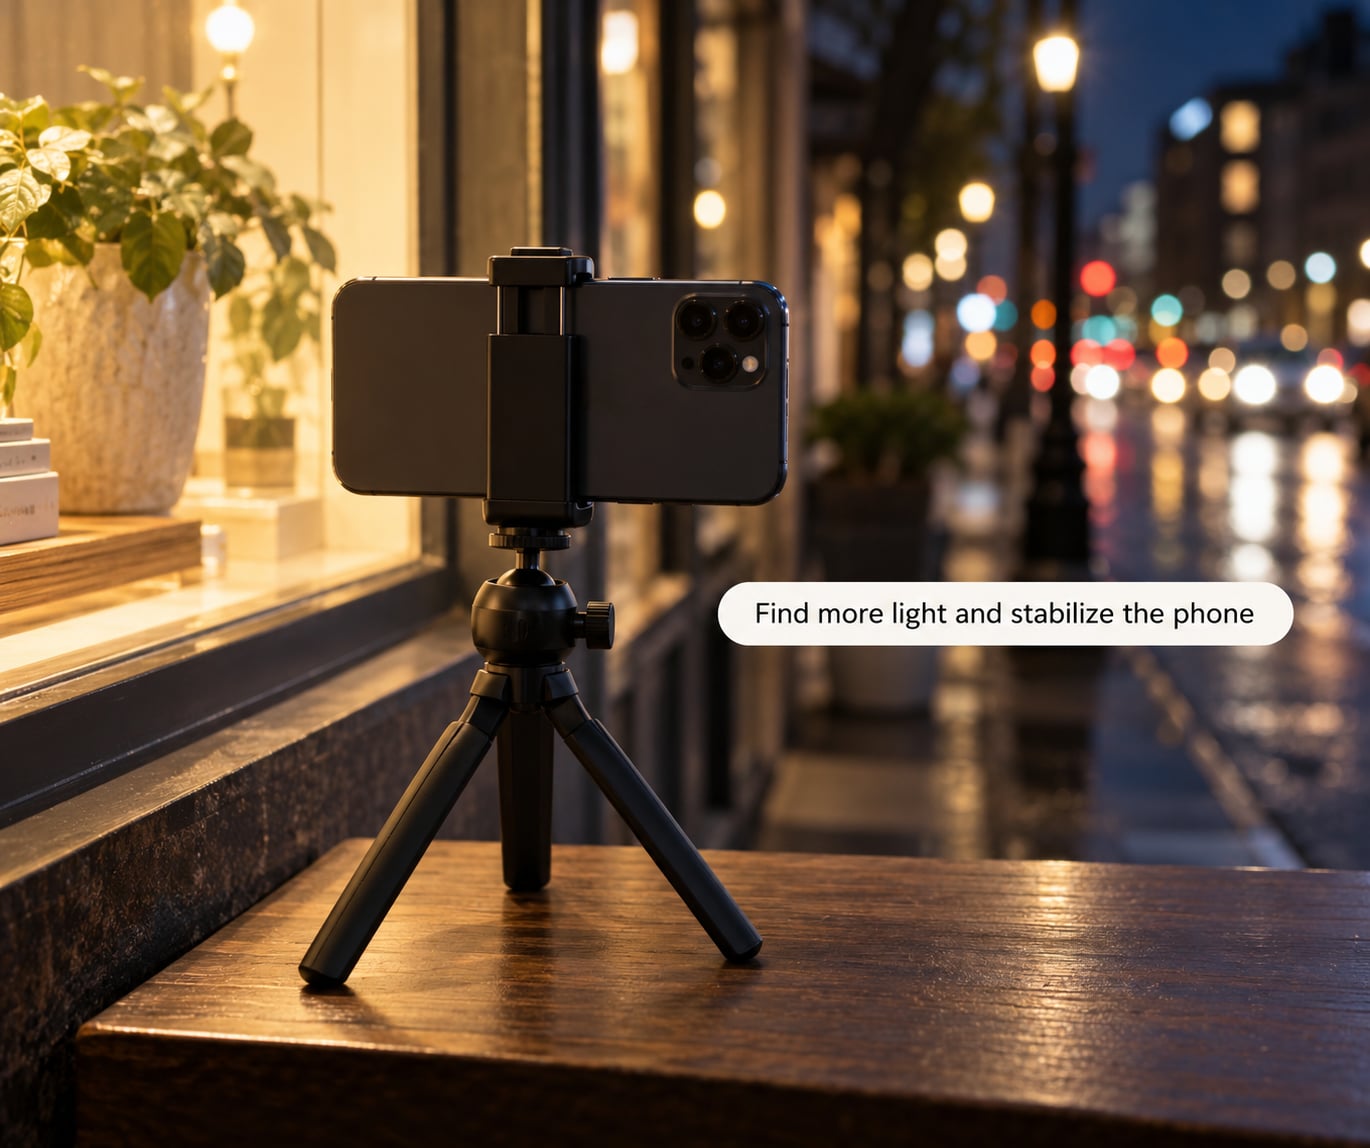
Position your subject next to an existing light source rather than trying to create one. A lamp, a window, a streetlight, a lit sign — the closer the better, because exposure time falls as light rises.
Then brace the phone. Elbows in, two hands wrapped around the body, back against something solid, and breathe out before you press the shutter. The capture can run several seconds, and a small drift of a few millimetres is enough to soften the whole frame.
There is a rough guideline photographers call the 500 rule: divide the lens focal length by 500 to get the longest handheld shutter. Phones use a fixed set of lenses rather than interchangeable glass, so treat it loosely — keep handheld exposures under a second or two, and use a support for anything longer.
The flash is usually the wrong tool outdoors. It lights a small circle near the camera, leaves everything beyond it black, and fires on every frame of a multi-frame capture. Reserve it for a subject at arm’s length in a genuinely dark place, and expect a red-eyed, flattened result.
3. Open Night mode and set exposure
Where the mode lives depends on the brand. These paths cover the majority of Android phones, plus iPhone for comparison.
| Phone | Where Night mode is | Maximum exposure |
|---|---|---|
| Samsung Galaxy | Camera, then swipe to More and pick Night, or tap the Night option on screen | Usually 30 seconds on flagships; some budget models stop at 2 seconds |
| Google Pixel | Camera, tap the Night Sight pill above the viewfinder | Up to about 30 seconds in very dark scenes |
| Stock or other Android | Camera, swipe the mode strip to Night | Typically 3 to 10 seconds |
| Xiaomi HyperOS | Camera, swipe to Night, or open Pro for full manual control | Night up to about 30 seconds; Pro is fully manual |
| iPhone | Camera, tap the moon-shaped Night mode control on screen | Roughly 3 seconds handheld, up to 30 seconds on a tripod |
Tap your subject to set focus. Aiming at the brightest lamp or the sky usually underexposes everything you care about, so focus on the subject and let the highlights clip a little instead.
Next, pull the brightness down. On most phones you can drag the exposure slider up or down after tapping. Night mode automatically lifts shadows so far that streets turn milky and flat; dropping exposure by a few notches keeps blacks black and lets the contrast come back.
Lock focus and exposure with a long press on the screen, so the camera does not hunt while you wait. If your phone offers Pro or Manual mode, three dials are worth learning: shutter speed, ISO and white balance.
As a starting point for handheld street shots, keep ISO as low as the phone allows, often 50 to 400, and set white balance manually to the warmest scene, around 3000 to 4000K, so streetlights do not turn your subject green. For a tripod shot, drop ISO to its lowest setting and lengthen the shutter.
4. Take several photos and keep the phone still
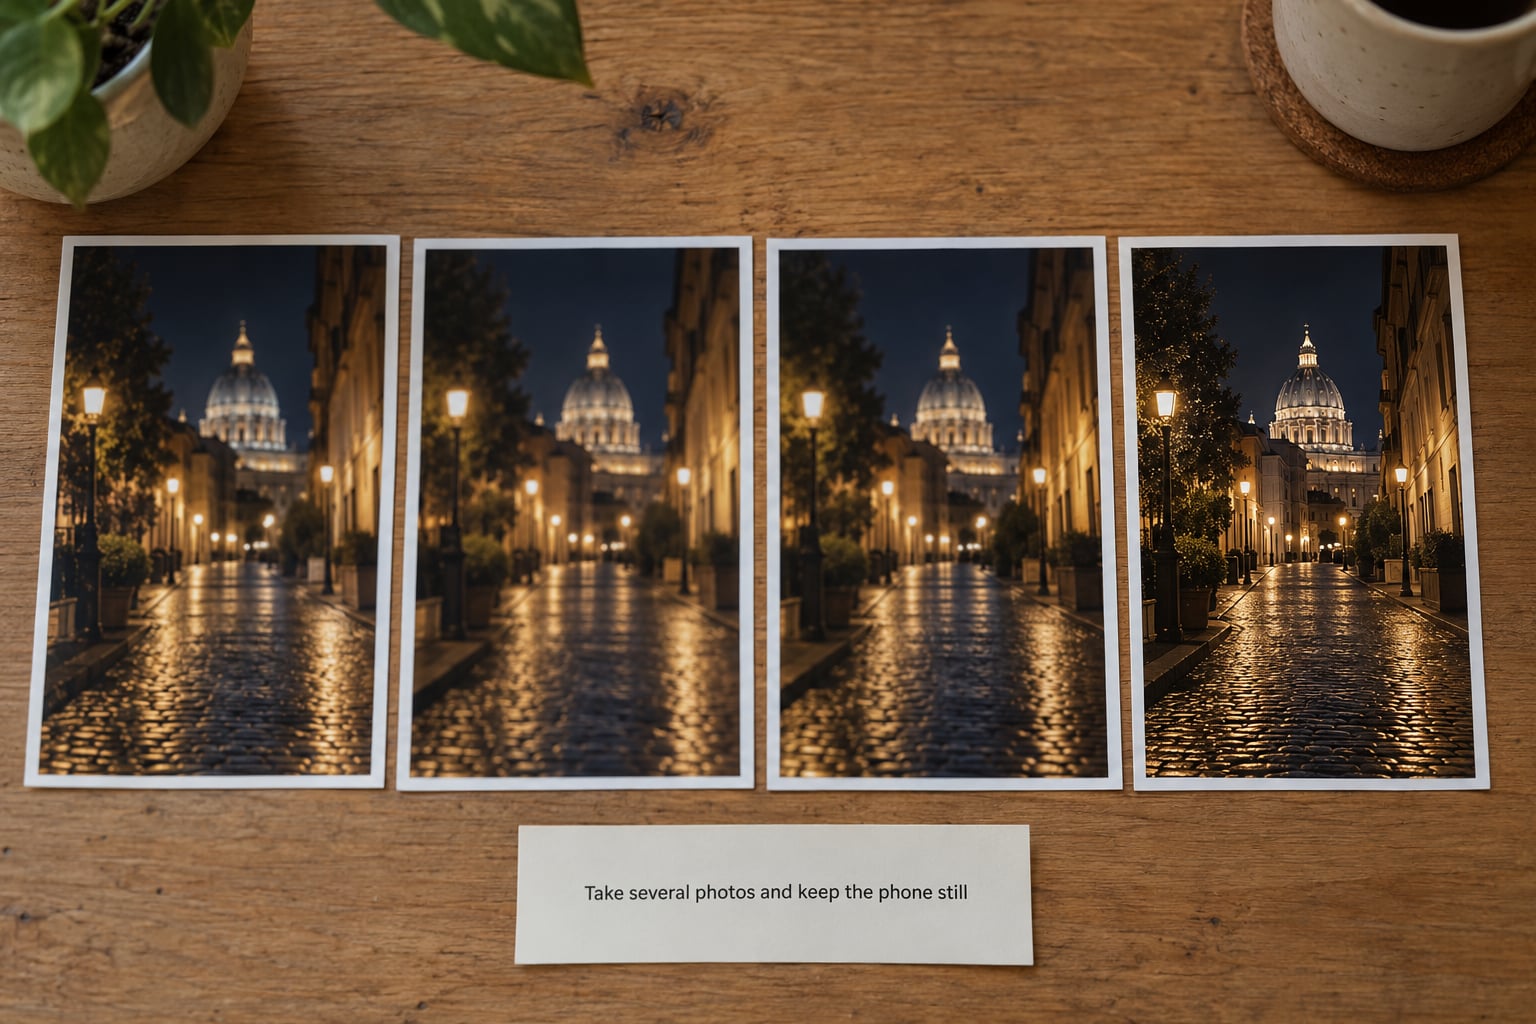
Watch the capture run to the end. Most Night mode captures take between 3 and 10 seconds, and the interface usually shows a countdown, a moving progress indicator or a crosshairs symbol that warns you it detected movement. If you shoot while it is still processing, you get the previous frame or nothing.
Take three to five versions of the same shot. Small differences in how you breathe and where you brace are the difference between one usable photo and four. Bursts can help, though some phones struggle to run Night mode in burst mode, so check that yours allows it.
A stationary landscape, an empty street or a building is the easy case. Moving people, pets and cars are the hard one: the stack blends your subject against a fixed background, so anything that shifts during a long capture turns into a faint double image. For moving subjects, shorten the capture, find more light, or accept a shorter exposure and raise ISO a little.
Without a tripod you can still cut noise by stacking frames yourself. Shoot six to ten short exposures of a static scene, then average them in a photo editor. Each frame carries different noise, and averaging cancels much of it out while keeping the detail.
5. Review, edit, and share the clearest result
Before editing, look at four things at full size: focus, shadow detail, highlight clipping and colour noise. If the brightest areas are pure white with no detail, you exposed too far, and editing will not bring them back.
Fix things in this order: lift exposure a little if the frame is too dark, pull highlights down to recover lamps, raise shadows only slightly, then add a modest amount of sharpening. Big brightness moves just amplify noise, so small ones only.
Editing paths differ by phone. Google Photos opens with tap, edit, then the adjustments wheel. Samsung opens the picture in Gallery, then the edit icon in the toolbar. Xiaomi galleries open the editor directly from the photo, with separate controls for exposure, contrast and colour. RAW captures open with the most headroom, but they also need more noise reduction.
If colour noise is the problem, converting to black and white genuinely helps. Grain looks far less objectionable as tone than as red and green speckles, and it is the quickest rescue when a shot is close but not quite clean.
Common Night Photography Mistakes
Almost every disappointing night photo falls into one of a handful of categories, and each has a fix.
| Symptom | Cause | Fix |
|---|---|---|
| Blurry or smeared | Hand movement during a multi-second capture | Brace the phone, exhale, use a timer or remote |
| Flat, milky, washed out | Night mode lifted shadows too far | Drag exposure down a few notches after tapping |
| Halos and glow rings around lamps | Stacking blends bright point sources across framesExpose slightly darker and crop tighter on the light | |
| Grainy colour speckle | High ISO forced by a long exposure | Add light, shorten the shutter, or stack frames manually |
| Doubled or ghosted person | Subject moved while frames were captured | Shorten the capture or keep the subject still for it |
| Orange or green skin | White balance guessed from mixed lighting | Set white balance manually in Pro mode |
| Dark corners or soft edges | Digital zoom cropping the sensor | Shoot at 1x and crop afterwards |
| Fuzzy light everywhere | Dirty lens | Wipe the lens with a soft cloth |
A few habits worth building in. Shoot during blue hour rather than full dark, when there is still colour in the sky. Look for reflections in wet pavement, which doubles the light you have. And keep taking pictures after you get the shot you wanted — night scenes reward volume more than any other kind of photography.
Frequently Asked Questions
How to take night photos with a phone camera on a budget Android?
Budget Android phones do have Night mode, and it works, but the limit is usually time. Many mid-range models cap the exposure at two or three seconds, so you need more light in the scene rather than more patience. Move your subject close to a lamp or lit window, keep the lens clean, and shoot at 1x with the camera braced. Lower-end sensors also gather less light, so expect more noise and plan to edit it down.
How long should I wait for a Night mode photo to finish?
Usually between 3 and 10 seconds, and longer in very dark scenes — some phones push to 30 seconds on a tripod. Wait for the interface to hand control back before shooting again; taking a second photo while processing usually returns the previous frame. If a progress bar or crosshairs symbol appears, that is the app telling you it detected movement. Stand still until it clears.
Should I use the flash when taking night photos?
Outdoors, almost never. The flash lights a small patch close to the lens, leaves the rest of the scene black, and fires on every frame in a multi-frame capture, which smears moving subjects. It only makes sense for something at arm’s length in a genuinely dark place, such as a person on a dark street. A second phone’s flashlight held off to the side is a far better fill light for large scenes.
Can I photograph people at night without ghosting them?
It is possible, but you work against the stacking process. Night mode blends several frames, so a subject who moves during the capture appears doubled. Shorten the exposure, find more light, or ask them to hold a position for the whole capture. Getting close also helps, since a brighter scene needs a shorter exposure. Some phones handle motion better than others, so test with a short test shot before the real one.
Why do my night photos look so noisy?
Noise comes from a long exposure combined with a high ISO, which amplifies both the signal and the sensor’s own electrical variation. You have three ways out: give the camera more light so it can use a lower ISO, shorten the exposure and accept a darker frame, or shoot several short frames and average them together. In editing, raise exposure gently, lift shadows only slightly, and keep sharpening modest.
What is the longest handheld exposure for a phone at night?
The 500 rule divides the lens focal length by 500 to give a maximum handheld shutter, but phone lenses are fixed and far shorter than interchangeable ones, so use it as a loose guide rather than a calculation. Practically, keep handheld exposures under one or two seconds and brace the phone. Beyond that, lean on something solid or mount it on a tripod, and use a Bluetooth remote or the self-timer so your hand never touches the shutter.
Start with the first three steps: clean lens, Night mode on, phone braced against something solid. Those three fix more bad night photos than any setting, and once you get them right, the rest is just practice and editing.