Knowing how to use a phone tripod for better shots takes about five minutes of setup and saves every blurry shot you were about to retake. You set the stand on something solid, clamp the phone in, turn on the gridlines, and fire the shutter with a timer or a Bluetooth remote instead of your thumb. That is genuinely the whole technique.
The hard part is not the hardware. It is the three things most people skip: opening the legs properly, giving yourself enough time to get into frame, and turning image stabilization off once the phone is standing still.
Table of Contents
- What You Need
- Step-by-Step: How to Use a Phone Tripod for Better Shots
- Set the Tripod on a Stable Surface
- Mount and Balance the Phone
- Frame the Shot Before Recording
- Use Lighting and Camera Controls
- Record, Review, and Adjust
- Where a Tripod Makes the Biggest Difference
- Common Mistakes
- Frequently Asked Questions
- Do I need a tripod for phone photography?
- Should I turn off image stabilization when using a phone tripod?
- How do I attach my phone to a tripod without an adapter?
- How do I connect a Bluetooth remote to my phone tripod?
- Why are my tripod photos blurry?
- What can I use instead of a tripod for my phone?
- Conclusion
What You Need
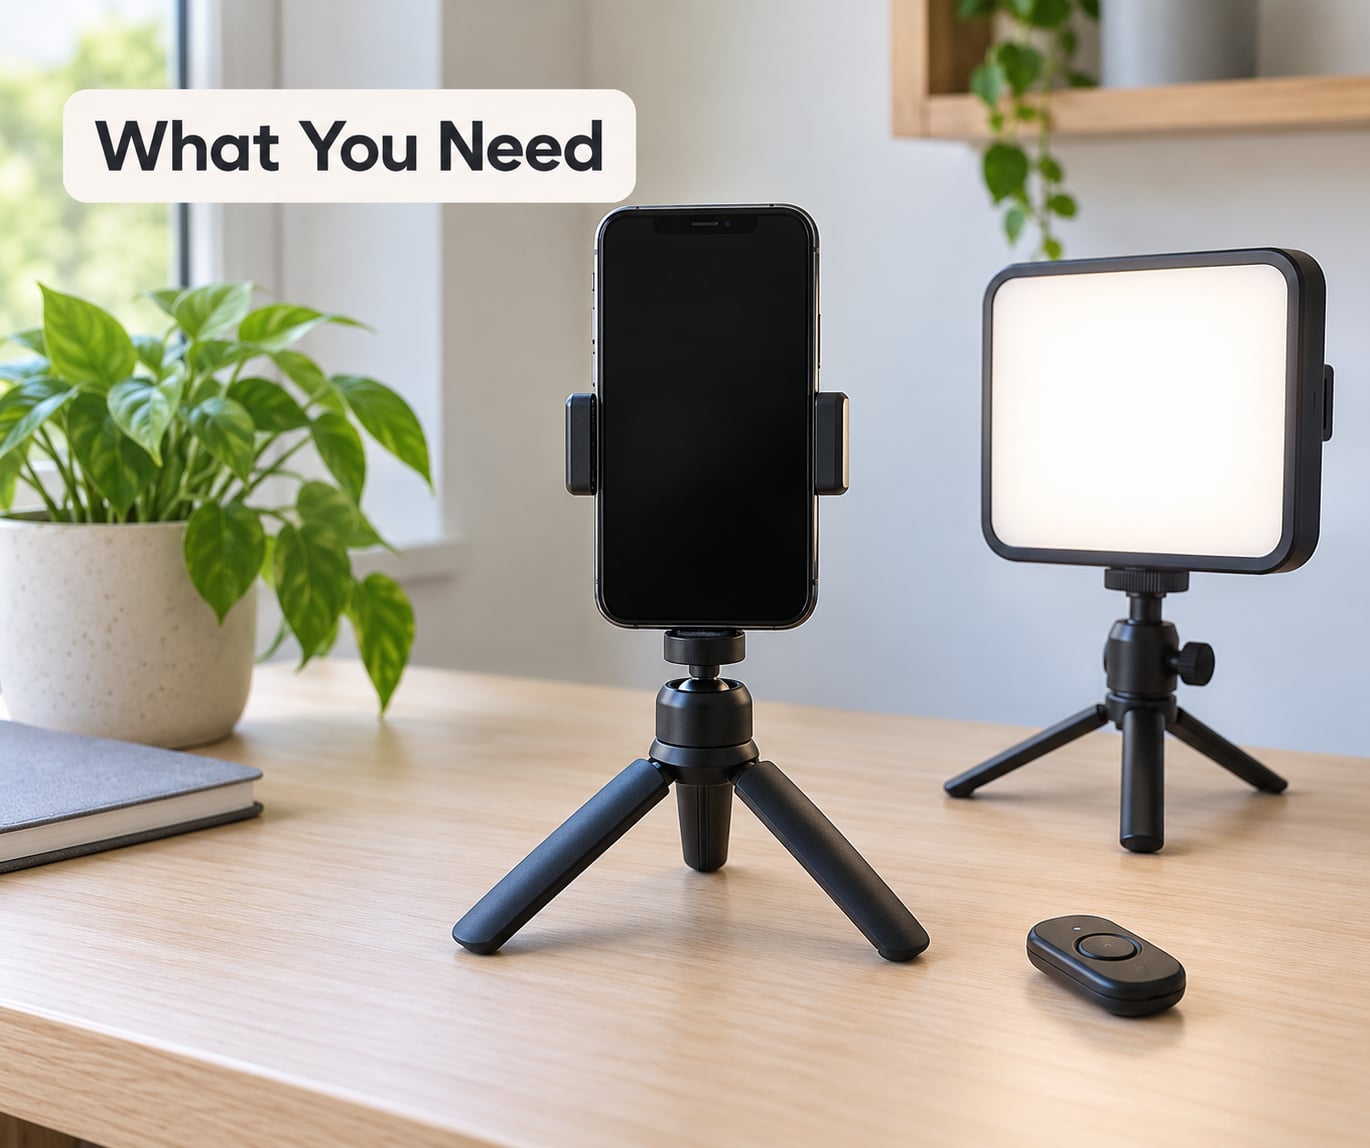
A phone tripod is a small three-legged stand with an adjustable clamp that holds a smartphone completely still. Removing hand movement is what lets the camera use slower shutter speeds, so a night shot, a long exposure or a time-lapse that would be a smear in your hand comes out clean.
The essentials are short. You need the tripod itself, a flat surface to stand it on, and a way to trigger the shutter that is not your hand. Everything else is optional.
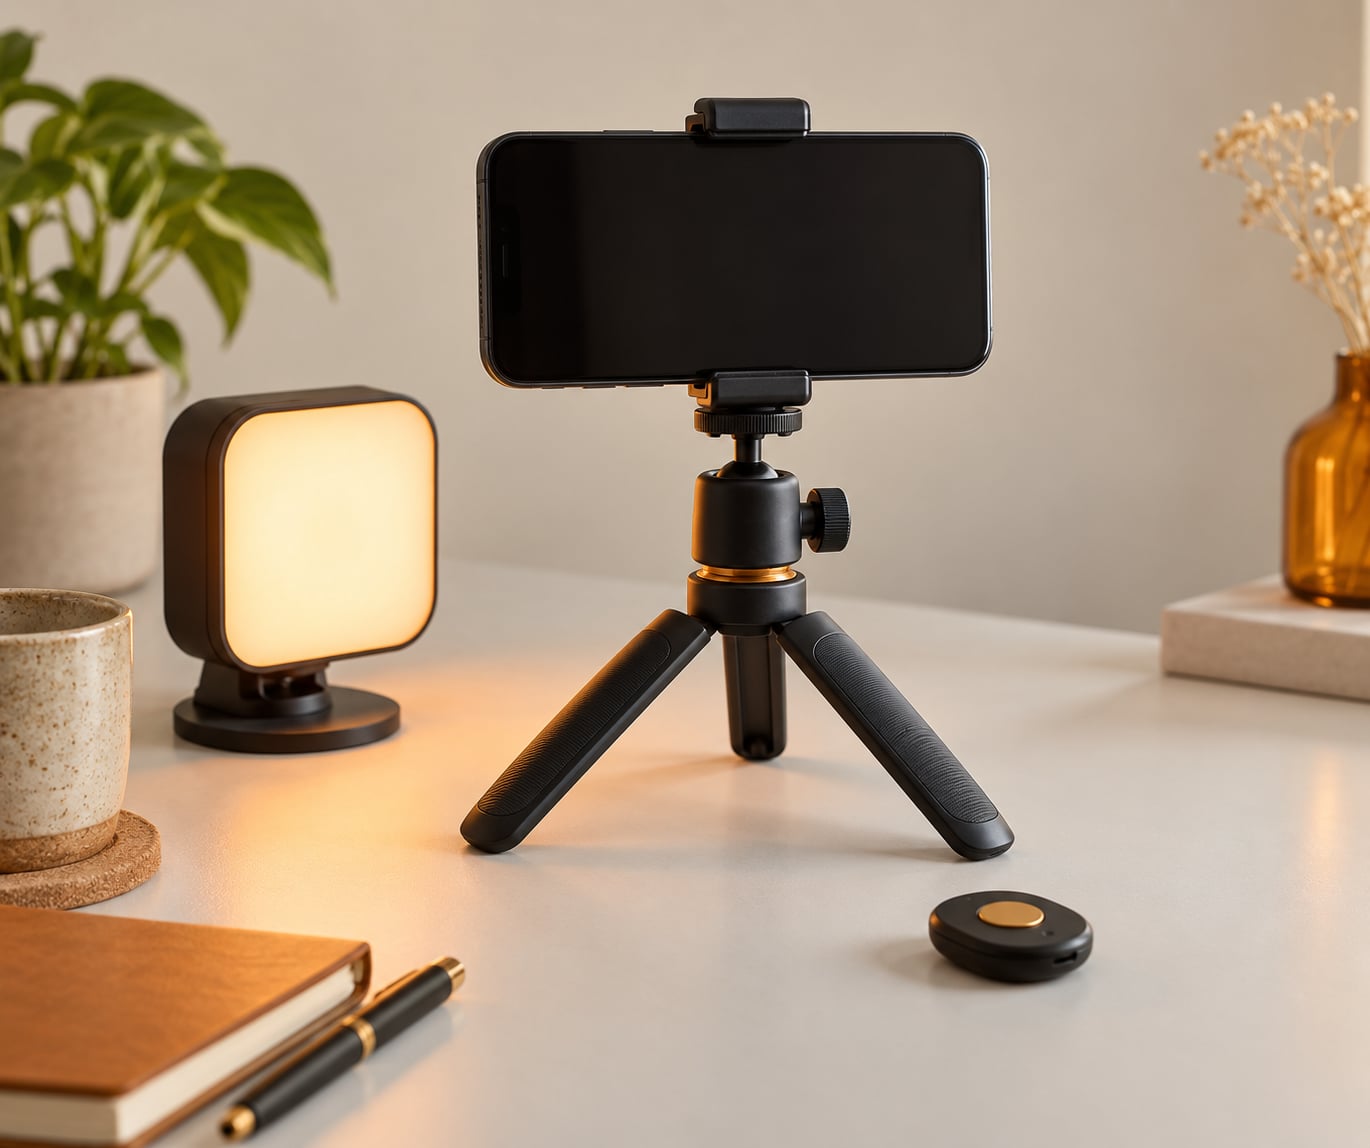
- A phone tripod. A tabletop mini tripod works for flat lays and desk shots. A flexible-leg tripod wraps around a tree, railing or chair for angles a rigid stand cannot reach. A full-size tripod with a ball head gives you height control and smooth framing.
- A phone clamp or adapter. Most tripods use the standard 1/4-20 screw, so a cheap stand still works if the head and clamp are solid.
- A Bluetooth remote shutter. A small button that pairs over Bluetooth and fires the shutter. Most Android phones pair one under Bluetooth settings in a second.
- Two timers. Use the phone timer to walk into frame, and treat a two-second delay as the minimum rather than the goal.
Optional extras that pay for themselves quickly: a small LED or soft light for indoor work, a microfibre cloth for the lens, and a phone case you are happy to clamp, since a thick case can stop the clamp gripping properly.
Step-by-Step: How to Use a Phone Tripod for Better Shots
Set the Tripod on a Stable Surface
Put the stand on something flat and firm before you touch your phone. A kitchen counter, a table, the ground or a sturdy shelf all work; a sofa cushion, a bed or soft soil do not.
Open the legs all the way and spread them wide until they sit properly on the surface. If you are extending telescoping legs, extend the thickest sections first and keep the centre column as low as it will go. Every extra millimetre of leg extension adds sway.
You will know it is stable if you tap the top of the stand gently with one finger and the legs do not move. In wind, hang a bag or a water bottle from the centre hook so the tripod is not pushing against a gust.
Mount and Balance the Phone
Open the clamp, sit the phone in with the lens roughly centred over the tripod’s spine, then close the clamp until it grips. A ball head lets you tilt the phone without re-clamping it every time you change the angle.
Tighten the clamp firmly but do not crank it. Over-tightening squeezes the phone body, and on some models the volume or power button gets pressed by the clamp jaw, which shows up as a frame partway through a video.
Check two things before you walk away from it: the camera lens has a clear line to the subject, and the phone hangs balanced rather than cantilevered out to one side. An unbalanced phone slowly rotates on a loose ball head, which turns a static shot into a slow drift.
Frame the Shot Before Recording
Turn on the gridlines in your camera app so you can place things deliberately rather than guessing. On most Android camera apps this sits behind the settings icon on the viewfinder, sometimes labelled Grid or Guidelines. iPhone users find it in Settings, then Camera.
Put your subject on a vertical or horizontal line rather than dead centre, using the rule of thirds as a starting point. Set the camera height first — eye level flatters people, a slightly lower angle works for full-body shots and video — and then walk back until the framing looks right.
Then clean the background. Walk forward one step and check what is behind your subject: a bin bag, a trailing cable or a bright window will undo careful framing faster than anything else.
Use Lighting and Camera Controls
A tripod solves sharpness, not lighting. Shoot near a window, or add a small light on one side and a piece of white card on the other. Backlight is the one problem a tripod cannot fix — if your subject is a dark shape against a bright sky, tap the subject on screen to re-meter the exposure.
Tap your subject to focus, then long-press the focus box on most Android camera apps to lock focus and exposure. That stops the phone from hunting back and forth if the lighting shifts mid-shot.
Here is the setting almost everyone misses: turn stabilization off once the phone is mounted. Image stabilization is designed to cancel out hand movement, and when there is no hand movement it introduces its own slight wobble. On Xiaomi and HyperOS phones, look for Pro mode or the stabilization toggle in the main camera settings; the RAW option in Pro mode is worth using when you want to pull shadows back later.
For stills, switch on the highest resolution your phone offers and use burst mode for anything that moves. For video, 1080p at 30 or 60 frames per second is plenty for most content, and a locked focus setting beats an autofocus hunting mid-take.
Record, Review, and Adjust
Run the camera settings before you start moving rather than after. Start recording, walk to your position, and check your framing on the way so you know what to fix.
Set a timer that matches your walk. Three seconds is the sweet spot for most people: two seconds is not enough time to stop, walk and settle your breathing, and by the time the phone snaps you may still be shifting your weight. Ten seconds is better for group shots where people need to find a spot.
Always take a five-second test clip or one throwaway photo before the real take. Look for three problems: soft edges from movement, a horizon that is not straight, and the top of someone’s head cropped off the frame. Small corrections here take seconds; the same corrections after a long recording take much longer.
Where a Tripod Makes the Biggest Difference
Group selfies and full-body shots are the obvious wins, because you cannot hold the phone and be in the picture. Video and vlogging benefit from a fixed eye-level position, especially for talking-head content.
Time-lapse, night skies, light trails and silky water need long exposures that would blur instantly by hand. Product photography and flat lays are close to impossible handheld, since you want the camera exactly overhead and perfectly still. A tripod also holds a phone at a steady height for video calls, livestreams or monitoring a cooking process.
Common Mistakes
Almost every disappointing tripod shot comes down to one of six things. The fix is usually quick once you can name it.
Leaving stabilization on. This is the most common cause of a tripod photo that still looks slightly soft. Stabilization hunts for movement that is not there. Fix: turn it off as soon as the phone is clamped.
Touching the phone while it is mounted. Pressing the on-screen shutter button moves the camera by a fraction, and that is enough. Fix: use the timer or a Bluetooth remote.
A two-second timer on a group shot. You will still be moving. Fix: three seconds minimum, ten for a group.
Extending every leg section fully. Longer legs mean a wider, wobblier stance under load. Fix: extend the thickest sections first and keep the centre column low.
Filming into a backlight. The shot is sharp but the subject is a silhouette. Fix: turn the subject toward the light, or tap the subject to re-meter exposure and lock it.
Leaving the phone mounted and recording for a long stretch. Video recording warms the phone and drains the battery, and a hot phone throttles or shuts the camera down mid-take. Fix: take the case off, keep the phone out of direct sun, and break long recordings into sections.
A couple of habits cover most of the rest. Clean the lens before you start rather than after, because a smudged lens looks like softness and sends people hunting for settings that are already correct. And keep the phone attached to the tripod rather than balancing it on top, since a phone perched on the platform can slide the instant you walk back into frame.
If you have no tripod at all, a stack of books, a full mug with the phone leaning against it, or a clamp on a shelf will hold a phone steady for a still shot. None of them adjust smoothly, but each one removes hand shake.
Frequently Asked Questions
Do I need a tripod for phone photography?
You need one whenever your subject stays still and you want a sharp result at a slower shutter speed. That covers night scenes, long exposures, time-lapses, product and flat lay photos, group selfies and any video where you want to be in the frame. For a bright outdoor snapshot taken quickly, handheld is usually fine.
Should I turn off image stabilization when using a phone tripod?
Yes. Stabilization is built to cancel out hand movement by reading and shifting the frame, and when the phone is perfectly still that correction can introduce a slight wobble of its own. On most Android phones the toggle is in the main camera settings or in Pro mode. Turn it off once the phone is clamped and stable.
How do I attach my phone to a tripod without an adapter?
Most phone tripods include a spring-loaded clamp that grips the phone directly, so an adapter is usually unnecessary. Look for a wide jaw that takes phones with cases on. If you already own a full-size camera tripod, you will need a separate phone clamp with a 1/4-20 screw to fit the standard threaded socket.
How do I connect a Bluetooth remote to my phone tripod?
Turn on the remote, open Bluetooth in your phone settings, and pick it up from the list of available devices. Once paired, the button fires the shutter in the stock camera app with no extra app. Some Xiaomi and HyperOS models need the remote assigned under the camera app’s remote shutter option before the button responds.
Why are my tripod photos blurry?
The usual causes are stabilization left switched on, a timer that fires before you have stopped moving, a loose clamp letting the phone drift, and a tripod wobbling because its legs were over-extended. Clean the lens too, because smudges read as softness. Take one test shot with the phone visibly untouched and check it before shooting the real frame.
What can I use instead of a tripod for my phone?
A stack of books with the phone leaning against it, a phone clamp stuck to a shelf or window, or a heavy object like a full mug with the phone propped against it will each hold a phone still for still photos. For video you need something that holds position over time, and at that point a small tripod or clamp is hard to beat.
Conclusion
Start by clamping your phone in and taking one still photo without touching anything else. If that single shot comes out sharper than your usual handheld ones, the technique has already proved itself.
What a stable setup buys you is time and options. Slow shutter speeds, night scenes, long exposures, time-lapses and group frames all become usable because the camera is no longer fighting your hand. Set the gridlines, turn stabilization off, give yourself three seconds instead of two, and take the test shot before the real one.