To set up heating schedules in a smart home, you build a weekly timetable of times and temperatures inside the thermostat’s own app, then link that thermostat to Google Home, Alexa, or Apple Home if you want voice control on top. Most people finish the basics in about 20 minutes, and the whole job needs no wiring changes and no technical background.
A heating schedule is just a set of rules: at 6:30 on a weekday, go to 19 degrees; at 9:00, drop to 16 until someone gets home. The thermostat or your phone runs those rules for you, which is the point. You stop remembering to turn the heating down, and the house stops heating rooms nobody is sitting in.
One caveat before we start. Menu names differ between manufacturers and between app versions, and voice assistants handle schedules differently from one platform to the next. I’ll give the common path for each platform and tell you where to look when your app words things differently.
Table of Contents
- What You Need
- Step-by-Step: How to Set Up Heating Schedules in a Smart Home
- Step 1: Check Your Heating Hardware and App
- Step 2: Define When the Home Should Be Warm
- Step 3: Create the Heating Schedule
- Step 4: Add Morning, Evening, and Away Periods
- Step 5: Test the Schedule and Automations
- Step 6: Save and Fine-Tune the Routine
- Common Mistakes to Avoid
- Frequently Asked Questions
- Do smart heating schedules work when the internet is down?
- Can I set different heating schedules for weekdays and weekends?
- Which smart-home platforms can control a heating schedule?
- Should I use thermostat away mode or turn the heating off manually?
- How much can a heating schedule save on energy?
- What should I check if my smart thermostat ignores the schedule?
- Conclusion
What You Need
Four things, and only one of them is a purchase.
- A smart thermostat or heating controller. A wall-mounted thermostat that replaces your existing one, a smart thermostatic radiator valve (TRV) on each radiator you want to control, or a hub that drives your boiler directly. Any of these can hold a schedule.
- The manufacturer’s app. Every schedule is created here first, no matter which voice assistant you use later. Voice assistants rarely let you build a timetable from scratch.
- A stable Wi-Fi connection. On the 2.4 GHz band for most smart home hubs, and on the same network as your phone during setup.
- Your household’s real schedule. Write down wake times, leave times, and return times before you open any app. Guessing at this stage is why so many schedules get abandoned in week two.
If your thermostat is battery powered, have a fresh pair in hand before you start, because a flat battery mid-pairing usually means starting over.
Step-by-Step: How to Set Up Heating Schedules in a Smart Home
Step 1: Check Your Heating Hardware and App
Start by confirming the thermostat is installed, joined to its manufacturer app, and attached to the right home. Most apps support several homes under one account, and it’s common to add a device to the wrong one during setup.
Open the app and look for a current reading from the device. If you see a live temperature, the hardware is paired. Then check the app version, because Google Play and the App Store both show it in the app’s About or Settings page, and menu layouts change between releases.
Here’s the useful part: schedules live on the device, not on the cloud. Once the thermostat holds your timetable, it keeps following it even when your internet drops for an hour.
Step 2: Define When the Home Should Be Warm
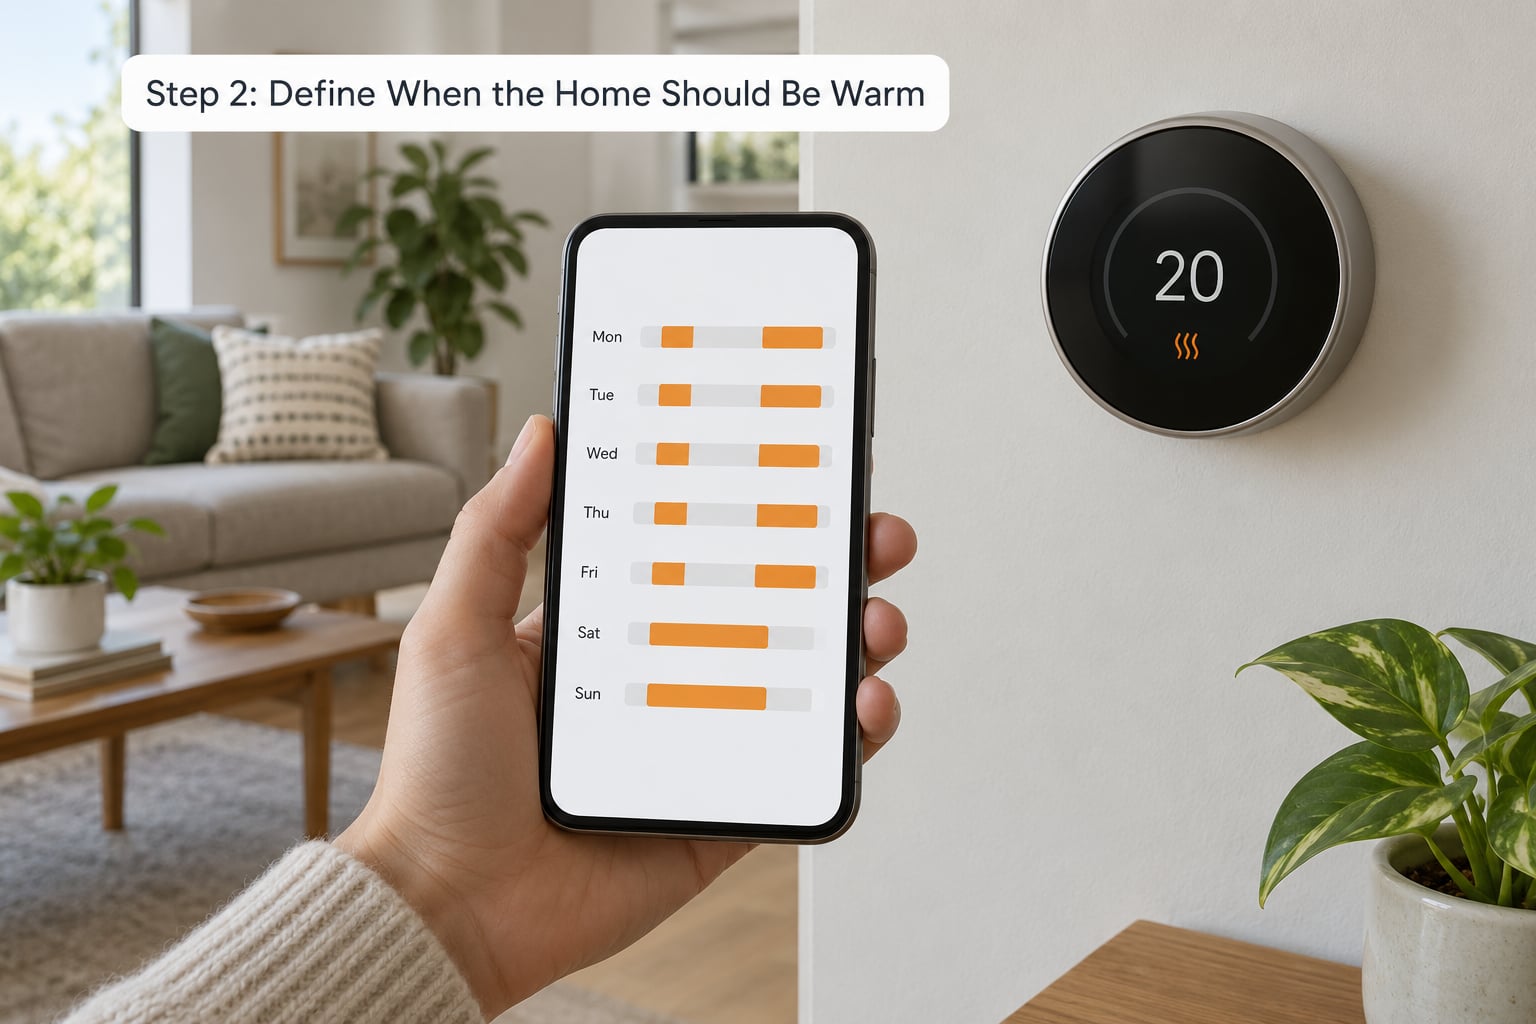
Write your three times on paper before you touch the app: when the house needs to be warm, when everyone leaves, and when the first person returns. Everything else in this guide is detail on top of those three.
Pick a comfort temperature and a lower setting to fall back to. Most people find somewhere around 19 to 20 degrees for living spaces in winter, with a lower figure in bedrooms and empty rooms. There is no single right number. Test with what your household actually wears indoors and adjust after a week.
A worked weekday example: wake at 6:45, out the door at 7:40, home around 18:15, asleep by 23:00. A weekend example uses the same temperature range with a later wake time and a longer evening block, because nothing changes at midnight.
Step 3: Create the Heating Schedule
To set up heating schedules in a smart home, you add time blocks with a target temperature, and each block runs until the next one starts. That last rule catches most beginners: there is no “off at 22:00” field. You set the next block instead.
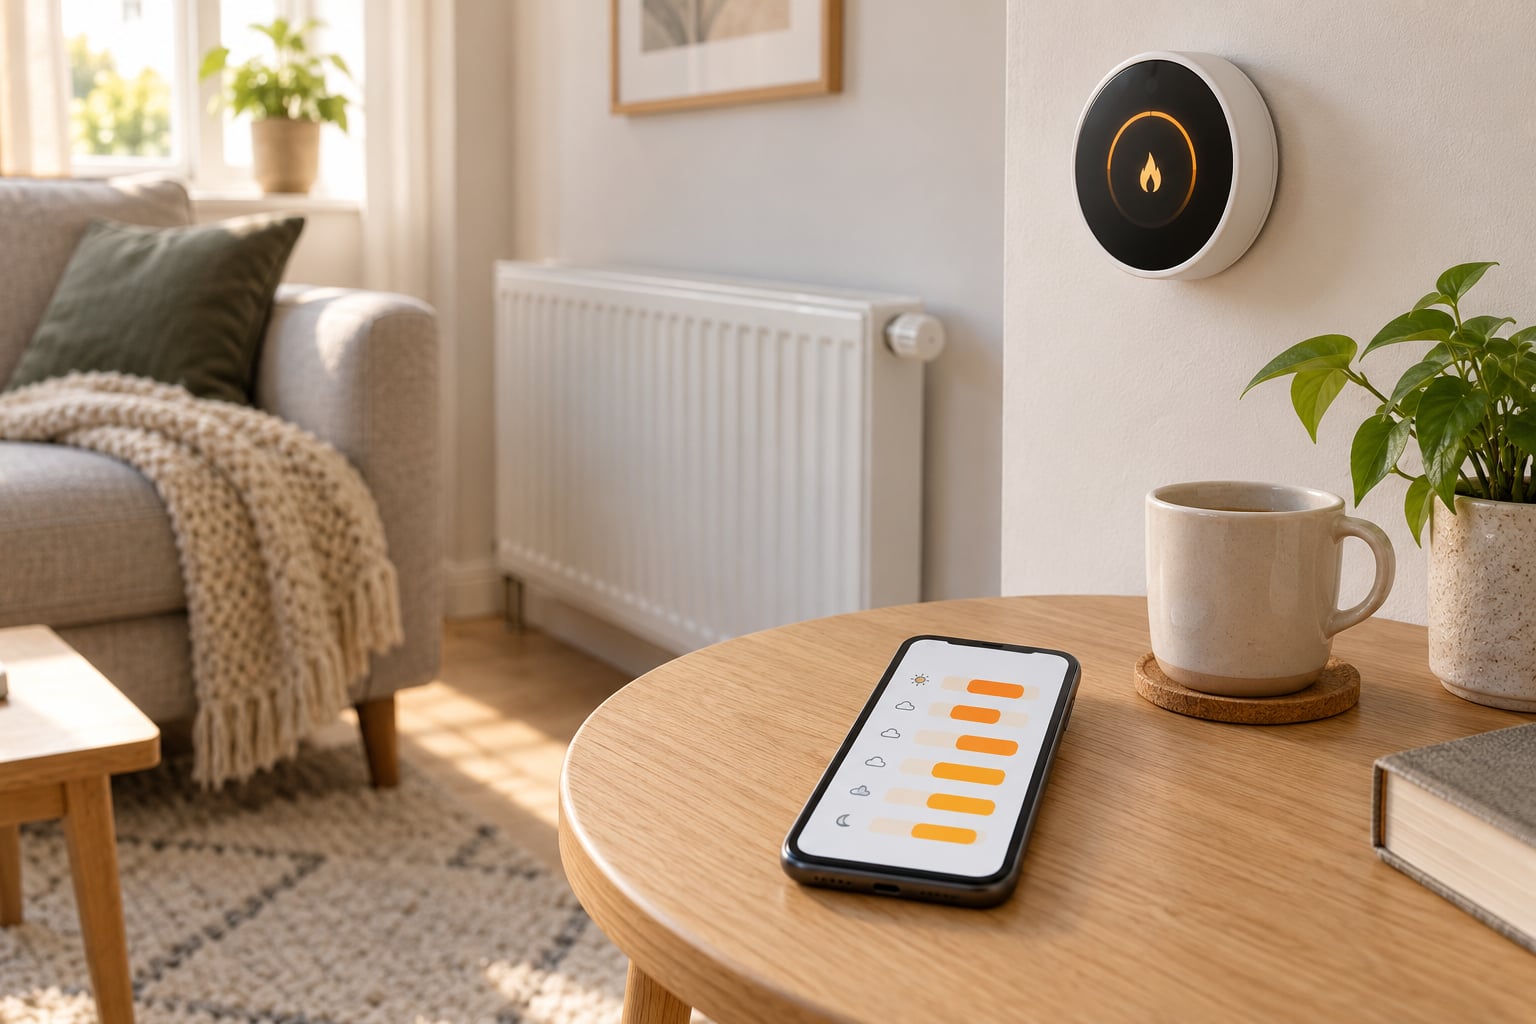
In most manufacturer apps the path looks something like this: open the thermostat, tap Schedule, Add Period, then choose the days it applies to, a start time, and a temperature. Save, and repeat.
Platform paths vary. In Google Home, open the Home app, choose your thermostat under Thermostat settings, then look for Schedule or Routine. In the Alexa app, go to Devices, select your thermostat, then Scheduling. In Apple Home, open Home, tap your thermostat, then Settings, Default Settings, Heating Schedule.
If none of those labels match what you see, use the search or help menu inside your own app. Every major manufacturer app ships a searchable help section, and it will match the wording in your installed version.
Step 4: Add Morning, Evening, and Away Periods
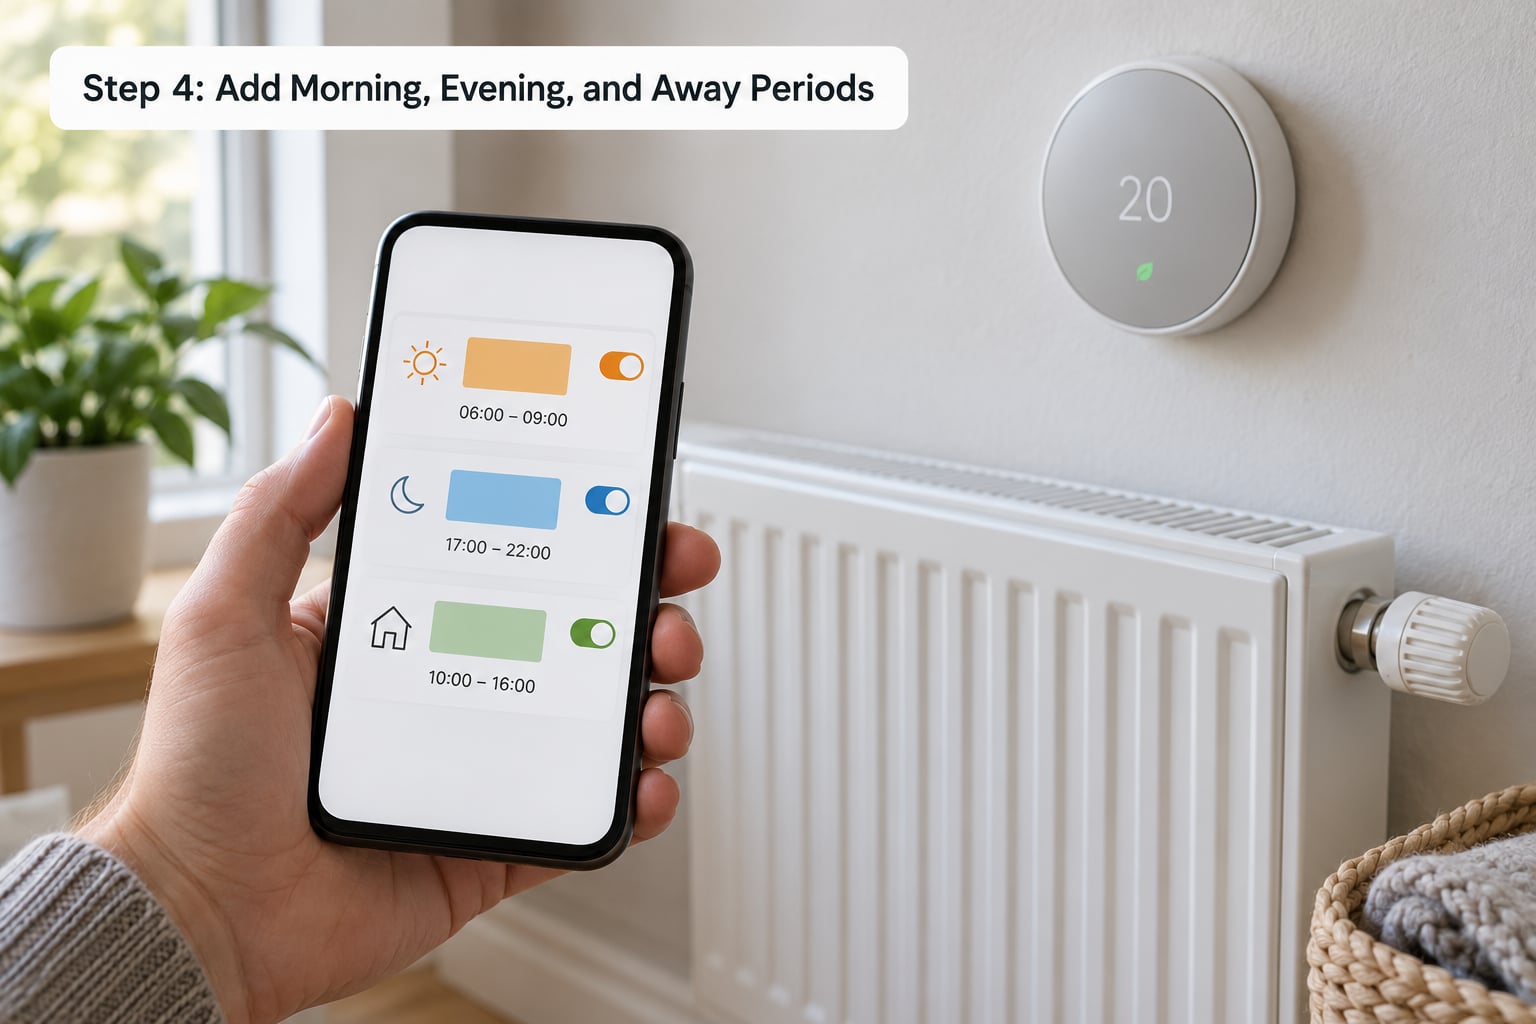
Three blocks cover most homes: a morning warm-up, an away setback, and an evening warm-up. Add the away block even if you work from home some days, since it costs nothing to skip it when you don’t need it.
Where the app supports it, set a heat start time rather than a wake time. Asking for 19 degrees at 6:45 means the system waits until 6:45 and then starts catching up, which leaves you cold for the first twenty minutes. A start time of 6:20 fixes that.
For longer absences, many thermostats have an away mode, a holiday mode, or an eco setting. Any of them lowers the target to something like 12 to 15 degrees, which keeps pipework and plants safe without heating the house.
Step 5: Test the Schedule and Automations
Testing beats reading. Take your evening block and move it forward by an hour so it fires while you’re sitting there, then watch the thermostat state change: idle, heating, or target reached.
If your app has a test mode, use it. Otherwise, the quickest confirmation is voice. Say “turn up the thermostat by two degrees” or “set the living room to nineteen” through your assistant. A correct response means the device is linked, reachable, and accepting commands.
Restore the real time afterwards. Forgetting to put the test time back is the single most common thing that goes wrong here, and it leaves you with an evening block that fires at the wrong hour.
Step 6: Save and Fine-Tune the Routine
Once the basics run for a few days, adjust rather than rebuild. Weekends usually want later wake blocks, school runs and shift work want split evenings, and seasonal changes need smaller setpoint tweaks instead of new schedules.
Turn on activity notifications so you get a daily report of how long the heating actually ran. Most systems log runtime and target-versus-actual temperature, which tells you far more than a guess. Many apps also export or back up your schedule, so save a copy before a big change.
Automations are the next step once the base schedule is right: geofencing for arrival, presence-based setback, open-window detection, or a boost command for the bathroom before a shower.
Common Mistakes to Avoid
- Overlapping blocks. Two rules both claiming 18:00 means the later one silently wins. Give every period a distinct start time.
- Using wake time as heat start time. You arrive at the target temperature after you need it. Build in recovery time for your home’s heating.
- Mixed Celsius and Fahrenheit. A schedule written in the wrong unit is wildly off. Set the unit once in the thermostat settings and never touch it again.
- Adding the device to the wrong home. In multi-home accounts the schedule saves fine and appears to do nothing. Check which home is selected before you debug anything else.
- Forgetting geofencing settings. Presence overrides are often disabled by default after setup, so nobody ever sees an away switch happen.
- Assuming voice always wins. Many thermostats treat a spoken command as a temporary override that expires at the next scheduled block. Use the assistant for testing, not as your main control.
Two habits pay off. Keep the difference between your comfort and setback temperatures meaningful, since a 2-degree gap saves very little. And run a quick check every few weeks: walk the actual room temperatures against what the app reports, because a sensor in the hallway can be badly wrong about the bedroom.
Frequently Asked Questions
Do smart heating schedules work when the internet is down?
Yes. Once your timetable is saved, it is stored on the thermostat itself, so the device keeps running the schedule during an outage. What stops working is anything that needs the cloud: remote access from your phone, push notifications, geofencing triggers, and energy reports. Voice control through an assistant also fails without a connection, since the assistant processes the request on its servers.
Can I set different heating schedules for weekdays and weekends?
Almost always, yes. Most thermostats let each time block run Monday to Friday, Saturday and Sunday, or every day, so you typically create a weekday set and a weekend set separately. Set the weekend wake block later and extend the evening block if nobody works a standard week. A shift-worker schedule usually needs three or more sets rather than two.
Which smart-home platforms can control a heating schedule?
Google Home, Amazon Alexa and Apple Home all display and adjust a schedule that already exists in the manufacturer app, but none of them builds a full weekly timetable for you. The schedule itself is always created in the manufacturer’s own app or a hub platform such as Home Assistant or SmartThings. After that, the assistant can read the current target, move it up or down, and switch modes.
Should I use thermostat away mode or turn the heating off manually?
Use away mode. It drops the target to a low frost-protection setting rather than a full shutdown, which protects pipework and keeps the system cycling properly. Turning the heating off manually risks frozen pipes if the temperature drops unexpectedly, and it can cost you the benefit of weather compensation on some boilers. Away mode also gives you a single tap to undo.
How much can a heating schedule save on energy?
It depends on your old routine, and the honest answer is that the schedule only saves what you were wasting. Households heating a whole empty house often cut 10 to 20 percent, while homes that already had timers usually see single digits. The bigger wins come from combining the schedule with lower setback temperatures, closing off unused rooms, and adding presence detection.
What should I check if my smart thermostat ignores the schedule?
Check four things in order. Confirm the thermostat shows the right day and time, since a clock reset after a power cut disables every block. Then confirm the device is in the right home under your account, that the schedule is enabled rather than paused, and that no lingering manual override is active. Finally, restart the app so it re-reads the device state.
Conclusion
Your first move is small. Open the manufacturer’s app, check that the thermostat is paired and reporting a live temperature, then build the simplest schedule that could possibly work: one morning block and one evening block.
Test a single block by moving it forward, confirm it fires, put the time back, and let it run for a week. Everything else in this guide, away blocks, geofencing, zoned control and voice commands, is an addition to that working base rather than a replacement for it.