If you take most photos on an Android phone, the answer to raw vs jpeg photos on a phone camera comes down to when you plan to edit. Stay on JPEG for everyday shooting, and switch to raw for the handful of shots where you know you will crop hard, rescue a backlit sky, or print big.
Raw keeps far more of what the camera sensor actually recorded, which is why it survives aggressive editing. JPEG (or HEIC on Apple phones) is a finished, compressed picture that looks right the second you open it and shares to any app without a fuss. You pay for raw’s flexibility with file size, slower saves and one extra step before anything can be posted.
I have switched my own default back and forth more than once, and the thing that finally settled it was simple: raw is a tool, not a quality setting. Grab it when a specific shot needs it, and leave the camera alone the rest of the time.
Table of Contents
- Raw vs JPEG Photos on a Phone Camera at a Glance
- What Is the Difference Between Raw and JPEG on a Phone?
- When raw vs jpeg photos on a phone camera actually matter
- Which Format Preserves More Detail and Quality?
- How Does Raw vs JPEG Affect Editing?
- Which Format Uses More Storage and Data?
- Is Raw Faster or Easier to Shoot on a Phone?
- Which Format Is Better for Sharing and Printing?
- How to Choose RAW or JPEG on an Android Phone
- Which Should You Choose?
- Frequently Asked Questions
- Do raw photos look better than JPEGs on a phone?
- Can I upload raw photos to Instagram or WhatsApp?
- Does taking raw photos use more storage and battery?
- What app can I use to edit raw photos on Android?
- Is raw mode useful on a budget Android phone?
- Should I shoot every photo in raw?
- Conclusion
Raw vs JPEG Photos on a Phone Camera at a Glance
| Criterion | Raw | JPEG (or HEIC) |
|---|---|---|
| Image detail | Keeps the full sensor signal, so crops and big prints hold together better | Sharp and clean out of the camera for normal viewing sizes |
| Highlight and shadow recovery | Strong, because nothing was thrown away at capture | Limited; pushing a compressed file quickly breaks up |
| Colour and white balance | Adjustable after the fact with no visible penalty | Baked in at capture, so correcting means resampling |
| File size per shot | Noticeably larger, often several times the size of a JPEG | Small by design, which is why it was invented |
| Processing speed | Slower save, longer gap between shots, more heat | Near instant, ready for the next frame |
| Storage and transfers | Fills a phone faster and slows cloud backups and transfers | Cheap to store, back up and send anywhere |
| Editing requirements | Needs an app that can develop raw; the gallery preview looks flat | Opens and edits in any gallery or editor |
| Sharing convenience | Must be converted first; most social apps will not accept it | Uploads straight to Instagram, WhatsApp, email or a web page |
| Best use | Backlit scenes, low light, hard crops, large prints, batch edits | Everyday family photos, quick bursts, social posting, travel days |
One line to keep in mind while reading the rest: raw wins on recoverable information, JPEG wins on everything else.
What Is the Difference Between Raw and JPEG on a Phone?
Raw is the unprocessed image data straight off your phone’s sensor, kept at a much higher bit depth so you can recover shadows, highlights and white balance after the shot. JPEG is a smaller, already-processed and compressed file that looks good instantly and shares anywhere, but permanently discards some of that data. Every modern phone shoots a JPEG or HEIC for every frame, and the camera’s computational pipeline builds it from several stacked exposures.
Raw skips that final baking step and hands you the underlying signal instead. Only software that knows how to develop raw can turn it into a viewable picture, which is exactly why your gallery app shows a flat, dull preview of a raw file. Reddit users on r/AskPhotography and r/iPhoneography run into this constantly and assume the file is broken; it is not. The phone embeds a small preview JPEG inside the raw file so thumbnails can load instantly, and that is the version you are usually looking at.
It also helps to know the flavours. Android phones typically write DNG, Adobe’s open raw format. Apple phones offer ProRAW, and Samsung’s Expert RAW does a similar job with its own processing on top. None of these is identical to a raw file from a dedicated interchangeable-lens camera, and photographers on r/AskPhotography are blunt about that: phone raws are noticeably less editable than the real thing.
That honesty matters, because a phone sensor is small and a phone lens is fixed and often soft at the edges. Pulling more data out of a slightly blurry lens does not make it sharp. On a fast prime lens attached to a full-frame body, extra raw latitude changes the photograph. On a phone, it changes how much damage you can undo later.
Bit depth is the other term you will meet. A JPEG is 8-bit per channel, which means 256 possible values for red, green and blue and visible banding in smooth gradients once you edit it hard. Phone raw files are usually 12-bit or 16-bit, giving thousands of values instead, and that headroom is exactly what keeps skies smooth after a big exposure change.
When raw vs jpeg photos on a phone camera actually matter
It matters in three situations: when the scene has a huge brightness range, when you plan to crop into the frame later, and when the photo has to survive a big print. It does not matter when you shoot a birthday cake, hand the phone to a kid, or tap straight through to posting.
Backlit windows, sunset skies, neon at night, a dark church interior, a group shot against a bright wall. Those are the frames where raw earns its storage cost. A sunny beach walk in JPEG is not going to disappoint anyone.
Cropping is the quiet one. Everyone reframes after the fact, and a JPEG that you zoom into 200 percent shows the compression artefacts plainly, while a raw file gives you a little more clean material to work with. If you habitually shoot wide and crop hard, that habit alone justifies raw.
Printing tips the balance the other way. Once a photo is on paper at a size people can stand in front of, the difference is obvious, and there is no social app to soften it.
Which Format Preserves More Detail and Quality?
Raw preserves more recoverable detail, but a well-processed JPEG from a good phone camera can look excellent at the size most people actually view photos.
Fine texture is the first place the difference shows. Foliage, gravel, fabric weave and distant signage hold up better in raw because the demosaicing happened in an editor with more data to work from, rather than being baked in at capture. The gap narrows fast on a phone screen and widens again on a large print, which is why the raw advantage is mostly a print and crop advantage.
Super Resolution makes that concrete. Several phones will render a 12-megapixel raw at a much higher resolution and let you crop into it afterwards as if you had shot a larger sensor. The detail is partly reconstructed rather than truly captured, but the result usually holds up better than cropping the JPEG the camera would have saved. If your phone offers the option, it is a good reason to keep raw switched on for wide scenic shots and architecture.
Dynamic range is where raw earns its keep. Pull a blown window back in a JPEG and you get flat grey or blotchy banding. Do the same in raw and the curtain texture usually comes back, because the highlights were never clipped to 255 in the first place.
Noise behaves differently too. Phones apply heavy noise reduction and smoothing before saving a JPEG, which cleans up shadows but also smears fine detail into a plastic look. Raw files let you decide how much smoothing to apply and where, so you can keep grain in the sky and smooth the shadows only.
Colour is the one area where raw can disappoint. It arrives flat and neutral on purpose, with a colour profile that tells your software how to interpret it. Editors like Snapseed and Photomator read that profile correctly, but a careless export will look washed out. That is not a defect in the file, it is a step you skipped.
How Does Raw vs JPEG Affect Editing?
Raw gives you roughly two to three stops more usable latitude than a JPEG in bright scenes, while a JPEG saves you time because it already looks finished.
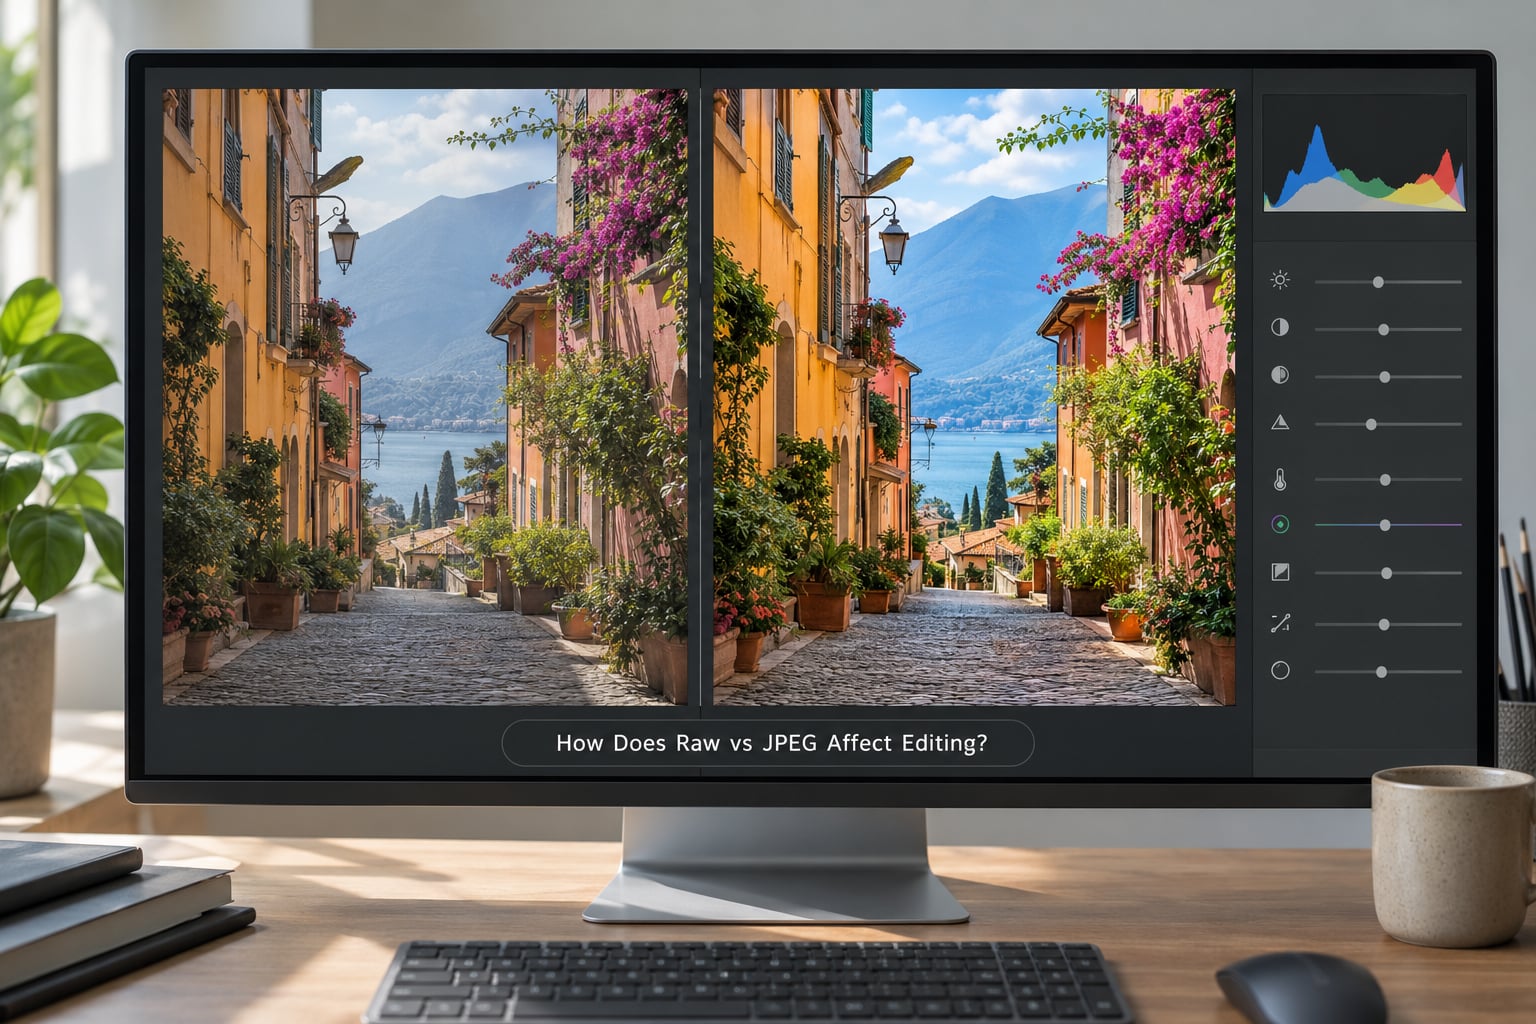
Exposure is the obvious one. Underexpose by a stop and rescue it in a JPEG and you lift the noise floor with it. Do it in raw and the shadows stay clean, because you are pulling from data that was never clipped.
White balance is where raw wins outright. A JPEG locked in the wrong colour temperature has already discarded the other channels’ information, so cooling it down shifts everything at once and skews skin tones. In raw you move the slider and nothing degrades.
Colour grading works the same way. Push greens toward yellow in a compressed file and you hit posterisation in smooth skies. The same push in a 16-bit raw file stays smooth.
On the practical side, you need software that can develop raw. Adobe Lightroom Mobile and the free Snapseed both handle standard and DNG files, and Photomator adds a Super Resolution upscaler that gives a raw file extra apparent crop room. Samsung’s Expert RAW and ProRAW files sometimes need their own app or a paid tier of Lightroom, which is the single most common dead end reported on r/GooglePixel and r/GalaxyS24Ultra.
Whatever you use, the raw file is a master, not a deliverable. You export a JPEG or HEIC to share, and the raw stays as your starting point.
Which Format Uses More Storage and Data?
Raw uses more storage, typically several times more per shot than the JPEG your camera would have saved.
Rather than quote a fixed number, think in multiples. A 12-megapixel JPEG on a modern phone usually lands somewhere in the 2 to 5 MB range, while the matching raw file can run from roughly 20 MB up past 40 MB depending on bit depth and resolution. A 256 GB phone that holds a comfortable few thousand photos can be halved by switching to raw as your default, and that is before you count the duplicates from raw plus JPEG.
Mobile data suffers too. Uploading a card full of raws over a hotspot is a different experience from sending a batch of JPEGs, and some cloud photo services compress anything they do not recognise, which quietly defeats the point of shooting raw in the first place.
Burst shooting is where storage bites hardest. Hold the shutter on a moving child and a single raw frame can cost more than the ten JPEGs around it. A hybrid raw plus JPEG setting makes it worse, since you are writing two files per shutter press.
Is Raw Faster or Easier to Shoot on a Phone?
JPEG is faster and easier to shoot, full stop. Raw adds save lag, reduces the burst rate, and draws more power, though the gap has narrowed a lot on recent flagships.
The visible cost is the gap between frames. On most phones in raw mode the shutter feels sticky, the buffer takes longer to clear, and continuous shooting either slows down or stops. People shooting sport or kids report missing the moment entirely. The phone also runs warmer, and heat quietly eats into how long the camera stays at full speed.
Battery draw is real but modest. The big write of a large file is not a huge amount of energy, though sustained raw capture in a hot environment adds up over an evening.
App support varies more than the hardware does. Some budget Android phones ship with no raw option at all, some expose it only in the stock camera, and some block it in video or high-frame-rate modes. A few cap raw resolution below the sensor’s full output. Check the settings menu on your own device before assuming.
Users of the higher bit-depth modes report the phone pausing briefly on each capture while it writes, and a few report an outright freeze on long bursts. That is a reason to keep raw in single-shot mode, not a reason to avoid the format altogether.
Night mode and HDR interact with raw in ways that catch people out. The camera stacks several exposures and dials in heavy noise reduction before it saves a JPEG, which is what makes night shots look clean. A raw file from that same moment holds the stacked data but not the smoothing, so it needs a proper edit before it matches what you saw on screen.
Which Format Is Better for Sharing and Printing?
JPEG is better for sharing, and raw is better for large prints, so the answer depends entirely on where the photo is going next.
Instagram, WhatsApp, Facebook, email clients and most messaging apps expect a compressed JPEG or HEIC. You will have to convert a raw file first, and some apps simply cannot open one. That conversion step is a real tax when you are uploading dozens of photos after an event.
Cloud galleries and web pages behave the same way. Most services re-encode what you upload, so even if you send raw, what a viewer sees is a compressed copy.
Printing is the reverse case. At 300 dpi, a 12-megapixel JPEG gives you roughly a 16 by 12 inch print before it starts to look soft. A raw file developed with a good noise-reduction pass holds noticeably more, and it forgives the small framing mistakes that a compressed file cannot hide. For anything above A3, shoot raw.
Cloud and computer backup works best when you keep both files. The JPEG is what every program on the machine will open, and the raw is the version you still want in a year.
One transfer catch is worth knowing: some Android file pickers and cloud uploaders hide raw files by default, so a batch that looks half-empty may simply be filtered. On a PC, a DNG file transfers like any other photo, but if it refuses to open, the missing piece is usually a raw-capable editor or a codec pack rather than a damaged download.
How to Choose RAW or JPEG on an Android Phone
On Android, raw is usually one or two taps away in the camera settings, and the exact labels depend on your brand, model and app version.
Samsung (One UI 6 and later): open Camera, tap the settings icon or the top-right controls, then look for RAW under Additional options or Picture style. Some models put it in Pro mode instead, where you tap the RAW toggle in the viewfinder bar. Expert RAW is a separate download from Galaxy Store, and it lives in its own camera app once installed.
Google Pixel: open Camera, swipe down or tap the top settings gear, and look for Advanced, then RAW. In Pixel 9 and later it is a quick toggle rather than a buried option.
Xiaomi and Redmi (HyperOS): open Camera, tap the settings icon, then Pro or Additional settings, and look for RAW format. On many models you need to switch to Pro mode first, and the toggle appears only in that mode.
Other Android and third-party apps: most camera apps bury it under a Settings or Format menu, and the label may read DNG rather than raw. Camera FV-5, Blackmagic Camera and Open Camera all expose the toggle somewhere in their settings screens.
Two more settings worth knowing about. A raw plus JPEG option writes both files from one shutter press, which costs double the storage but gives you an instant shareable copy alongside the editable master. On some phones, raw is only available in Pro mode or when the aspect ratio is set to full resolution, so a slider you cannot move is often just a mode you have not switched to yet.
How to tell it worked: switch raw on, take a photo, then check the file. The extension changes from JPG to DNG on most Android phones, and the gallery will show it as an unprocessed file. If you want both, look for a raw plus JPEG option, which is standard on Samsung Pro modes and many third-party apps.
If raw is not in your menus at all, your camera app or model may not support it. A quick check is the Settings search on your phone: type raw and see if any system or camera setting appears.
Which Should You Choose?
Choose JPEG as your default and raw as a deliberate switch, unless you edit photos for a living or print regularly.
Everyday family and social photos: JPEG or HEIC. Fast to shoot, tiny, opens everywhere, and the phone’s own processing is genuinely excellent right now.
Travel days with limited storage: JPEG. The convenience is worth more than the last bit of highlight recovery.
Content creators and anyone posting to a feed: JPEG by default, raw when a shot needs rescuing. Convert before you upload.
Print sellers and anyone shooting scenic or street scenes: raw for anything that will hang on a wall, plus a JPEG if you want an instant shareable copy.
Parents shooting fast bursts: JPEG, always. A missed frame is worse than a clipped highlight.
The mixed workflow is the honest answer. Keep JPEG as the default, tap into raw for backlit, low-light or crop-heavy moments, and edit only those. That is how most people end up with a folder they actually use instead of a phone full of raws they never touched.
Frequently Asked Questions
Do raw photos look better than JPEGs on a phone?
Not by default. A JPEG straight from a modern phone looks better in most cases, because the camera applies noise reduction, sharpening and colour processing before you ever see it. Raw looks flat and dull until an editor develops it. The difference shows up when you crop hard, rescue a blown sky, correct white balance or print large, and there raw is clearly better.
Can I upload raw photos to Instagram or WhatsApp?
Not directly. Instagram, WhatsApp and most messaging apps expect JPEG, HEIC or PNG, so you have to export a compressed copy from your gallery or an editor first. Some Android file pickers will not even show raw files unless you enable their display option. If you shoot raw often, set your editor to export a share-ready JPEG straight to the gallery.
Does taking raw photos use more storage and battery?
More storage, yes, considerably. A raw file can be several times the size of the JPEG your camera would otherwise save, which matters most if you leave raw plus JPEG switched on. Battery use goes up a little too, mainly from writing large files and the extra processing, though heat and sustained continuous shooting drain the phone faster than the file writing alone.
What app can I use to edit raw photos on Android?
Snapseed is free and handles standard DNG files well. Adobe Lightroom Mobile gives more control over tone and colour, though some raw variants need a paid plan. Photomator is a strong option if you want Super Resolution upscaling for extra crop room. Your phone gallery can usually view raw files, but the flat preview it shows is not a sign the file is broken.
Is raw mode useful on a budget Android phone?
Often yes, because the sensor is the limit rather than the processing. Budget phones with a decent 50-megapixel or 108-megapixel sensor can produce a raw file that crops and recovers highlights better than the phone JPEG. What you give up is speed and storage, so a budget phone shooting raw is best for deliberate frames rather than bursts of moving subjects.
Should I shoot every photo in raw?
No. Almost nobody needs every frame in raw, and the storage cost adds up fast. Most photographers keep JPEG as the default and switch to raw for the shots they already know they will edit heavily, such as backlit scenes, night shots or images that will be printed large. If you find yourself skipping shots because of save lag, that is a sign the default belongs back on JPEG.
Conclusion
Keep JPEG or HEIC as your everyday setting, because it is fast, small and already looks good. Switch to raw when the light is brutal, you want a tight crop, or the image is going to a large print. That is the whole raw vs jpeg photos on a phone camera decision in two sentences.
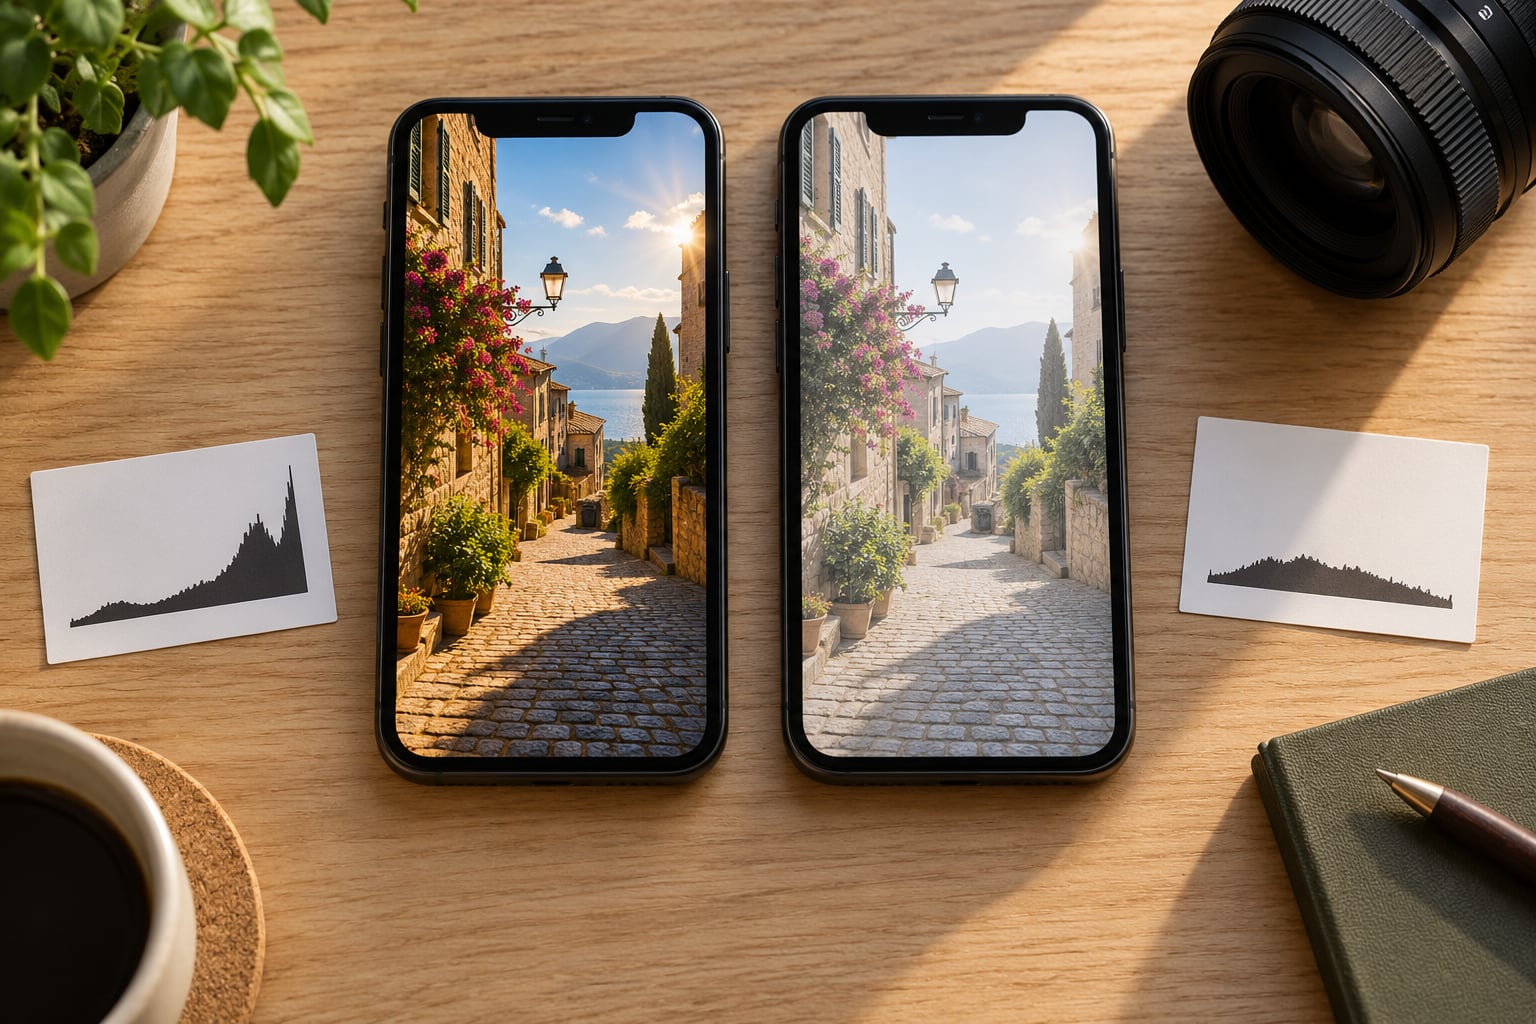
Start with one thing: turn raw on, shoot the same scene as both formats, and compare them side by side in an editor like Snapseed. That single test tells you more than any setting description, and it takes about two minutes.