Yes. How to set up a smart doorbell without existing wiring is mostly a shopping decision and a 30-minute mounting job: pick a battery-powered video doorbell, charge its removable battery, screw or stick the mounting plate to the wall beside your door, and pair it to your phone over Wi-Fi. Nothing touches your electrical panel, no transformer, no chime wiring.
The part that catches people out is buying a wired-only model by accident. Those need a low-voltage 16-24V AC supply at the button, and if your front door has never had a doorbell there is nothing there to plug into. Check the spec sheet for the word battery before you buy, not after.
This guide covers what to have on hand, the seven setup steps in order, the mounting mistakes that ruin a first attempt, and how to tell in about five minutes whether your home already has usable doorbell wiring. Menu names differ by brand, so I have kept the instructions general and flagged the points where apps diverge.
Table of Contents
- What You Need
- Three power routes, side by side
- Check whether your home already has doorbell wiring
- Matching the anchor to your wall
- Step-by-Step: How to Set Up a Smart Doorbell Without Existing Wiring
- Check That the Doorbell Works With Your Network and Phone
- Charge the Battery and Prepare the Doorbell
- Mark a Safe Mounting Position
- Mount the Doorbell Without Electrical Wiring
- Connect the Doorbell to the App and Wi-Fi
- Set Notifications, Motion Detection, and Recording
- Test the Doorbell and Fix Any Setup Issues
- Common Mistakes
- Frequently Asked Questions
- Can I install a smart doorbell without wiring?
- Do I need an electrician to install a video doorbell?
- How long does a smart doorbell battery last?
- Can I install a smart doorbell in a rental or apartment?
- How high should I mount a video doorbell?
- Why won’t my smart doorbell connect to Wi-Fi?
- Conclusion
What You Need
Start by confirming the doorbell model itself. The single most important check is power: a battery-powered video doorbell ships with a rechargeable pack and needs nothing at the wall. A wired model needs a transformer and chime, or at minimum a plug-in adapter. Read the box listing for battery, battery-powered, or wireless, and if you are renting that sentence settles the question too.
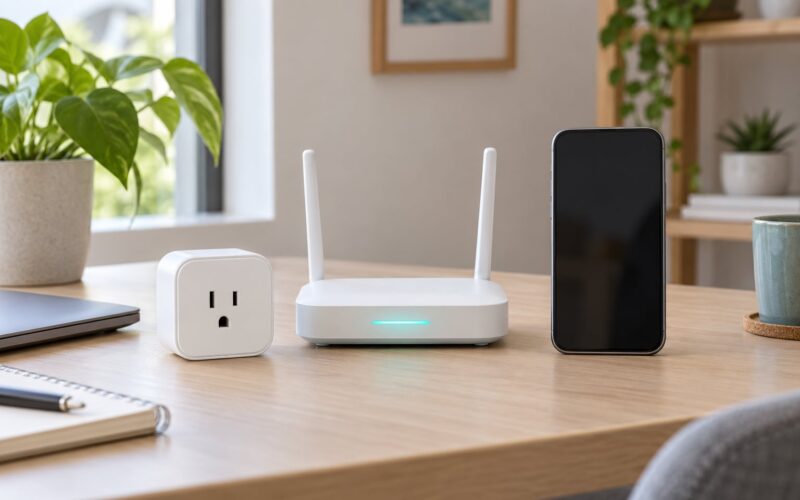
Next, confirm the network. Almost every video doorbell connects to a 2.4 GHz Wi-Fi band, and many routers split 2.4 and 5 GHz onto different names. Standing at the front door with your phone, check whether the 2.4 GHz network is the one you can actually see and join at that spot. Owners of smart home gear on forums repeatedly report pairing failures that turned out to be a dead zone rather than a broken doorbell.
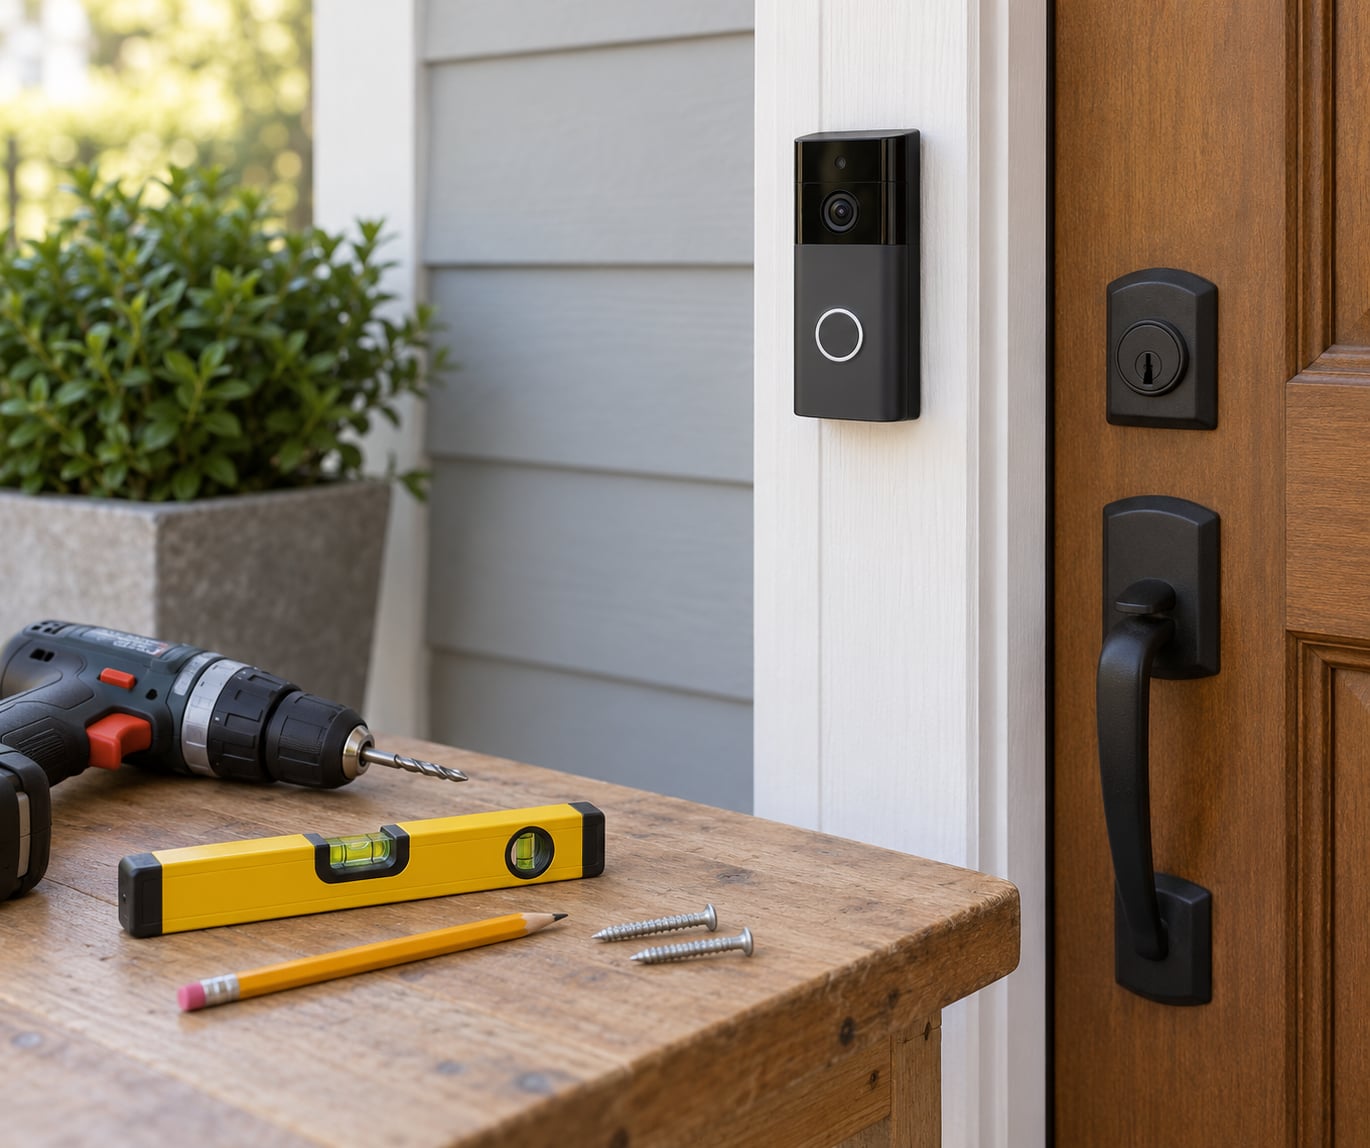
For the physical work, gather the following before you start:
- A battery-powered smart doorbell with a removable or rechargeable battery pack
- Your phone, plus the manufacturer app and a working account
- A drill with a masonry bit if you are drilling into brick, stucco or concrete
- A small spirit level, a pencil and a tape measure
- The supplied mounting plate, screws and wall anchors matched to your surface
- An optional wedge or angle bracket if the camera view needs tilting
- A step stool, because most people find the ideal mounting height is above comfortable reach
Three power routes, side by side
People often assume wire-free means battery or nothing. There are three workable routes, and picking the wrong one is the reason most installs stall.
| Power route | Needs wiring | Needs electrician | Power type | Best for |
|---|---|---|---|---|
| Battery-powered unit | No | No | Rechargeable pack, 2-6 months typical | Renters, homes with no doorbell circuit, temporary installs |
| Plug-in AC adapter | No wall wiring | No, if you use a listed low-voltage adapter | Continuous, mains to low-voltage conversion | People who want a wired-style model without opening walls |
| New transformer and chime | Yes | Yes, for the 120V side | Continuous, 16-24V AC | Owners who want 24/7 recording and no battery swaps |
| Existing low-voltage wiring | Already in place | Usually not | Continuous | Homes replacing an older doorbell button |
Check whether your home already has doorbell wiring
You do not need to drill to find out. Look for an old button, buzzer or chime plate on the wall beside the door, then trace the visible wire with a flashlight. Most homes with a doorbell circuit have a thin two-conductor low-voltage cable running from the button to a chime box near the front door or in the hall closet.
If you want certainty before buying, switch off the breaker feeding that area and test the wires at the button with a multimeter or voltage tester as the guidance on smart home forums recommends. Old cables are low voltage, not mains, but treat them as live anyway and never work on anything connected to 120V without a licensed electrician. If you find no button, no plate and no chime, assume you have no circuit.
Matching the anchor to your wall
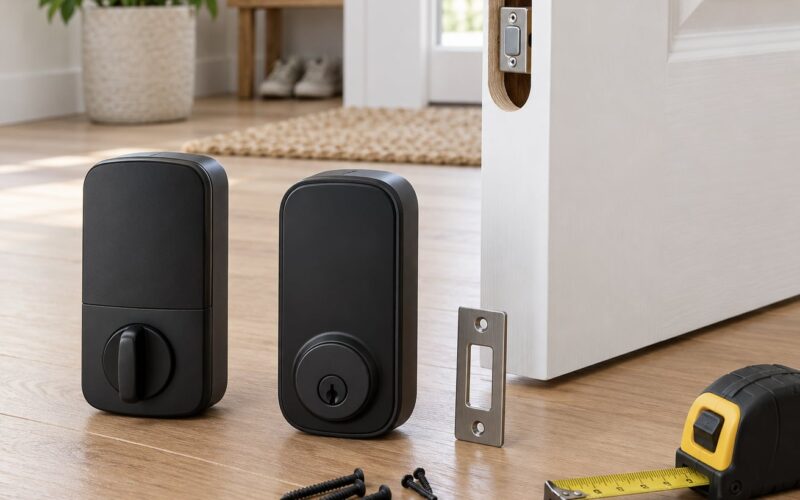
The supplied screws and plastic anchors are sized for drywall or wood trim. Brick, stucco and concrete need masonry anchors and a hammer drill bit, and hollow vinyl or aluminium trim needs a toggle or a screw that reaches back into framing. If you are mounting to thin vinyl siding or a metal door frame, drill no further than the trim and use the no-drill route below instead.
Step-by-Step: How to Set Up a Smart Doorbell Without Existing Wiring
Check That the Doorbell Works With Your Network and Phone
Before anything is unboxed, install the app and create your account. Sign in on the phone that will get the alerts, since pairing codes often go to the device performing setup. Confirm your phone meets the app’s current operating system requirement, because older phones are the second most common cause of a failed install after Wi-Fi band mismatches.
Stand near the front door and join your 2.4 GHz network there. If the signal drops the moment you step outside, solve that first with a mesh node or Wi-Fi extender near the entryway, or plan on a camera that buffers clips locally. Some routers also block devices that have not been added to a trusted list or that use MAC address filtering.
Charge the Battery and Prepare the Doorbell
Battery models usually arrive partly charged, which is not the same as ready. Charge the pack fully with the supplied cable before mounting, since the first charge also calibrates the battery gauge. A full charge commonly takes two to four hours, so start this first and do the rest of the prep while it sits.
Remove the protective film from the camera lens and any pull tab on the battery compartment. Look for the QR code sticker or setup label, which is usually on the back of the unit or on a small card. If your model ships with a wedge or angle bracket, decide now whether you want it, because swapping it later means taking the doorbell back off the wall.
Insert the battery until it seats and the unit powers on. Most models greet you with a chime or a short tone. That tone means the hardware is alive, and any problem from here on is a network or app problem rather than a hardware one.
Mark a Safe Mounting Position
Most manufacturers put the recommended mounting height around 48 inches from the ground, and roughly 40 to 62 inches is the workable band. High enough that the camera looks over a visitor’s head and sees the walkway, low enough that you can reach the button without a ladder for the first month.
Hold the mounting plate against the wall, level it, and mark the corners with a pencil. Check the view before you drill: you want faces at the door, the path up to the door, and the spot where deliveries get left. Avoid pointing into a neighbour’s window or across a shared walkway, which is both poor manners and the kind of thing people complain about.
Also check for obstructions. A porch light directly above the door can flare into the lens at night and wash out faces, and deep door trim can clip the camera’s view. If you have a wedge bracket, mount the plate now at the angle you chose rather than correcting it after the screws are in.
Mount the Doorbell Without Electrical Wiring
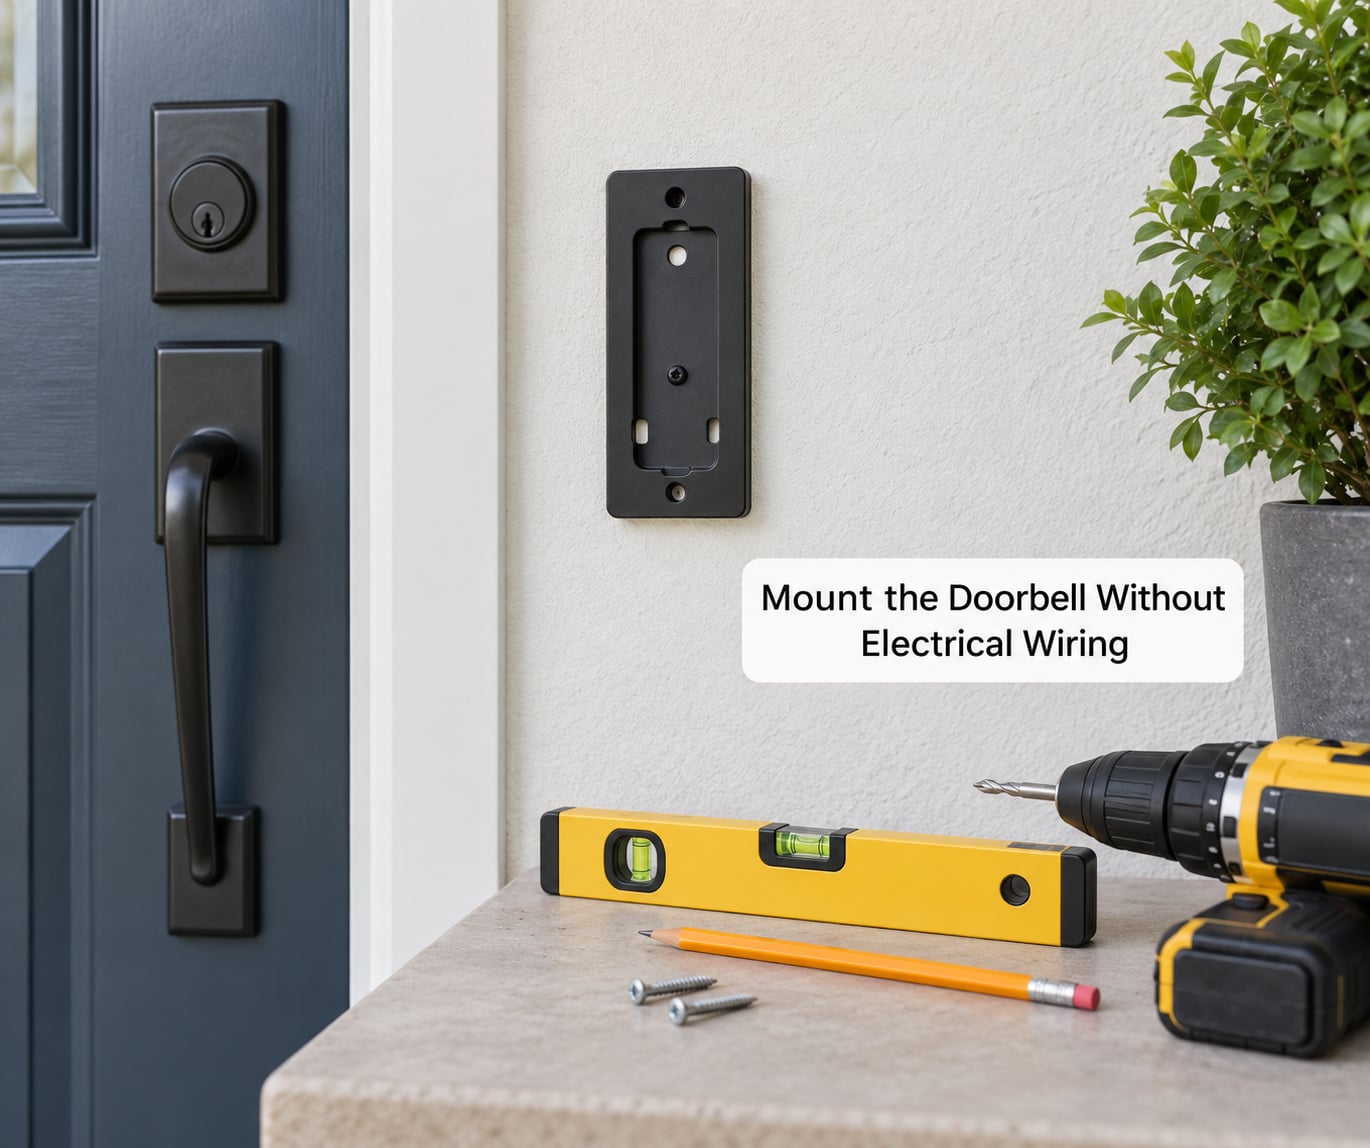
Fit the mounting plate over your pencil marks and drive the supplied screws with the anchors matched to your surface. The plate should sit flat and square; if the wall is not plumb, shim it with a thin piece of cardboard so the unit does not rock. Hang the doorbell on the plate until it clicks and then lock it with the security screw from the base of the bracket, which is what stops someone walking off with it.
For a rental, or any surface you refuse to drill, a VHB adhesive mount or a 3M command-style strip is the practical alternative. Clean the wall with isopropyl alcohol, let it dry fully, and press the plate for the full time the tape manufacturer states, usually 30 seconds to a minute under firm pressure. The honest limitation: tape mounts creep, fail in heat and direct sun, and give you no anti-theft screw, so treat them as a good short-term or indoor-door solution rather than a permanent one on a sun-facing exterior wall.
Two rules for the drilling itself. Stop the moment your bit meets resistance that is not wood, drywall or masonry, because you have hit something you did not plan for. And never drill near a mains cable, an exterior light, or any visible wiring without confirming what is behind the wall first.
Connect the Doorbell to the App and Wi-Fi
Open the app and choose add device or scan QR code, then point the phone camera at the label on the doorbell. Select your 2.4 GHz network from the list the app shows and type the password. If the network is hidden, join it from your phone’s Wi-Fi settings first so it appears in the app’s list.
The doorbell will restart once, which is normal, and may play a voice prompt to confirm it has joined. Name the device something you’ll recognise later, like Front Door, because the label appears on every alert notification and every clip you search for later. If a firmware update is offered, let it finish before touching any other settings.
With the pairing done, walk outside and back inside to check the app still loads live view. About half of all reported pairing failures are a router that gave the doorbell a weak or wrong-band address, so this quick walk test is worth the ten seconds.
Set Notifications, Motion Detection, and Recording
These settings decide whether the doorbell is actually useful. Turn push notifications on first, then grant the app camera, microphone and motion permissions when your phone asks, since declining silently gets you a doorbell that never alerts.
Next, draw motion zones. Most apps default to a wide rectangle covering the whole frame, which means passing cars trigger recordings and chew through the battery. Draw the zone around the walkway and door and drop the street out of it. Sensitivity sliders work the same way, low to high, and the honest advice is to start low, live with it a week and raise it if you are missing real visitors.
Recording depends on the model. Battery units usually record short clips on motion and save them to a microSD card or to the maker’s cloud, with a subscription on some brands. Wired units with a continuous power supply are the ones that support 24/7 recording. Check retention settings and whether your clip history is capped, because it changes the microSD versus cloud decision more than anything else.
Set night vision and timestamp overlays, and test two-way talk by speaking from the app. If sound is one-way, the microphone permission or a blocked speaker permission is usually the cause.
Test the Doorbell and Fix Any Setup Issues
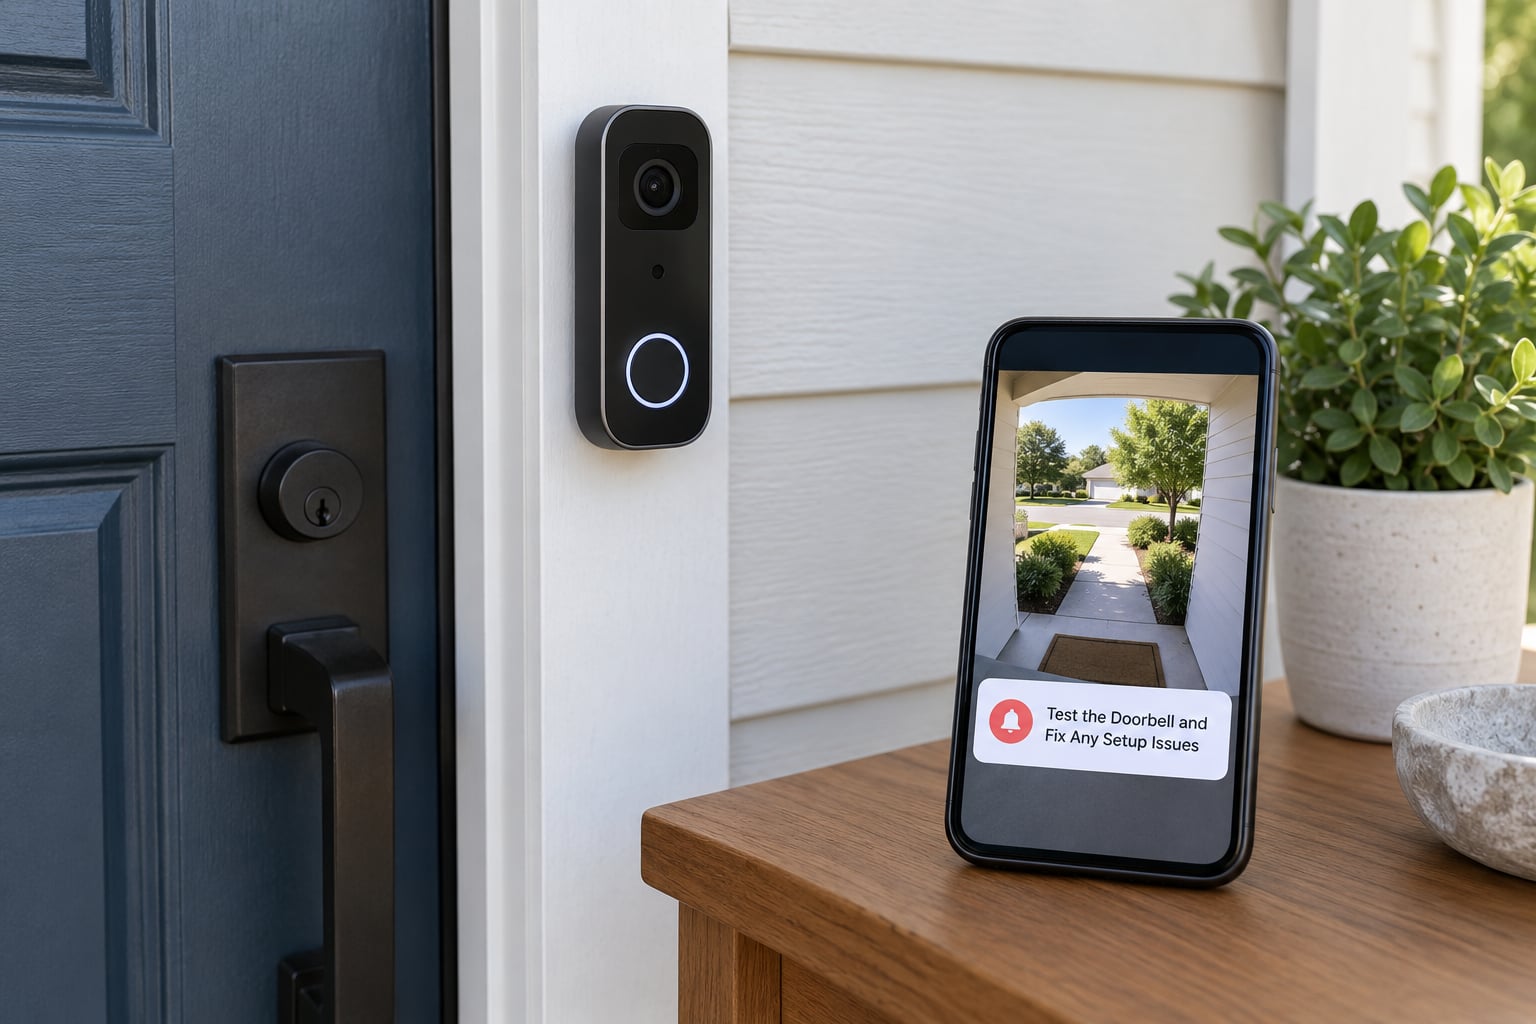
Run a full test before you trust the doorbell with anything important. Press the button and watch for a push notification within a second or two, then answer the live view and speak. Walk across the motion zone and confirm a clip is recorded. Have someone ring the bell from outside while you check the notification sound is loud enough and not silenced by your phone’s focus mode.
If you want sound inside the house, pair the plug-in chime or battery chime the maker sells with the app, then plug it in somewhere you’ll hear it. Do not try to reuse an existing wired mechanical chime with a battery doorbell, because there is no transformer to power it and nothing for the wireless signal to reach.
Work through problems in order of likelihood:
- Will not pair at all. Confirm you are on the 2.4 GHz band, that the phone is on the same network, and that the pull tab and film were removed. Restart the doorbell by holding its reset button until the light flashes, then pair again.
- Shows offline after pairing. Move the router or add a mesh node near the door. Firmware left half-installed is another common cause, so reinstall from the app settings rather than only rebooting the doorbell.
- Notifications never arrive. Check per-app notification settings, battery saver, and the fact that some apps defer notifications while the phone is idle. Confirm motion zones actually cover the door.
- Blurry or dark video. Clean the lens, remove the film from the IR cut filter if one is present, and try adjusting the wedge angle. A porch light above the lens is the usual culprit.
- Battery draining fast. Motion sensitivity at maximum plus 24/7 recording on a battery unit will flatten the pack. Trim the zones, cut notification volume, and expect more frequent charging in cold weather.
Common Mistakes
Most failed installs come down to six things, and each has a quick fix you can apply before you start rather than halfway through.
Buying a wired-only model. If the spec sheet says it requires existing doorbell wiring or a transformer, it will not work at a door with no circuit. This is the most expensive mistake because the unit is unusable where you put it. Return it and get the battery version.
Wrong Wi-Fi band. A doorbell that joins a 5 GHz-only network, or a router that hides the 2.4 GHz SSID, will refuse to pair. Split the bands, or join a 2.4 GHz extender before you retry.
Mounting too high or flat. Above about 62 inches the lens looks at the tops of heads and the horizon. Mounted flat with a wedge pointing up, you get nothing but sky and soffit. Check the live view on your phone before you walk away from the step ladder.
Mounting on the first try without charging. A half-charged pack can drop off Wi-Fi days later and look like a fault. Charge fully first, then mount.
Pairing while it is still in the box or in the packaging film. The QR label may be hidden and the network chip can fail to associate through cardboard. Peel everything off and retry.
Drilling into an unsafe surface. Thin vinyl trim, hollow doors and metal frames split easily, and drilling near an exterior light or a mains run is a real hazard. Use the adhesive route, or reach back into framing with the correct fastener.
For renters, get permission in writing before you touch anything permanent. Adhesive mounting keeps you out of that conversation, and a model with a removable battery means you can take the whole setup with you when you move.
On privacy, aim the field of view at your own door and walkway. Keep the frame off neighbouring windows and public footpaths, turn off audio recording if your app offers that option, and review shared access so former housemates lose their way into your camera feed.
On battery life, expect roughly two to six months on a single charge depending on traffic and motion sensitivity, with shorter life in cold weather because low temperatures reduce what a lithium pack can deliver. Charge indoors when it gets cold rather than on the porch, and expect a 24/7 recording requirement to push you toward a wired or transformer route instead.
Frequently Asked Questions
Can I install a smart doorbell without wiring?
Yes. A battery-powered video doorbell needs no doorbell wiring, no transformer and no chime wiring, because it runs on its own rechargeable battery and communicates over Wi-Fi. You mount it to the wall with screws or an adhesive plate and pair it to your phone through the maker’s app. Just confirm the model says battery or wireless, since a wired-only unit will not work where there is no low-voltage circuit.
Do I need an electrician to install a video doorbell?
Not for a battery-powered model. Mounting a plate, hanging the unit and pairing the app are all homeowner-level work. An electrician is needed when you want a continuous power supply, which means installing a transformer, running new low-voltage cable, or connecting anything to 120V mains. A plug-in low-voltage adapter is the middle ground, since it needs no wall work but no mains connection either.
How long does a smart doorbell battery last?
Roughly two to six months per charge on a typical battery-powered model, depending on how much motion is detected and how sensitive your zones are. High motion sensitivity, 24/7 recording on an unsupported model, and cold weather all shorten that. Trim your motion zones to the door and walkway, and expect to top the pack up more often through winter.
Can I install a smart doorbell in a rental or apartment?
Usually yes, as long as you do not touch wiring or the breaker and your lease does not ban exterior hardware. A battery model is the safest option because nothing permanent is buried in the wall. For a no-drill approach, use a VHB adhesive or command-style mount on a clean, dry surface, and expect that kind of mount to work best indoors or in shade. Written landlord approval is worth having before any hole is drilled.
How high should I mount a video doorbell?
Around 48 inches from the ground is the common recommendation, with a workable band of roughly 40 to 62 inches. High enough that you see faces rather than the tops of heads and can view the walkway, low enough to reach the button for the first month or so. Check the live view on your phone before tightening anything, and add a wedge bracket if the angle needs adjusting.
Why won’t my smart doorbell connect to Wi-Fi?
In order of likelihood, it is on the wrong band, the signal is too weak at the door, or MAC address filtering is blocking it. Most video doorbells only join 2.4 GHz, so confirm that band exists and is not hidden. Test the signal by standing outside with your phone before installing anything, and add a mesh node or extender near the entryway if it drops. A reset of the doorbell and a fresh pairing solves the rest.
Conclusion
The fastest path is straightforward: buy a model that explicitly says battery or wireless, confirm your router exposes a 2.4 GHz network with usable signal at the front door, charge the pack fully, mount the plate at about 48 inches with a clear view of the door and walkway, pair it in the app, then trim the motion zones and test the button, live view and alerts before you rely on it.
Check the manufacturer’s instructions before you drill, because app menus, battery charging methods and anchor hardware differ by model, and anything involving a transformer or mains power belongs with a licensed electrician.