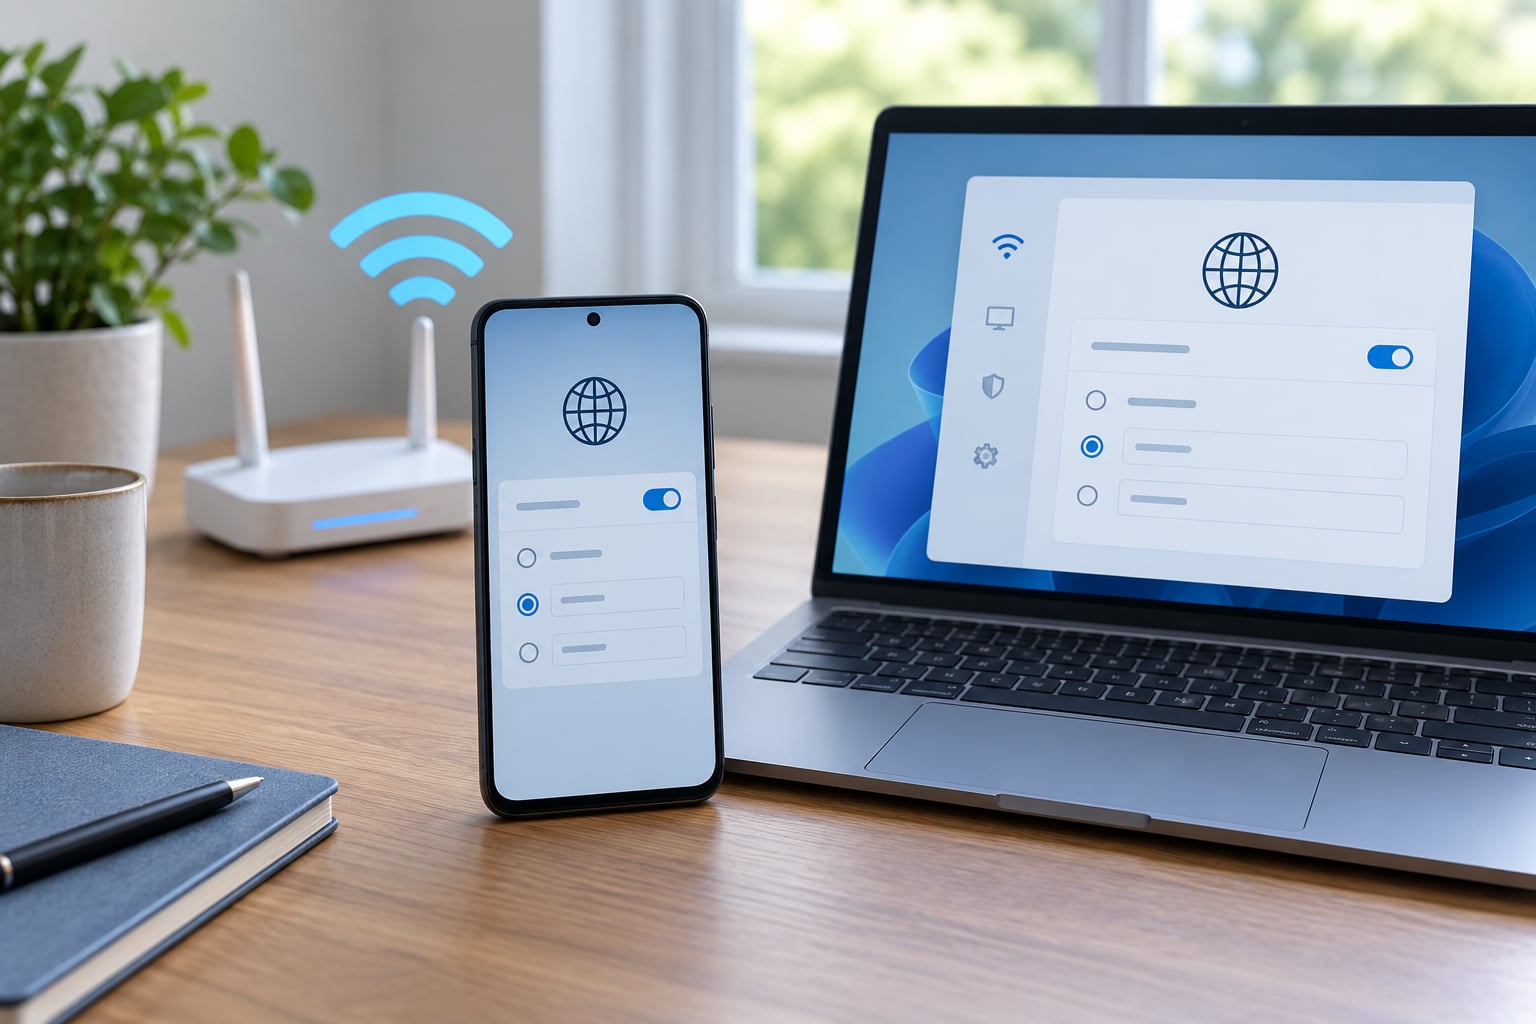
If you have ever wondered how to change DNS on Android for faster browsing, the good news is that it takes about two minutes, needs no root access, and no extra app. On Android 9 and later the whole job is Settings > Network & internet > More connection settings > Private DNS, choose Private DNS provider hostname, and paste a name like one.one.one.one.
That setting sends every domain lookup your phone makes through an encrypted DNS over TLS resolver instead of the default one your carrier handed you. When the default resolver is slow, overloaded or simply far away, page opens speed up noticeably.
Last updated: 2026. Paths below match Android 12 through Android 16 on the standard Google interface, plus the One UI and HyperOS skins.
Table of Contents
- What You Need
- Step-by-Step
- Step 1: Choose a DNS Provider
- Step 2: Change DNS for Wi-Fi and Mobile Data
- Step 3: Save the Settings and Restart the Connection
- Step 4: Test the DNS Change
- Common DNS Problems on Android
- Does Changing DNS Make Android Faster?
- How to Change DNS on Android Without Losing Internet Access
- Which DNS Provider Should Android Users Choose?
- Frequently Asked Questions
- Is 8.8.8.8 or 1.1.1.1 better for Android?
- Why can’t I enter an IP address in the Private DNS field?
- Does changing DNS actually make internet faster on Android?
- Is changing DNS to 1.1.1.1 safe?
- Does Private DNS conflict with a VPN?
- How do I turn Private DNS back off?
- Conclusion
What You Need
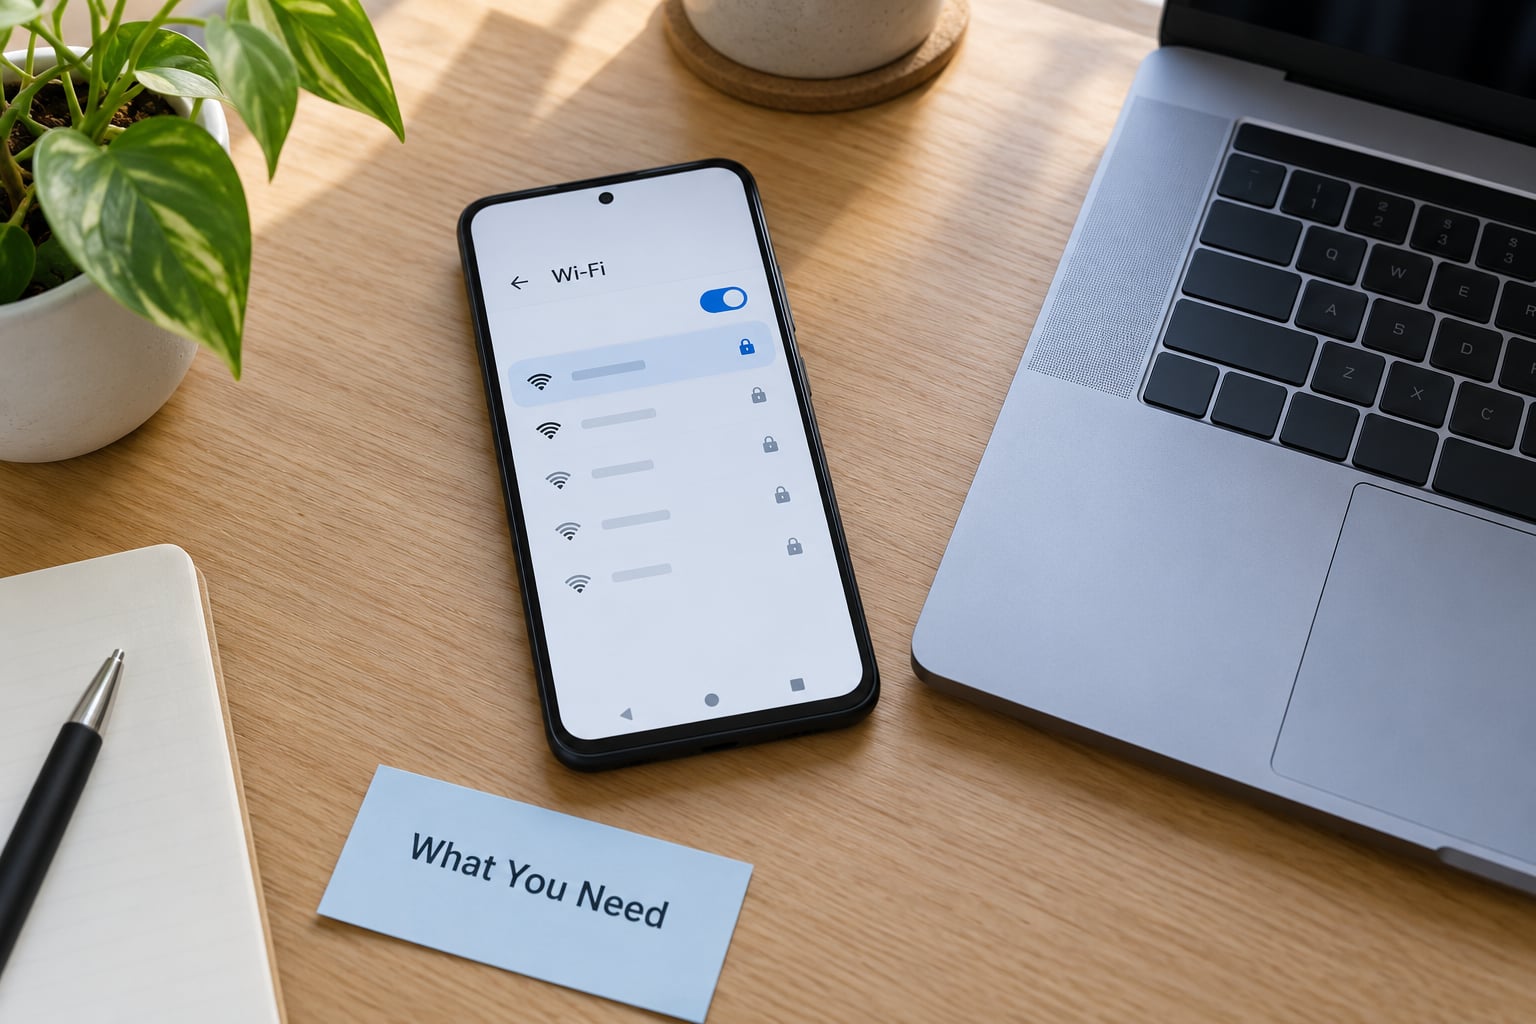
An Android phone running Android 9 (Pie) or newer. Android 9 introduced Private DNS, and without it there is no system-wide encrypted DNS option at all.
You also need a working Wi-Fi or mobile connection, because the phone has to reach the new resolver before anything else works. Nothing else is required: no rooting, no ADB commands, no third-party app.
One thing to have ready is a hostname rather than an IP address. That trips almost everyone up, so I explain it in the troubleshooting section below. Keep it short: one.one.one.one for Cloudflare, dns.google for Google, dns.adguard-dns.com for AdGuard, dns.quad9.net for Quad9.
Step-by-Step
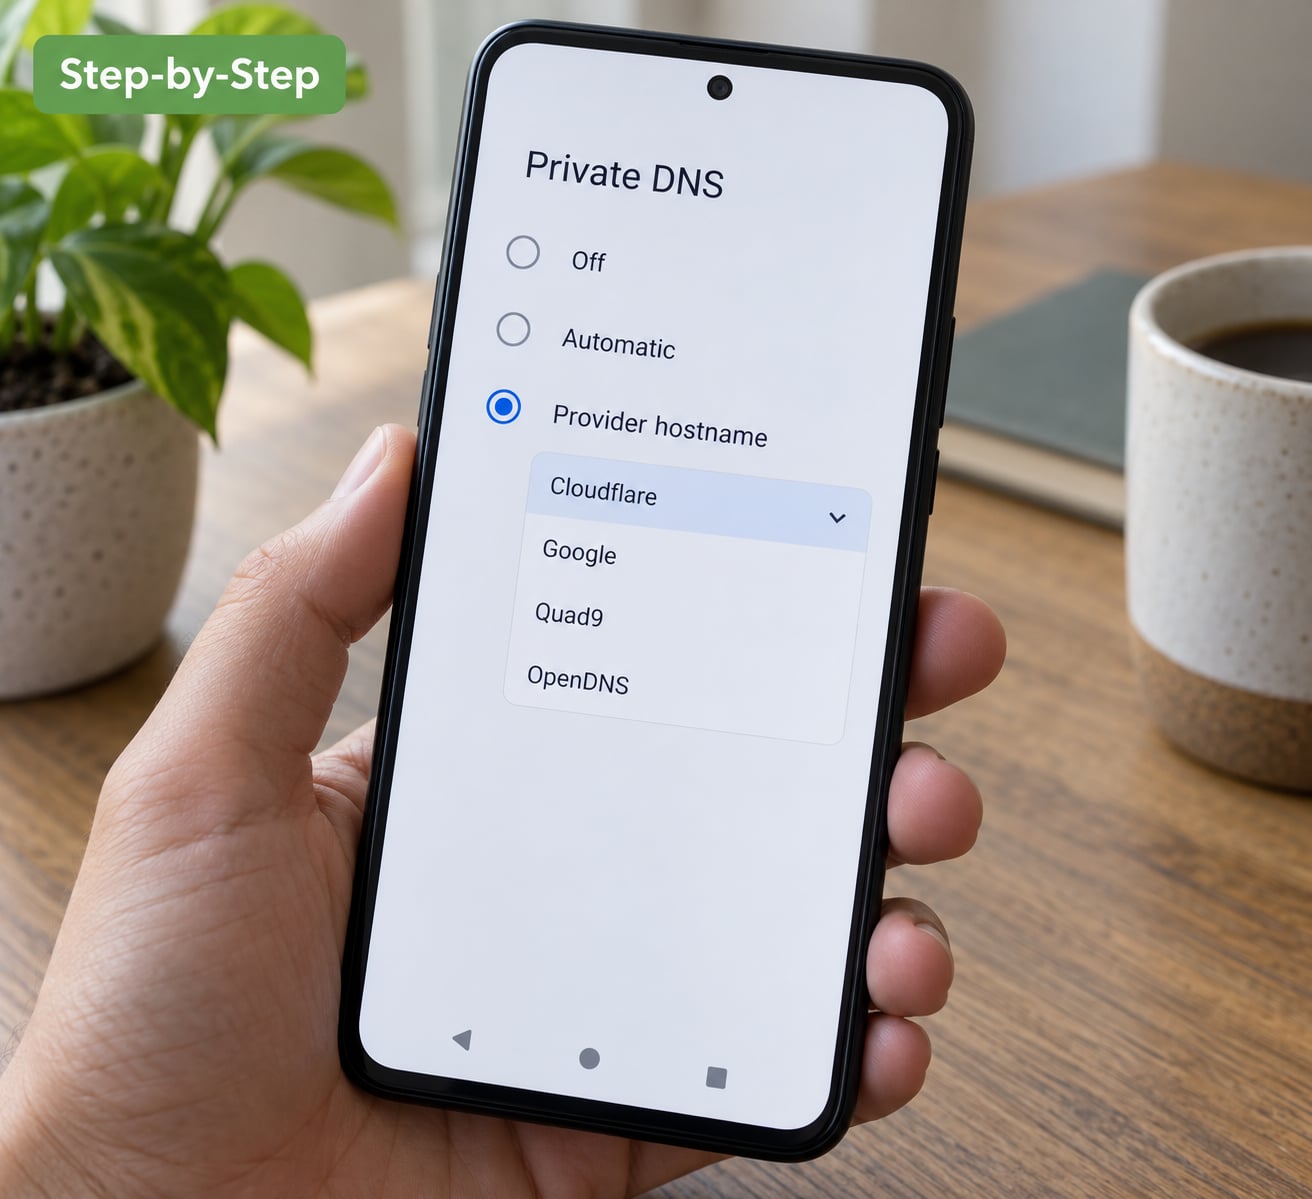
This is the exact sequence, starting from the home screen on Android 9 or newer.
- Open Settings.
- Tap Network & internet.
- Tap More connection settings.
- Tap Private DNS.
- Tap Private DNS provider hostname.
- Paste your hostname, for example one.one.one.one.
- Tap Save.
- Toggle Wi-Fi off and on, or switch airplane mode on and off.
Step 1: Choose a DNS Provider
Pick a resolver before you open the settings screen, because the field only accepts a name that server already understands.
- Automatic is what the phone already does, using whatever your carrier or router supplies. Choose it if you have never had a problem, or if you are on a network with captive portal sign-in pages that break when DNS is forced.
- Cloudflare (one.one.one.one) is the most commonly recommended default in Android user threads. It resolves fast, encrypts queries, and filters nothing.
- Google Public DNS (dns.google) is the other half of every comparison. It resolves well too, but Google retains limited technical data about resolvers, which is why privacy-minded people tend to pick Cloudflare.
- AdGuard (dns.adguard-dns.com) blocks ads and trackers at the DNS level. Users on r/Adguard report it can actually slow down page loading for some apps, and that switching the connection method or turning Private DNS off fixes it.
- Quad9 (dns.quad9.net) blocks malware domains and keeps no logs. Quad9 users in forums accept slightly slower resolution than Cloudflare for that protection.
- OpenDNS (dns.opendns.com) has been around for years and has fine-grained family filtering options.
If you run Pi-hole or AdGuard Home at home, do not change DNS on the phone at all. Point your router at the local resolver and every device inherits the filtering, which is what people running homelab setups usually tell beginners to do.
Step 2: Change DNS for Wi-Fi and Mobile Data
Private DNS applies system-wide, so one change covers Wi-Fi and mobile data. The menu location shifts a little depending on the skin:
- Standard Android 9 to 16: Settings > Network & internet > More connection settings > Private DNS.
- Samsung One UI: Settings > Connections > More connection settings > Private DNS.
- Xiaomi MIUI and HyperOS: Settings > Connection & sharing > Private DNS. On some HyperOS builds it sits under Connection & sharing > More connection settings > Private DNS.
If Private DNS is missing entirely, your phone is on Android 8 or older. There is a second, older method that still works: go to Settings > Network & internet > Wi-Fi, tap the connected network name, tap IP settings, set it to Static, then enter an address in the DNS 1 and DNS 2 fields. Unlike Private DNS, this one does accept raw IP addresses such as 1.1.1.1 and 1.0.0.1, but it is per-network, unencrypted, and gets overwritten whenever the router reissues the address.
Private DNS is stricter on purpose. Android connects over TLS on port 853, and a raw IP gives it nothing to verify a certificate against, so the field takes hostnames only. Knowing this before you start saves the most common failure.
Step 3: Save the Settings and Restart the Connection
Tap Save and watch for a brief check. Android validates the hostname and its certificate before it accepts it, so a wrong entry fails immediately and the phone quietly keeps working on the old resolver.
Restart the connection afterwards. Toggle Wi-Fi off and on, or turn airplane mode on and off for a few seconds. The resolver change only applies to new lookups, and cached results from the previous resolver linger until they expire, so a restart is the difference between testing the new provider and testing nothing.
Step 4: Test the DNS Change
Open a browser and search for what is my DNS. Most DNS leak test sites report the resolver answering your queries, and the nameserver shown should match the provider you just chose. If it still shows your carrier, the connection restart did not take or the hostname failed to validate.
For a rougher read, run the same query on your old and new resolver in a DNS benchmark tool and compare response times. Do it on the same Wi-Fi network, within a few minutes, since mobile signal strength swings enough on its own to fake a result.
Common DNS Problems on Android
- Entered an IP address instead of a hostname. The field rejects 1.1.1.1 or 8.8.8.8 and drops back to a connection error. Type one.one.one.one or dns.google instead.
- “Private DNS server cannot be accessed.” Usually a network that blocks outbound port 853, commonly hotel and campus Wi-Fi. Switch back to Automatic to regain connectivity.
- Captive portal pages will not open. Hotels and airport Wi-Fi sign you in through a portal that needs plain DNS to work. Keep Private DNS on Automatic while signing in, then change it afterwards.
- Mobile data did not change. A carrier-level setting can still force its own resolver for the cellular interface on some plans. Test on Wi-Fi first to isolate it.
- A VPN is running. An active VPN usually takes over DNS resolution, so your new provider is bypassed. Disconnect the VPN, or configure DNS inside the VPN app.
- AdGuard made things slower. Switch the connection method inside the AdGuard app, or return to Automatic and pick another resolver.
- The menu is not where you expect. OEM skins move it. Search the Settings app for “Private DNS” rather than hunting through menus.
Does Changing DNS Make Android Faster?
Sometimes, and the difference is usually small but real. Every page open starts with a lookup that returns an IP address before a single byte of content downloads. When the resolver is slow, that lookup is dead time you notice as a blank page.
Switching helps most on congested mobile networks, where the carrier resolver is shared by thousands of subscribers, and on older Android 8-era setups still using an ISP resolver. Thread after thread in Android communities describes the same pattern: pages that used to hang on a cold connection open faster, and video calls stop stalling at the start.
It will not help when the real bottleneck is somewhere else. Weak Wi-Fi signal, a saturated 4G or 5G radio link, a slow origin server, or a content delivery node on the other side of the planet all sit downstream of DNS, and a faster lookup cannot fix any of them. If your pages load slowly on every site, the problem is the connection. If it is slow on a handful, DNS is worth a look.
Battery impact is negligible. The extra work is one TLS session that stays open and reused, not a new query per page.
How to Change DNS on Android Without Losing Internet Access
The fear that pushed-back comes from people who set a hostname that does not resolve, which can leave a network unusable. Three habits prevent that.
First, note your current setting before you touch it, so you know what to go back to. Second, change one provider at a time and test basic connectivity immediately: open a plain web page and try one app you rely on. Third, remember that Automatic is always one tap away and never leaves you stranded.
If something breaks, go straight back to Settings > Network & internet > More connection settings > Private DNS and tap Automatic. That restores your carrier or router resolver instantly, with no restart needed. Nothing you do here is permanent, and there is no setting in Android that can permanently brick your connectivity.
Which DNS Provider Should Android Users Choose?
Privacy-minded users: Cloudflare at one.one.one.one. Fast, encrypted, no-logs policy, no content filtering, and the most commonly recommended default in Android user threads.
Families wanting basic filtering: AdGuard at dns.adguard-dns.com, which blocks ads and trackers at the lookup stage. Keep in mind the slowdown reports, and be ready to try another provider if apps start loading slower.
People who want malware blocking: Quad9 at dns.quad9.net. It filters known malicious domains and keeps no logs, at the cost of a little resolution speed.
Gamers: Cloudflare or Google. Neither filters, so neither can interfere with game services, and both run on large anycast networks that keep lookups short regardless of your carrier.
People on public Wi-Fi who want encrypted lookups: any of the four above. Encrypted DNS stops anyone on the network reading which sites you look up, though it does not hide the addresses you connect to.
People who want easy troubleshooting: Google Public DNS at dns.google is the least likely to give unusual behaviour, and it has the widest documentation if something goes wrong.
Frequently Asked Questions
Is 8.8.8.8 or 1.1.1.1 better for Android?
Cloudflare (1.1.1.1) and Google (8.8.8.8) resolve at nearly the same speed on most networks, so speed rarely decides it. Pick Cloudflare if you prefer a strict no-logs policy, and Google if you want the widest documentation and the most predictable behaviour in countries with local caching. Either is a safe upgrade over a congested carrier resolver.
Why can’t I enter an IP address in the Private DNS field?
Android’s Private DNS uses DNS over TLS, which authenticates the server with a certificate tied to a hostname. A raw IP address has no name to match, so Android rejects entries like 1.1.1.1. Enter the provider hostname instead: one.one.one.one for Cloudflare, dns.google for Google, dns.adguard-dns.com for AdGuard, or dns.quad9.net for Quad9.
Does changing DNS actually make internet faster on Android?
It can, mainly when the resolver your carrier assigns is slow or overloaded. DNS only affects the lookup that happens before content loads, so it will not help with weak Wi-Fi signal, a saturated mobile connection, or a slow website server. Measure before and after on the same network to see whether your setup is actually DNS-limited.
Is changing DNS to 1.1.1.1 safe?
Yes. Encrypted DNS sends your lookups to the provider over TLS, so your network operator cannot read which domains you are visiting. It does not hide the IP addresses you connect to, does not make you anonymous, and does not replace a VPN for full traffic privacy. You can always switch back to Automatic in a few taps.
Does Private DNS conflict with a VPN?
Usually the VPN wins. When a VPN is connected it commonly runs its own resolver, so your Private DNS hostname is bypassed and you may see the VPN’s nameserver instead of your chosen provider. If you want a specific resolver with a VPN, configure it inside the VPN app rather than in Android settings, or disconnect the VPN when testing DNS.
How do I turn Private DNS back off?
Open Settings, tap Network u0026amp; internet, then More connection settings, then Private DNS, and select Automatic. That restores your carrier or router resolver straight away with no restart required. Switching off AdGuard DNS is the same action, since it is just one hostname you typed into this setting.
Conclusion
Start by picking one hostname, most likely one.one.one.one or dns.google, and pasting it into Settings > Network & internet > More connection settings > Private DNS. Restart the connection, run a DNS leak test to confirm the new resolver is answering, and keep Automatic as your fallback for hotel Wi-Fi and VPN sessions.