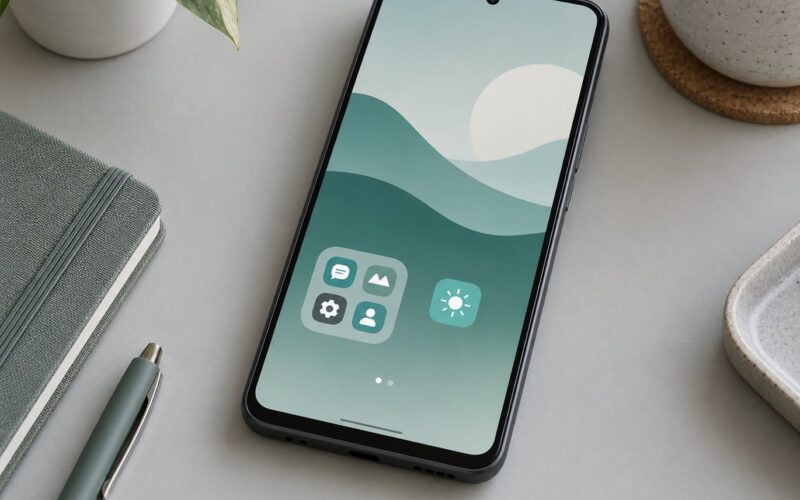
To review app permissions on Android 13, 14 or 15, open Settings, tap Apps, choose See all apps, pick the app you want to check, then tap Permissions. That screen lists every access right the app holds and lets you switch each one to Allow only while using the app, Ask every time, or Don’t allow. It takes about five minutes per app, and a second route shows you every app holding one specific permission at once.
Menu labels differ quite a bit between phone makers, which is why most instructions online feel wrong on the device in your hand. This guide covers the how to review app permissions on Android process in full, including the Samsung One UI and Xiaomi HyperOS paths, the special access grants that never appear on a normal permissions screen, and what actually breaks when you switch something to Don’t allow.
Table of Contents
- What You Need
- Step-by-Step
- Step 1: Open Your Phone’s Settings App
- Step 2: Find the App’s Permission Page
- Step 3: Review Every Permission Category
- Step 4: Decide Whether Each Permission Is Necessary
- Step 5: Revoke Unnecessary or Risky Access
- Step 6: Check Automatic and Special Permissions
- Common Mistakes
- Frequently Asked Questions
- How do I check my app permissions on Android?
- What app permissions should I not allow?
- Which app permission is the most risky?
- Why are my app permissions not working after I change them?
- How do I reset all app permissions on Android?
- Should I have the app privacy report turned on or off?
- Conclusion
What You Need
You need your Android phone unlocked, the name or icon of the app you want to inspect, and about five to ten minutes. If you are auditing everything, allow closer to thirty, because the bulk screens in Step 3 cut that down considerably.
Nothing else. No app, no computer, no developer mode. Everything sits inside the Settings app that already came with the phone.
A few things to know before you start:
- Version matters. The paths below match Android 13, 14 and 15. Android 12 is close. Android 9 and older used a flatter menu where everything sat on one screen, so some steps will not exist.
- Brand matters. Samsung and Xiaomi both rename and rearrange the app section, so use the device table in Step 1.
- App category matters. Google apps live in their own section on some phones, so a Play Store app may be under a separate heading from a sideloaded one.
- You cannot change what an app already collected. Reviewing permissions controls future access, not past data.
Step-by-Step
The fastest route is app by app. The faster route is by permission type, and Step 3 shows both.
Step 1: Open Your Phone’s Settings App
Swipe down from the top of the screen and tap the gear icon, or search for Settings from your app drawer. On most phones the gear is already pinned to the notification shade, so one swipe gets you there.
Where the app list lives depends on the maker:
| Phone | Path to the app list |
|---|---|
| Google Pixel and most standard Android phones | Settings > Apps > See all apps |
| Samsung One UI | Settings > Apps, then tap the three-dot menu at the top right for App permissions, or long-press the app icon on the home screen and choose App info |
| Xiaomi HyperOS | Settings > Apps > Manage apps, or Settings > Permissions for the list by type |
How do you know it worked: you land on a screen that lists apps by name, usually alphabetically. If you see a short cut-off list with a See all apps button, you are in the right place.
Step 2: Find the App’s Permission Page
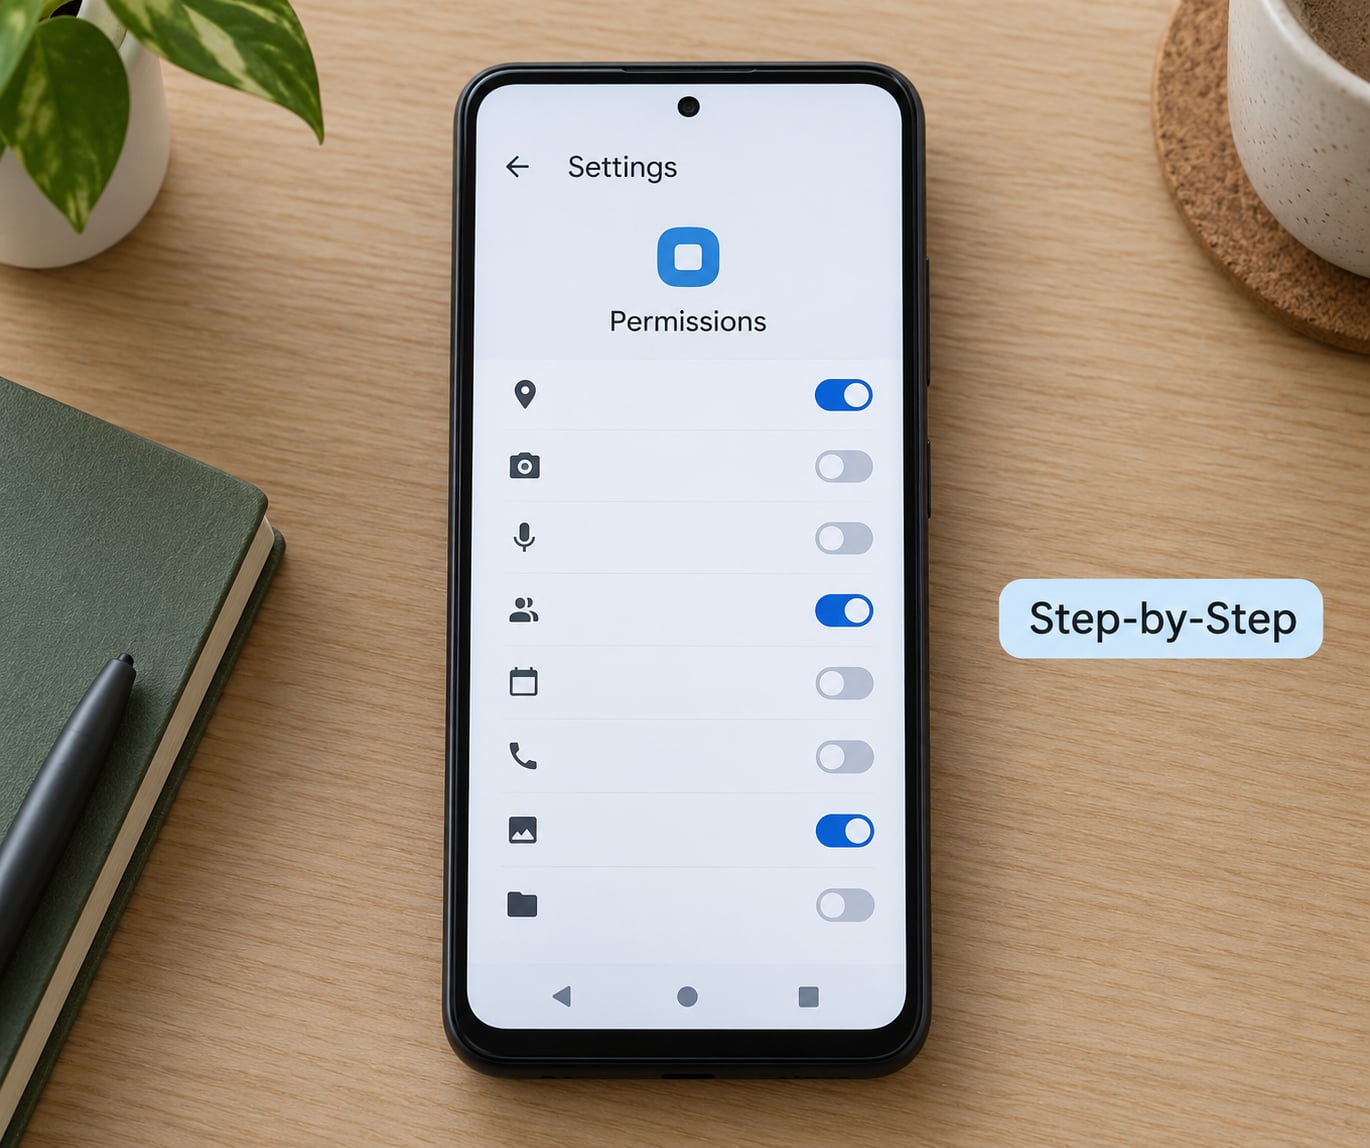
Scroll to the app and tap it. On most phones that opens App info, a page showing the app icon, size, battery use, data use and a Permissions row.
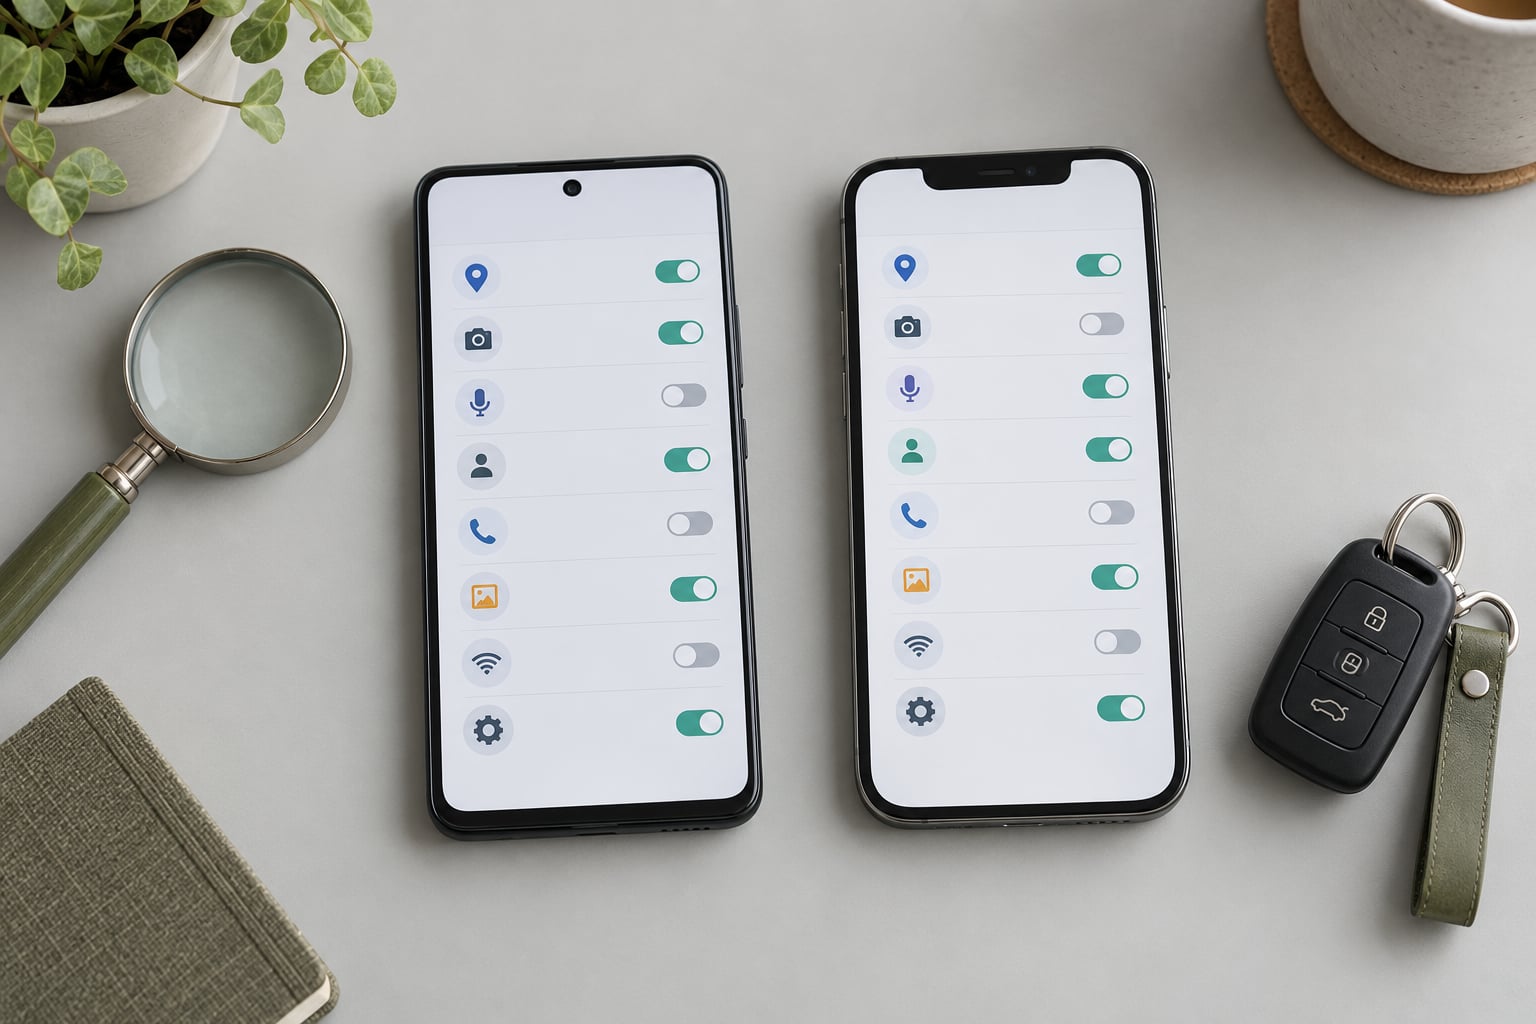
Tap Permissions and you get the full list. Entries are grouped, so you might see Photos and videos, Camera, Microphone, Location, Contacts and Nearby devices, each with a small status line reading Allowed, Not allowed, or Ask every time.
Two alternate routes reach the same screen:
- From the notification shade: tap the app’s own notification, then a Settings or App info button inside the expanded card.
- From the home screen: long-press the app icon and choose App info, then Permissions.
How do you know it worked: every category the app has requested appears, including ones you never switched on. Some permissions are granted automatically at install time, so seeing them listed for the first time is normal rather than alarming.
Step 3: Review Every Permission Category
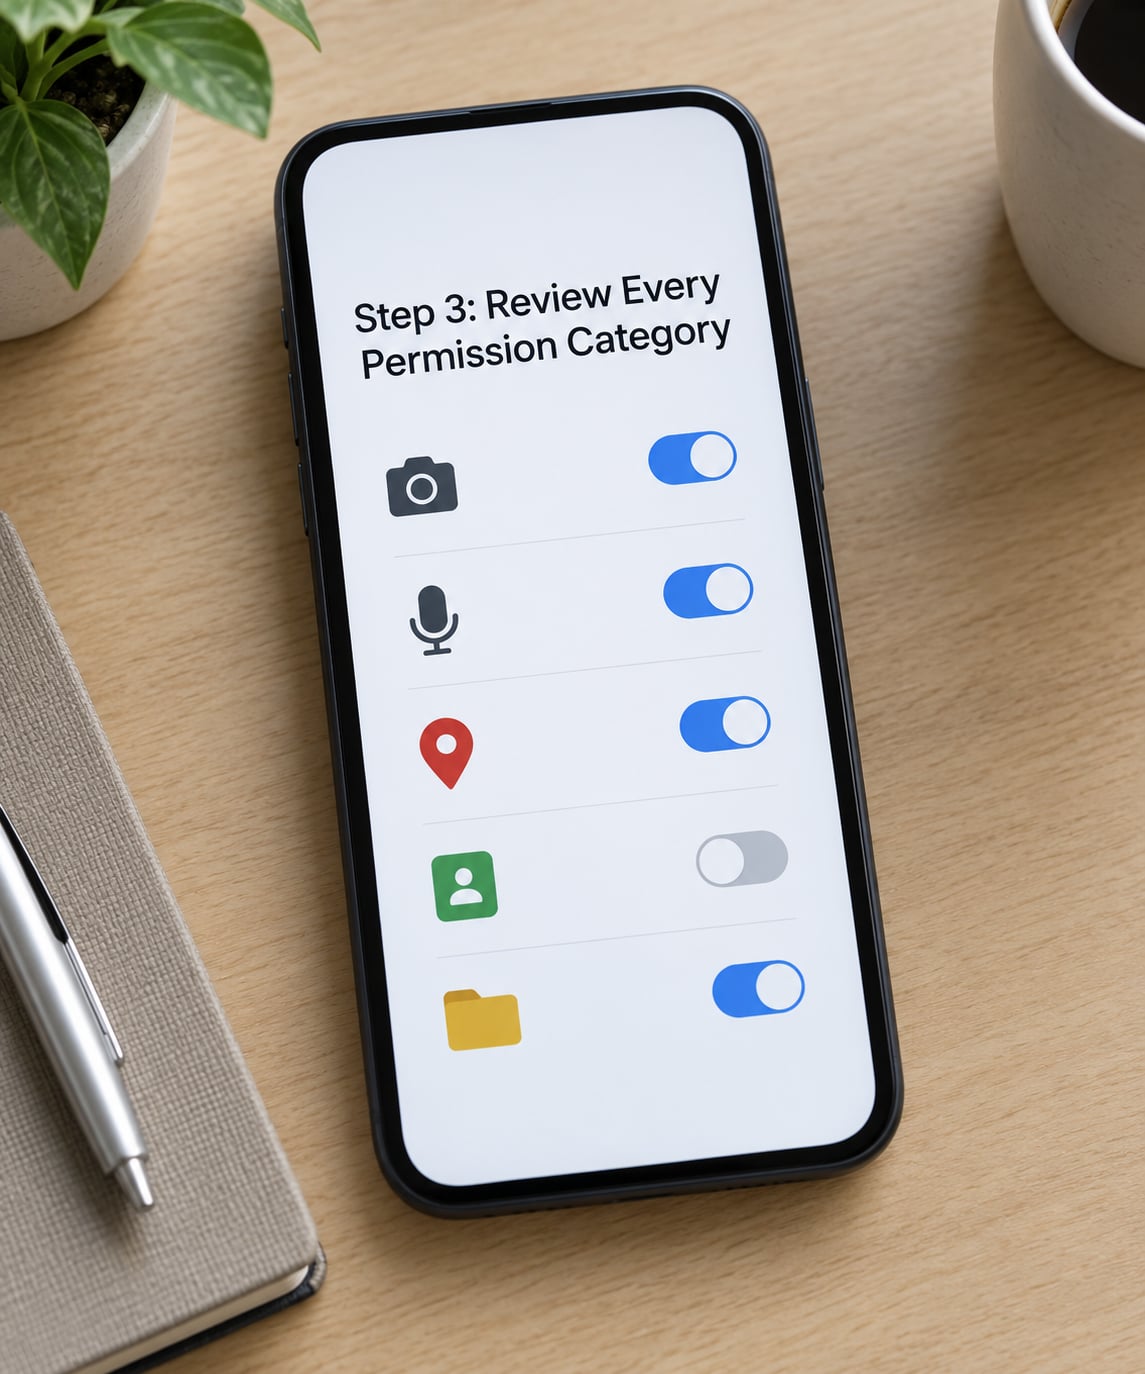
Read each row and note what the app does with it. Here is what the common categories actually expose:
| Permission | What it exposes | Recommended setting |
|---|---|---|
| Location | Where you are, either precisely or as a blurred area of roughly a few kilometres | Allow only while using the app for maps and delivery; approximate for weather and local search; Don’t allow for anything else |
| Camera and Microphone | Live photos, video and sound from the device | Ask every time for anything you open occasionally; Don’t allow for apps with no photo or video feature |
| Contacts | Names, numbers and email addresses of everyone in your address book | Don’t allow unless the app is a dialer, messaging client or a contacts-based service |
| Phone and Call log | Your number, call history and sometimes the ability to place calls without you | Don’t allow for anything that is not your dialer or a caller ID tool |
| SMS messages | Your text message history and the ability to send from your number | Don’t allow unless it is your messaging app or a verified service like a bank that sends one-time codes |
| Photos and videos or All files access | Your entire gallery, including files in other apps | Select specific photos where the app offers it; All files access is rarely needed outside a file manager, backup or editing app |
| Notifications | The ability to post pop-ups and alerts on your lock screen | Allow for anything you want to hear from; turn off for shopping and social apps you check manually anyway |
| Nearby devices | Devices on the same network, used for pairing and for faster connections | Allow only while using the app for Bluetooth accessories; otherwise Don’t allow |
| Physical activity or Sensors | Movement data from the step counter and motion sensors | Allow for fitness and health apps only |
| Background location | Your position even when the app is closed | Off unless the app genuinely needs turn-by-turn navigation or you use it as a family tracker |
Now the second route, which is the one people usually miss. On Android 12 and later the permission manager lists apps by permission type instead of by app. On Pixel and most standard phones: Settings > Security & privacy > More privacy settings > Permission manager. On older Android, it is usually Settings > Apps > Permissions.
Pick Location and you see every app holding location access on your phone, with a list of which are allowed, which are denied, and which can only use approximate position. Repeat for Camera, Microphone, Contacts, SMS and Nearby devices. This is the screen to use when you want to know what has access to your location rather than what one app is doing.
How do you know it worked: you can point at a specific permission and name every app on the phone that holds it. If the list is empty, nothing on your device currently requests that permission.
Step 4: Decide Whether Each Permission Is Necessary
Use a three-question test. What is this app’s core job? Does this permission connect to that job? Would a reasonable version of the app work without it?
A weather app asking for location makes sense. A flashlight app asking for contacts does not. A bank asking for SMS is defensible because some banks send codes by text, though more of them moved to their own authenticator apps. A shopping app asking for your microphone while you browse product photos is a red flag, and so is a game asking for precise location in the background.
Two more checks while you are on the page:
- Precise versus approximate location. Open Location and see if the app sits under Precise or Approximate. Precise gives your exact coordinates; approximate gives a general area. If the app does not need turn-by-turn accuracy, switch it to approximate and most location-based services still work.
- New requests after an update. Android shows a permission prompt when an update adds a new permission, and it is easy to tap through. If an app suddenly wants contacts or SMS after a routine update, that is worth a second look before you allow it.
Do not treat an unusual permission as proof of anything bad. Some apps bundle features you never use, and the permission list reflects the whole app, not the screen you happen to have open.
Step 5: Revoke Unnecessary or Risky Access
Tap the permission you want to change and pick from the options. The three that matter:
| Option | What it means | When to use it |
|---|---|---|
| Allow only while using the app | Access works only while that app is open on your screen | The default choice for camera, microphone, nearby devices and most day-to-day apps |
| Ask every time | A prompt pops up each time the app tries to use the feature | Sensitive tools you use occasionally, like a voice recorder or a QR scanner |
| Don’t allow | Access is blocked, and the app cannot prompt you again unless you open the permission screen | Anything unrelated to what the app does |
Then test the app. Open it, go through the feature you care about, and confirm it still works. Most apps are designed around optional permissions, so a denied camera prompt in a fitness tracker simply hides one button.
If the app crashes, misbehaves or a feature is now dead, that is the signal the permission was actually required. Go back and set it to Allow only while using the app, or Ask every time if you need it rarely. Nothing is lost either way, because you can always change it again.
If a setting does not seem to take effect straight away, fully close the app from the recent apps list and reopen it. Some permissions only refresh after a restart, particularly battery-related ones.
Step 6: Check Automatic and Special Permissions
Some of the most powerful access rights do not appear on an app’s Permissions screen at all. They sit in a separate menu, usually at Settings > Apps > Special app access, or Settings > Apps > Special access to controls. What you find there includes:
- Install unknown apps — lets an app install other apps. If sideloading is not something you do, turn this off for everything.
- Accessibility service — can read screen content, tap on your behalf and watch what you type. This is the permission most abused by spyware and stalkerware, and almost no legitimate app needs it. Review this list closely and revoke anything you cannot name.
- Device administrator — lets an app lock the screen, wipe it or prevent you from uninstalling. Remove every entry you do not recognise.
- Usage access — shows which apps you use and when. Useful for parent controls, rarely useful otherwise.
- Notification access — lets an app read and dismiss every notification on your phone, including one-time codes from banks and delivery apps.
- Display over other apps — draws on top of everything, which is how screen overlays and some scams work.
If a dangerous permission looks greyed out, that is the restricted settings feature. On Android 13 and later, open the app’s App info page, tap Restricted settings at the bottom, confirm, and the hidden toggles become available. This is exactly where a sideloaded app’s install unknown apps switch was hiding, which is why so many people cannot find it in normal settings.
Two more switches worth a look. Battery optimisation exclusions, under Settings > Apps > your app > Battery > Unrestricted, keep an app running in the background and are a common reason location tracking continues after you closed the app. And under Data usage, Background data controls what an app can do while it is not on screen.
How do you know it worked: Special app access lists should be short. If you find an accessibility service, device administrator or usage access entry you cannot explain, revoke it and watch what the app does afterwards.
Common Mistakes
Revoking location or storage without testing the app. Denying all files access to a photo editor is fine. Denying it to a gallery app can wipe the thumbnails from its home screen until you restore the permission. Change one permission, then reopen the app before moving to the next.
Confusing permission status with stored data. Switching an app to Don’t allow stops future access. It does not delete photos it already saved, contacts it already cached, or location history it already logged. If that is your concern, clear the app’s storage from App info or uninstall it.
Forgetting that permissions granted at install time are invisible until you open the app. Most dangerous permissions are not granted silently, but some are. Open each app once, then review its permission page. That is also how you find the handful of apps you have not used in months.
Leaving battery settings alone. A denied location permission means nothing if the app still holds a background exemption and keeps a cached last-known position. Set battery use to Optimised for anything that is not a navigation or messaging app.
Skipping Special app access entirely. This is the mistake with the worst consequences. Accessibility, device administrator, notification access and install unknown apps carry more risk than anything on the normal permissions screen, and they never show up in an app-by-app review.
Assuming a change deleted something. Revoking a permission is reversible and instant. It is not an audit trail, and it does not notify anyone who already has the data.
Two habits fix most of the above. First, run a five-minute monthly audit: open Permission manager, check Location, Camera, Microphone and Contacts, and ask whether every app on those four lists still deserves to be there. Second, turn on auto-reset for unused apps at Settings > Security & privacy > More privacy settings > App permissions > Unused apps, so permissions for apps you have not opened in a few months are revoked automatically.
One last safety note. If you remove an accessibility service or device administrator from a phone you did not lock yourself, change your account passwords on a different device first, then remove the app. On a family or work phone, check the device administrator and accessibility lists before anything else.
Frequently Asked Questions
How do I check my app permissions on Android?
Open Settings, tap Apps, choose See all apps, then tap the app you want to check and tap Permissions. Every category appears with a status of Allowed, Not allowed or Ask every time. To see everything holding one permission, open Settings, Security u0026amp; privacy, More privacy settings, then Permission manager, and pick a category such as Location or Camera.
What app permissions should I not allow?
Deny contacts, SMS, call logs and microphone access to any app without a matching feature. A flashlight app does not need your address book, and a game does not need your call history. Files and photos access is worth denying outside file managers, backup tools and editors. Location is the grey area: keep it for maps, but switch to approximate for weather and local search.
Which app permission is the most risky?
Accessibility service access is the most dangerous, because it can read screen content, watch what you type and tap buttons on your behalf, and users rarely know it is running. Device administrator comes next since it can block uninstallation or wipe the phone. Notification access is also serious because it captures one-time codes sent by text, and none of these three appear on a normal permissions screen.
Why are my app permissions not working after I change them?
Most often the app was built around a permission you denied, so a feature is now disabled or the app misbehaves. Force close it and reopen before assuming the change failed. Background and location permissions can also keep working because the app holds a battery optimisation exemption. Check the app’s Battery settings and set background data to off, then test again.
How do I reset all app permissions on Android?
There is no single switch that wipes every grant. From Settings, Apps, See all apps, open the three-dot menu at the top and choose Reset app preferences, which resets default apps and revokes permissions for apps you have not opened recently. For a manual approach, open the Permission manager and clear each category one at a time, which is safer and takes a few minutes.
Should I have the app privacy report turned on or off?
Leave it on. The privacy dashboard on Android shows which apps have accessed your location, camera or microphone in the past 24 hours or the past seven days, and it flags apps that are unused. It costs nothing and it is the fastest way to catch an app that started behaving differently, so turn it on, check it occasionally and leave it running.
Conclusion
Start with one app. Open its permission page, remove any access that has nothing to do with what the app does, then open the app and confirm it still works. Then open the Permission manager and check the four categories that matter most: location, camera, microphone and contacts.
Once a month, give that same check five minutes and add Special app access to the routine, since that is where the access rights you are least likely to know about are hiding.