Using a VPN on your Android phone takes about five minutes: install a provider’s app or add a built-in profile, choose a server, tap Connect, and confirm the key icon shows up in your status bar. This guide walks through how to use a VPN on Android phone step by step, and covers what to do when it refuses to connect.
Menus shift a little between Android versions and phone skins, so I’ll give the current paths and flag the older ones. Nothing here needs technical background.
Table of Contents
- What You Need
- Step-by-Step
- Step 1: Choose a VPN Method
- Step 2: Install or Add the VPN
- Step 3: Sign In and Select a Server
- Step 4: Connect the VPN
- Step 5: Confirm the VPN Is Working
- Step 6: Disconnect and Troubleshoot
- Common Mistakes
- Frequently Asked Questions
- Do I need a VPN on my Android phone?
- Is using a VPN on Android legal?
- Does a VPN make my phone completely anonymous?
- Why does my Android VPN keep disconnecting?
- Should I use Android’s built-in VPN or a VPN app?
- Conclusion
What You Need
You need three things: an Android phone running a reasonably recent version, a working internet connection, and either a VPN app or the server details from a provider you already pay.
Before installing anything, spend two minutes on the provider itself. A VPN routes all your traffic, so it is one of the most trusted apps on your phone.
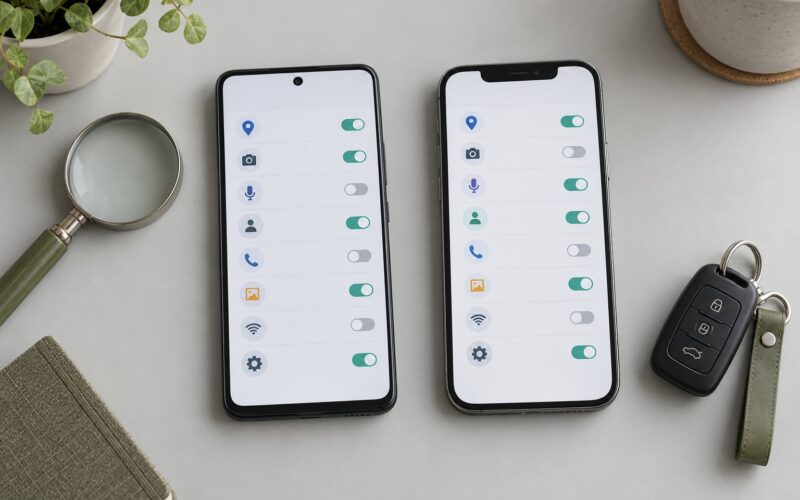
- Permissions — it should ask for a VPN connection permission and nothing more. Notification and battery access are normal. Accessibility or SMS permissions are not.
- Privacy policy — read what they log and for how long. A no-logs claim means little if the policy is vague about it.
- Independent audits — a third-party firm that has actually tested the no-logs claim gives you something to check.
- Payment methods — anonymous payment options matter if you want the provider not to link a subscription to your identity.
- Kill switch — this blocks internet access if the tunnel drops, so your real IP address isn’t exposed mid-connection.
- Compatibility — confirm the app supports your Android version and your phone brand.
Ask yourself what you actually need. Privacy on café Wi-Fi is a reasonable goal. Anonymous identity is a much harder problem, and no app delivers that on a phone.
Step-by-Step
Step 1: Choose a VPN Method
Android has a built-in VPN client, and it is genuinely useful. The app method suits almost everyone: the provider handles servers, protocols and updates for you.
The built-in method makes sense when you already have configuration details from an employer, a university, a home network, or your own server. You type the values in yourself.
Check three things before you commit: whether the provider publishes a clear logging policy, whether an independent audit backs it up, and whether a kill switch exists. Also ask whether the marketing makes claims your life actually needs. “Hides your IP address” is ordinary. “Makes you completely anonymous” is a sales line, not a feature.
Step 2: Install or Add the VPN
For the app method, open the Google Play Store, search for the provider by name, check the developer and the number of reviews, then install. Avoid the sponsored results that sit above the organic list.
Open the app. On first launch Android shows a one-time dialog asking whether the app can set up a VPN connection. Tap OK. Without that permission, no connection can be created.
For the built-in method on Android 12 through 16, go to Settings > Network & internet > VPN > the plus icon. On Android 10 and 11 the same screen is at Settings > Network & internet > VPN. On Android 9 and older it was Settings > More settings > VPN, a path that no longer exists on current phones.
Fill in the fields your provider gave you: name, type, server address, and any credentials. Tap the check mark to save, and the profile name should now appear in the VPN list.
Step 3: Sign In and Select a Server
Open the app, create an account with an email address, and accept the trial or subscription terms. Read the renewal date and the auto-renew wording before you confirm. Free trials that quietly convert are the most common billing complaint in Android VPN forums.
Then pick a server. The nearest one usually gives you the best speed because there is less distance for your data to travel. Choose a server in another country when you need a different apparent location for streaming or regional content.
One honest note: a nearby server is a speed decision, not a privacy one. Your provider still sees everything you do regardless of which server you sit on.
Step 4: Connect the VPN
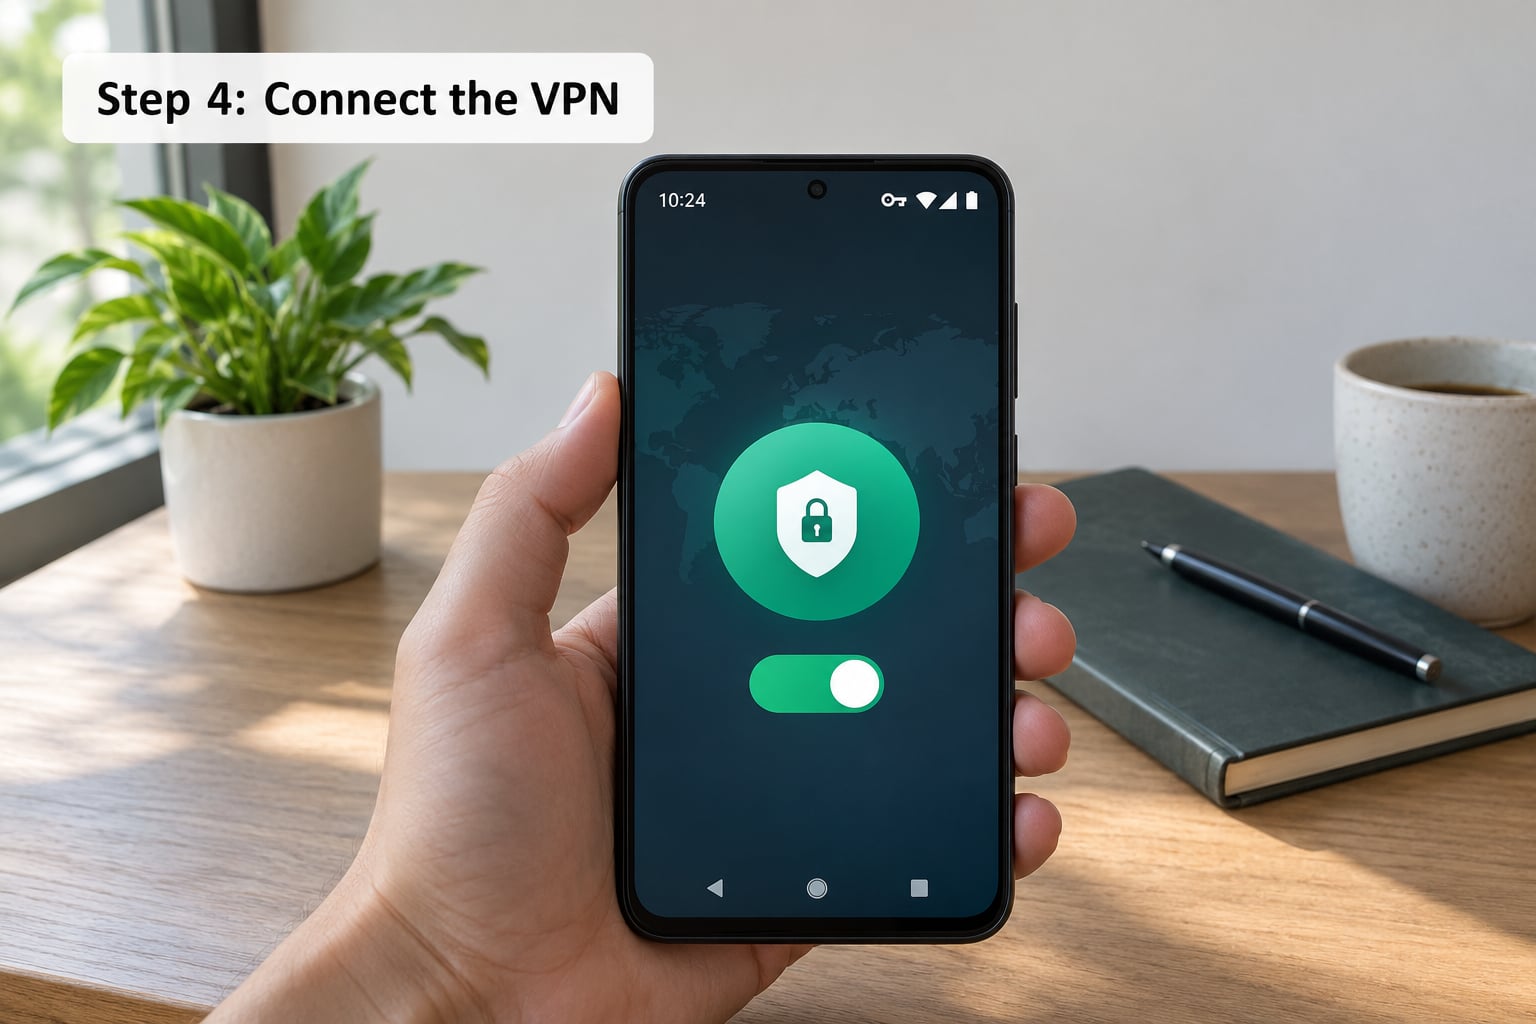
Tap Connect. This is the step where most people get stuck, so slow down and read the screen. Android shows a small key icon in the status bar or notification shade when the tunnel is live, plus a notification that lets you disconnect without opening the app.
The states are worth learning. Connected means traffic is flowing through the tunnel. Reconnecting means the app lost the server and is retrying. Disconnected means traffic is going out unprotected right now.
If a connection attempt fails, note the exact message. “Authentication failed” means wrong credentials or an expired subscription. “Cannot reach server” points to a bad server name or a network that blocks the port. A silent failure with no message usually means the app was killed by battery optimisation, which I’ll cover in Step 6.
Step 5: Confirm the VPN Is Working
Three checks, cheapest first. Pull down the notification shade and look for the key icon. Then open a site that shows your apparent location and IP address, and confirm it matches your server rather than your city.
If you want more, run a DNS leak test, which shows whether your name server is inside or outside the tunnel. A failed check on the key icon, location, or leak test tells you the connection is not doing what you think it is.
Keep the limits in mind. These tests confirm the tunnel is up; they cannot confirm the provider isn’t logging, or that the site you’re visiting is safe. A VPN encrypts your connection and masks your IP address. It does not make malware, phishing pages, or fraudulent websites harmless.
Step 6: Disconnect and Troubleshoot
Tap the notification, or the toggle beside the profile in Settings, to disconnect. Test your connection in layers: use it for a week on Wi-Fi only, then enable it on mobile data, then turn on auto-connect. Problems are much easier to pin down when you change one thing at a time.
If something breaks, work through this list.
- Account problems. A failed sign-in or a rejected payment shows up as an authentication error. Reset the password in the app, then check the subscription status in your account page.
- Server problems. Switch to a different server in the same country, then a different country. Full outages do happen.
- Permission problems. If a second VPN app was installed later, Android disables the older one. Only one VPN can run at a time, so uninstall what you don’t use.
- Battery optimisation. This is the most repeated complaint across Android VPN communities. Doze mode kills background apps, and the tunnel dies with them. Go to Settings > Apps > [your VPN app] > Battery > Unrestricted and exclude the app from battery saving.
- Captive portals. Hotel and airport Wi-Fi shows a login page before traffic is allowed. Open any webpage first, complete the login, then connect the VPN.
- Network-specific failures. If it works on mobile data but not home Wi-Fi, your router or network is likely filtering the connection.
Keep the app and Android itself updated, since providers change server details and ports regularly. If nothing works after all that, contact your provider with the error text and your Android version.
Common Mistakes
Connecting before signing in. The Connect button works, then every attempt fails instantly. Open the app, complete sign-in, then connect.
Trusting a random free app. Free Play Store VPN apps with no clear ownership have been found routing or logging traffic, because your browsing is the product. Use a provider with a public policy and a verifiable company, or skip the VPN entirely on trusted networks.
Treating a VPN as full anonymity. It hides your IP address from sites and hides your traffic from the network. It does not remove cookies, fingerprint your device, or protect you from an account you’ve already logged into.
Never switching servers. The default server is fine for everyday browsing. When video stalls, switching to another nearby server often fixes it in seconds.
Blocking the wrong apps. Always-on VPN with “block connections without VPN” is aggressive: if the tunnel fails, the app you’re using goes offline instead of leaking. Useful for a banking app, frustrating for everything else.
Ignoring renewal terms. Set a calendar reminder before any trial ends. Free trials that auto-convert are easy to miss and awkward to cancel.
A few habits help more than any single setting. Connect before opening anything on public Wi-Fi. Keep auto-connect on for untrusted networks only. And test the service on a boring afternoon, not the morning you need to book a flight.
Frequently Asked Questions
Do I need a VPN on my Android phone?
A VPN matters most on public Wi-Fi, such as in cafes, airports, hotels, and shopping centres, where the network owner can technically see unencrypted traffic. It is also useful when travelling abroad, and when you want to hide your IP address from apps and ad trackers. On your own encrypted home Wi-Fi the benefit is smaller, mostly covering what your internet provider can see.
Is using a VPN on Android legal?
In most countries, including the US, UK, Canada, Australia, India, and the EU, using a VPN for personal privacy is legal. A few places restrict or ban it, including China, Russia, Turkey, the UAE, and North Korea. Laws vary and change, so check local rules before travelling. Using a VPN is still illegal for criminal activity regardless of where you are.
Does a VPN make my phone completely anonymous?
No. A VPN encrypts the connection between your phone and its server, hides your real IP address, and hides your traffic from the local network and your internet provider. It cannot delete cookies, defeat browser fingerprinting, or hide accounts you are signed into. You are also trusting the provider, since it can technically see your unencrypted traffic at the server end.
Why does my Android VPN keep disconnecting?
The usual cause is battery optimisation. Android’s Doze mode kills background apps to save power, and your VPN app dies with them, so the tunnel drops without an error message. Go to Settings, then Apps, then your VPN app, then Battery, and choose Unrestricted. Other common causes are an unstable Wi-Fi network, a server outage, or a free plan with a session limit.
Should I use Android’s built-in VPN or a VPN app?
Use an app if you have no configuration details of your own. The app handles servers, protocols, and updates, and usually adds a kill switch and auto-connect. Use the built-in profile when an employer, school, or your own server gave you the settings. If you know how to use a VPN on Android phone already, the built-in route works fine, it simply needs the details filled in by hand.
Conclusion
Start with the choice that matters most: a provider with a readable privacy policy, independent audits, and a kill switch. Once you have an account, connect before you open anything on public Wi-Fi, then pull down the shade and check for the key icon.
Pick the nearest server for everyday browsing, set battery use to unrestricted so the tunnel survives Doze, and test the whole setup on an ordinary day before you depend on it for something important. If your Android phone is older or runs a custom skin, check the settings path for your version first. This guide is current for 2026.