To use NFC on Android for payments, turn the NFC toggle on in Settings, add a supported debit or credit card to Google Wallet, verify it with your bank, then unlock the phone and hold the back of it near a contactless terminal until you see a checkmark. The whole setup takes about ten minutes, and you only do it once.
NFC (Near Field Communication) is the short-range wireless chip built into most Android phones. Hold it within about an inch of a contactless reader and it swaps a one-time tokenized card number instead of your real card number. That token is what the terminal receives, which is why nobody at the register sees your card digits.
- Confirm your phone has NFC hardware.
- Switch the NFC toggle on in Settings or Quick Settings.
- Set a screen lock (PIN, pattern or password).
- Install Google Wallet and add a supported card.
- Verify the card with the code your bank sends.
- Unlock the phone, tap the back of it to the terminal, wait for the checkmark.
Table of Contents
- What You Need Before You Start
- Step-by-Step: How to Use NFC on Android for Payments
- 1. Check That Your Phone Supports NFC
- 2. Turn On NFC and Set the Default Payment App
- 3. Add a Card and Verify It With Your Bank
- 4. Make a Contactless Payment: How to Use NFC on Android at the Counter
- 5. Manage Cards, Security and Payment Limits
- Common Mistakes: Why Is Your NFC Payment Not Working?
- Google Wallet vs Samsung Wallet: Which One Should You Use?
- Frequently Asked Questions
- Do I need to unlock my Android phone to make an NFC payment?
- Why does my NFC payment fail even though contactless payments work on another phone?
- Can I use NFC payments without mobile data or internet access?
- Which Android phones support NFC payments through Google Wallet?
- Can I use more than one card with NFC payments on the same Android phone?
- What should I do if I lose my phone or remove a card from Google Wallet?
What You Need Before You Start
Six things have to line up before tap to pay works, and most failed setups come down to one of them.
- NFC hardware. The chip has to be physically in the phone. Search your model number in the spec sheet or drop the word NFC into Settings search.
- A screen lock. A PIN, pattern or password. Google Wallet refuses to hold payment cards on a phone with no lock, and that is a hard rule.
- An unrooted device. A rooted phone fails the security check outright.
- A bank and card that support the wallet. Your issuer has to be on the supported list, and some card types (business cards, prepaid cards, gift cards from other issuers) are rejected.
- An internet connection during setup only. Card verification needs data. Tapping at the terminal later does not.
- Android 5.0 or newer, ideally a currently supported release.
Look for the contactless symbol on the reader at the register, the sideways hand-wave lines. If it is there, the terminal accepts a tap even if you have never inserted a card into that machine.
One naming note before you go looking for an app. Google Pay became Google Wallet a few years back, so older tutorials send you to an app that no longer exists under that name. If a guide talks about a Pay tab inside the app, it is out of date; the payment cards live under Wallet and the button is called Add to Wallet.
Step-by-Step: How to Use NFC on Android for Payments
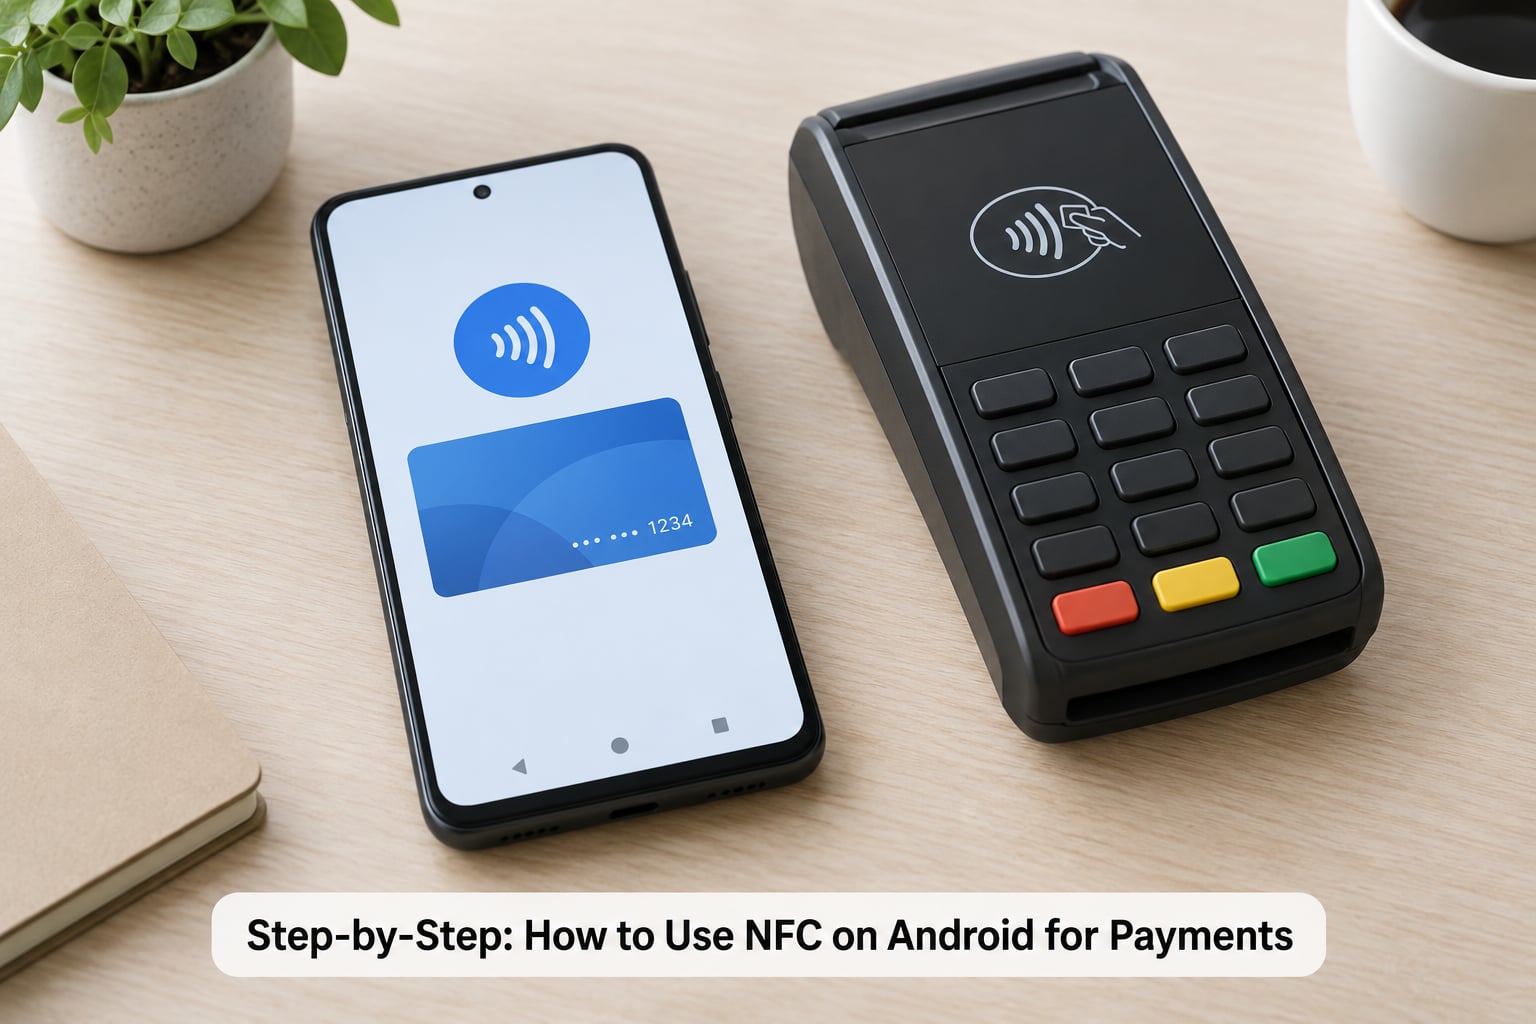
1. Check That Your Phone Supports NFC
Open Settings and search for NFC. If the search returns an NFC switch, your phone has the hardware. If it returns nothing, scroll to Connections or Connected devices and look for Near Field Communication there.
If the entry is missing entirely, the phone is out of scope. Entry-level models, certain regional variants and some prepaid carrier versions ship without the chip, and no amount of software brings it back. The Settings app search is faster than any spec sheet and it reads the actual hardware.
2. Turn On NFC and Set the Default Payment App
NFC sits under a different name on every manufacturer, which is where most people get stuck. These paths cover current versions of the major Android skins.
| Brand | Settings path to the NFC toggle |
|---|---|
| Google Pixel | Settings → Connected devices → Connection preferences → NFC |
| Samsung Galaxy | Settings → Connections → NFC and contactless payments |
| Xiaomi and Redmi | Settings → More settings → NFC, then toggle on, or pull the shade and use the NFC tile |
| OnePlus and Oppo | Settings → Other network settings → NFC, or the Quick Settings tile |
| Realme | Settings → Other settings → NFC |
| Motorola | Settings → Connected devices → Connection preferences → NFC |
Toggle it on. Then tell Android which wallet handles in-store taps: Settings → Apps → Default apps → NFC payment, then pick Google Wallet or Samsung Wallet.
Turn off the toggle and you get an error at the counter, so leave it on. It costs almost nothing in battery, and the drain people report comes from apps polling the chip, not from the chip idling. If you want the speed toggle, pull the shade twice and add the NFC tile to Quick Settings.
3. Add a Card and Verify It With Your Bank
Install Google Wallet from the Play Store, open it, tap Get started and scan the QR code your bank prints for card enrolment. Most issuers then send a verification code to the phone number on file, or a one-time code in their app. Type it in and the card activates.
A debit card and a credit card both work, and the difference is what happens with the money rather than with the tap. Some issuers allow only one card of each type at a time. Transit cards, loyalty cards and gift cards are added through the same flow, though gift cards usually skip bank verification entirely.
If no code arrives, check that your issuer is on the wallet’s supported list. This is the single most common reason a card will not add, and no amount of retrying fixes an unsupported issuer. Your bank can also refuse an enrolment made from a mobile-only account.
4. Make a Contactless Payment: How to Use NFC on Android at the Counter
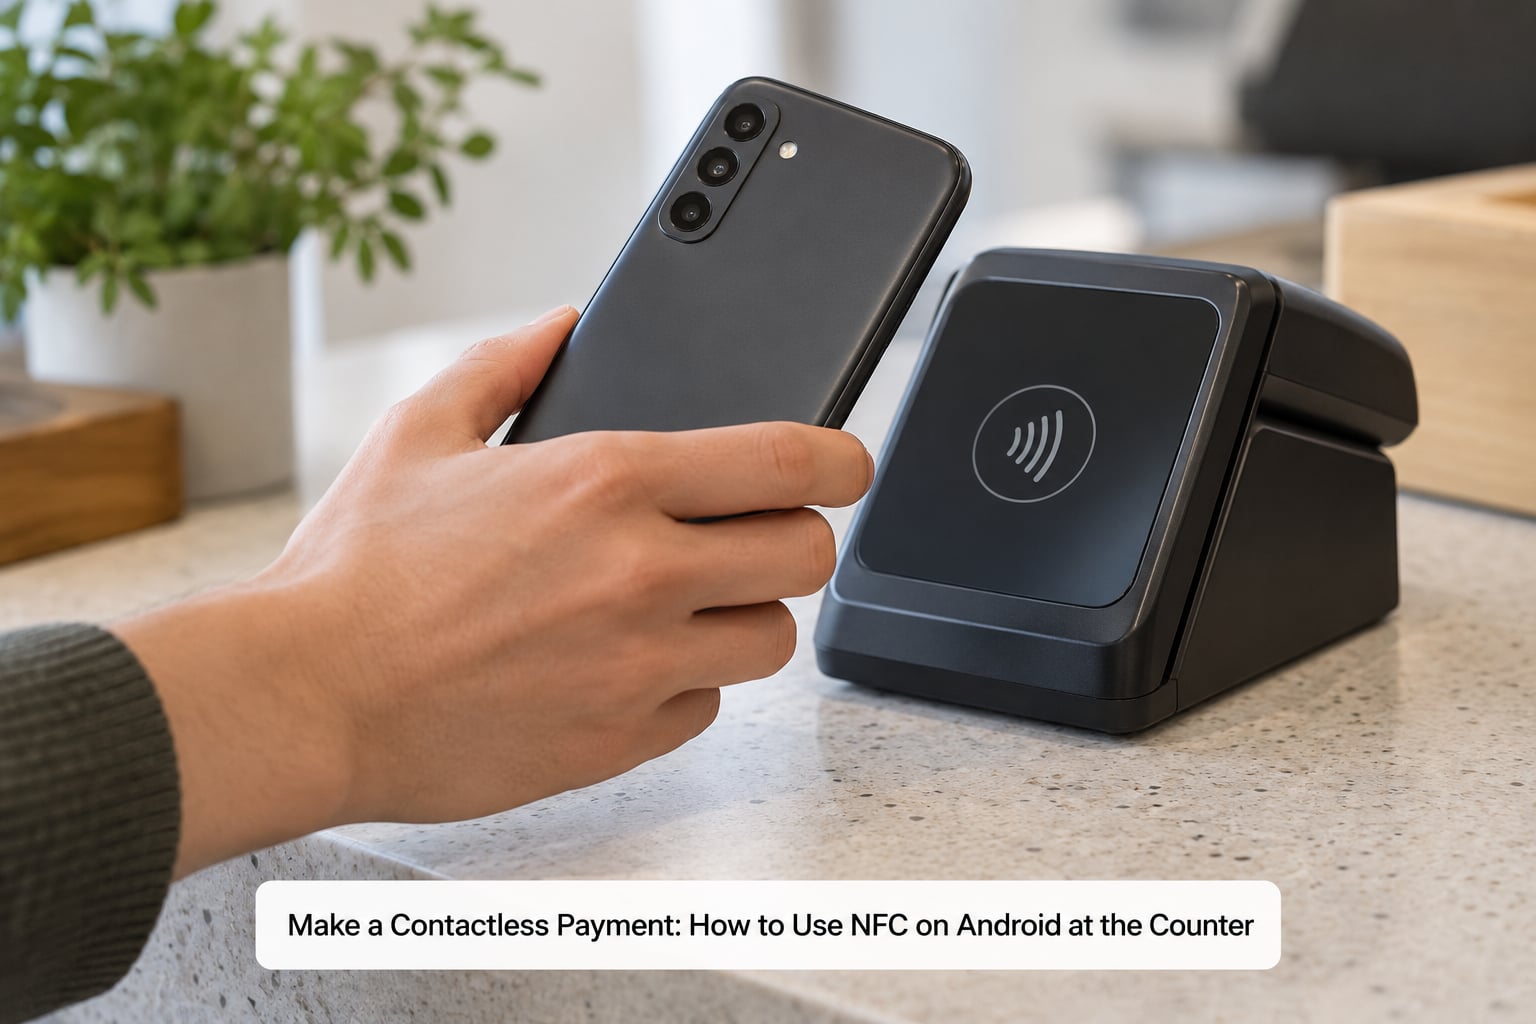
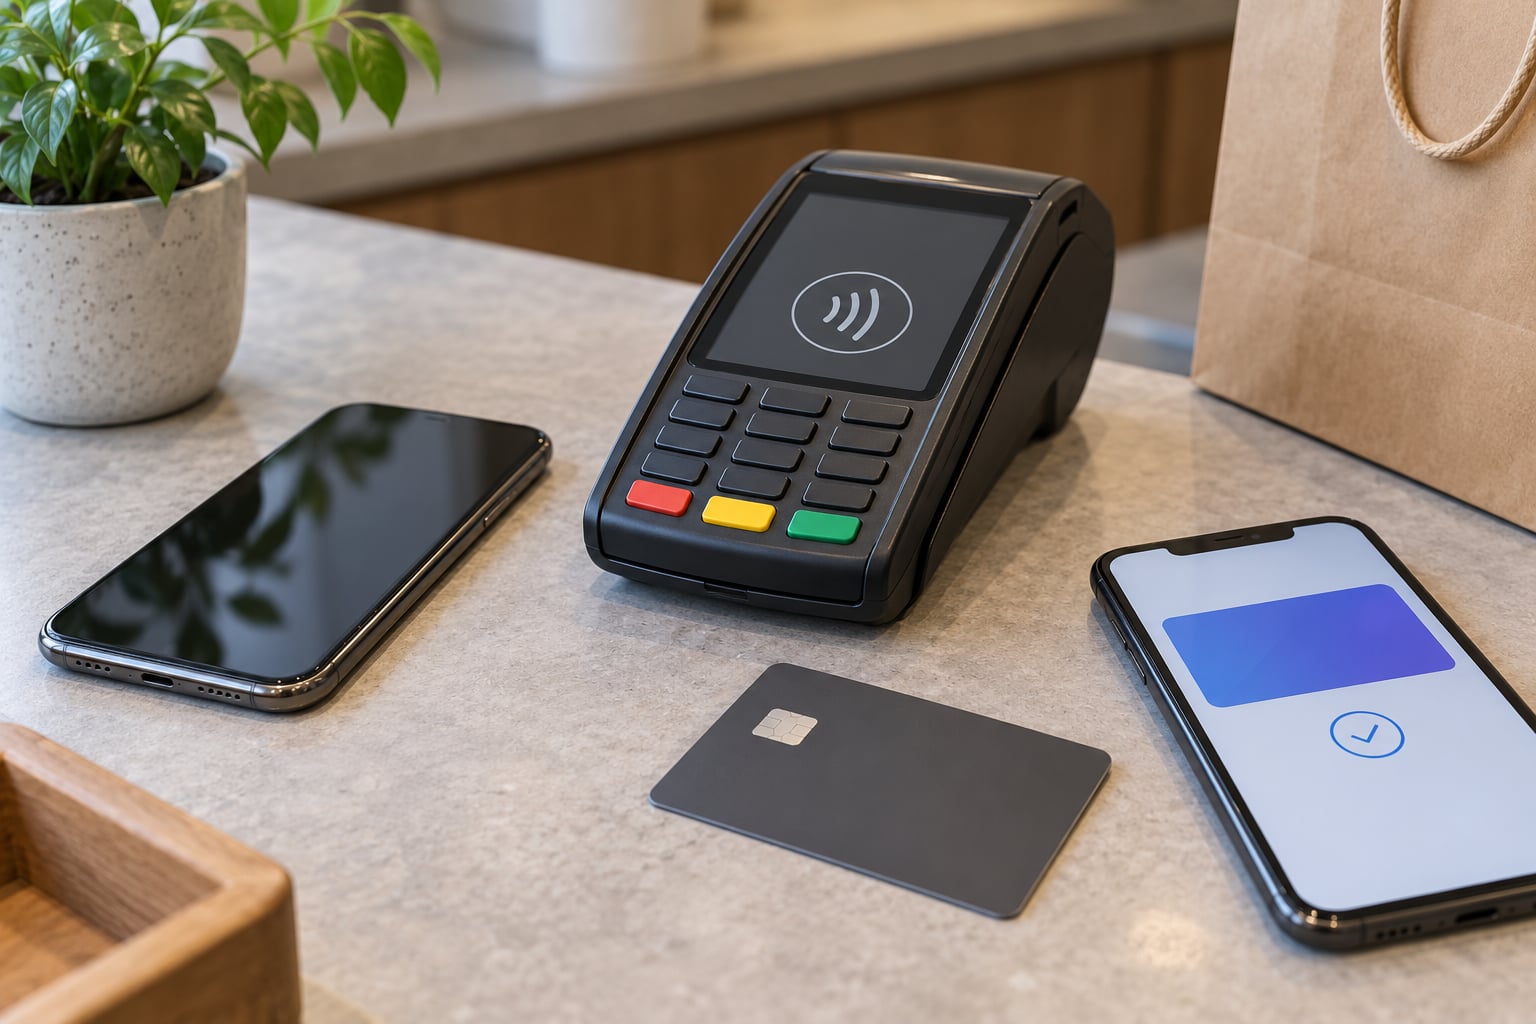
Unlock the phone. Then hold the back of it, NFC sensor and all, within a centimetre or two of the contactless symbol on the reader. On most Pixel and Samsung phones the coil sits in the upper half of the back, so aim there rather than at the camera bump.
You feel a small vibration, the screen shows a tick or checkmark with the amount, and you are done. Tap and pull the phone away immediately. Holding it in place or dragging it across the reader causes the reader to start over, and several taps in a row can trip the terminal’s anti-fraud block.
You do not need to open Google Wallet first if your phone is unlocked and the default payment app is set. Forcing authentication on every payment is the setting that makes people think they have to swipe up every time. Leaving it off is the reason a tap feels instant.
5. Manage Cards, Security and Payment Limits
Open Google Wallet and tap any card to see recent wallet activity, or to switch the default card by moving a card to the top of the list. On most Android versions the default card is whichever one sits first, and you can reorder by tapping and holding.
Some banks and card issuers let you set transaction limits per card inside the wallet, which is worth doing for a travel card. Others push limits into their own app instead, so check there too.
If a phone goes missing, freeze the card through the bank’s app rather than only deleting it from the wallet. The card itself keeps working in stores until the issuer blocks it, and removing it from Google Wallet does not touch the card on your bank account. Tapping is offline, which means the terminal authorises from the number on the chip and the phone never checked in with anyone first.
Common Mistakes: Why Is Your NFC Payment Not Working?
Work through these in order, cheapest fix first.
- NFC toggle is off, or on the wrong default app. Swipe down twice and confirm the NFC tile is active. Check the default NFC payment app in Default apps.
- No screen lock. Add a PIN, pattern or password. Wallet cards do not activate without one.
- The card was never verified. A card sitting in the wallet in a pending state will not tap. Re-request the verification code.
- The issuer does not support the wallet. Check the supported list. This is not fixable on your side.
- Wrong spot at the terminal. Move the phone around the upper half of the reader area. The coil position varies a lot between models.
- The screen turned off mid-payment. The default timeout may be very short. Bump it up before you queue.
- Too many rapid taps. Terminals lock out briefly after repeated attempts. Wait thirty seconds and try once, cleanly.
- It stopped working after a system update. This one has real precedent. Users on xdaforums.com reported Google Wallet contactless failing on the Galaxy S24 Ultra after an OS update, with NFC on, the app certified and nothing visibly changed. Android 15 Beta 1 had broken NFC behaviour too, which androidpolice.com noted was largely resolved by Beta 1.1.
- App data is corrupted. Clear Google Wallet’s cache and data, then re-add the card. This is the last thing to try before restoring the phone.
The update case is the frustrating one because nothing in the interface tells you what broke. If a tap worked last week and fails now, check the app update history and the system update date before you change any settings. Card readers also time out quickly, so a payment that was pending on your side has usually already been released by the terminal.
Google Wallet vs Samsung Wallet: Which One Should You Use?
Samsung Pay was retired in favour of Google Wallet for most banks, and the two apps have overlapped confusingly ever since. Both do contactless payment on current Galaxy phones; which one wins depends on what else you use.
| Feature | Google Wallet | Samsung Wallet |
|---|---|---|
| Available on | Any Android phone with NFC, 5.0 and newer | Samsung Galaxy phones only |
| Default card control | Full, including on-screen ordering | Limited, some versions force Samsung Wallet first |
| Transit and loyalty passes | Wide issuer coverage | Fewer passes, tighter Samsung tie-in |
| Quick access | Swipe up from the bottom, or remap a shortcut | Built into the quick panel on One UI |
Unless your bank is one of the few still built around Samsung Wallet, use Google Wallet as the default NFC payment app and leave Samsung Wallet for the passes it holds better. If you want one-tap access on a Galaxy, the quick-access shortcut on r/oneui is the move most people settle on: go to Settings, Advanced features, Side button, change the default from Camera to Other App, then pick Google Wallet. Swiping up from the bottom stops surfacing a wallet on current One UI, which sends plenty of people hunting for a broken feature that is only relocated.
Frequently Asked Questions
Do I need to unlock my Android phone to make an NFC payment?
Yes. Android requires the phone to be unlocked before it will send a payment token, and many wallets ask for biometric or PIN confirmation on each tap if you set that option. You can turn per-payment authentication off in your wallet’s security settings, after which any screen lock will do. A rooted device is not allowed at all.
Why does my NFC payment fail even though contactless payments work on another phone?
The usual culprits are a disabled NFC toggle, a missing screen lock, or a card that never finished bank verification. Check that your bank is on the wallet’s supported issuer list, since unsupported issuers cannot be fixed by any setting. Moving the phone to the upper half of the reader also matters, because the coil sits in different places on different models.
Can I use NFC payments without mobile data or internet access?
Yes for paying. A contactless tap is authorised by the terminal itself, so no connection is needed at the register. You do need internet when you add a card, because the wallet contacts your bank to verify it. Turn on airplane mode with a card already set up and tap to pay still works, which is handy on trains and in basements.
Which Android phones support NFC payments through Google Wallet?
Any phone with an NFC chip, Android 5.0 or newer, an unrooted bootloader and a screen lock. That covers most Pixel, Samsung Galaxy, Xiaomi and Redmi, OnePlus, Motorola and Oppo models sold in the last decade. Search your Settings app for NFC to confirm in a second. If nothing comes back, the hardware is not there and no app will add it.
Can I use more than one card with NFC payments on the same Android phone?
Yes. Most wallets hold several cards and let you pick a default by moving one to the top of the list, then choose a different card for a single payment without changing the default. Some issuers cap how many cards of one type you can hold, usually at one debit and one credit card per wallet.
What should I do if I lose my phone or remove a card from Google Wallet?
Freeze the card in your bank’s app first. Removing it from the wallet only detaches it from that phone; the physical card stays active at every terminal until the issuer blocks it. Then use your bank’s app to mark the device lost, which disables tap to pay, and use Find My Device or the equivalent to lock or erase the phone.
Start with Settings search for NFC. If the toggle is there, turn it on, add one card to Google Wallet, verify it, and that single card is enough to test a tap before you bring the rest across.