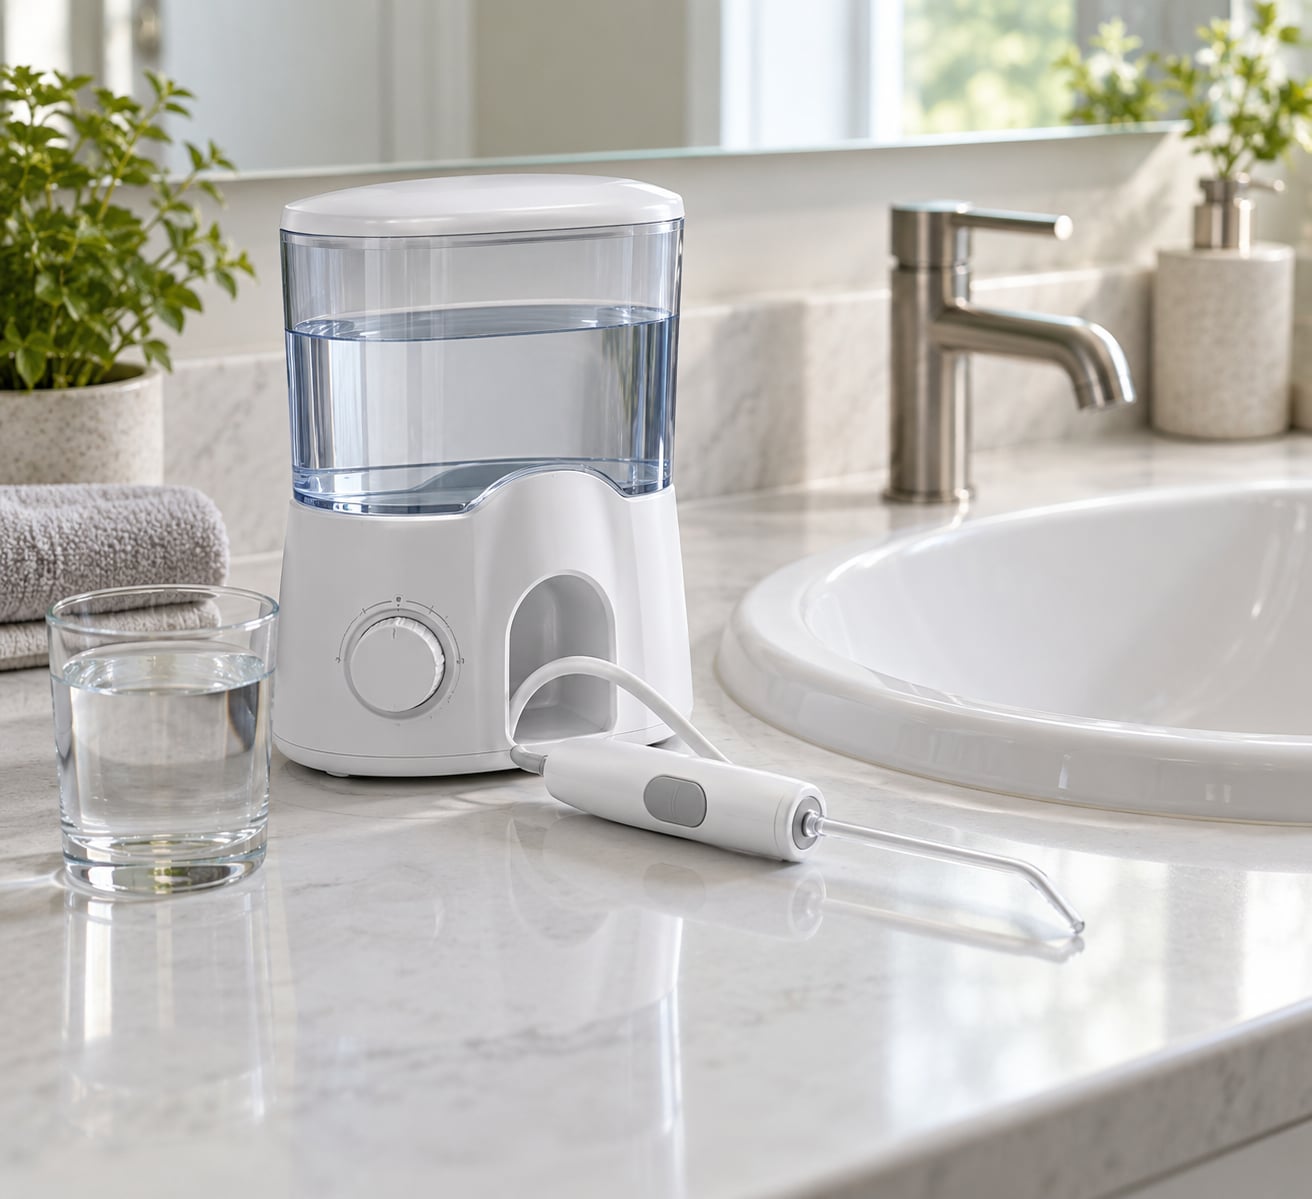
Learning how to use a water flosser correctly comes down to four things: start on the lowest pressure, aim the stream at the gumline rather than the gum tissue, sweep slowly from the back teeth forward, and clean the device after every use. Most people get a noticeably better clean within a few sessions, mostly because the angle finally stops guessing.
The whole routine takes about two minutes. It is far easier than string floss once the muscle memory settles, and the messy spray phase that puts people off usually lasts only a few days. This guide covers setup, technique, timing and the mistakes that cause splatter and gum irritation, plus when a dentist is the better call.
What You Need
You need the flosser itself, filled with cool or lukewarm water. Some manufacturers approve specific cleaning or whitening solutions for the reservoir, so check the manual or the product page before pouring anything else in. Warm water is comfortable on sensitive gums, but water that is hot enough to steam has no place in a reservoir.
A sink with a little clearance around it matters more than people expect. You are going to lean over the basin with your chin close to the drain, so move anything breakable out of the way first.
Keep dental floss or an interdental brush nearby. A water flosser flushes between teeth well, but it does not create the same rubbing contact on a tight contact point where crowns, veneers or tightly packed teeth meet. Those spots still need string.
If you have braces, implants, crowns, bridges, or a periodontal diagnosis, check that the model and tip are meant for your situation before the first session. Your dentist or the device manufacturer can confirm compatibility in one sentence, and it saves a lot of guesswork.
Step-by-Step
1. Fill the Reservoir and Check the Device
Fill the tank with cool or lukewarm water and seat the lid properly, then check the handle is charged or plugged in. Inspect the tip before you put it anywhere near your mouth. A frayed or kinked tip sprays in one direction and stings, which is how beginners convince themselves the device is too powerful. It usually is not.
Most models have a tip eject button on the handle. Test it over the sink before inserting the tip so you are not aiming loose plastic at your face. You will know the reservoir is properly seated when the pump runs steady and the stream stops sputtering.
2. Choose a Comfortable Pressure
Always begin on the lowest pressure setting, turn the device on, and let the stream run into the sink for a second. Then step up one setting at a time until the stream feels strong but never painful. You should not see spitting, sputtering or a spray that bounces off your teeth.
Good pressure feels like a firm pulse, closer to a slow massage than a jet. If the gums hurt, or bleeding starts immediately rather than in the first few seconds, drop a setting and give it another week. Sensitivity usually fades as the gums harden up from regular flushing.
Once you have a comfortable level, stay there. Cranking a countertop model to maximum does not clean more plaque; it just makes it harder to keep the tip in place and it traumatises tissue that was not ready.
3. Aim the Stream at the Gumline
Place the tip near the gumline between two teeth and angle it so the stream travels along the seam where the tooth meets the gum, not straight into the gum itself. A 90-degree position works well for most front and back teeth, while a 45-degree angle reaches deeper into periodontal pockets on teeth with gum recession. You do not need to force the tip below the gumline; just let the water follow it.
Keep the tip close enough to guide the stream and a few millimetres away from the tooth so nothing bounces off the enamel. Close your lips lightly around the tip when you can, which keeps water inside the mouth and cuts the splatter problem dramatically. Breathe through your nose.
4. Move Slowly Around Every Section
Sweep the tip along the gumline and pause briefly at each contact point, roughly a second, before moving on. Do not rush the whole arch. If you do it in about thirty seconds you are barely rinsing; a proper pass takes closer to two minutes.
Work systematically so you do not skip anything: start at the back of the mouth, upper teeth on the outside, then the inside, then the lower arch, finishing at the front. Many people quit after the front teeth because the back ones need more attention, not less. If your model has a timer or pacer, switch it on and let it pace you.
Timing in the day matters a little. Plenty of dental hygienists suggest using the flosser before brushing so you spit out the debris and then leave the toothpaste on your teeth without rinsing it away. If your dentist gave you a different order, follow their instructions.
5. Rinse and Clean the Water Flosser
Turn the device off before you remove the tip from your mouth, which stops the moment that ends in a spray across the mirror. Empty the reservoir, run fresh water through the tip for a few seconds as the manual directs, and wipe the handle dry.
Let the reservoir and tip air dry fully before storing, and do not leave standing water in the tank overnight. Weekly, detach the tip and rinse it more thoroughly; monthly, wipe down the inside of the reservoir and check for biofilm on the walls. If the tank develops a smell that rinsing will not clear, a diluted vinegar soak works, followed by a thorough rinse, as long as your manual permits it.
Common Mistakes
Starting at maximum pressure is the most common error and the easiest to fix. Begin low, build up over a week or two, and treat discomfort as information rather than something to push through.
Aiming directly at exposed gum tissue causes stinging and short-lived bleeding. Move the tip to the tooth surface and let the stream run along the gumline seam at a 45 or 90-degree angle instead.
Skipping the back teeth leaves the molars, where plaque accumulates fastest, untouched. Run the same order every time: back to front, upper then lower, so it becomes automatic.
Moving too fast turns the stream into a spray. Slow down to about one contact point per second and keep the tip still while the water pulses.
Standing upright over the sink is why beginners end up wiping down the bathroom. Lean forward until your chin is nearly over the drain and close your lips around the tip. Lower the pressure for the first week while your posture settles.
Abandoning the routine the first time you see pink is common and rarely necessary. A little bleeding in the first one to two weeks often settles as gums become used to being cleaned. Persistent or heavy bleeding, ongoing pain, swelling, or a bad taste is a different matter, and that is the point to book a dental appointment rather than adjust the pressure yourself.
Frequently Asked Questions
How often should I use a water flosser?
Most dental guidance points to once a day, and many people do it in the morning or at night whenever they will actually keep the habit. Consistency matters more than timing. If you are just starting, daily use for two weeks is usually enough to see the gum settle down. Ask your dentist for guidance if you have gum disease, a recent cleaning, or dental surgery.
What are the different types of water flosser tips?
The classic jet tip is the general-purpose one. The orthodontic tip has a small brush-like head for braces and wires. The plaque seeker tip has a fine rubber tip that hugs the tooth surface, which many people with implants or crowns prefer. The periodontal tip is tapered and reaches below the gumline. A tongue cleaner tip is for the tongue only, not the teeth.
Can a water flosser remove plaque?
A water flosser flushes plaque and food debris from between the teeth and along the gumline far more consistently than most people manage with string floss. Studies cited by Waterpik report better plaque and gingivitis reduction than flossing alone, and the ADA has accepted certain models. It complements brushing rather than replacing it, and it does not polish enamel the way a professional cleaning does.
Why do my gums bleed after using a water flosser?
A small amount of bleeding in the first week or two is common, because inflamed gums bleed easily and the flosser is reaching areas your toothbrush never cleaned. Lower the pressure, slow down, and keep going daily until it settles. Bleeding that persists beyond two weeks, or that comes with pain, swelling or a change in how your gums look, means a dental visit rather than more flushing.
How do I use a water flosser without spraying everywhere?
Lean forward with your chin close to the drain, close your lips around the tip, and start on the lowest pressure. Turn the device off before you take the tip out of your mouth, and give it a second over the sink after each section. The first few sessions are the worst; after that the path is predictable and the mess largely disappears.
Can you put mouthwash in a water flosser reservoir?
Only if your manual says so. Some manufacturers approve specific solutions, including diluted ones, and others warn against them because alcohol or additives can damage seals and plastics over time. If yours permits it, dilute it well, rinse the tank and tip thoroughly afterwards, and never mix products. Plain lukewarm water is a safe default for daily use.
Conclusion
Start at the lowest pressure and build up only as your gums allow, trace the gumline systematically from back teeth to front, one second per contact point, then empty and dry the device so nothing sits stagnant in the tank. Give the first two weeks of minor bleeding time to settle rather than abandoning the habit. If bleeding stays heavy or comes with pain or swelling, book the dental appointment instead of turning the pressure up.